How to Draw a Vacuum Cleaner (Easy Step by Step)
This post contains affiliate links. As an Amazon Associate I earn from qualifying purchases.
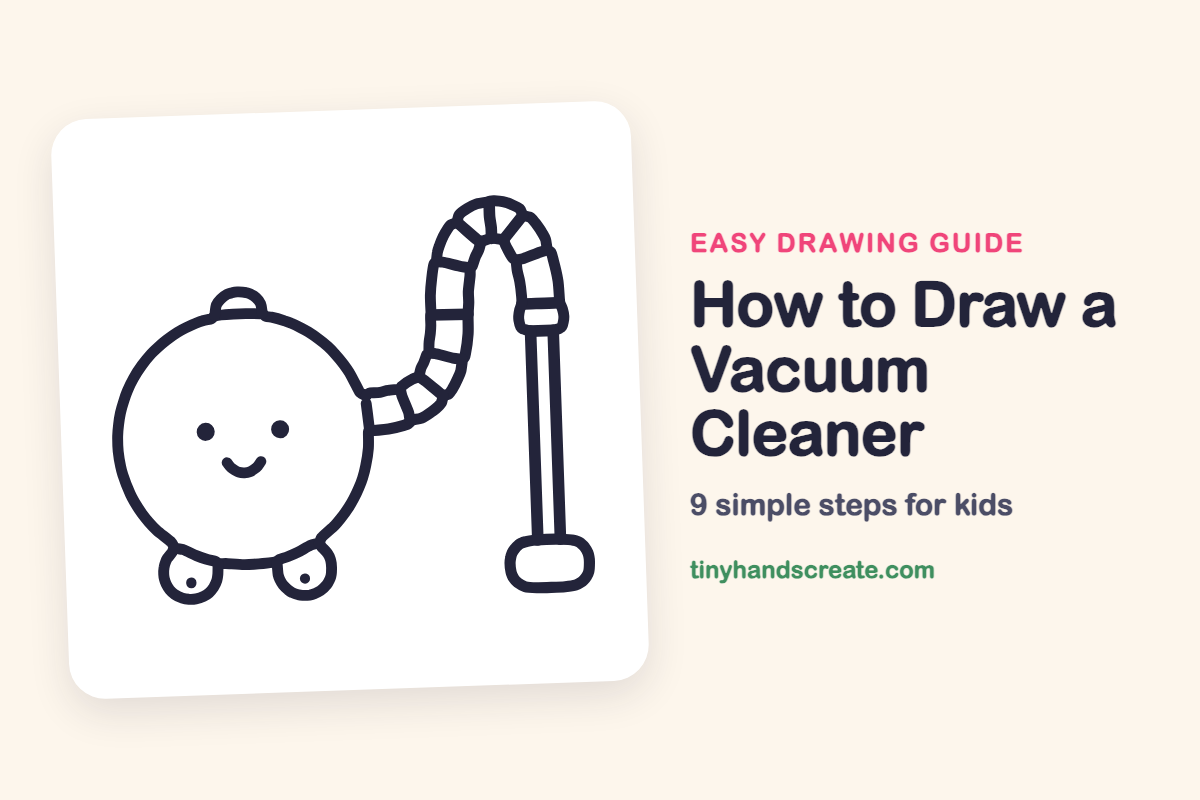
This friendly vacuum cleaner is built from simple shapes: a big circle for the body, little circles for wheels, and a long curvy hose that bends like a candy cane. Giving it a smiley face turns a chore helper into a cute character. It is a great one for practicing round shapes and smooth curves.
- Easy
- 12 minutes
- 9 steps
You need: paper, a pencil, an eraser, and crayons or markers for coloring.
Start drawing
In this article (7 sections)
How to draw a vacuum cleaner step by step
How to Draw a Vacuum Cleaner · tinyhandscreate.com
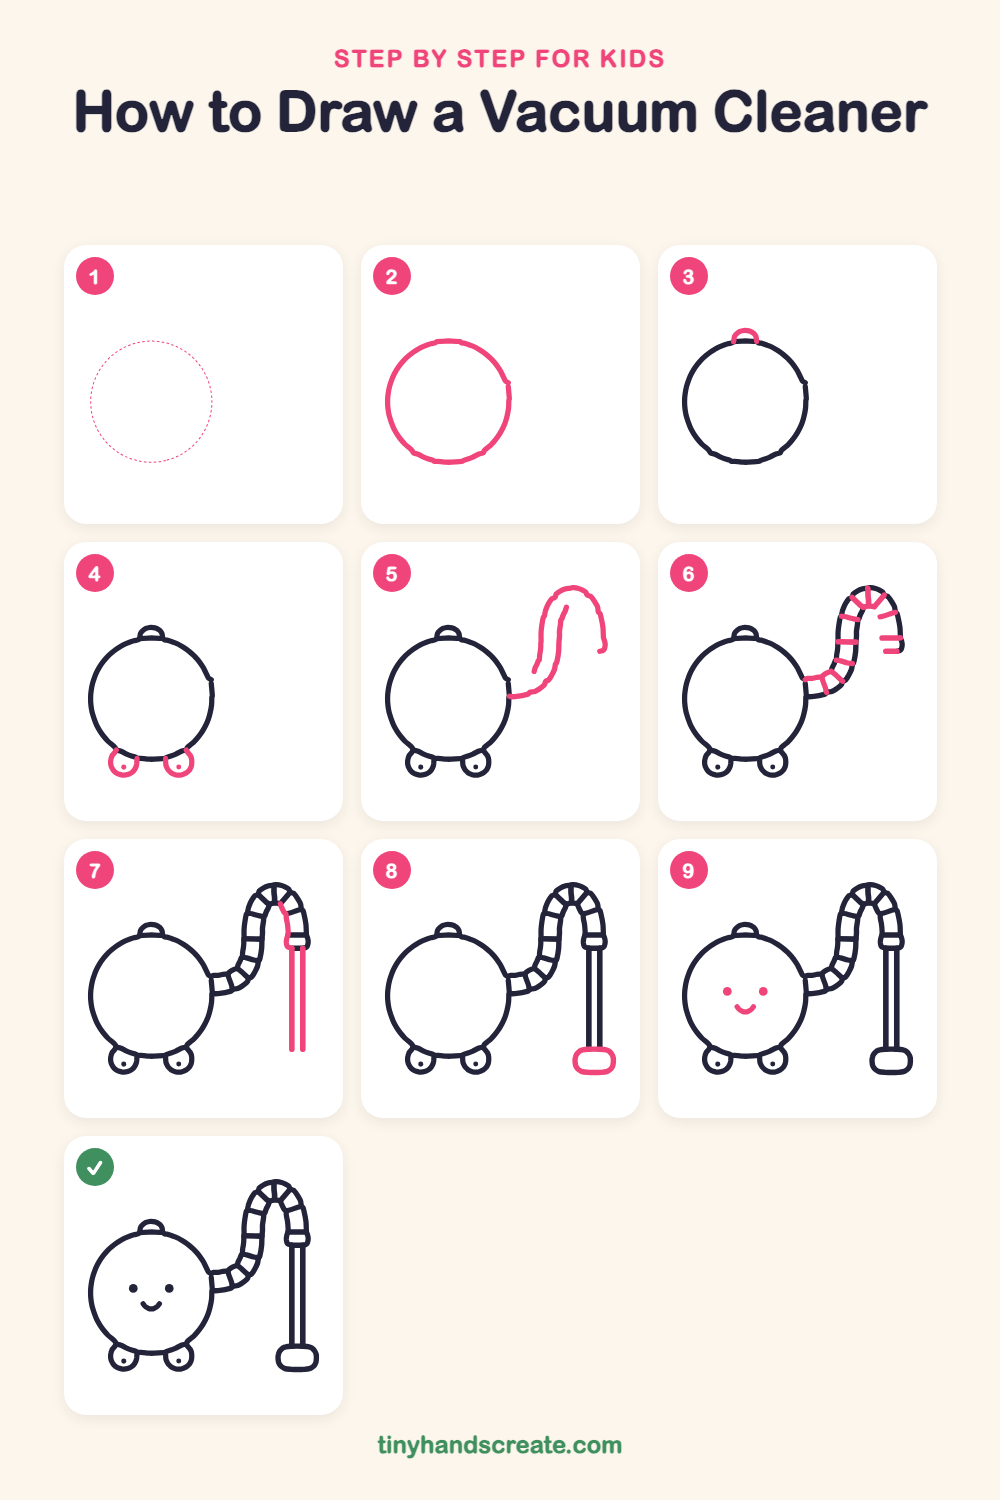
Step 1: Guide shapes
Lightly sketch this oval. It only shows where the big parts go, so press softly. You will erase it at the end.
Step 2: The round body
Draw a big circle in the middle left of your paper. This is the body of the vacuum cleaner, so make it nice and round.
Step 3: The top handle
On top of the circle, draw a small upside-down U shape like a little hill. It sits right on the top edge of the body.
Step 4: The two wheels
At the bottom of the circle, draw two small circles that tuck partly under the body, one on the left and one on the right. Add a tiny dot inside each wheel.
Step 5: The bendy hose
Start at the right side of the body and draw two curvy lines side by side that go out, then up, and arch over like a candy cane. Keep the two lines the same distance apart all the way.
Step 6: Hose rings
Draw short straight lines across the hose, like the rungs of a ladder. Space them evenly so the hose looks ribbed and bendy.
Step 7: The long pipe
Where the hose comes down on the right, draw a small rounded band. Then draw two long straight lines going down from it, side by side, to make the pipe.
Step 8: The floor nozzle
At the bottom of the pipe, draw a wide rounded rectangle like a soft pillow. This is the part that cleans the floor.
Step 9: A happy face
Inside the big circle, draw two round dots for eyes. Under them, add a small curved smile like a little bowl.
All done!
Erase the guide shapes, go over your lines, then color it in.
Finished your vacuum cleaner? Keep the pencils out and learn how to draw a couch or how to draw a toilet next.
Tips for drawing a vacuum cleaner
- Draw the big circle lightly first. If it comes out a little wobbly, go over it again once you like the shape.
- The hose is the trickiest part. Draw one curvy line, then draw a second line beside it, keeping the same gap, before adding the rungs.
- Make the floor nozzle wide and rounded, and keep the two pipe lines straight and parallel so they line up with its top.
Free vacuum cleaner coloring page
Want to go straight to coloring? Open this vacuum cleaner coloring page at full size and print it. It is the same drawing you just learned, with clean lines ready for crayons or markers.
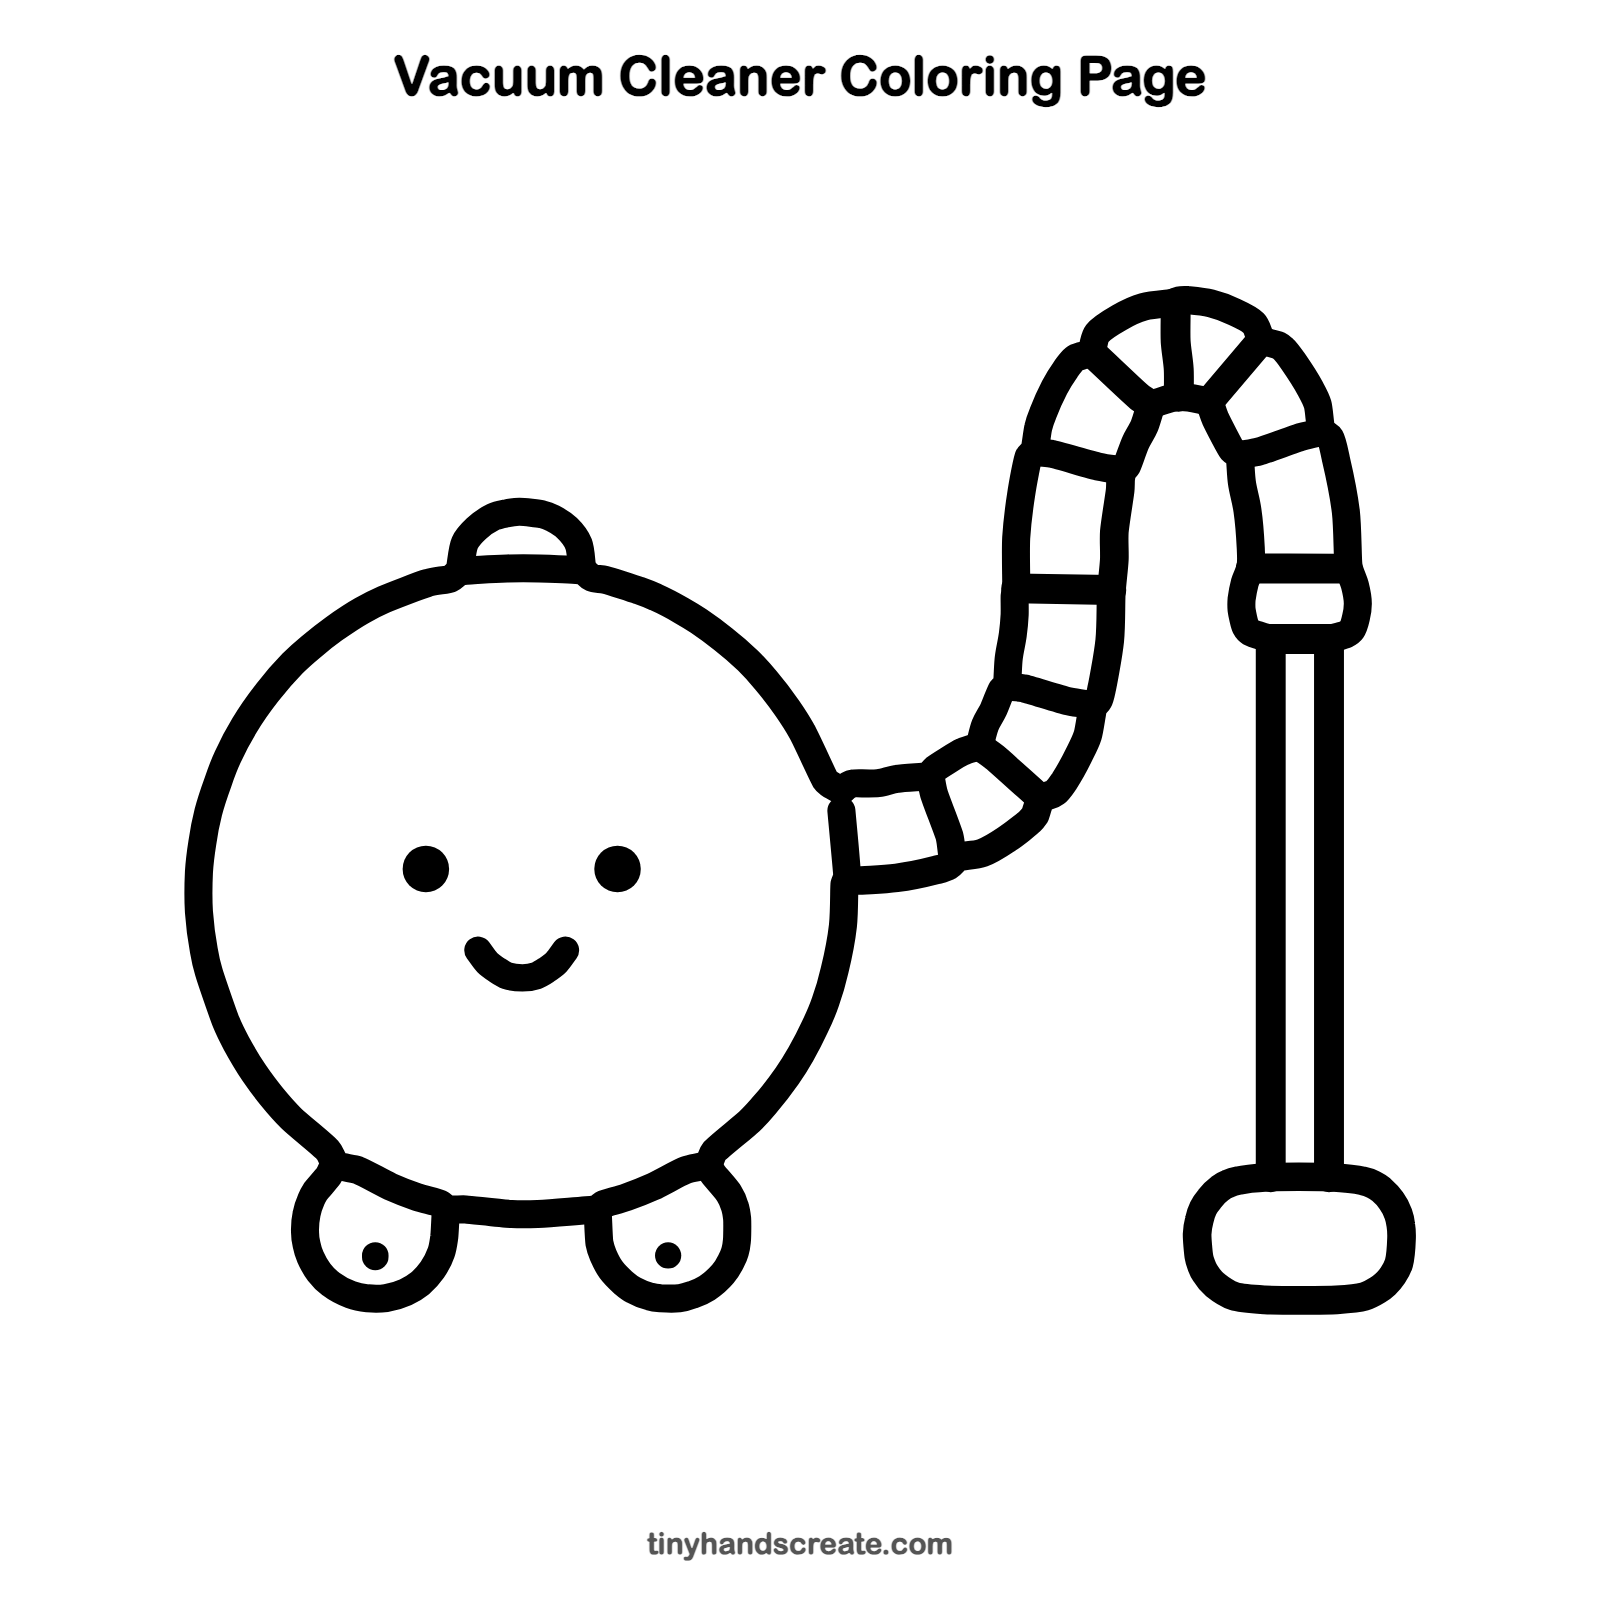
How to color your vacuum cleaner drawing
Try a bright red or sky blue body with gray wheels and a silver pipe. For a creative twist, color the hose in rainbow stripes, one color for each section between the rungs.
Vacuum cleaner fun fact for kids
The first powered vacuum cleaner for cleaning was built by Hubert Cecil Booth in 1901. It was so big that it was pulled through the street on a horse-drawn cart, and its long hoses were fed through windows into the buildings.
Questions about drawing a vacuum cleaner
What shapes do I need to draw a vacuum cleaner?
You need a big circle for the body, two small circles for wheels, a rounded rectangle for the floor nozzle, and two long curvy lines for the hose. Short straight lines make the ribs.
How do I make the hose look bendy?
Draw two curved lines side by side with the same space between them, then add short lines across like ladder rungs. Curving the lines in an arch makes it look like it can bend.
How do I make my vacuum cleaner look cuter?
Add a face with two round dot eyes and a small smile on the body. Keeping the shapes round and the wheels small also makes it look friendly.