How to Draw a Couch (Easy Step by Step)
This post contains affiliate links. As an Amazon Associate I earn from qualifying purchases.
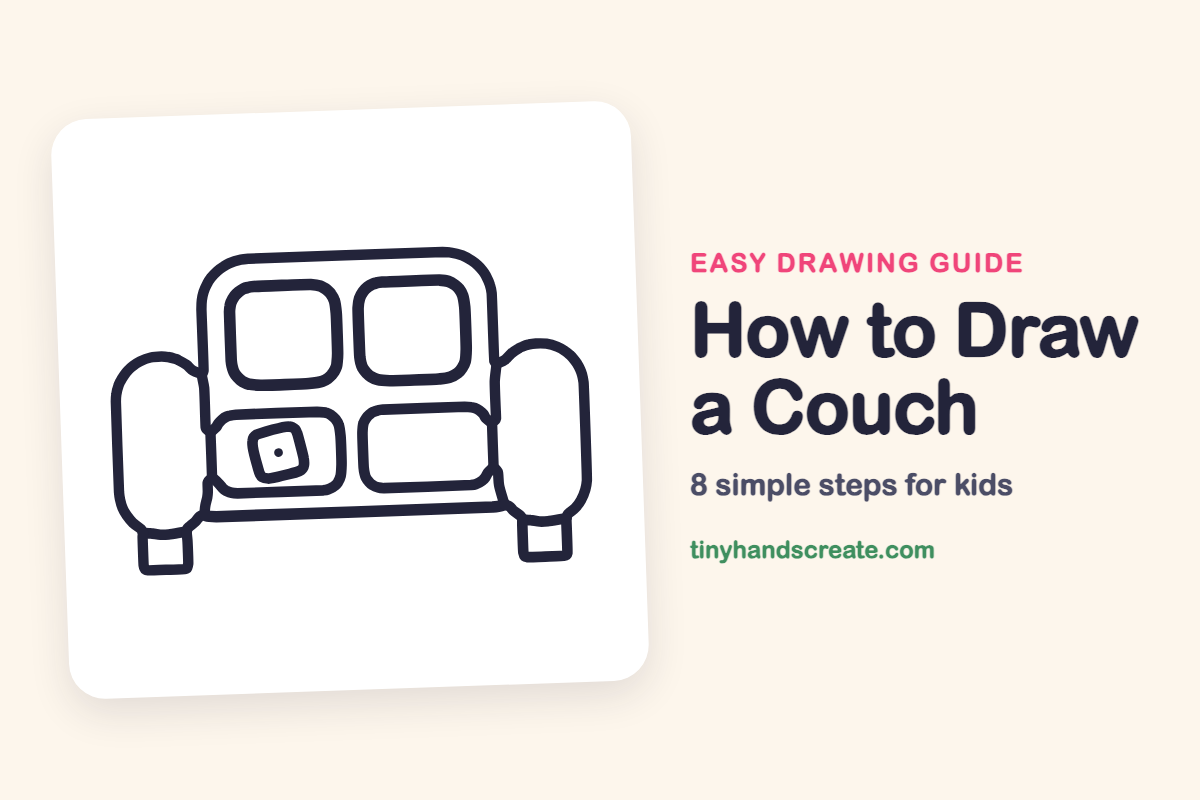
A couch is a friendly drawing because it is made almost entirely of rounded rectangles and ovals. You stack a few soft shapes, tuck in some cushions, and it starts to look like a place to curl up. The tilted pillow on the seat adds a little personality.
- Easy
- 10 minutes
- 8 steps
You need: paper, a pencil, an eraser, and crayons or markers for coloring.
Start drawing
In this article (7 sections)
How to draw a couch step by step
How to Draw a Couch · tinyhandscreate.com
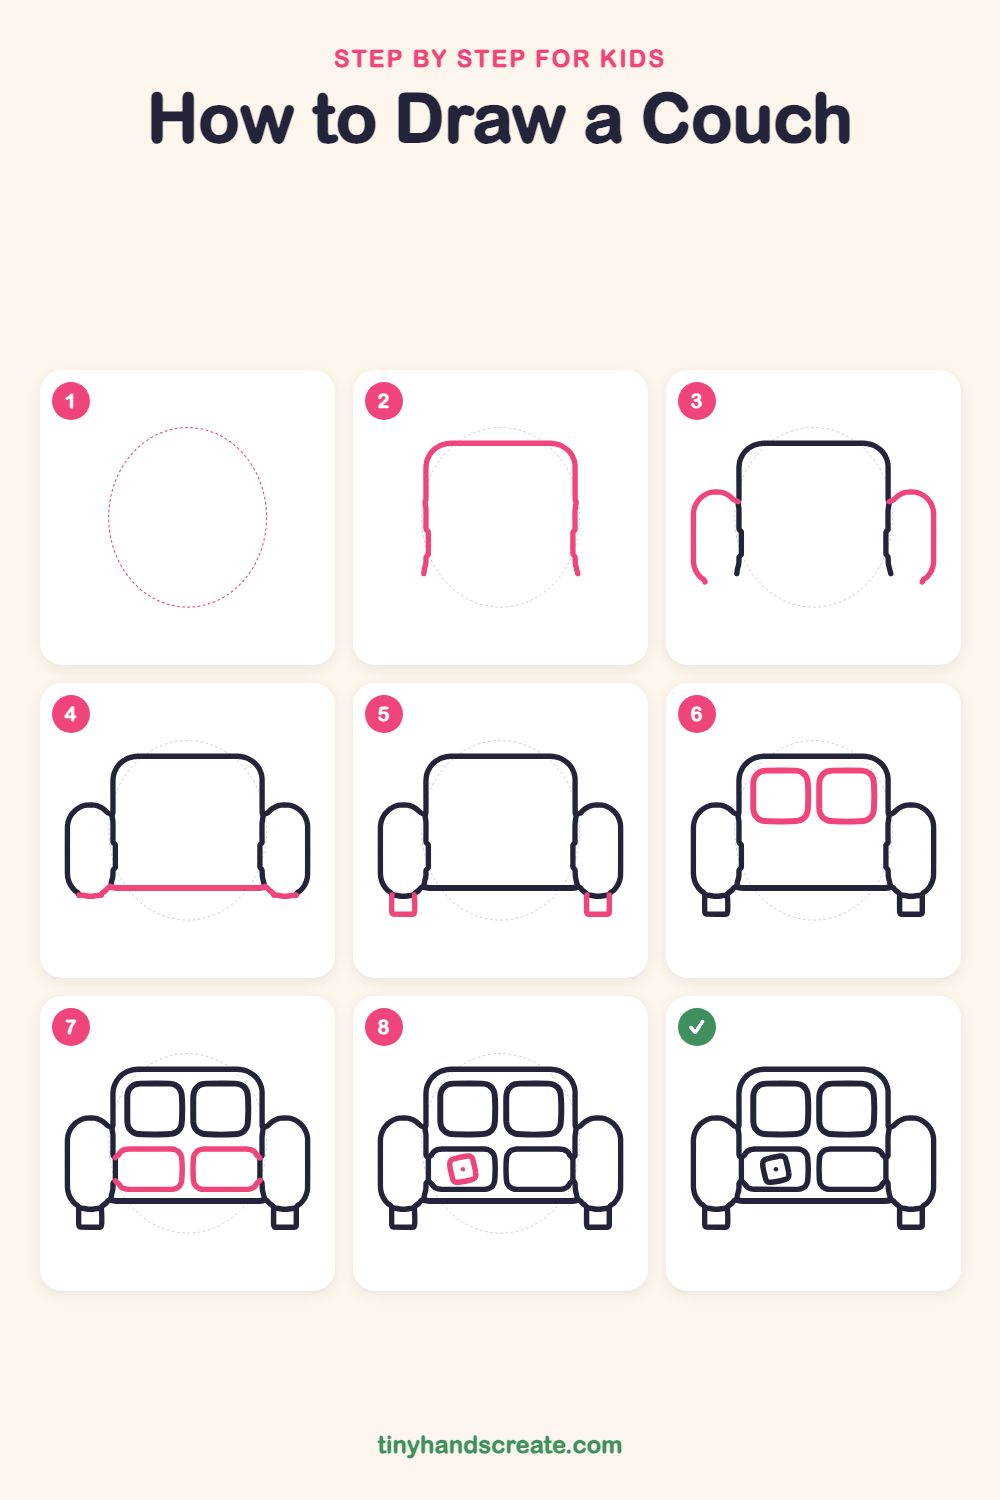
Step 1: Guide shapes
Lightly sketch this oval. It only shows where the big parts go, so press softly. You will erase it at the end.
Step 2: The tall backrest
Draw a big rounded rectangle top, like a tall window with soft corners. Start on the left, go up and over the top, and come down the right side, leaving the bottom open.
Step 3: The two armrests
On each side of the backrest, draw a tall curved line like the outside of a fat sausage standing up. Start it at the backrest, curve up and over, and come down. Make both arms about the same height.
Step 4: The bottom edge
Draw a straight line across the bottom between the two arms. Then add a small curve at the bottom of each armrest to close it.
Step 5: Two little feet
Under each armrest, draw a small square with the top left open, so it tucks right into the curve. These are the couch's feet.
Step 6: Back cushions
Inside the backrest, draw two big rounded squares side by side with a small gap between them. Think of two soft pillows leaning against the back.
Step 7: Seat cushions
Below the back cushions, draw two wide rounded rectangles side by side. They are shorter and flatter than the cushions above, because you sit on them.
Step 8: A cozy pillow
On the left seat cushion, draw a small tilted rounded square, like a pillow someone tossed there. Finish with a tiny dot in the middle for a button.
All done!
Erase the guide shapes, go over your lines, then color it in.
Finished your couch? Keep the pencils out and learn how to draw a toilet or how to draw a microwave next.
Tips for drawing a couch
- Draw the backrest first and make it a little wider than you think you need. The cushions fit inside it and the armrests sit beside it, so a roomy backrest keeps everything from getting squished.
- The two armrests are the trickiest part to match. Draw the left one, then look at its height and width before you draw the right one so they come out like twins.
- Draw the tilted pillow lightly in pencil first. Turn your paper a little to sketch it, then turn it back and trace over it with a darker line.
Free couch coloring page
Want to go straight to coloring? Open this couch coloring page at full size and print it. It is the same drawing you just learned, with clean lines ready for crayons or markers.
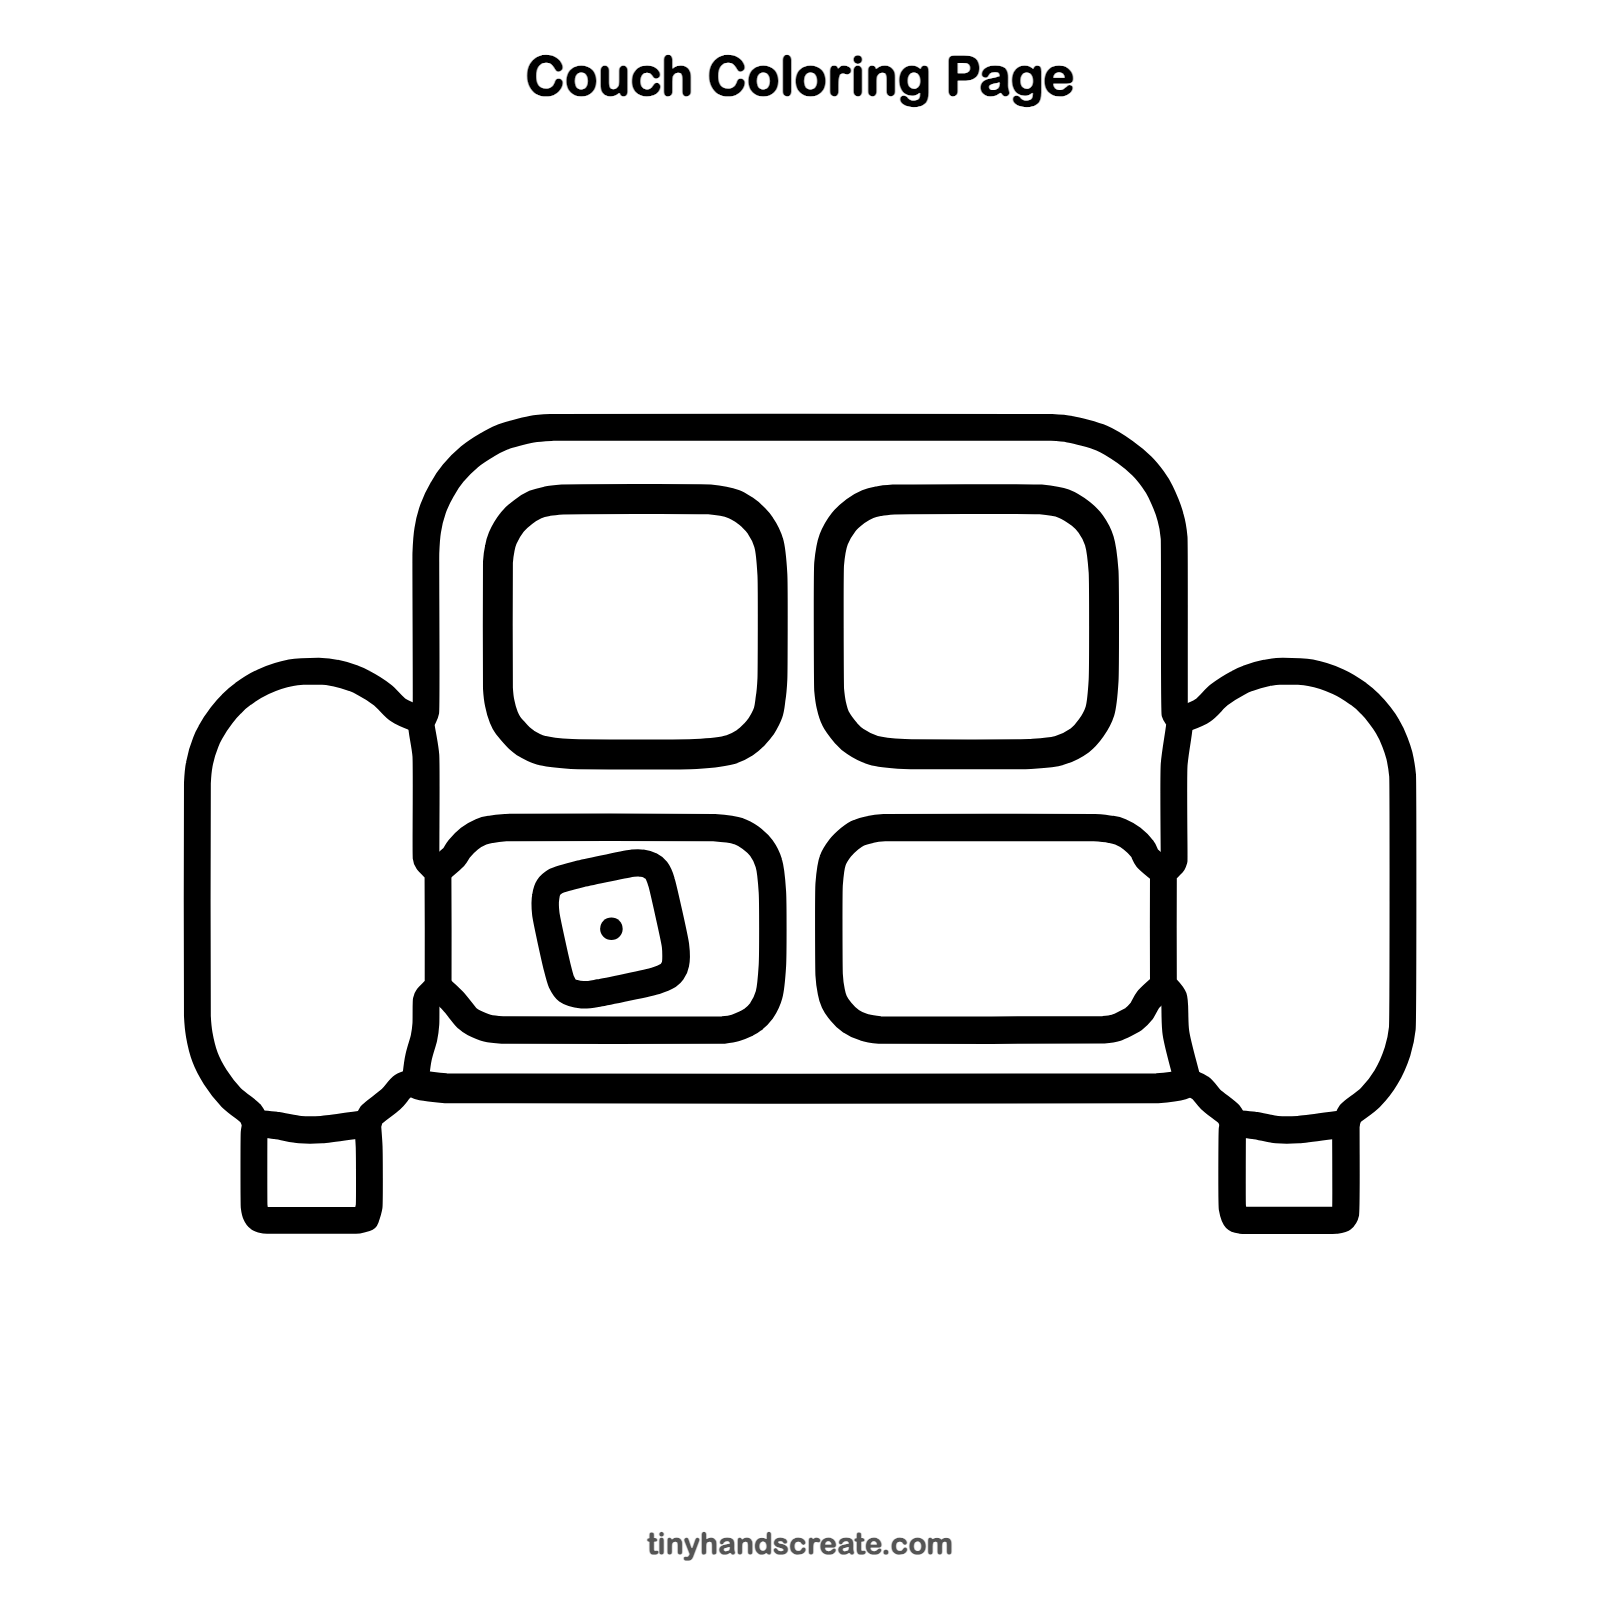
How to color your couch drawing
Try a classic couch in deep teal or warm orange, with a different color for the little pillow so it stands out. For a creative twist, give the couch polka dots or stripes, or color each cushion a different color for a patchwork look.
Couch fun fact for kids
The word sofa comes from the Arabic word suffa, which means a raised bench or seat with cushions.
Questions about drawing a couch
What shapes do I need to draw a couch?
You only need rounded rectangles, curved lines, and a few straight lines. The backrest and cushions are rounded rectangles, the armrests are tall rounded ovals, and the feet are small squares.
How do I make my couch look cozy?
Add a small tilted pillow and round every corner so nothing looks sharp. Soft, curvy lines make furniture look squishy and comfy.
Why does my couch look lopsided?
The armrests are usually the cause. Check that both are about the same height and the same distance from the backrest, and use light pencil lines first so you can fix them.