How to Draw a Microwave (Easy Step by Step)
This post contains affiliate links. As an Amazon Associate I earn from qualifying purchases.
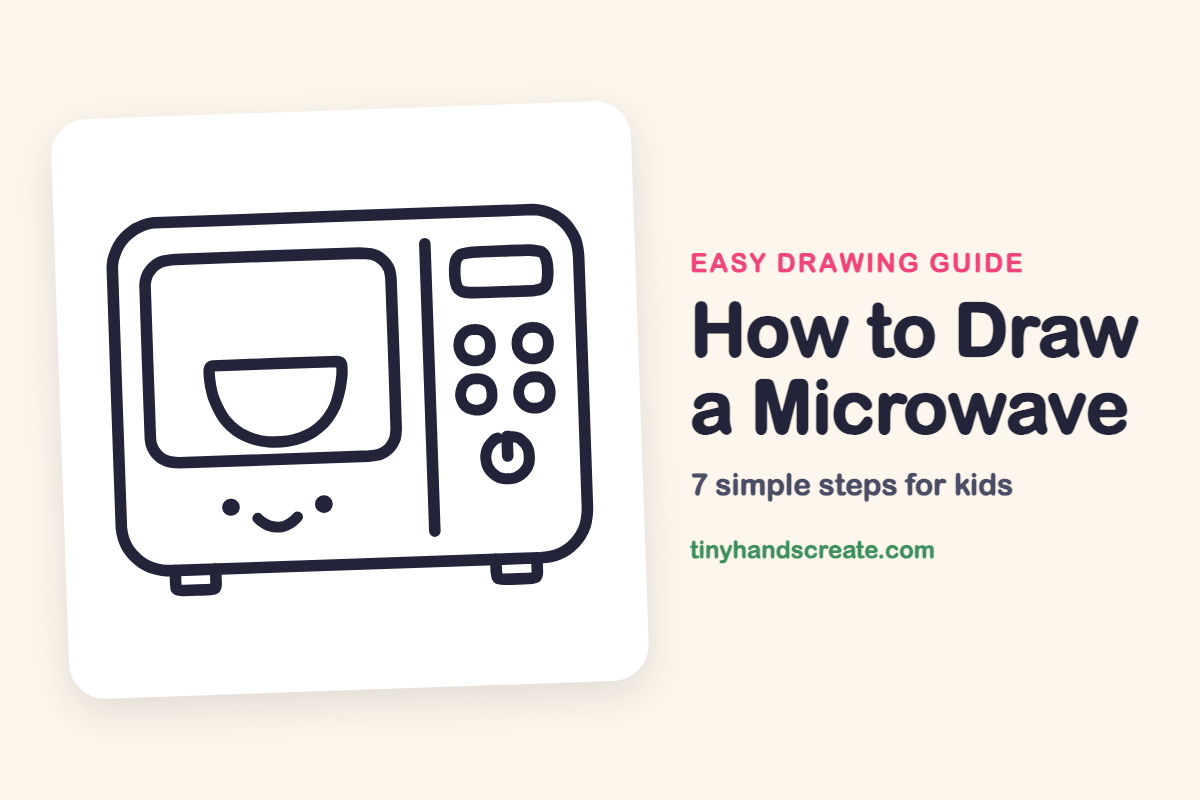
A microwave is a great first object to draw because it is made almost entirely of rectangles and circles. You start with one big rounded box, then add a window, a bowl, a screen, and some buttons. At the end you give it a happy face and two little feet, and it is easy to make it your own.
- Easy
- 10 minutes
- 7 steps
You need: paper, a pencil, an eraser, and crayons or markers for coloring.
Start drawing
In this article (7 sections)
How to draw a microwave step by step
How to Draw a Microwave · tinyhandscreate.com
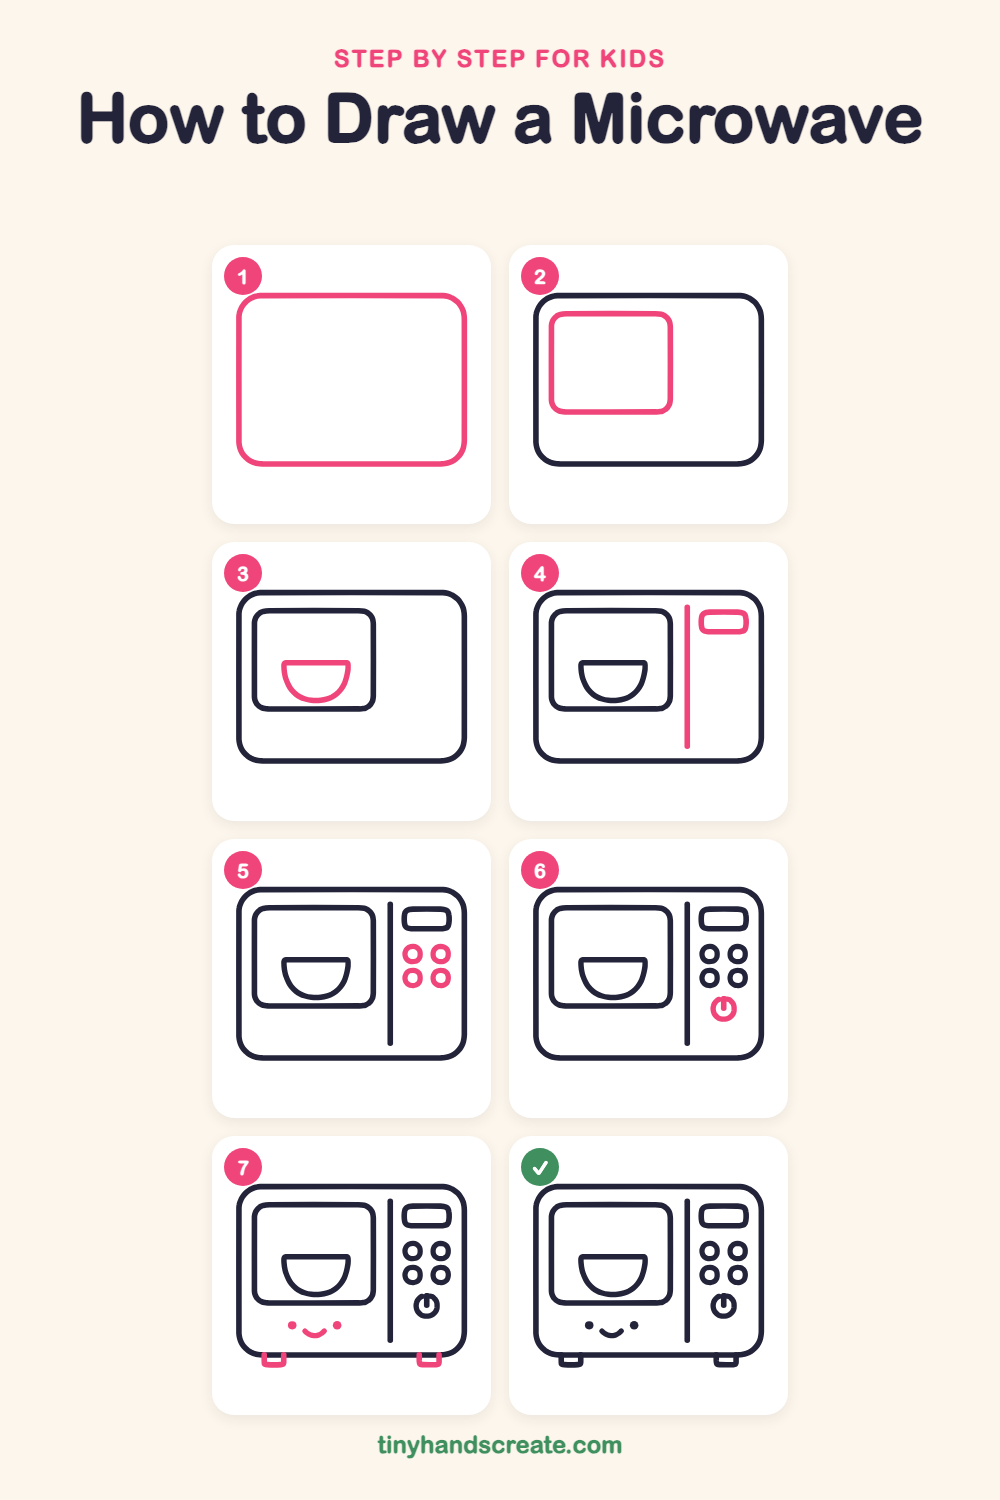
Step 1: The big box
Draw a wide rectangle with very round corners, like a soft sandwich. This is the body of the microwave, so make it nice and big.
Step 2: The door window
Inside the left side of the box, draw a smaller rounded rectangle. Leave a little space between it and the edge of the box.
Step 3: The bowl inside
In the middle of the window, draw a short straight line across. Then draw a curve hanging down from both ends to make a bowl, like a half circle.
Step 4: Divider and display
To the right of the window, draw one tall straight line from near the top to near the bottom. Next to it, near the top, draw a small rounded rectangle for the screen.
Step 5: Four round buttons
Under the screen, draw two rows of two small circles. Try to make them about the same size, like four little donuts.
Step 6: The power button
Below the four buttons, draw one more circle. Then add a short straight line starting at the top of the circle and going down into it.
Step 7: Feet and smile
Below the window, draw two small dots for eyes with a little curved smile between and under them. Then, under the bottom corners of the box, draw two small boxes with no top, with their sides starting right on the bottom line of the microwave.
All done!
Go over your lines with a marker, then color it in.
Finished your microwave? Keep the pencils out and learn how to draw a bookshelf or how to draw a radio next.
Tips for drawing a microwave
- Draw the big box first and leave room on the right side for the buttons. If the window takes up too much space, the buttons will get squeezed.
- The bowl is the trickiest part. Draw the flat top line first, then curve down from each end so the two sides meet in the middle at the bottom.
- Use a coin or a bottle cap to trace the circles. That way the four buttons all come out the same size.
Free microwave coloring page
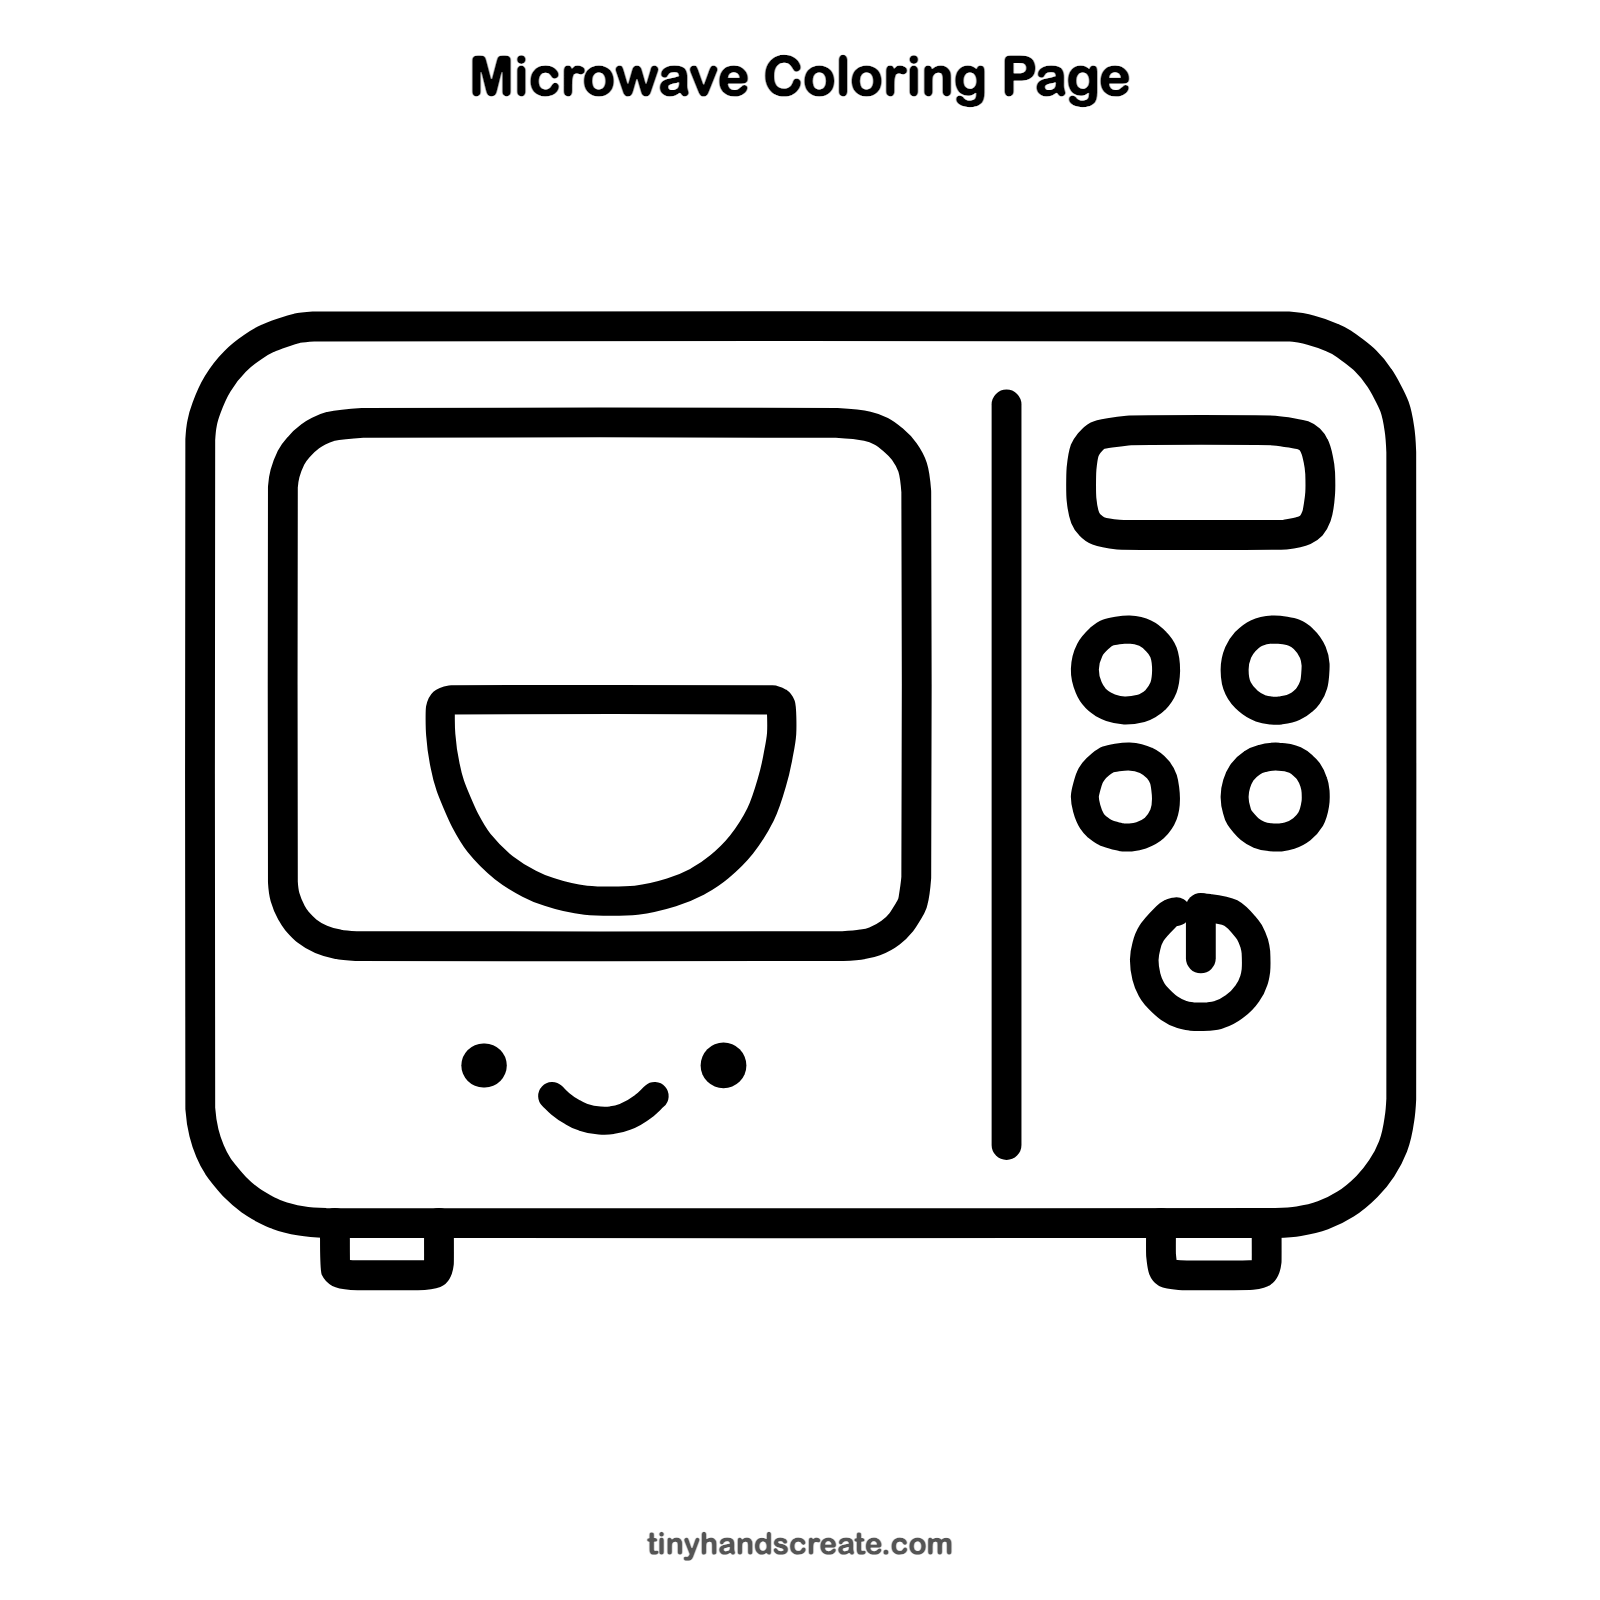
Want to go straight to coloring? Open this microwave coloring page at full size and print it. It is the same drawing you just learned, with clean lines ready for crayons or markers.
How to color your microwave drawing
Try a pale blue or bright red body with a yellow glow inside the window, and pick a different color for each button. For a creative twist, color the bowl as if it holds your favorite snack, like soup or popcorn.
Microwave fun fact for kids
A microwave oven heats food by making the tiny water molecules inside it wiggle very fast, and that wiggling makes the food warm. An engineer named Percy Spencer got the idea in the 1940s after a candy bar melted in his pocket while he worked near a radar machine.
Questions about drawing a microwave
What shapes do I need to draw a microwave?
You only need rounded rectangles and circles. The body, window, screen, and feet are rectangles, and the buttons are circles. The bowl is a half circle.
How do I make my microwave look cuter?
Draw two dots for eyes and a small curved smile under the window, so the microwave looks friendly. Rounder corners on the body also make it look softer.
How do I draw the buttons so they look even?
Draw two rows of two circles and keep the gaps between them the same. Tracing around a small coin or a bottle cap helps a lot.