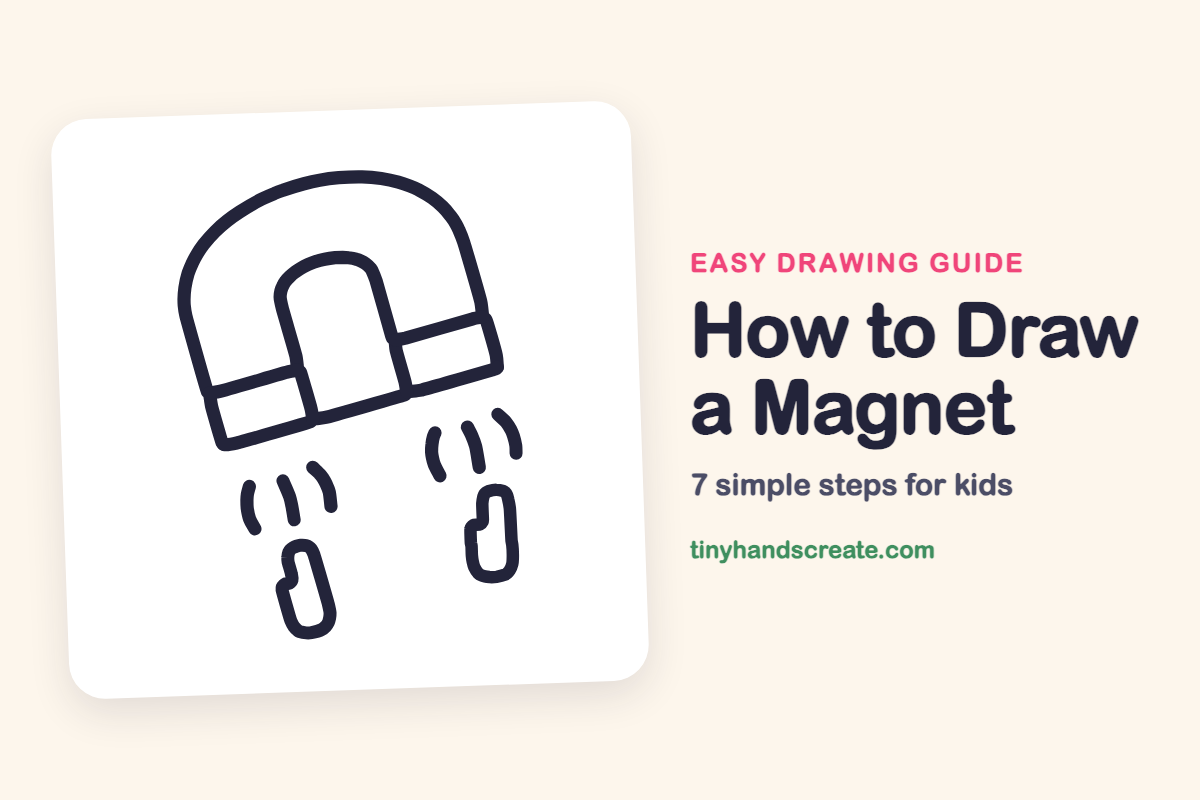
How to Draw a Magnet (Easy Step by Step)
A magnet is a fun thing to draw because it is really just one big upside-down U with a few straight lines added. Add two paper clips and some little curved pull lines, and your drawing looks like it is actually working. You only need curves, straight lines, and rounded rectangles.
- Easy
- 10 minutes
- 7 steps
You need: paper, a pencil, an eraser, and crayons or markers for coloring.
Start drawingIn this article (7 sections)
How to draw a magnet step by step
How to Draw a Magnet · tinyhandscreate.com
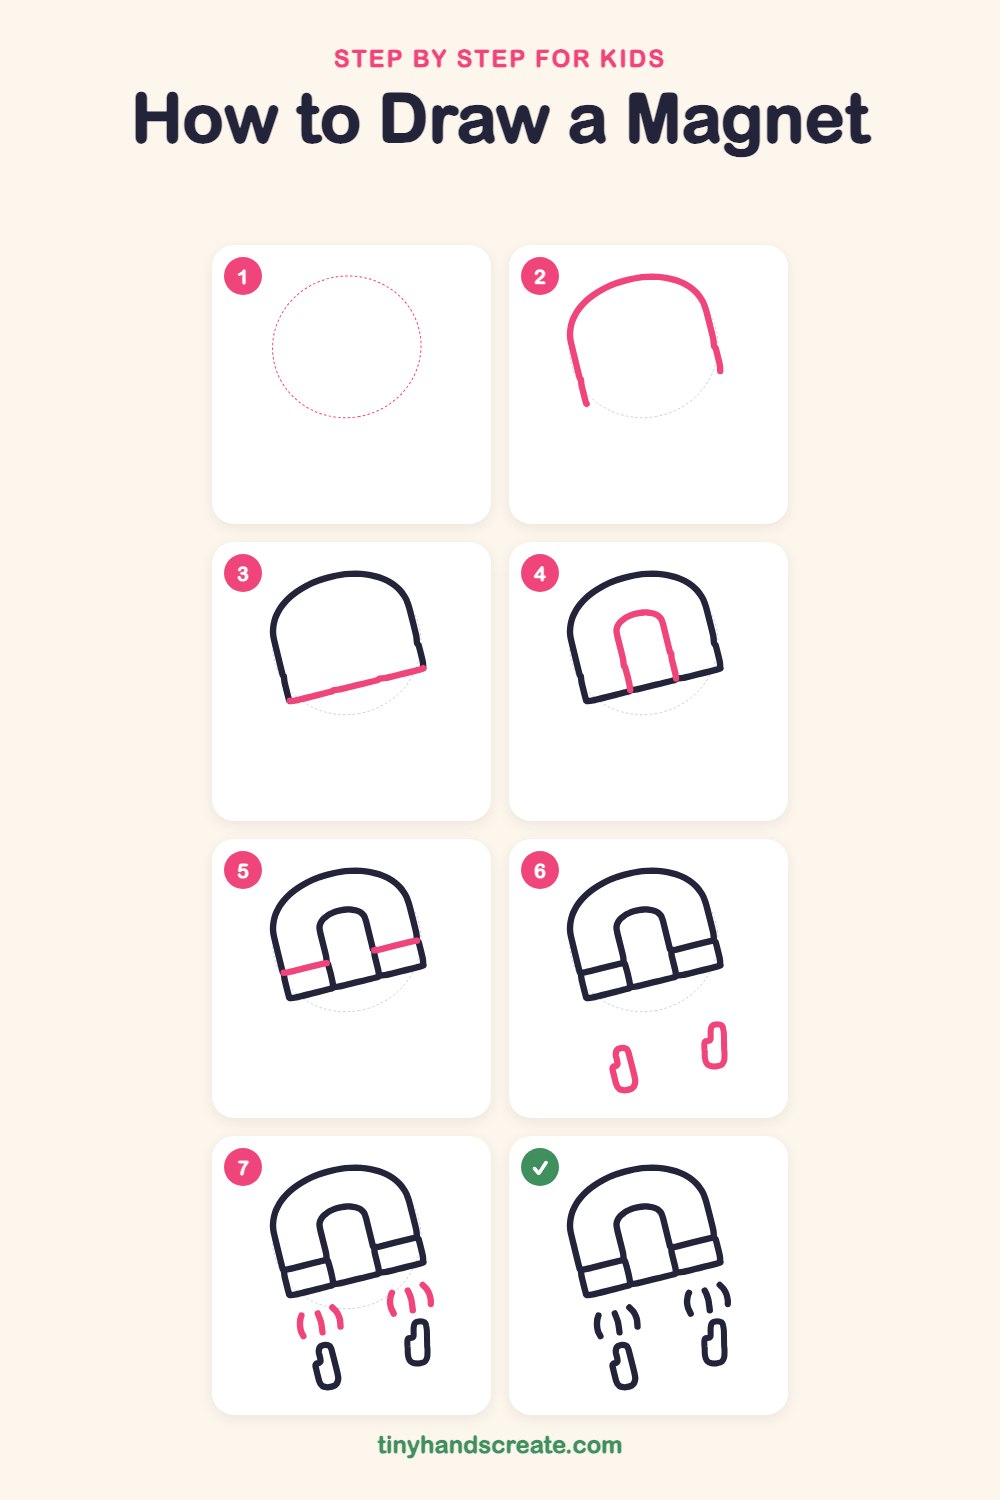
Step 1: Guide shapes
Lightly sketch this oval. It only shows where the big parts go, so press softly. You will erase it at the end.
Step 2: The big arch
Start at the bottom left and draw a long curved line up and over, like an upside-down U, then bring it down on the right side. Tilt the whole arch a little, as if the magnet is leaning.
Step 3: The flat bottom
Draw a straight, slightly slanted line to close the bottom, joining the two ends of your arch. It should look like the base of a tall rounded window.
Step 4: The inner opening
Inside the arch, draw a smaller upside-down U with a rounded top. Let its two sides run straight down until they touch the bottom line.
Step 5: The two stripes
Draw one short straight line on the left from the outer edge to the inner U, and one on the right in the same way. These make the little tips at the ends of the magnet.
Step 6: The paper clips
Below the magnet, draw two skinny rounded rectangles that look like paper clips. Add a small notch on the left side of each one.
Step 7: Pull lines
Above each paper clip, draw three short curved lines, like little jumps. They show the magnet pulling the clips up toward it.
All done!
Erase the guide shapes, go over your lines, then color it in.
Finished your magnet? Keep the pencils out and learn how to draw a science beaker or how to draw an atom next.
Tips for drawing a magnet
- Draw the outer arch first and the inner arch second, so you can keep a similar gap between them all the way around.
- Keep the two stripes at the same slant as the bottom line so they look like they belong to the same tilted magnet.
- The pull lines are the trickiest part. Make each one a short, gentle curve, and keep the three lines in each group about the same size.
Free magnet coloring page
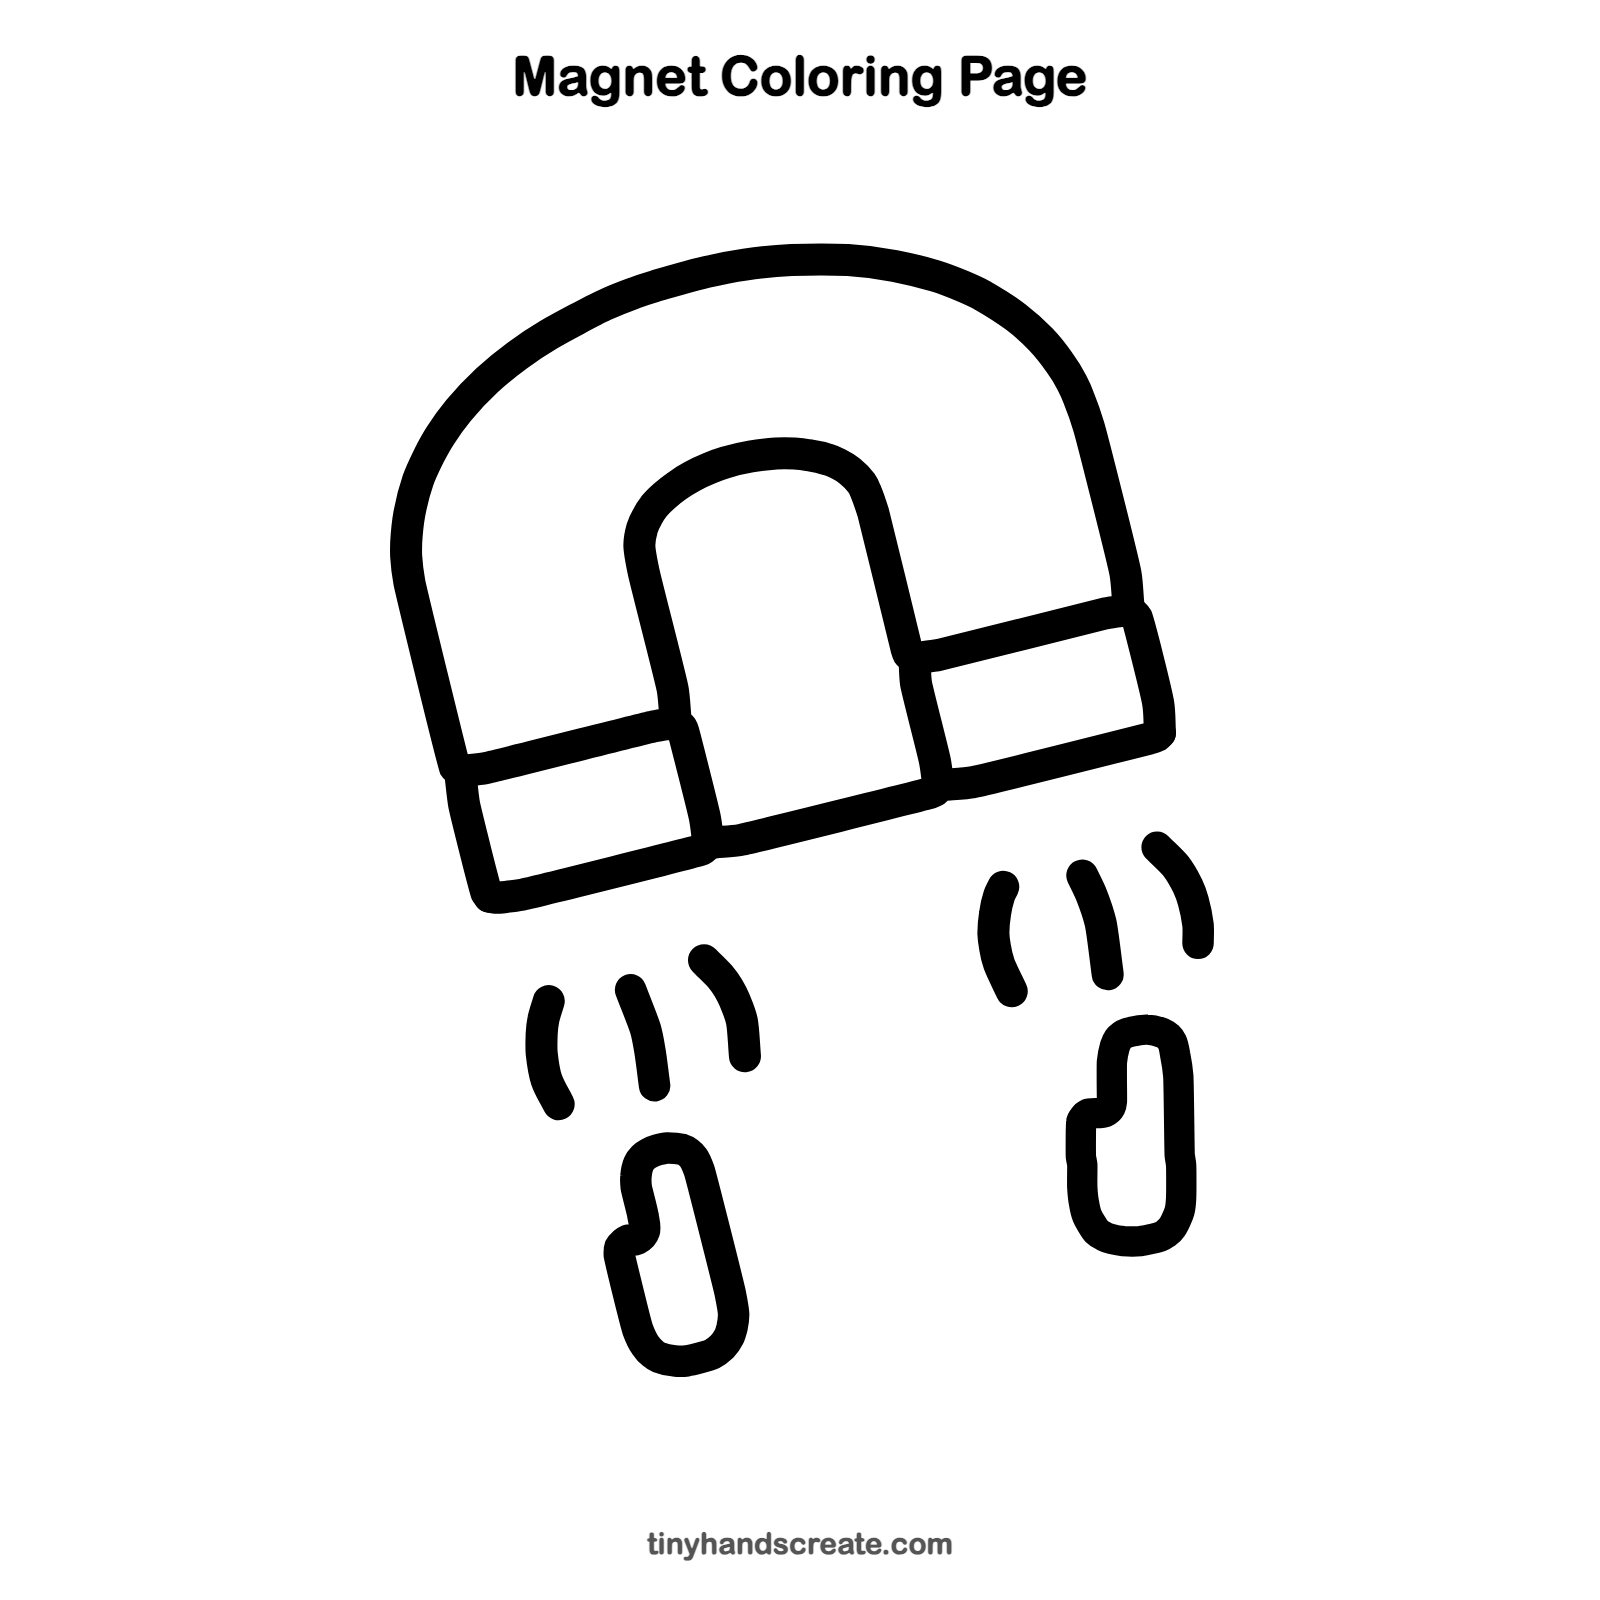
Want to go straight to coloring? Open this magnet coloring page at full size and print it. It is the same drawing you just learned, with clean lines ready for crayons or markers.
How to color your magnet drawing
Color the magnet classic red with silver or gray tips, and make the paper clips gray or blue. For a creative twist, add tiny sparkles around the pull lines or draw more clips jumping up toward the magnet.
Magnet fun fact for kids
Every magnet has two ends called poles, a north pole and a south pole. Opposite poles pull toward each other, and matching poles push apart.
Questions about drawing a magnet
What shapes do I need to draw a magnet?
You need a big upside-down U for the body, a smaller U inside it, and a few straight lines for the base and tips. The paper clips are two thin rounded rectangles.
How do I make my magnet look like it is pulling something?
Draw short curved lines between the magnet and the paper clips. These lines show movement, so the clips look like they are about to jump up.
Why is my magnet arch lopsided?
Start with a light sketch of a rounded shape first, then trace over it. Also try drawing the left and right sides at the same angle so the arch stays even.