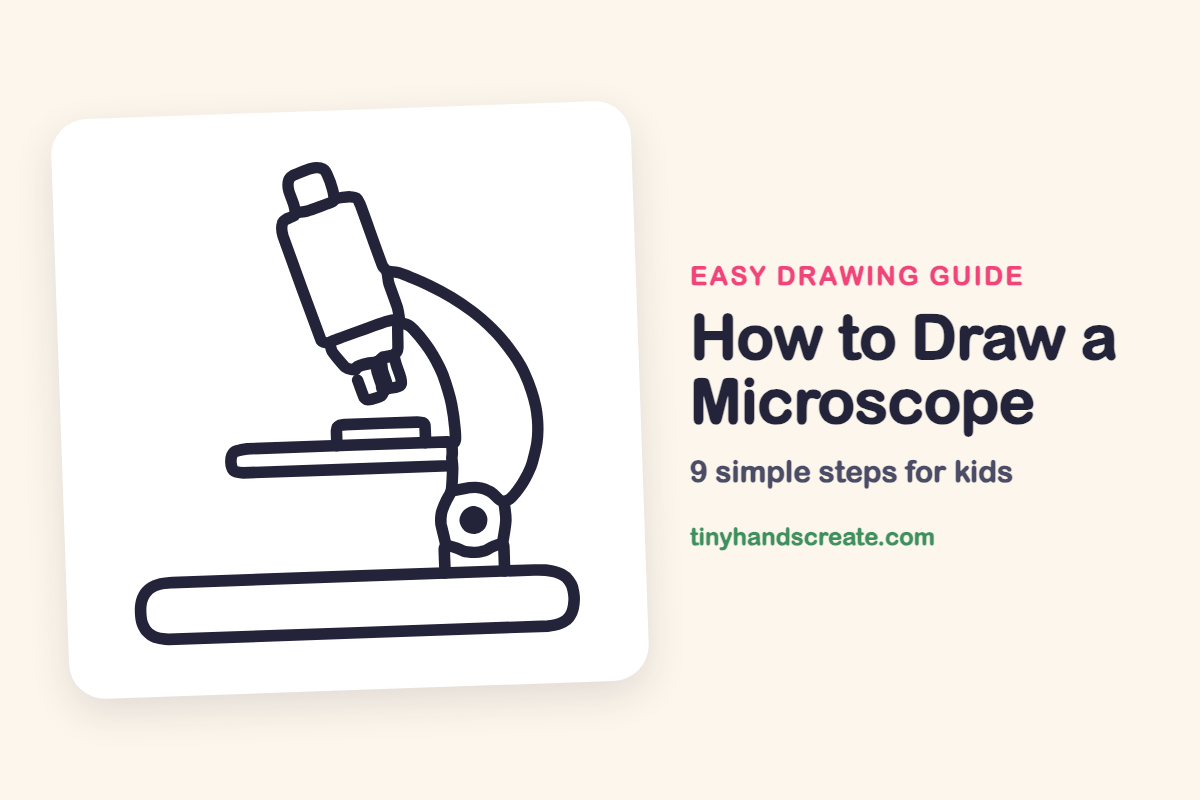
How to Draw a Microscope (Easy Step by Step)
A microscope looks fancy, but it is made from rectangles, curves and circles that a kid can draw with a pencil. The big swoopy arm and the round focus knob are the most fun parts to get just right. When you finish, you will have a tiny science lab on your page.
- Medium
- 15 minutes
- 9 steps
You need: paper, a pencil, an eraser, and crayons or markers for coloring.
Start drawingIn this article (7 sections)
How to draw a microscope step by step
How to Draw a Microscope · tinyhandscreate.com
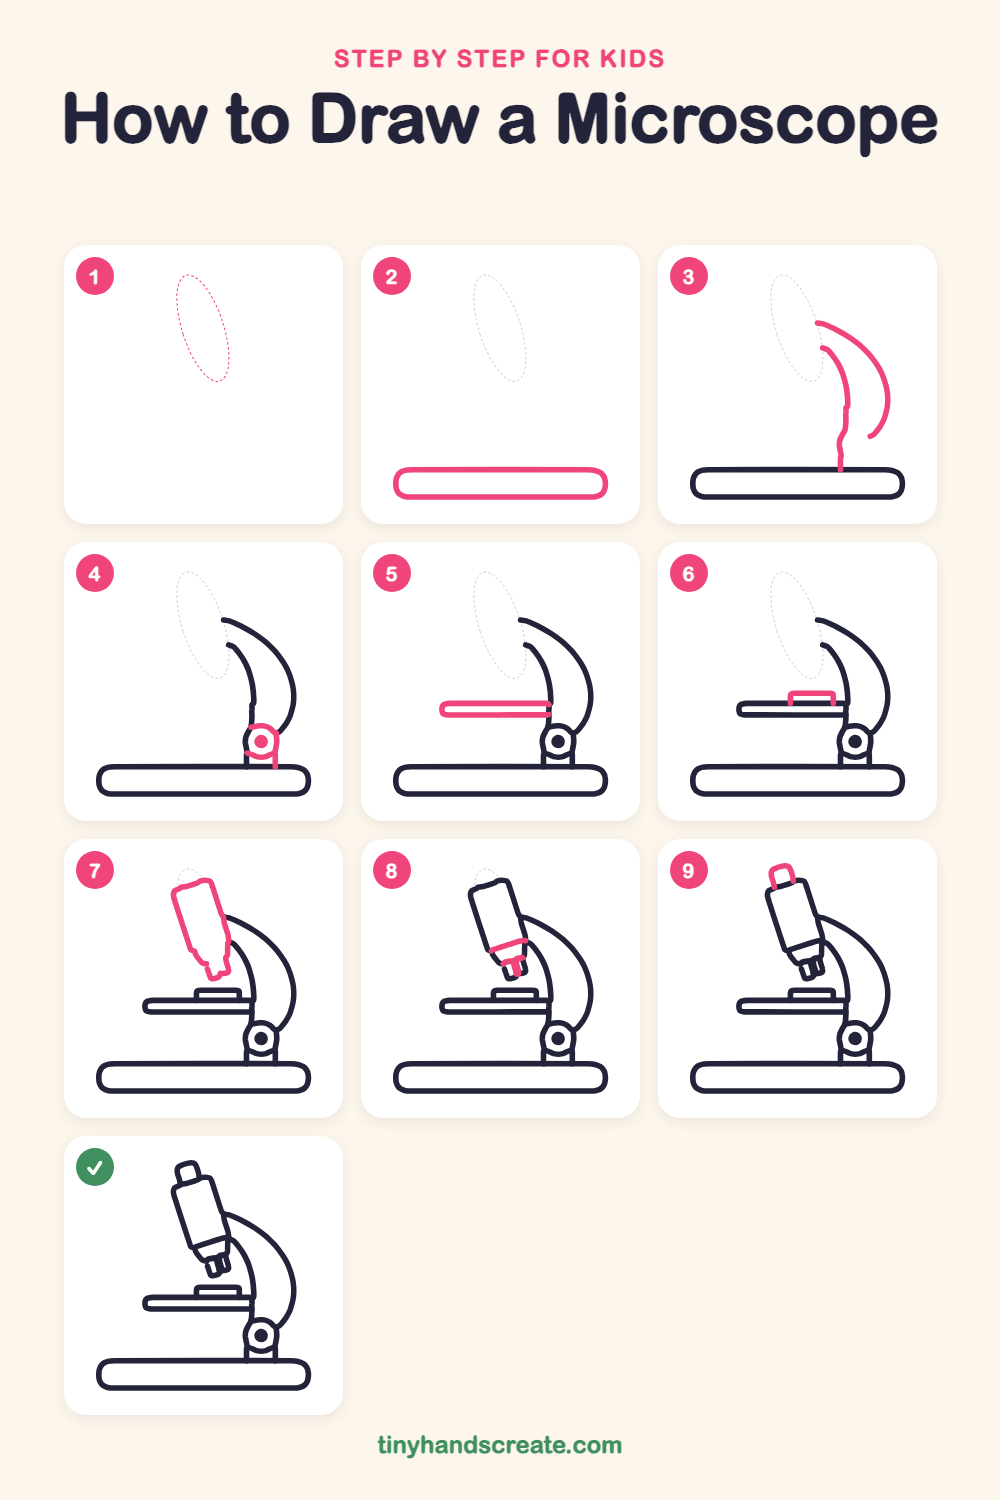
Step 1: Guide shapes
Lightly sketch this oval. It only shows where the big parts go, so press softly. You will erase it at the end.
Step 2: The base
Draw a long, flat rounded rectangle across the bottom of your page, like a skinny pill lying down. This is the base that keeps the microscope steady.
Step 3: The curved arm
Near the right end of the base, draw a tall curved line that rises from the base and bends to the left at the top. Next to it, start at the same top spot and draw a big curve that swoops out to the right and down, stopping above the base.
Step 4: The focus knob
Where the arm meets the base, draw a small circle with a dot in the middle. Add two short lines going down from the circle to the base.
Step 5: The stage
Draw a long, thin, flat rectangle sticking out to the left from the arm. It is the little shelf where you put the thing you want to look at.
Step 6: The slide clip
On top of the shelf, draw a small flat-topped bump, like a tiny upside-down box with no bottom line. It holds the slide in place.
Step 7: The main tube
Draw a tall, tilted rectangle with rounded corners, leaning to the left. The bottom of it should end above the shelf and overlap the top of the arm.
Step 8: Lens and band
Draw a slanted line across the tube near the bottom. Then draw a small T shape below it for the little lens that points down at the slide.
Step 9: The eyepiece
On top of the tube, draw a small rounded rectangle, like a little cap. This is where you peek in.
All done!
Erase the guide shapes, go over your lines, then color it in.
Finished your microscope? Keep the pencils out and learn how to draw a magnet or how to draw a science beaker next.
Tips for drawing a microscope
- Draw the long base first so the whole microscope has a place to stand. Make it wider than you think you need.
- The curved arm is the trickiest part. Draw it slowly in one smooth swoop, and lift your pencil if your hand gets wobbly.
- Tilt the main tube a little to the left, and keep the eyepiece lined up on top so the two parts look like one piece.
Free microscope coloring page
Want to go straight to coloring? Open this microscope coloring page at full size and print it. It is the same drawing you just learned, with clean lines ready for crayons or markers.
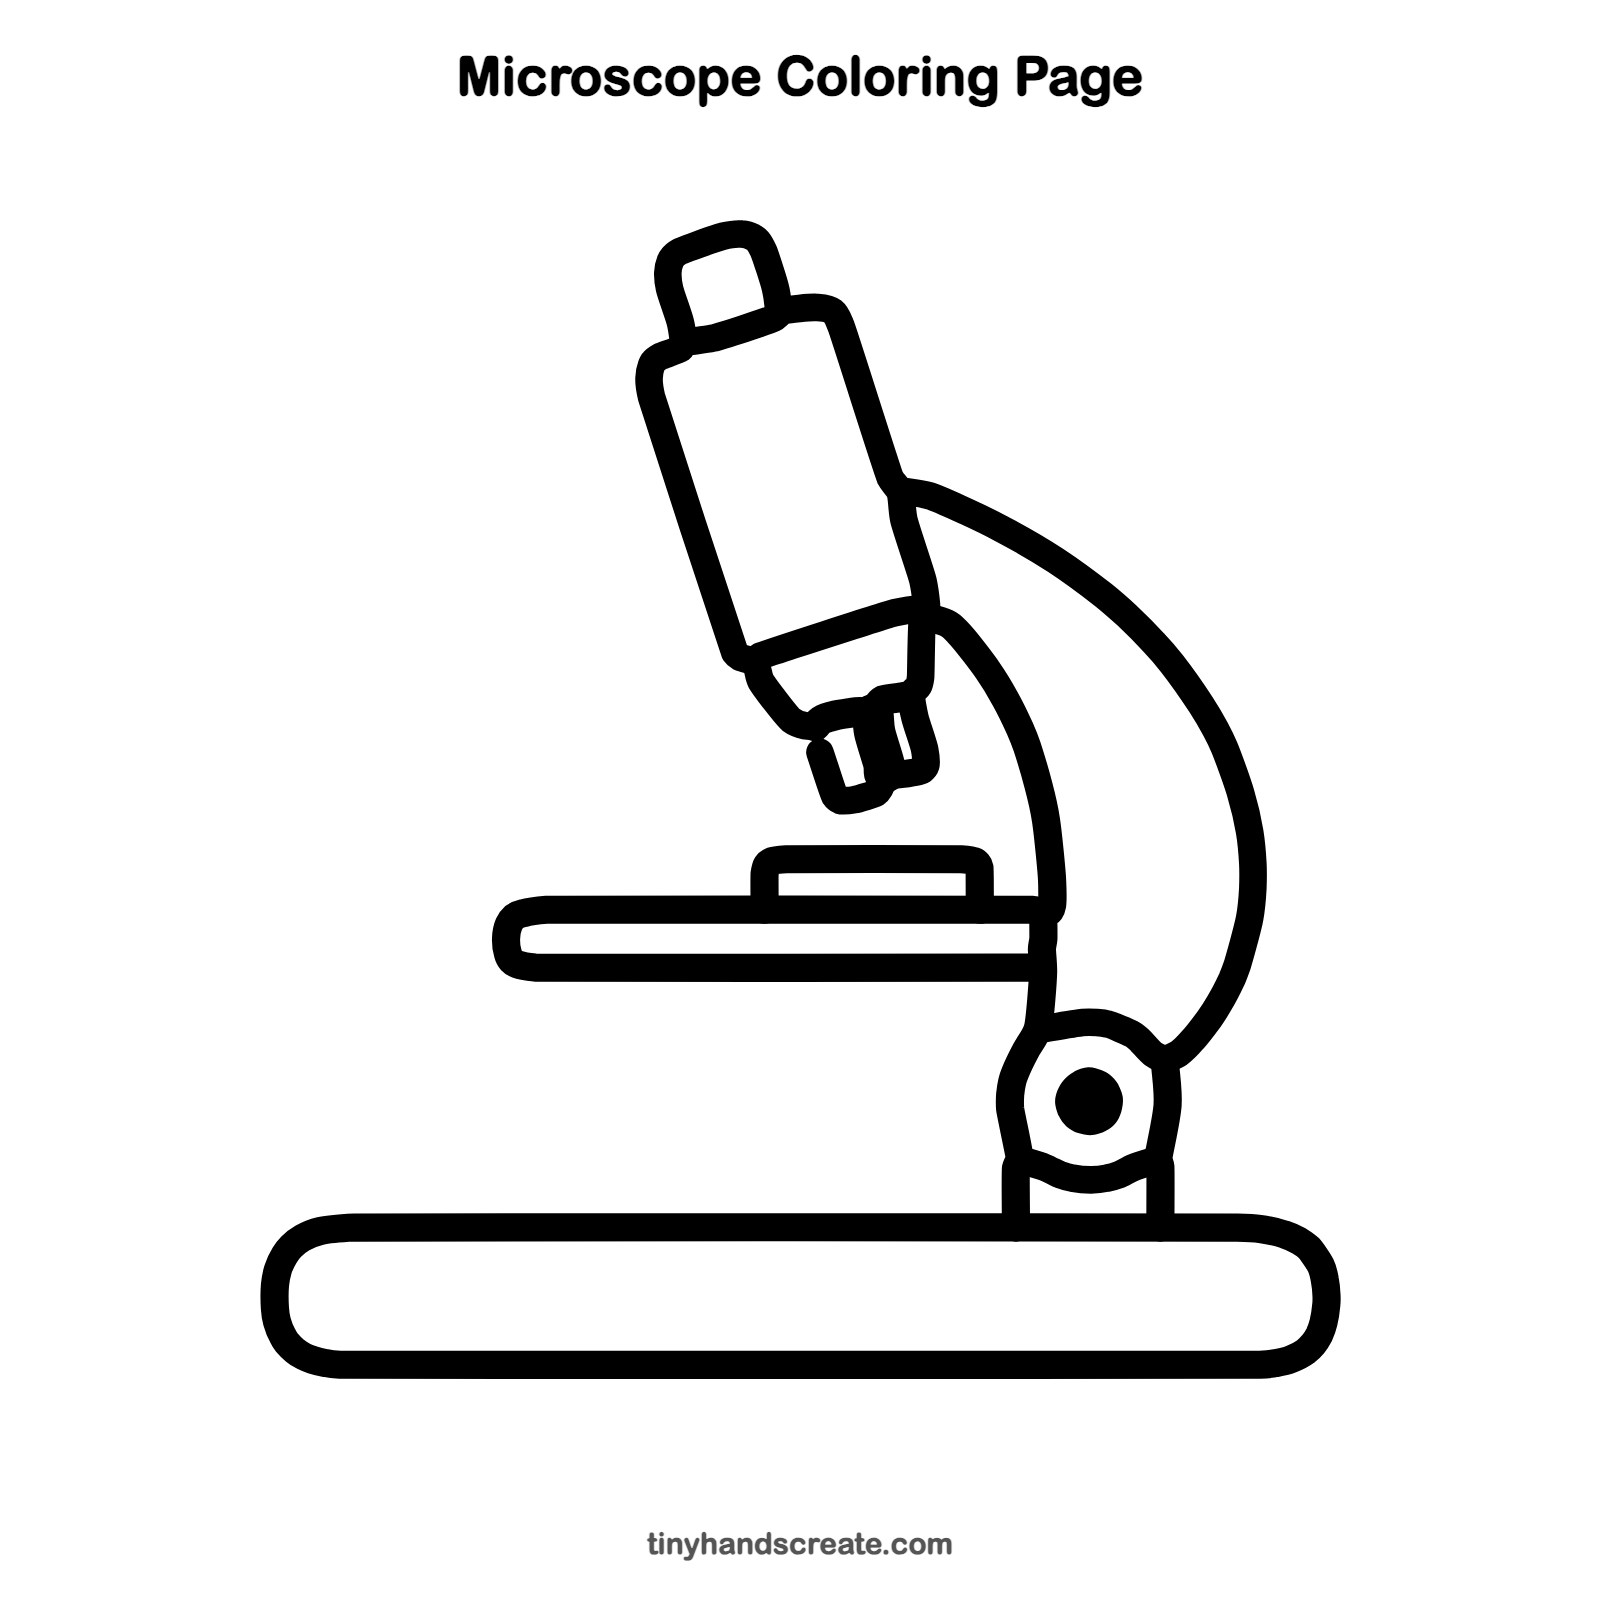
How to color your microscope drawing
Try silver or gray for the metal parts, with a black knob and a blue or red arm. For a creative twist, draw a tiny bug or a bright green germ floating beside your microscope.
Microscope fun fact for kids
The word microscope comes from Greek words meaning small and look. The first microscopes were built in the Netherlands around the year 1600.
Questions about drawing a microscope
What shapes do I need to draw a microscope?
You need rounded rectangles for the base, stage and tube, a big curved line for the arm, and a small circle for the focus knob.
How do I draw a microscope arm that is not wobbly?
Draw it lightly first with a pencil, moving your whole arm instead of just your fingers. Then go over the best line with a darker one.
How do I make my microscope look more real?
Press a little harder on the lines for the lens and the band at the bottom of the tube. These small details make it look like a real science tool.