How to Draw a Christmas Tree (Easy Step by Step)
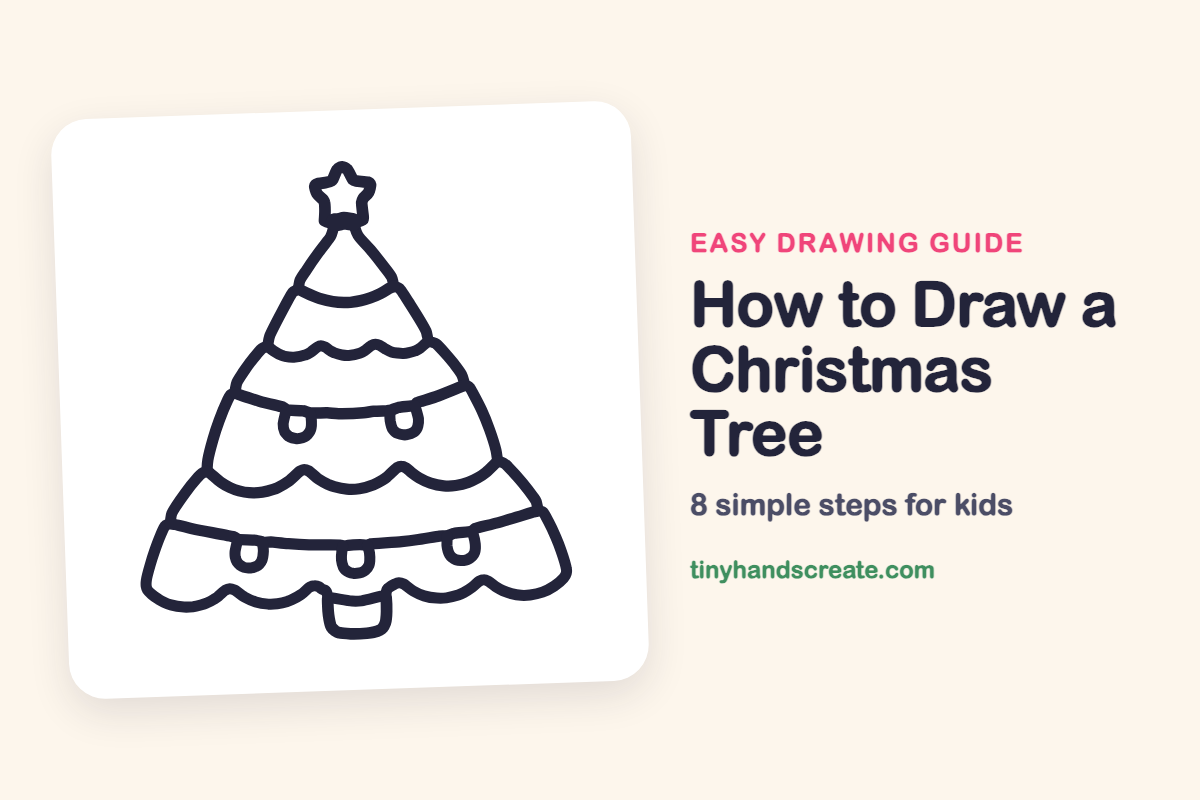
A Christmas tree is a fun drawing because it is mostly one tall, pointed shape with cheerful decorations on top. You only need two curved side lines, a star, some wavy bumps, a few small U shapes and a little box for the trunk. It is a great drawing to make into a card.
- Easy
- 10 minutes
- 8 steps
You need: paper, a pencil, an eraser, and crayons or markers for coloring.
Start drawingIn this article (7 sections)
How to draw a Christmas tree step by step
How to Draw a Christmas Tree · tinyhandscreate.com
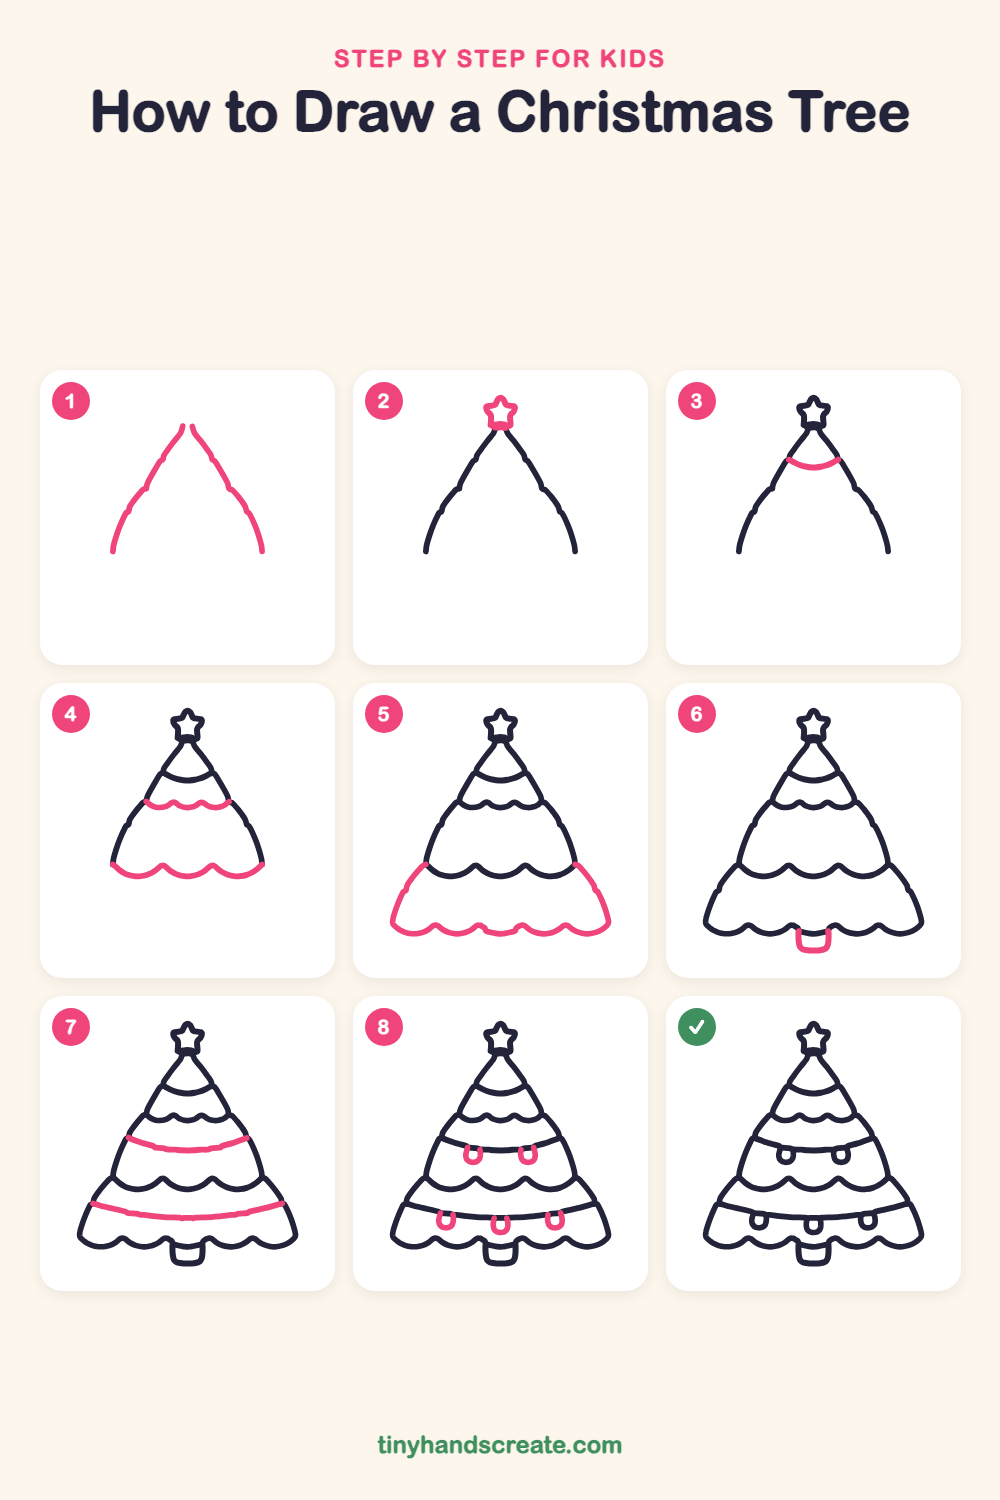
Step 1: Two side lines
Draw two curved lines that lean toward each other at the top, like the sides of a tall tent. Leave the bottom open and a tiny gap at the very top.
Step 2: The star
At the top where the two lines meet, draw a small star with five points. It sits on the tip of the tree.
Step 3: The first curve
Draw a curved smile line from one side of the tree to the other, a little way below the star. This makes the small top layer.
Step 4: Wavy branch lines
Draw a short wavy line of little bumps across the tree below the smile line. Then draw a row of big round scallops across the bottom of the wider part, from one side to the other.
Step 5: The bottom layer
On each side, draw a curved line that flares out from the end of the big scallops. Then join them with a wide row of small scallops along the bottom.
Step 6: The trunk
In the middle of the bottom edge, draw a small box with no top, like an upside-down cup, so the tree has a trunk to stand on.
Step 7: Two garland lines
Draw two long, gently curved lines across the tree, one in the middle and one near the bottom. They look like ribbons wrapped around the tree.
Step 8: Hanging ornaments
Under each ribbon line, draw small U shapes that hang down from it. Put two under the upper ribbon and three under the lower one.
All done!
Go over your lines with a marker, then color it in.
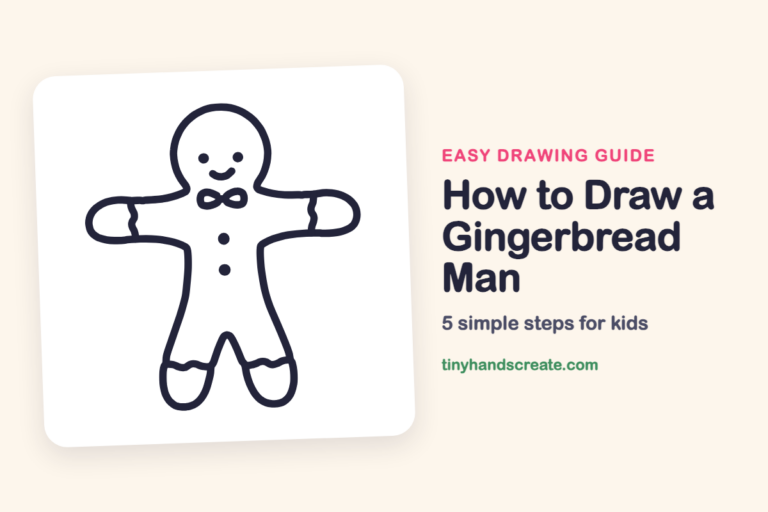
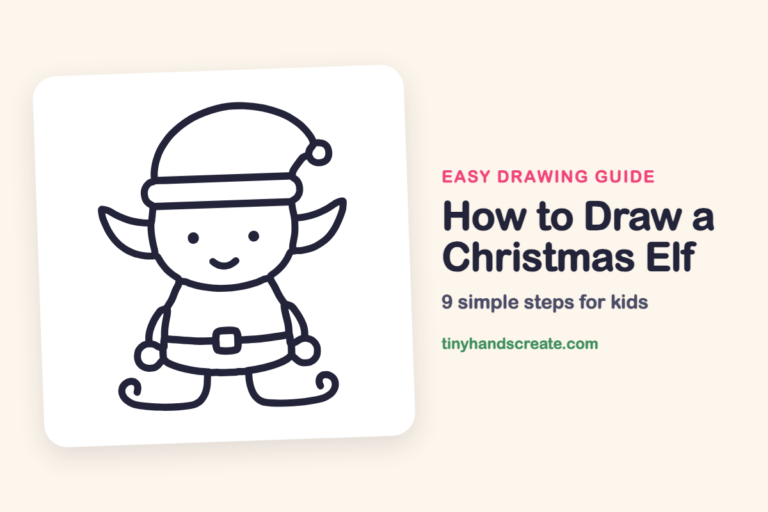
Finished your Christmas tree? Keep the pencils out and learn how to draw a gingerbread man or how to draw a Christmas elf next.
Tips for drawing a Christmas tree
- Draw the two side lines first and keep them light, so you can fix them if one side leans. Curve both sides outward a bit so they match.
- The wavy bumps are the trickiest part. Draw them as a row of small rainbows sitting side by side, and keep them about the same size.
- Draw each ornament as a small U shape that hangs from a garland line. Space the ornaments out so they do not touch.
Free Christmas tree coloring page
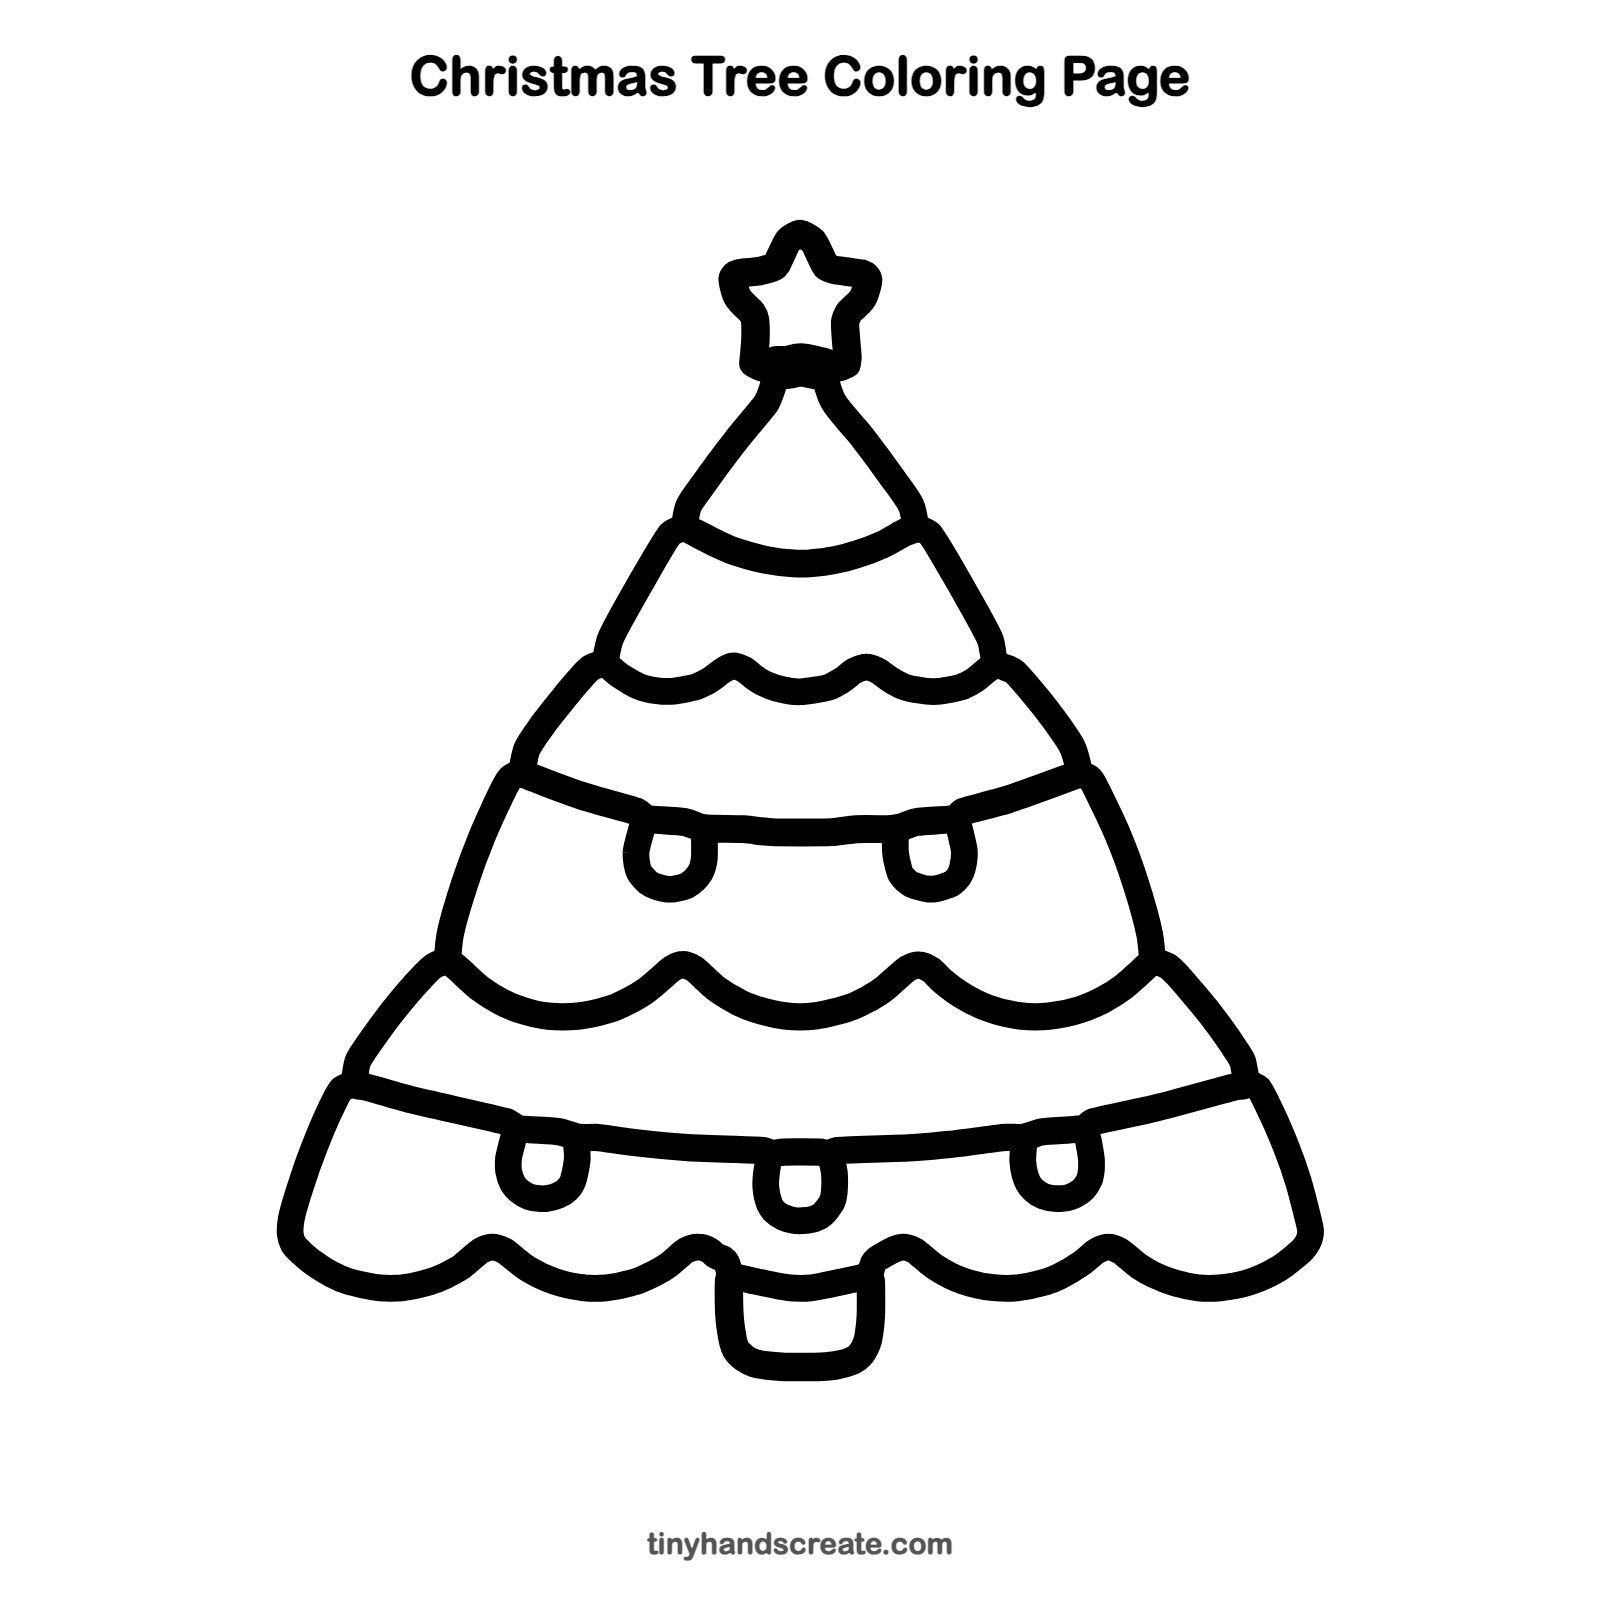
Want to go straight to coloring? Open this Christmas tree coloring page at full size and print it. It is the same drawing you just learned, with clean lines ready for crayons or markers.
How to color your Christmas tree drawing
Color the tree in a few shades of green and the star bright yellow, then give each ornament its own color. For a twist, make a snowy tree with white and light blue branches on dark blue paper.
Christmas tree fun fact for kids
Many people in Germany started bringing decorated evergreen trees into their homes hundreds of years ago, and the tradition spread to many other countries from there.
Questions about drawing a Christmas tree
What shapes do I need to draw a Christmas tree?
You need two curved lines for the sides of the tree, a star for the top, wavy lines for the branches, a small box for the trunk, two long curved lines for the garlands and small U shapes for the ornaments.
How do I make my Christmas tree look fuller?
Make the bumpy branch rows wider as you go down the tree, so the bottom layer is the widest. Adding more ornaments also makes the tree feel busy and full.
How do I draw a star that looks even?
Lightly draw five dots in a circle, like the corners of a pentagon. Then connect each dot to the dot two places away to make the points, and trace over the outline.