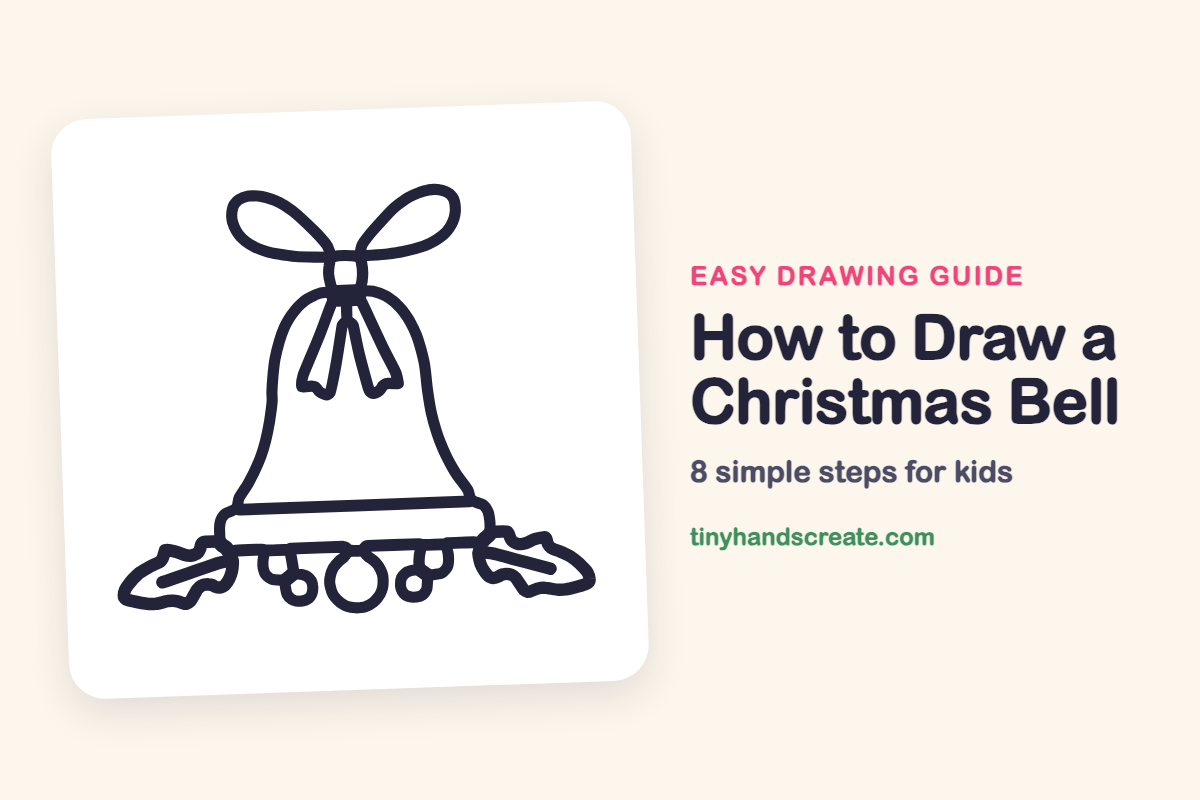
How to Draw a Christmas Bell (Easy Step by Step)
A Christmas bell is a cozy, friendly thing to draw, and it is built from simple shapes: a dome, a flat band along the bottom, a few small circles, and two loops for the bow. Once you can draw those, you can finish it with ribbon tails, berries and holly leaves.
- Medium
- 15 minutes
- 8 steps
You need: paper, a pencil, an eraser, and crayons or markers for coloring.
Start drawingIn this article (7 sections)
How to draw a Christmas bell step by step
How to Draw a Christmas Bell · tinyhandscreate.com
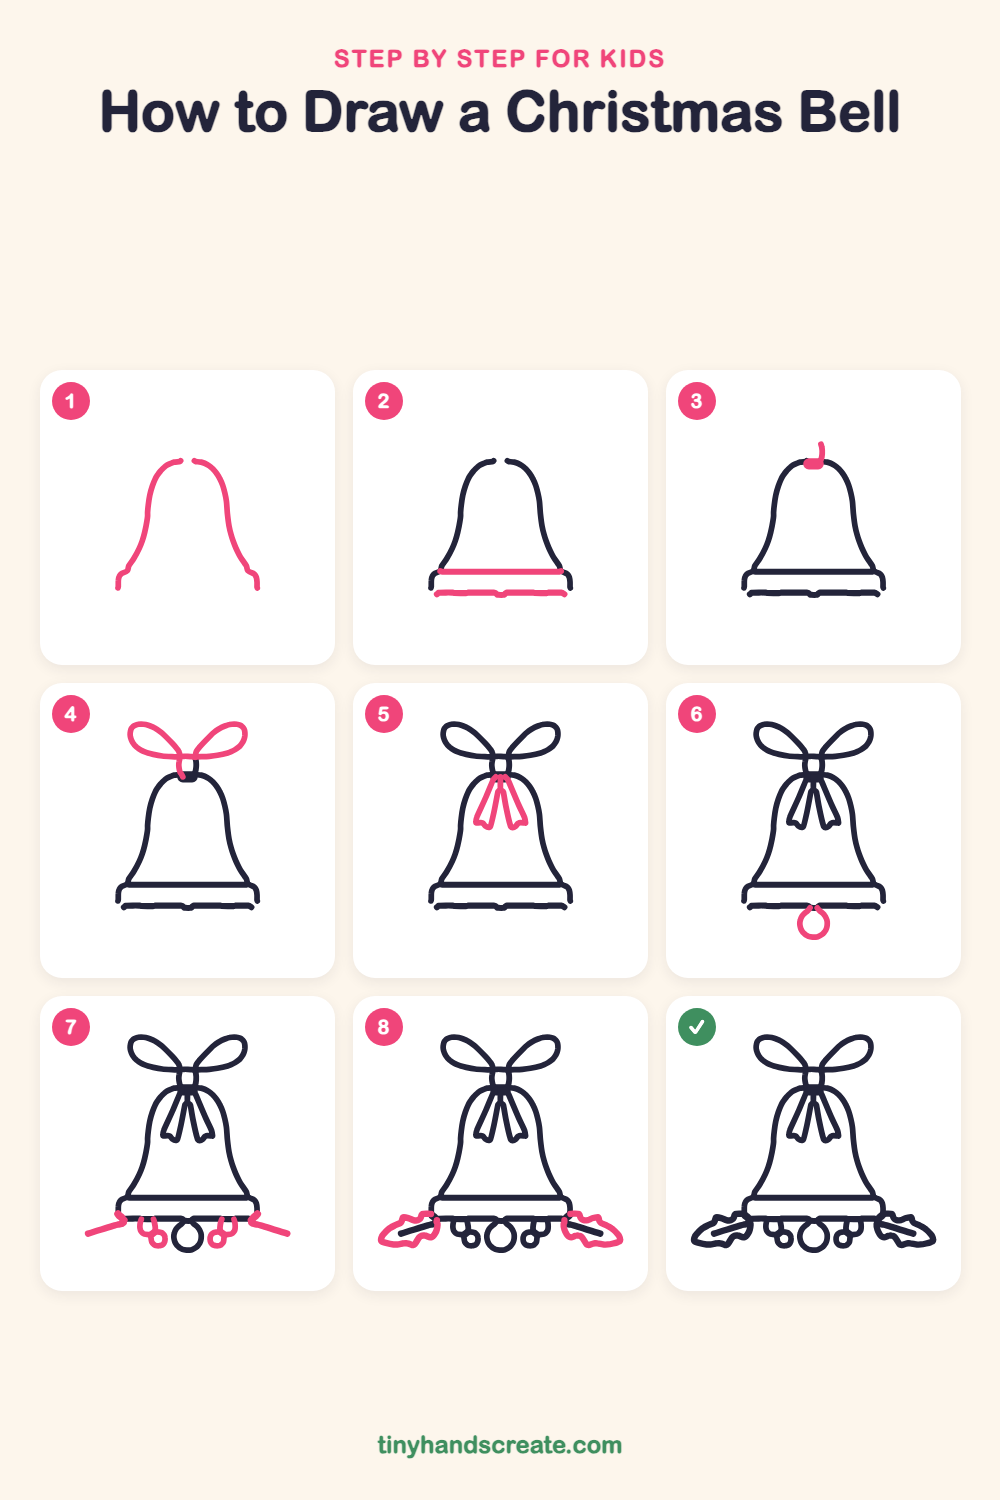
Step 1: Bell dome sides
Draw two curved lines that start close together at the top and swoop outward, getting wider toward the bottom, like a gentle mountain. Give each bottom end a tiny flick outward and leave the top and bottom open for now.
Step 2: Bottom rim lines
Draw a straight line across the bottom of the dome from the left side to the right side to close it. Then draw a second straight line just below it, a little shorter, to make a thin band along the bottom of the bell.
Step 3: Little top hook
At the very top of the bell, where the two sides almost meet, draw a small flat cap. Add a short curved line sticking up from it, like a tiny hook.
Step 4: Bow loops
Above the bell, draw two big rounded loops like leaf shapes, one on the left and one on the right, with their points meeting in the middle. Finish with a tiny curved line that goes from the middle down to the top of the bell.
Step 5: Ribbon tails
Under the bow, draw two long ribbon strips that hang down the front of the bell from the top. Give the bottom end of each strip a little V notch.
Step 6: Small clapper circle
Under the middle of the bottom band, draw a small circle that hangs just below the bell.
Step 7: Berries and twigs
On each side of the clapper, draw one small round berry with a short curvy stem going up to the band, and a tiny circle inside it. Then draw one short slanted line sticking out from each end of the band.
Step 8: Holly leaves
Around each slanted line at the ends of the band, draw a pointy holly leaf with wavy edges. The slanted line becomes the middle vein of the leaf.
All done!
Go over your lines with a marker, then color it in.
Finished your Christmas bell? Keep the pencils out and learn how to draw a Christmas ornament or how to draw an angel next.
Tips for drawing a Christmas bell
- Draw both sides of the dome at the same pace, left, then right, a little at a time, so the bell stays even.
- The bow is the trickiest part. Draw the left loop first and then try to match its size on the right.
- Keep the berries and the small circle a little apart so they do not bump into the holly leaves.
Free Christmas bell coloring page
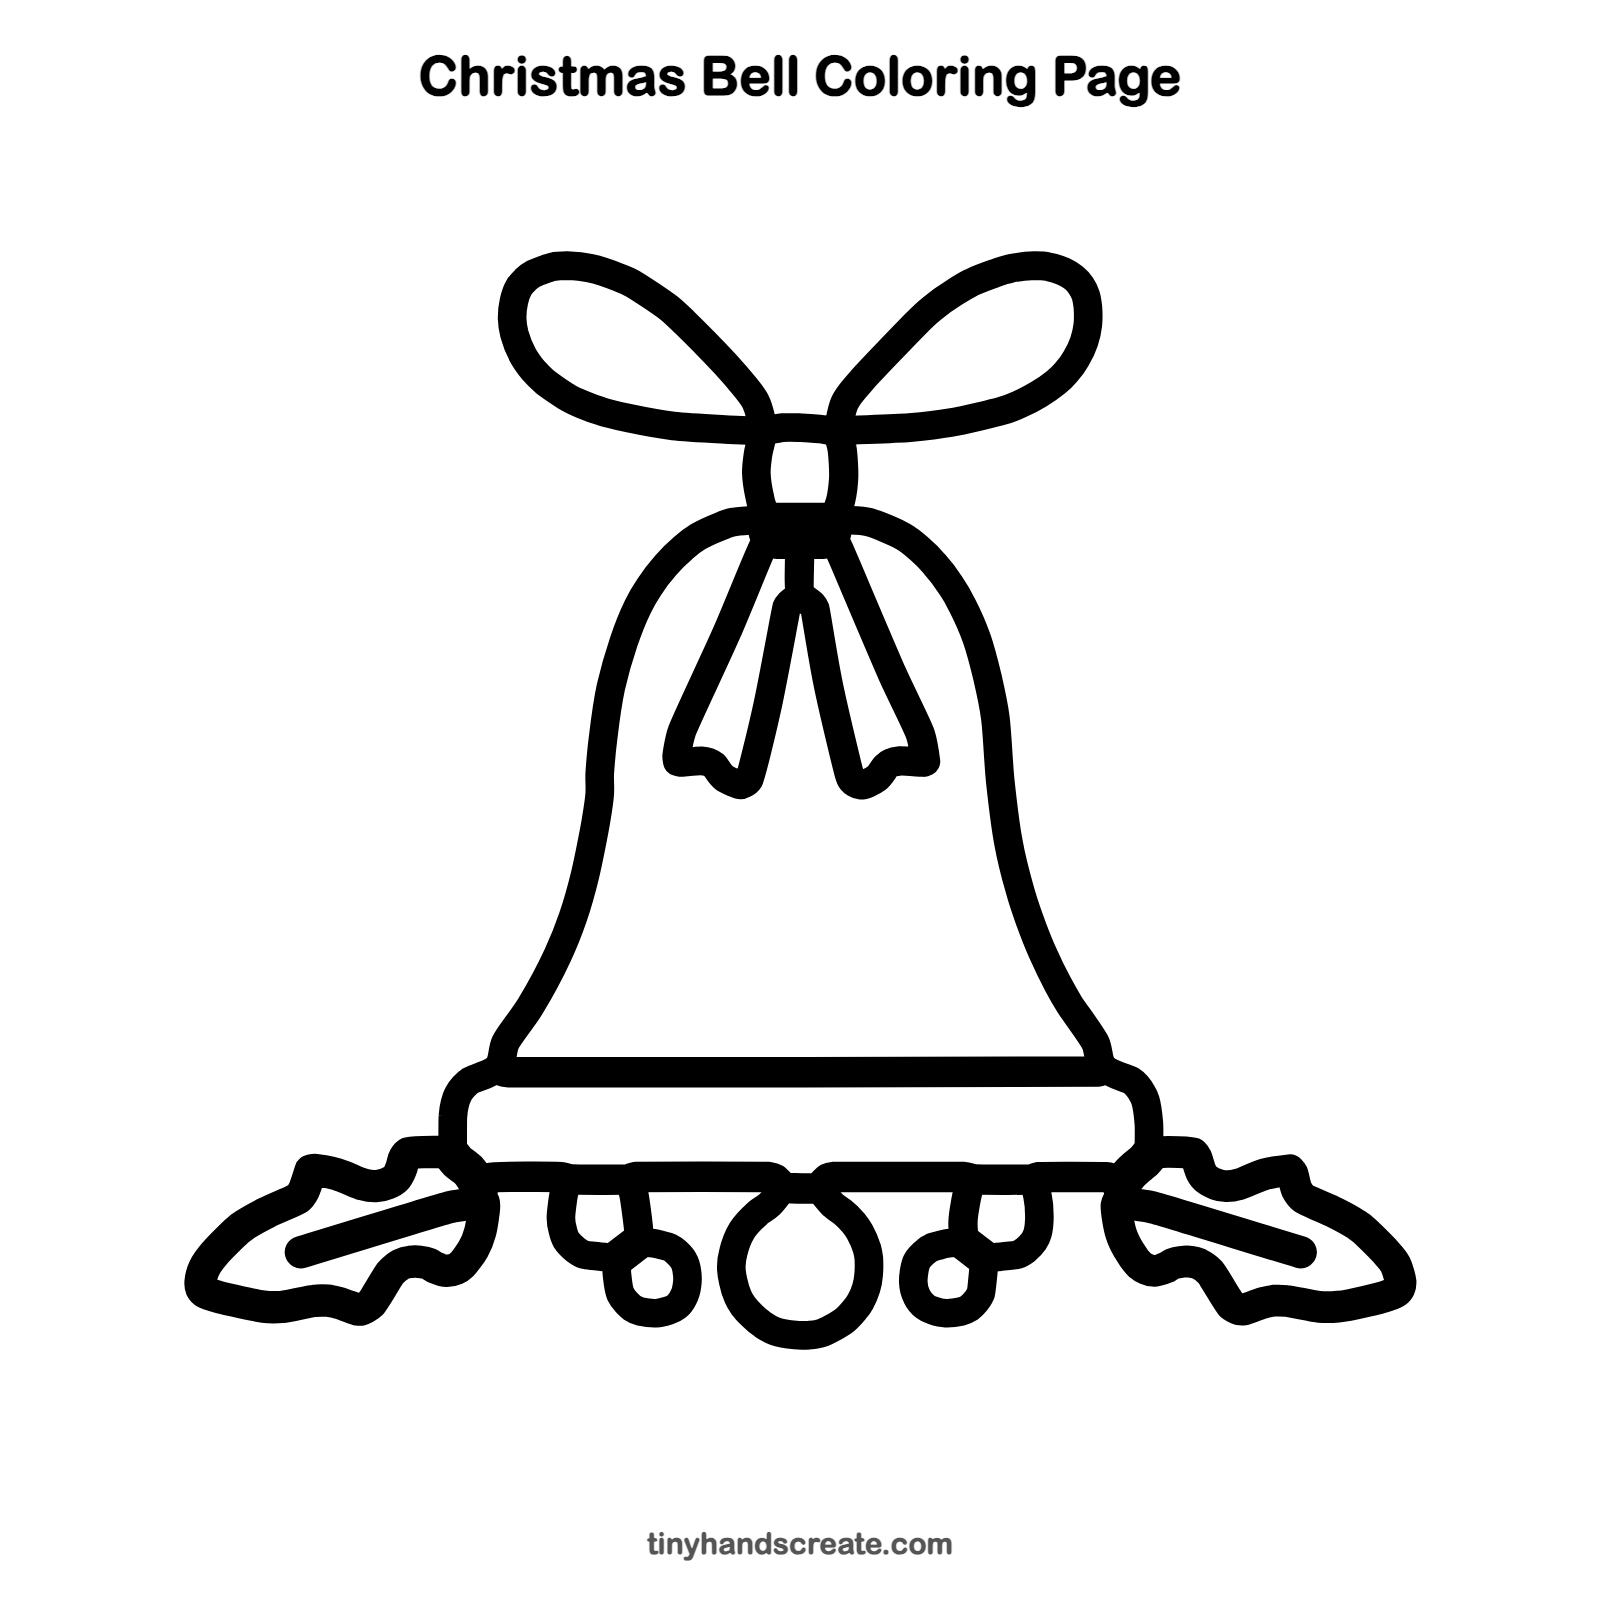
Want to go straight to coloring? Open this Christmas bell coloring page at full size and print it. It is the same drawing you just learned, with clean lines ready for crayons or markers.
How to color your Christmas bell drawing
Try gold or yellow for the bell, red for the bow and berries, and green for the holly leaves. For a fun twist, add stripes or polka dots on the bell.
Christmas bell fun fact for kids
The song "Jingle Bells" was written by James Lord Pierpont and published in 1857. It was first called "One Horse Open Sleigh" and was not written for Christmas.
Questions about drawing a Christmas bell
What shapes do I need to draw a Christmas bell?
You need a dome for the bell, two straight lines for the bottom band, two loops for the bow, and a few small circles for the clapper and berries.
How do I make my bell look more festive?
Add holly leaves and berries at the bottom and a bow on top. Coloring the bell gold also makes it feel special.
How do I draw the bow so both loops match?
Draw one loop on the left, then draw the other on the right with its point meeting the first in the middle. Look at them side by side and fix any that look too big or too small.