How to Draw a Snow Globe (Easy Step by Step)
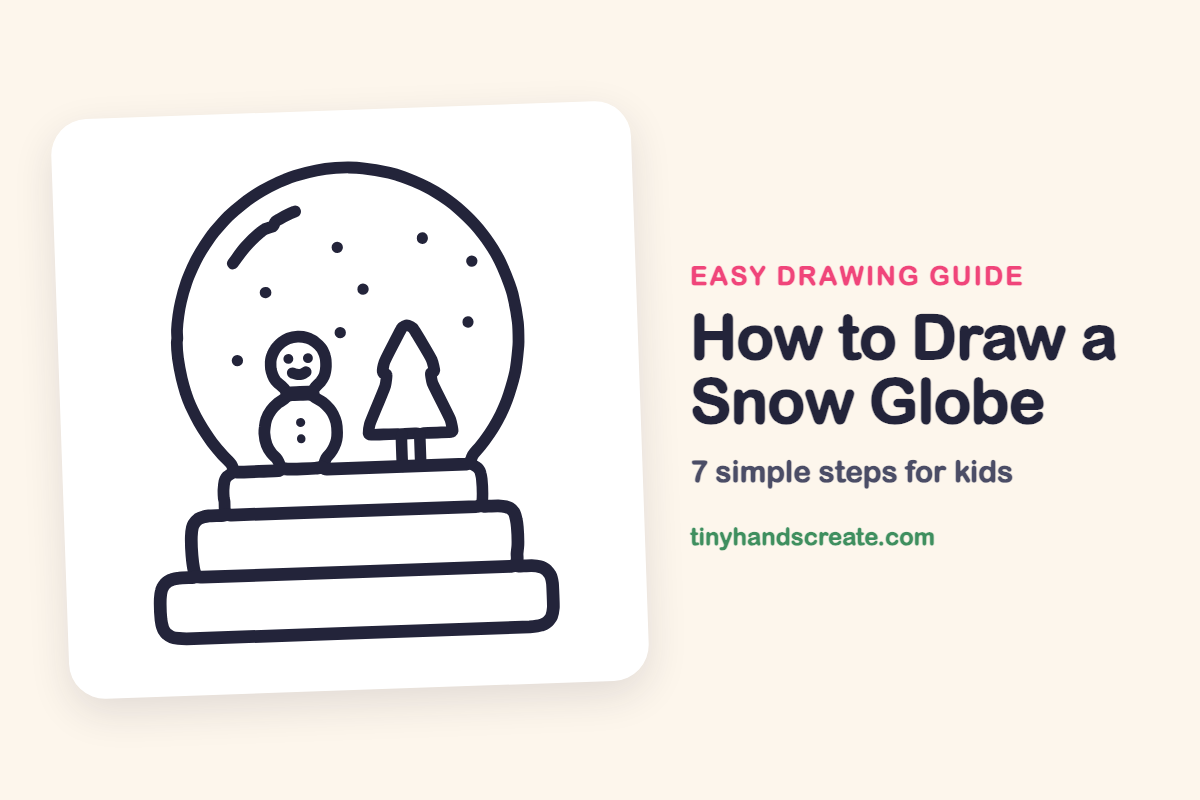
A snow globe is a cozy, easy drawing built from circles and rounded rectangles, plus one pointy tree. You get a whole winter scene in one picture, with a snowman, a tree and falling snow. It is a great way to practice drawing shapes that sit inside other shapes.
- Easy
- 15 minutes
- 7 steps
You need: paper, a pencil, an eraser, and crayons or markers for coloring.
Start drawingIn this article (7 sections)
How to draw a snow globe step by step
How to Draw a Snow Globe · tinyhandscreate.com
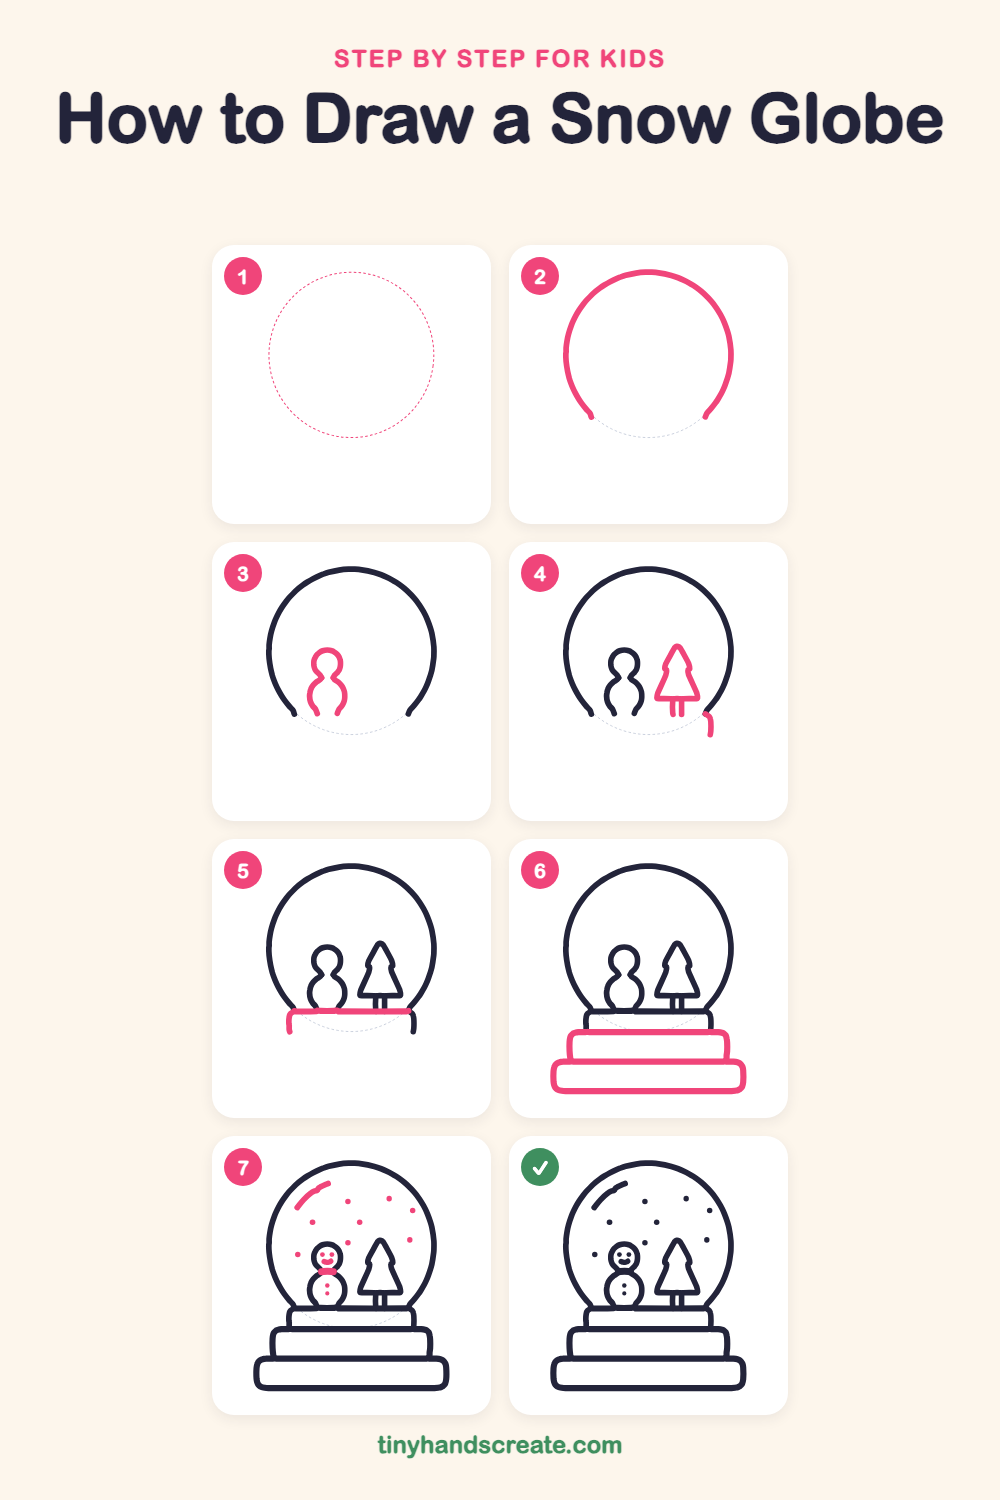
Step 1: Guide shapes
Lightly sketch this oval. It only shows where the big parts go, so press softly. You will erase it at the end.
Step 2: The glass globe
Draw a big round circle like a giant bubble, but stop before you close it and leave a gap at the bottom. Let the two ends curve in a little toward each other.
Step 3: The snowman
Inside the globe, near the bottom, draw a small circle for the head. Under it draw a bigger rounded body that joins the head, like a figure eight, and leave the bottom open.
Step 4: The pine tree
To the right of the snowman, draw a tall pointy tree with little notches down each side, like a Christmas tree. Add a short trunk with two small straight lines going down from the bottom of the tree.
Step 5: The floor and stand top
Draw a straight line across the bottom of the globe to make the floor. At each end of the line, draw a short line going down, so it starts to look like a box that holds the glass.
Step 6: The wide steps
Under the top of the stand, draw a wider rounded rectangle. Then draw an even wider one below it, so the stand looks like steps getting bigger.
Step 7: Face, scarf and snow
Give the snowman two dot eyes, a happy smile, a short scarf line under his head, and dot buttons. Scatter little dots around the globe for falling snow, and add a short curved shine line near the top left of the glass.
All done!
Erase the guide shapes, go over your lines, then color it in.
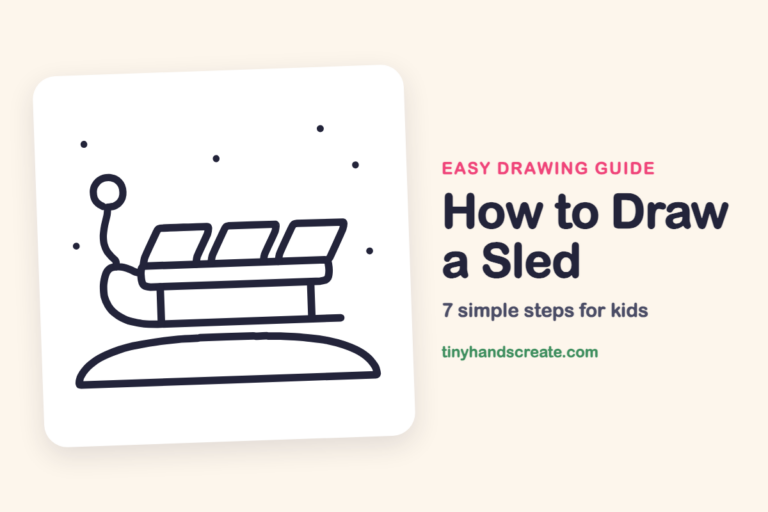
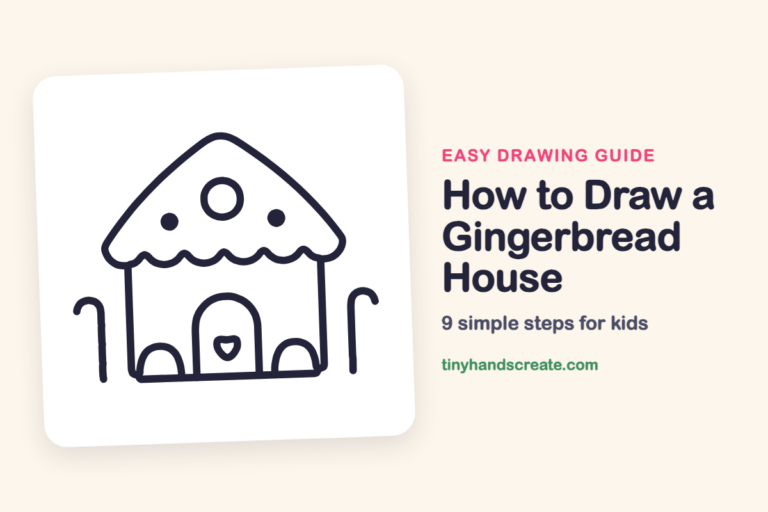
Finished your snow globe? Keep the pencils out and learn how to draw a sled or how to draw a gingerbread house next.
Tips for drawing a snow globe
- Draw the big circle slowly and turn your paper as you go, so the curve stays round. It is okay if it is a little wobbly.
- The snowman is the trickiest part. Make the head circle smaller than the body and let them join so he looks like one snowman.
- Make each stand piece wider than the one above it. Use a ruler or the edge of a book if straight lines feel hard.
- Save the snow dots and the shine line for last, so they do not get covered by other lines.
Free snow globe coloring page
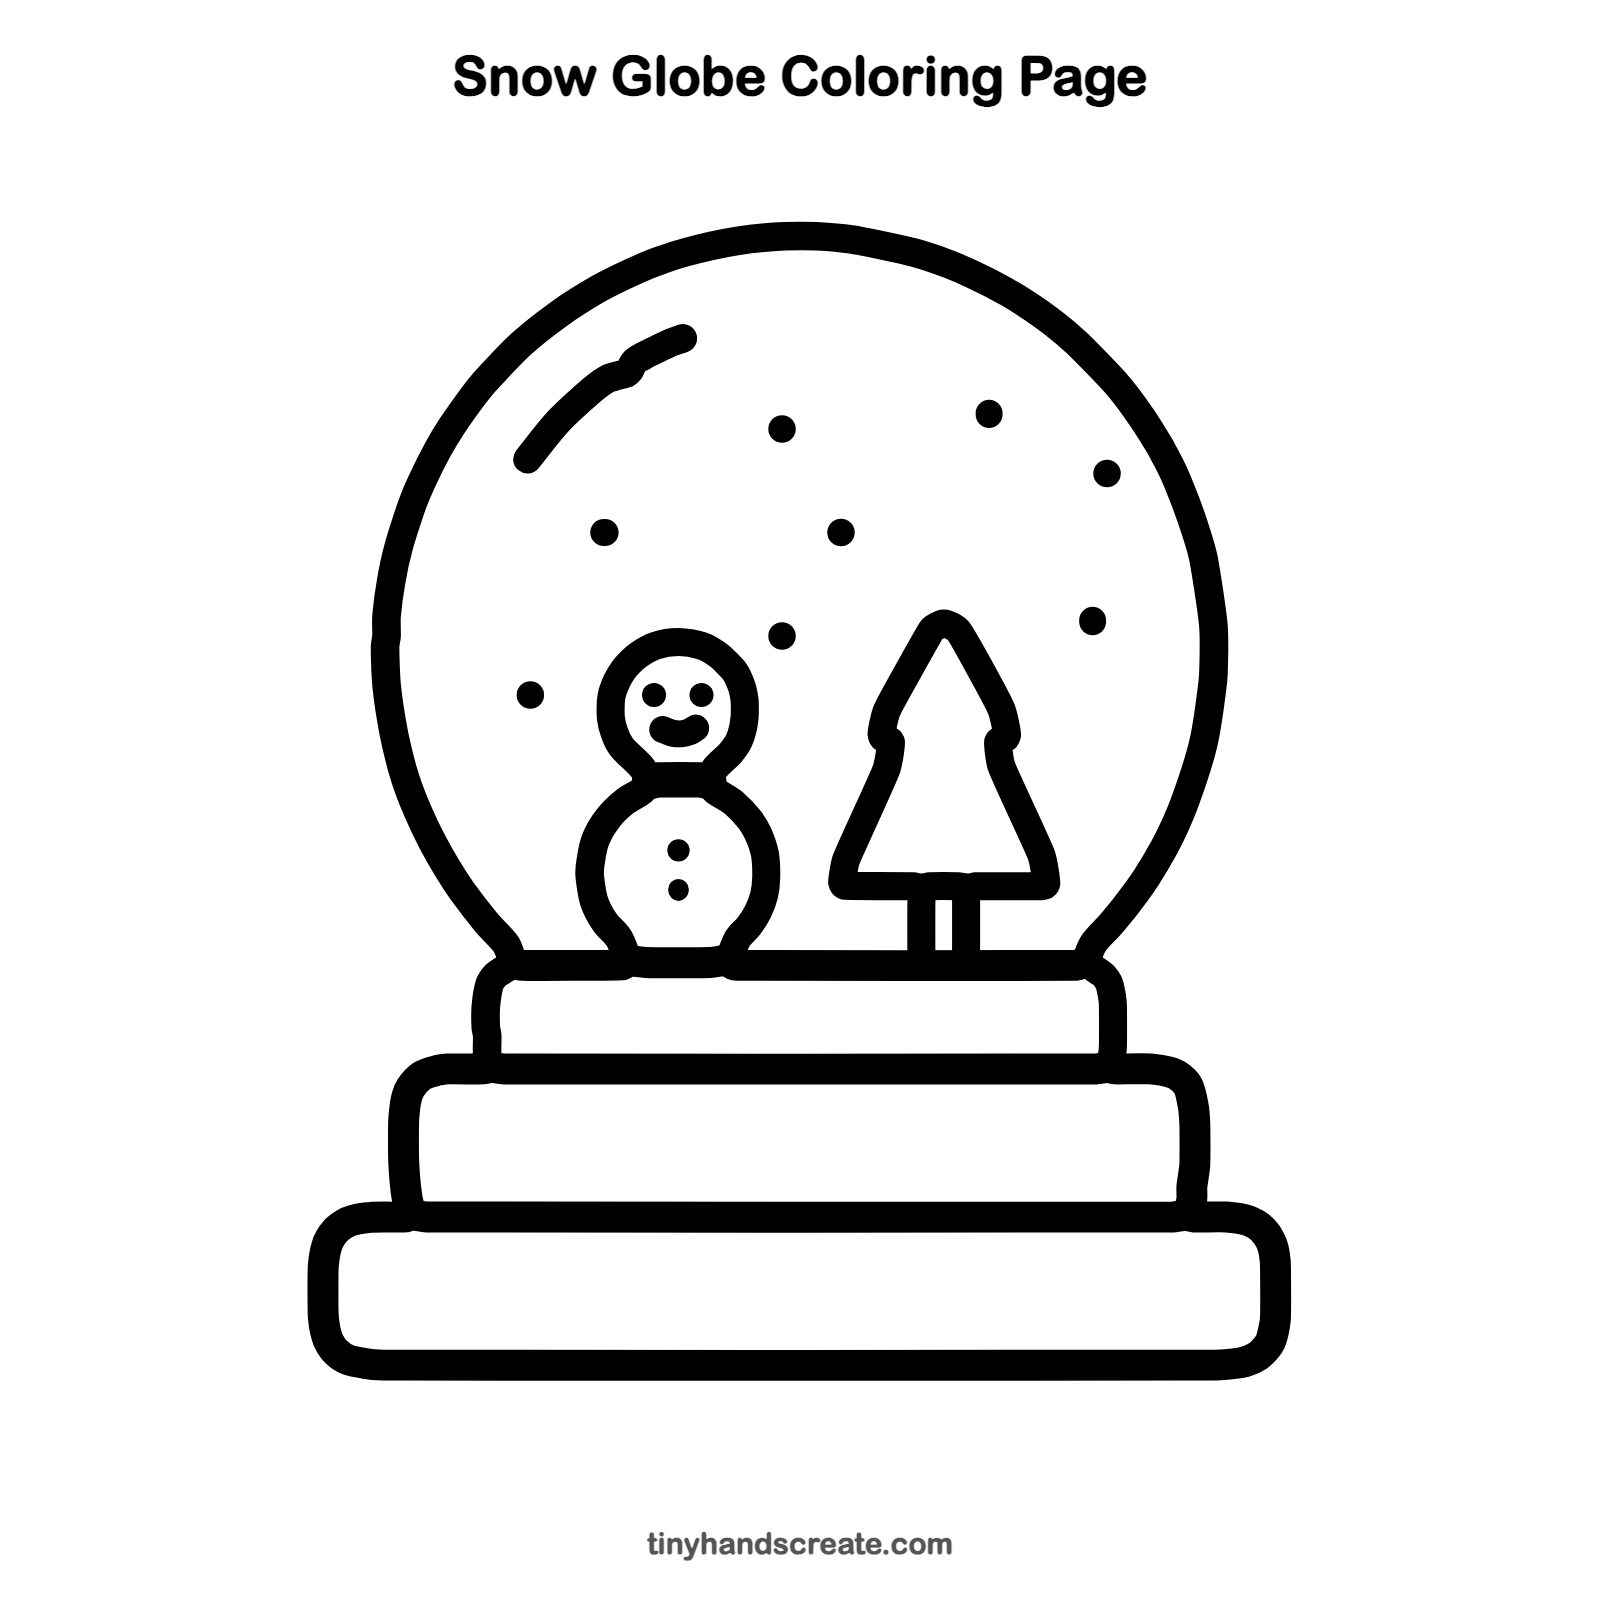
Want to go straight to coloring? Open this snow globe coloring page at full size and print it. It is the same drawing you just learned, with clean lines ready for crayons or markers.
How to color your snow globe drawing
Try light blue for the glass area, white for the snowman with a red scarf, and green for the tree, with a red or gold stand. For a creative twist, color the sky inside the globe deep purple so the white snow dots really pop.
Snow globe fun fact for kids
Snow globes are filled with water, which is why the snowflakes drift down slowly when you shake one instead of dropping fast.
Questions about drawing a snow globe
What shapes do I need to draw a snow globe?
You need one big circle for the glass, two circles for the snowman, a tall pointy tree shape, and rounded rectangles for the stand.
How do I make my snow globe look like glass?
Add a short curved line near the top left inside the circle. It looks like light shining on the glass.
How do I draw the snow falling?
Make small round dots in different places inside the globe. Spread them out so the snow looks like it is floating.