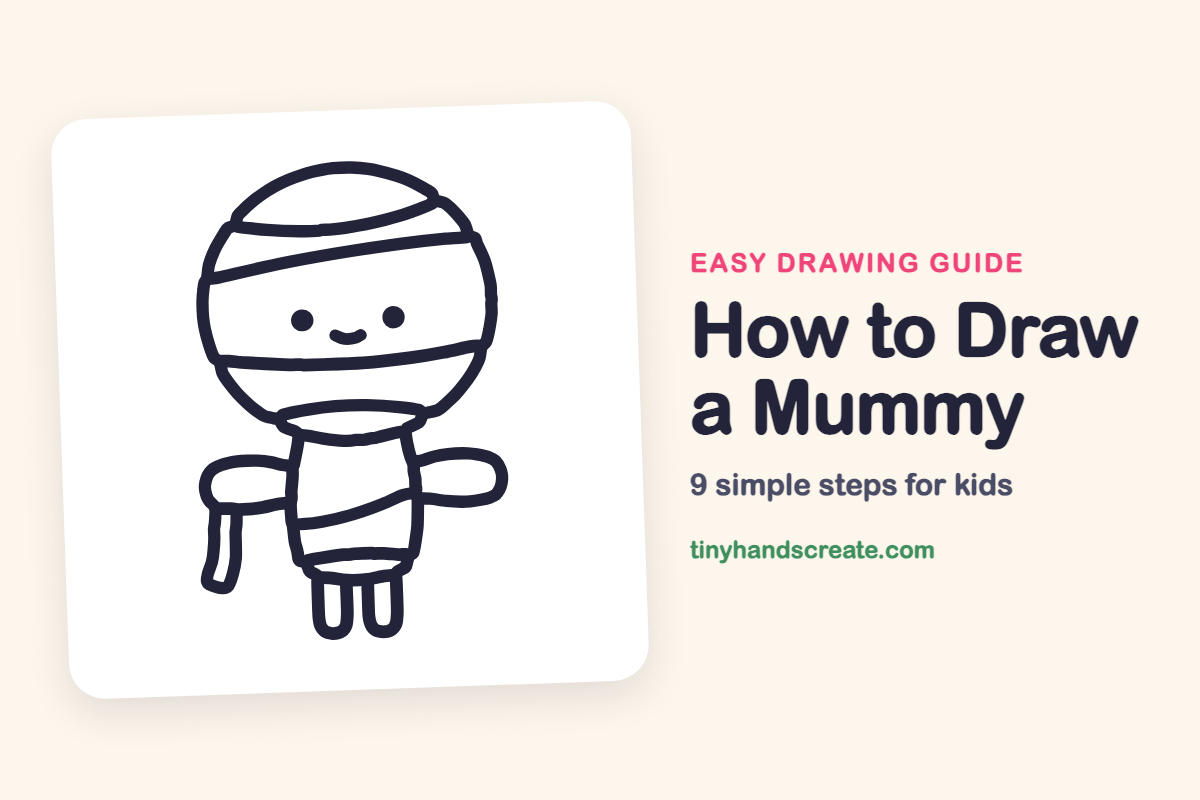
How to Draw a Mummy (Easy Step by Step)
This little mummy is a cute, friendly character built from a circle, rounded arms and a simple body. A big round head, a body made from two long lines and a few curvy stripes of bandage are all it takes. The loose strip hanging from one arm gives it a silly, floppy look.
- Easy
- 12 minutes
- 9 steps
You need: paper, a pencil, an eraser, and crayons or markers for coloring.
Start drawingIn this article (7 sections)
How to draw a mummy step by step
How to Draw a Mummy · tinyhandscreate.com
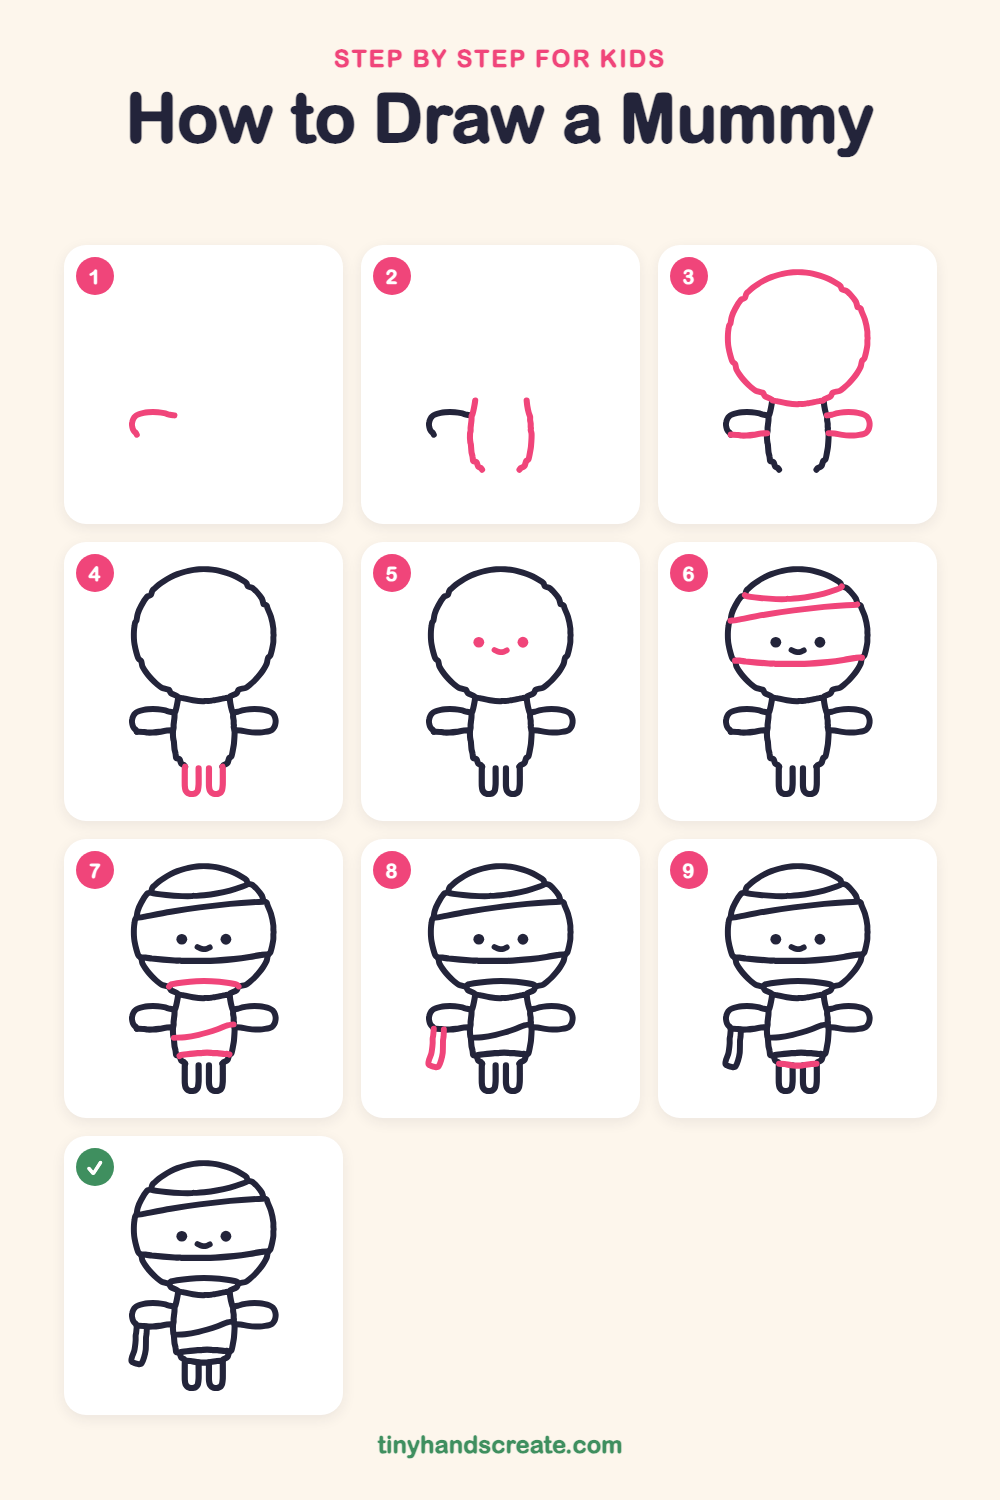
Step 1: Top of the arm
Near the lower left of your page, draw a short curved line that bends down at its left end, like a little hill. This will become the top of the left arm.
Step 2: Sides of the body
Start at the right end of the little hill and draw a long, slightly curved line going down. Then draw a second long line the same length to the right of it, so the two lines make the sides of the body.
Step 3: Head and arms
Draw a big circle for the head so it sits on top of the two body lines. Finish the left arm with a line underneath the little hill, then draw a rounded sausage shape on the right side for the other arm.
Step 4: Two little legs
At the bottom of the body, draw two tall U shapes side by side. Leave a small gap between them.
Step 5: Face
In the middle of the head, draw two small round dots for eyes. Draw a tiny curvy smile between and just below them.
Step 6: Head bandages
Draw three long, slightly wavy lines across the head from one side to the other. Put one near the top, one slanting across above the eyes, and one nearly straight below the face.
Step 7: Neck and body wraps
Draw a curved line across the bottom of the head for the neck wrap. Then add one slanting stripe across the middle of the body and a short curved one near the bottom.
Step 8: Dangling bandage
Hang a long skinny strip down from the left arm. Round off the bottom end so it looks loose and floppy.
Step 9: Bottom wrap
Draw a small curved line across the bottom of the body, just above the legs, to finish the last bandage.
All done!
Go over your lines with a marker, then color it in.
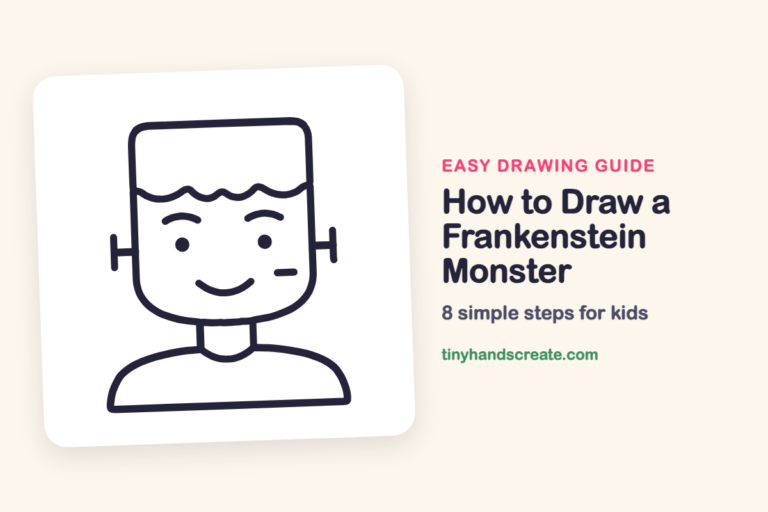
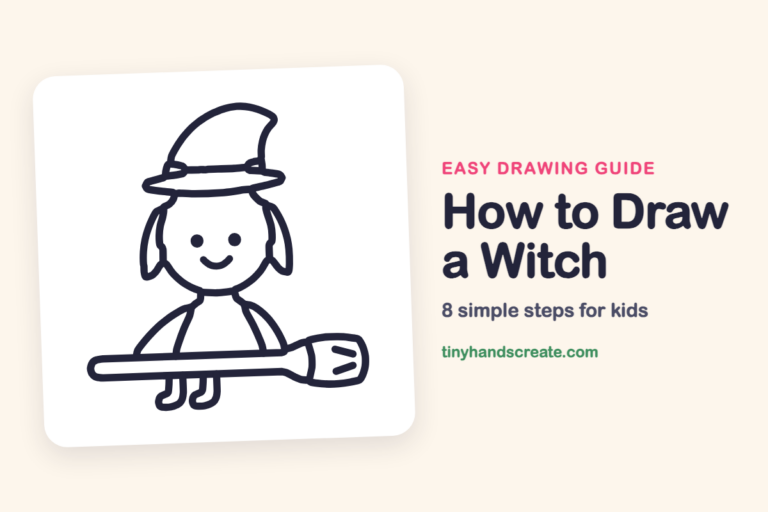
Finished your mummy? Keep the pencils out and learn how to draw a Frankenstein monster or how to draw a witch next.
Tips for drawing a mummy
- Draw the head circle big. Everything else is smaller, so the mummy looks cute and top-heavy.
- Make the bandage stripes gentle curves that touch the edge of the head on both sides. Slanted lines look more wrapped than flat ones.
- Draw the dangling strip near the end and make it narrow. If it comes out wobbly, that is fine, because it is meant to look loose.
Free mummy coloring page
Want to go straight to coloring? Open this mummy coloring page at full size and print it. It is the same drawing you just learned, with clean lines ready for crayons or markers.
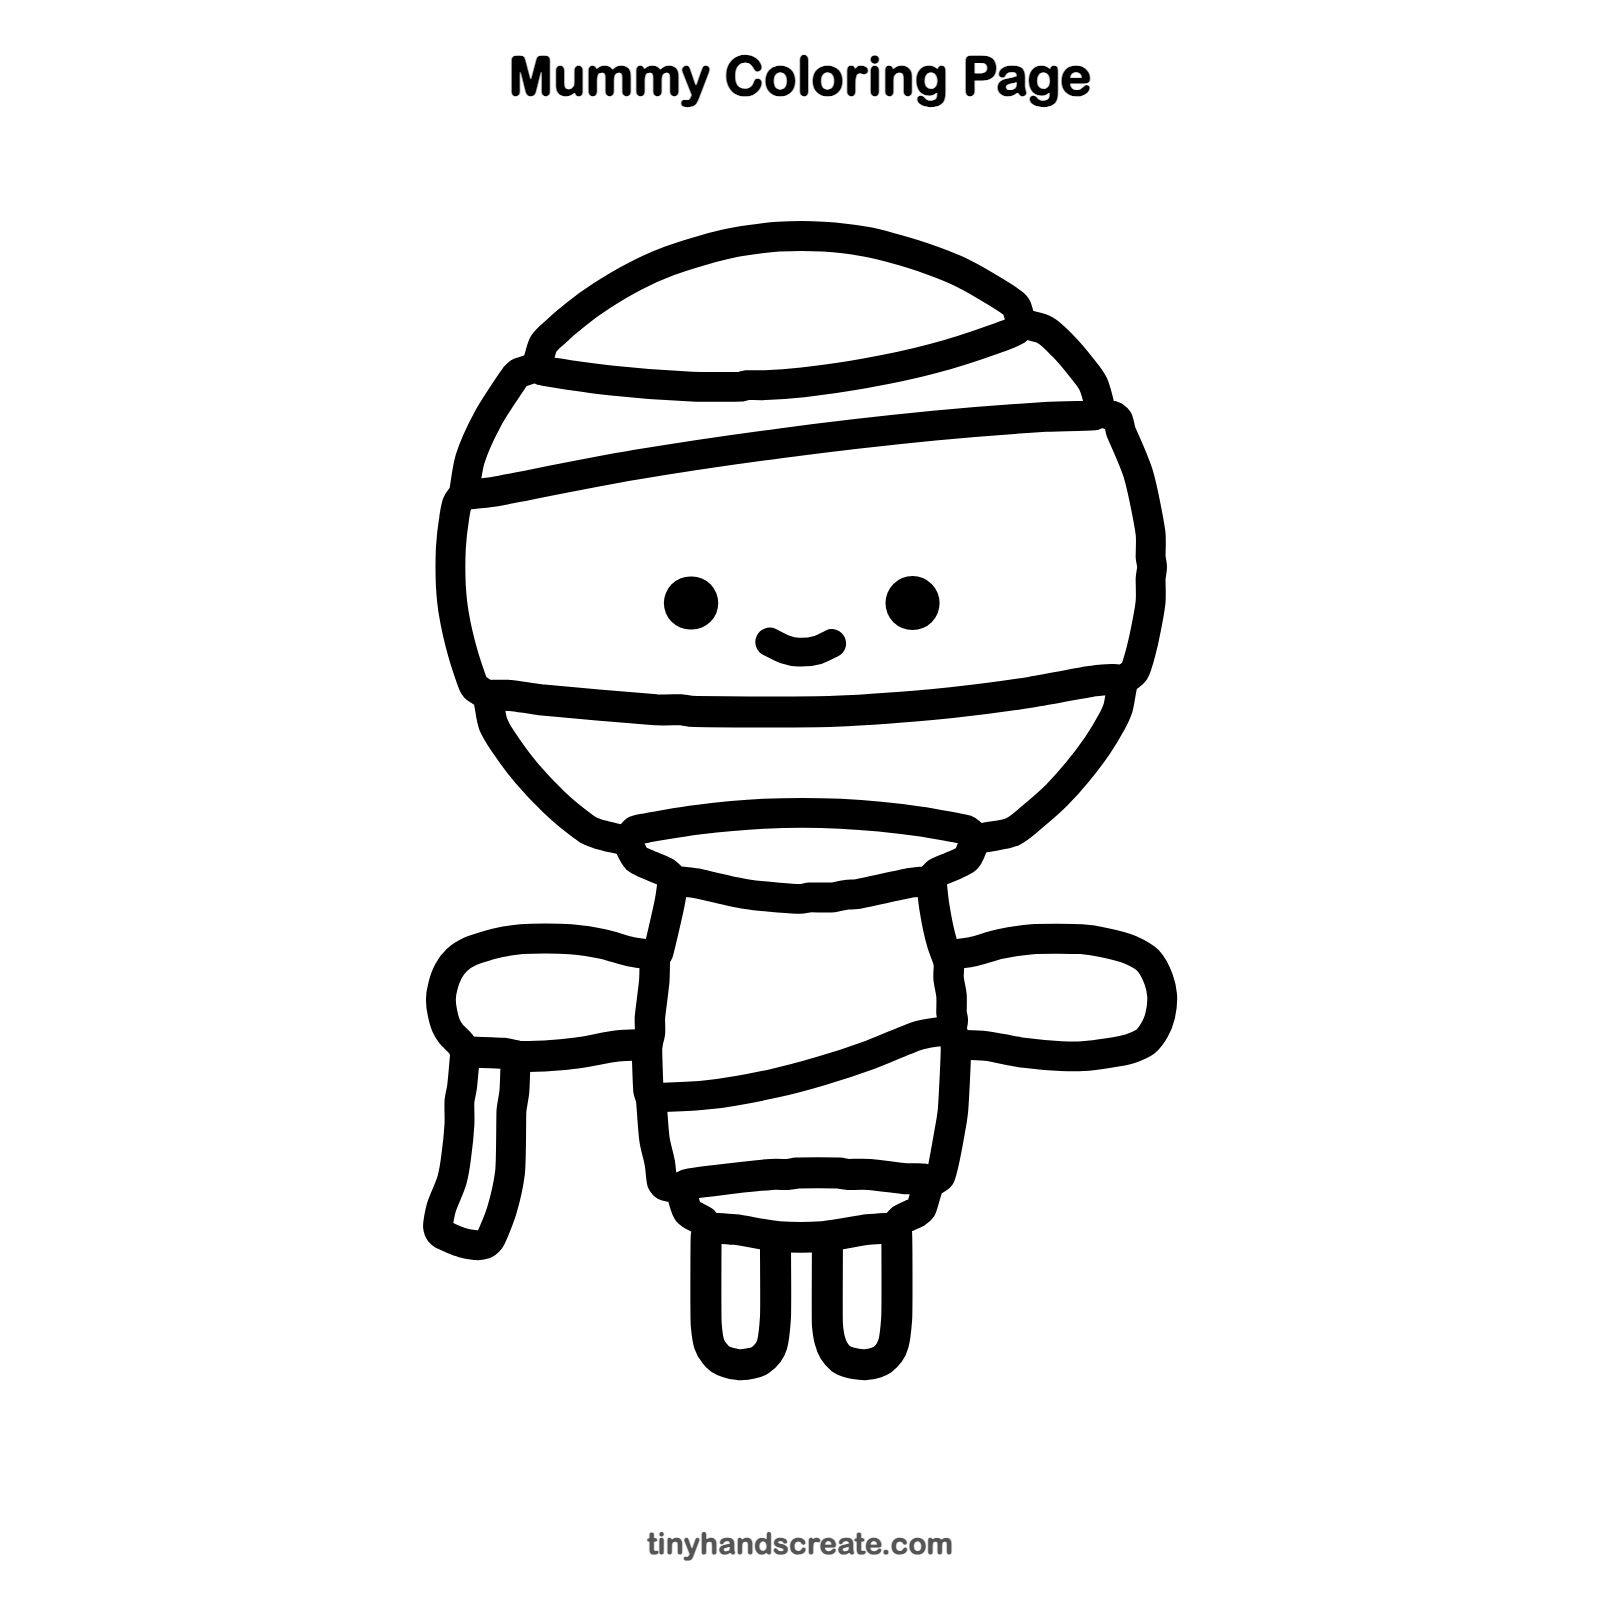
How to color your mummy drawing
Try cream, soft beige or light gray for the bandages, with a gentle shade of gray-brown along the edges. For a twist, make a rainbow mummy with a different bright color on each bandage stripe.
Mummy fun fact for kids
Ancient Egyptians wrapped mummies in long strips of linen cloth. The wrapping was done slowly by hand.
Questions about drawing a mummy
What shapes do I need to draw a mummy?
You need a big circle for the head, two long lines for the sides of the body, two rounded shapes for the arms and two U shapes for the legs. Curvy lines on top make the bandages.
How do I make my mummy look cuter?
Make the head extra big and keep the eyes small dots with a tiny smile below them. Short stubby arms and legs help a lot too.
How do I draw bandages that look wrapped?
Draw curved lines that start and end on the outline of the head or body. Make them slant a little so they look wrapped around.