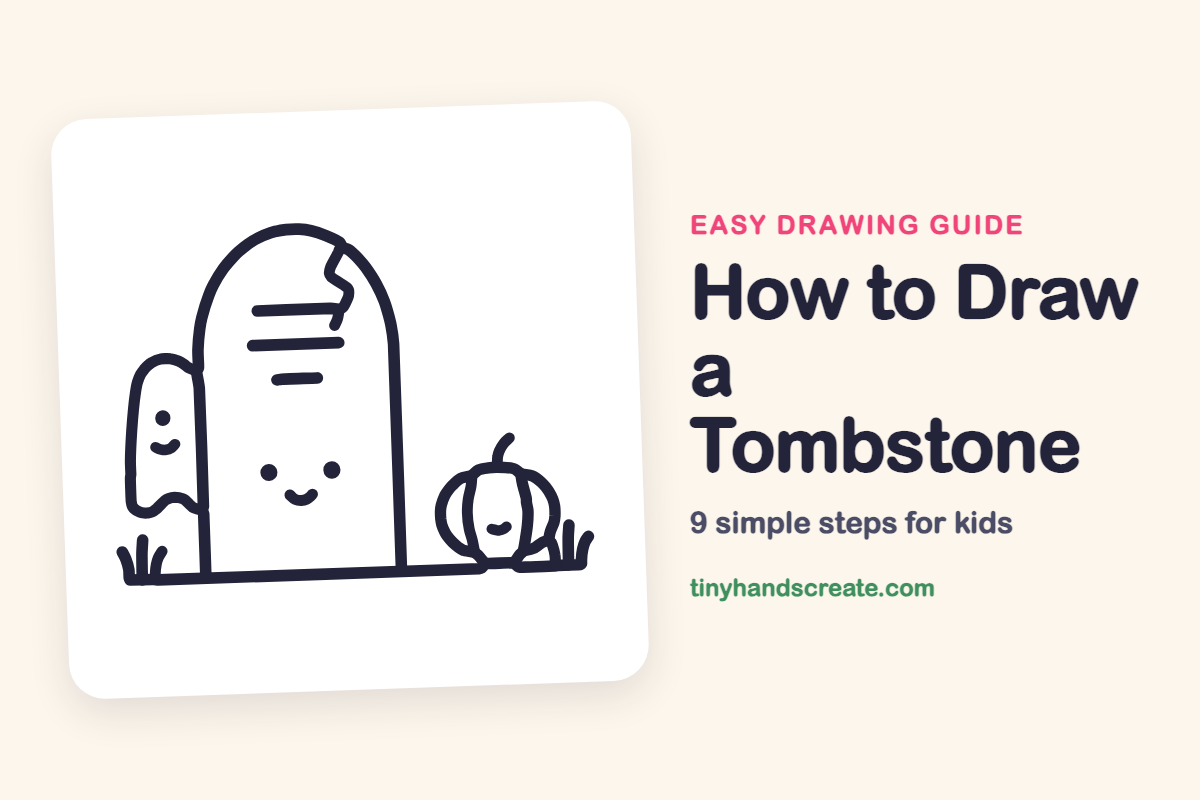
How to Draw a Tombstone (Easy Step by Step)
This friendly tombstone is a cozy, not-scary Halloween drawing. It is built from simple shapes: a tall arch, a few straight lines, dots, and gentle curves. A little ghost and a smiling pumpkin keep it company.
- Easy
- 15 minutes
- 9 steps
You need: paper, a pencil, an eraser, and crayons or markers for coloring.
Start drawingIn this article (7 sections)
How to draw a tombstone step by step
How to Draw a Tombstone · tinyhandscreate.com
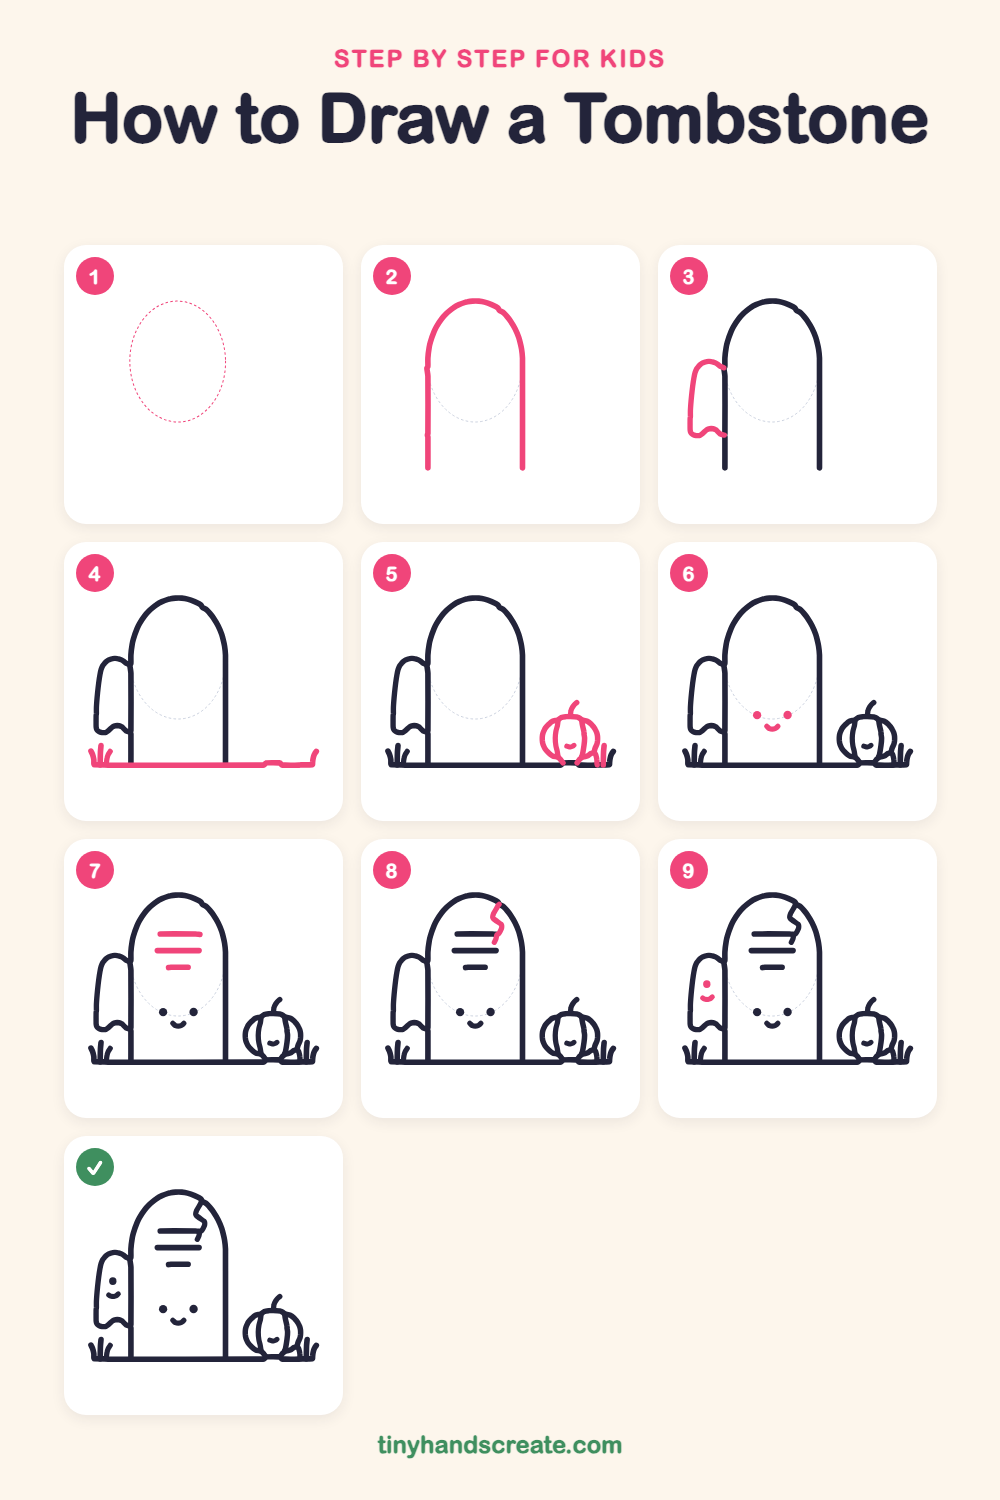
Step 1: Guide shapes
Lightly sketch this oval. It only shows where the big parts go, so press softly. You will erase it at the end.
Step 2: The tombstone
Draw a tall shape like a big arch: a smooth rounded curve across the top and two straight sides going down. Leave the bottom open for now.
Step 3: The little ghost
Behind the left side of the tombstone, draw a tall rounded shape that peeks out. Give the bottom a little wavy bump, like a ghost sheet, and tuck both ends into the tombstone.
Step 4: Ground and grass
Draw one long flat line along the bottom to connect everything. Add little curved blades of grass sticking up at the left end and a small curl at the right end.
Step 5: The pumpkin
On the right, draw a round, wide oval, then curve two more lines inside it for the pumpkin ribs. Add a short curly stem on top and a little smile in the middle.
Step 6: The sleepy face
In the lower middle of the tombstone, draw two round dots for eyes. Under them, add a small curved smile.
Step 7: Words on the stone
Near the top of the tombstone, draw three straight lines, one under the other. Make the top two about the same length and the bottom one the shortest.
Step 8: The crack
Starting at the top right edge of the tombstone, draw a zigzag line down like a little lightning bolt. Stop when it reaches the first line of words.
Step 9: The ghost's face
Inside the ghost, draw one small dot for an eye. Under it, add a tiny curved smile.
All done!
Erase the guide shapes, go over your lines, then color it in.
Finished your tombstone? Keep the pencils out and learn how to draw a spider web or how to draw a potion bottle next.
Tips for drawing a tombstone
- Draw the tombstone slowly and keep both sides the same height. If the top looks lopsided, trace it again with a lighter second line.
- The ghost's wavy bottom is the trickiest part. Think of one small hill and draw it in a single smooth line.
- Draw the writing lines first, then draw the crack so it stops at the top line. That way the zigzag never crosses your words.
Free tombstone coloring page
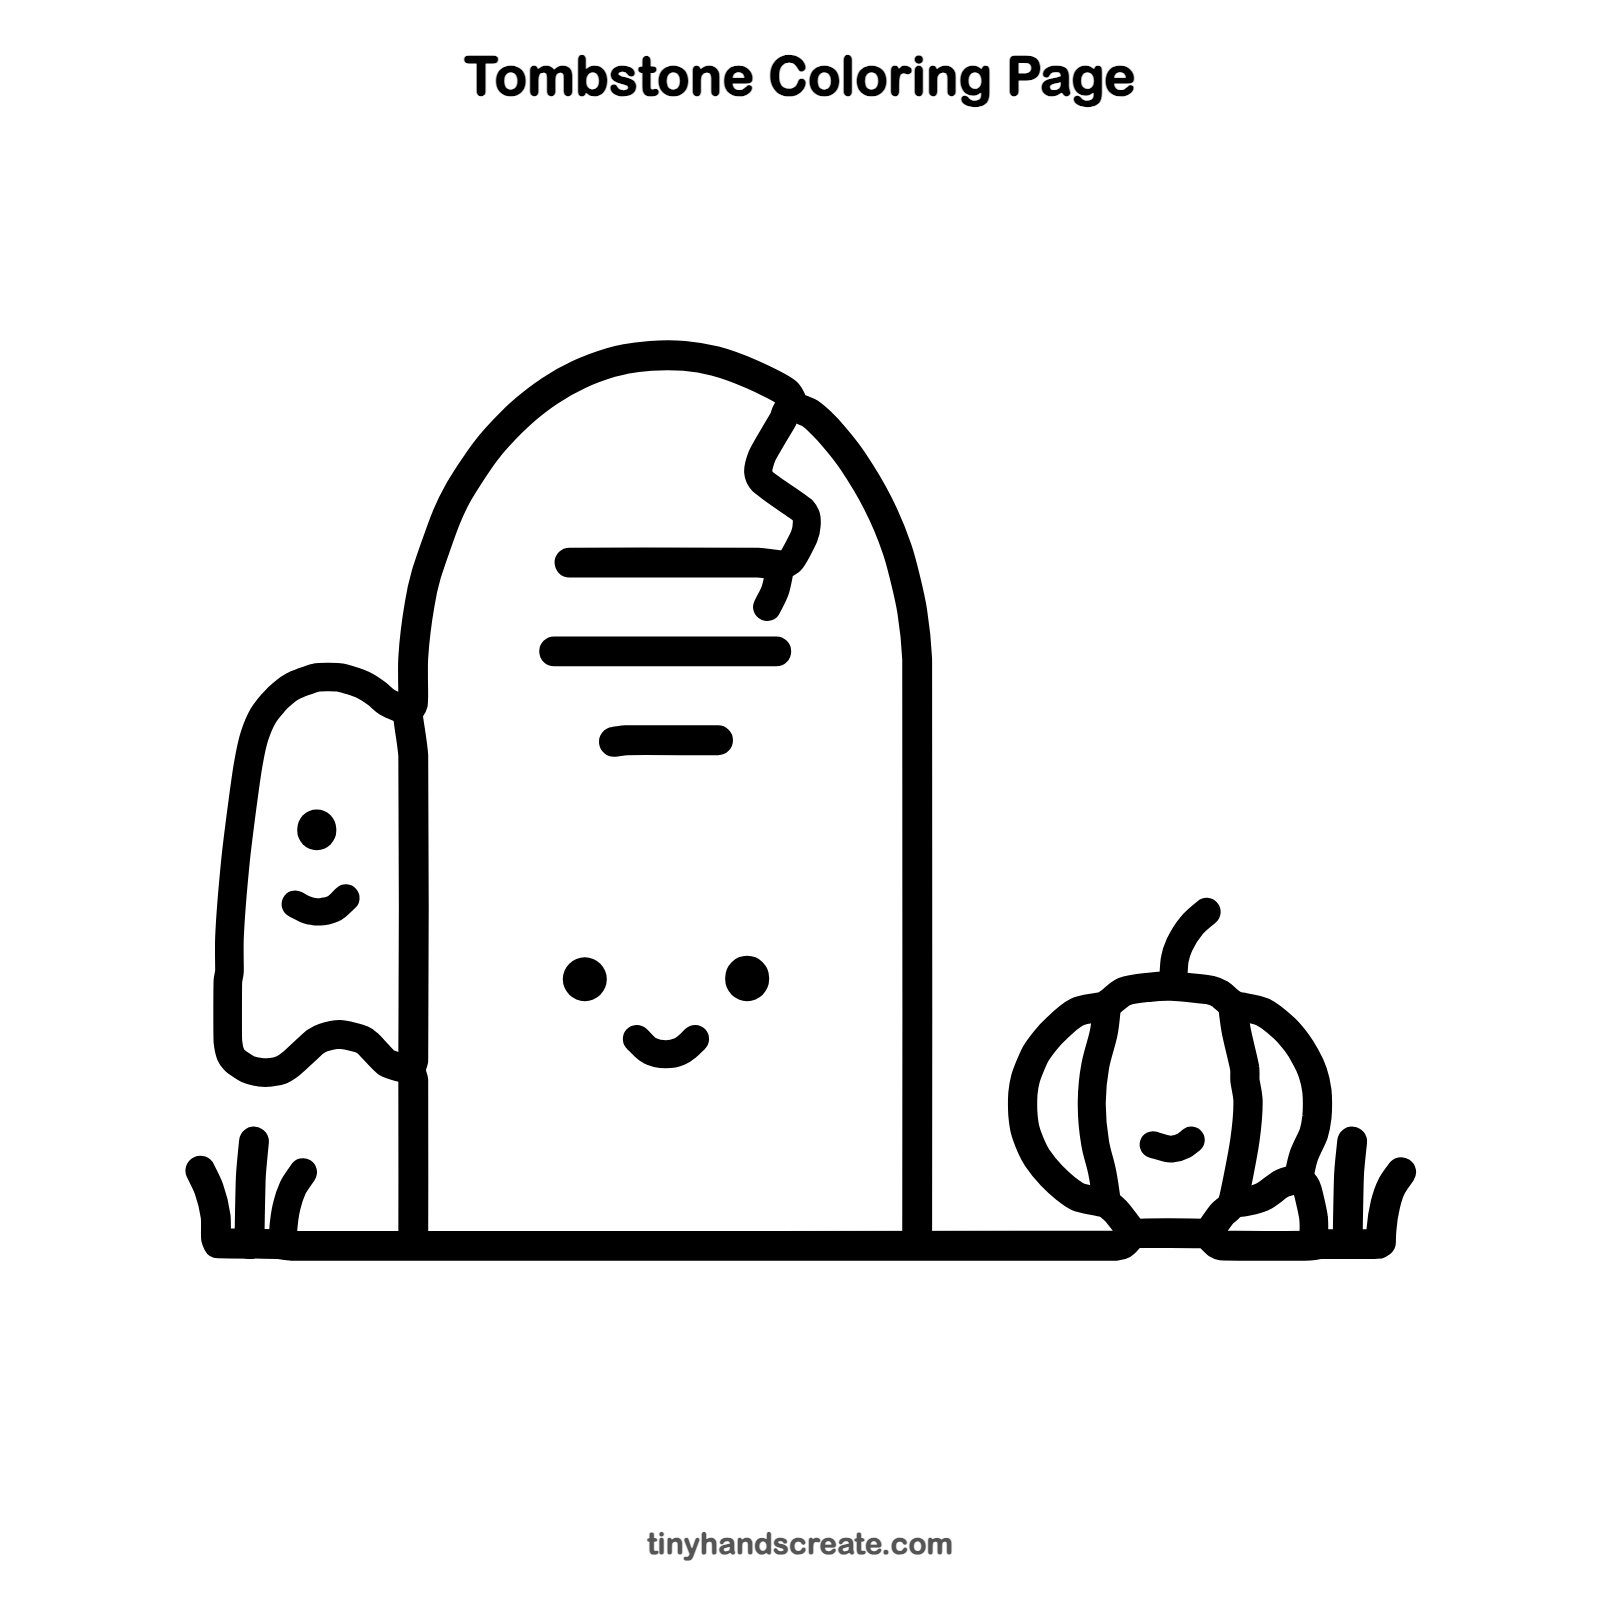
Want to go straight to coloring? Open this tombstone coloring page at full size and print it. It is the same drawing you just learned, with clean lines ready for crayons or markers.
How to color your tombstone drawing
Try a soft gray for the tombstone, white or pale blue for the ghost, and bright orange for the pumpkin with a green stem. For a creative twist, color the grass in rainbow stripes or add a purple night sky with stars behind everything.
Tombstone fun fact for kids
Pumpkins are technically fruits, and they are related to cucumbers and melons. A pumpkin is about 90 percent water.
Questions about drawing a tombstone
What shapes do I need to draw a tombstone?
You only need a tall arch for the tombstone, a tall rounded shape for the ghost, and a wide oval for the pumpkin. Add straight lines for the writing and tiny dots and curves for the faces.
How do I make my tombstone look cuter?
Give it a face with two round dots and a small smile, like this one has. Keep the eyes low and wide apart so it looks sleepy and sweet.
How do I draw the ghost peeking from behind?
Draw the tombstone first, then start the ghost's lines right at the tombstone's edge. Stopping the ghost lines there makes it look like it is hiding behind the stone.