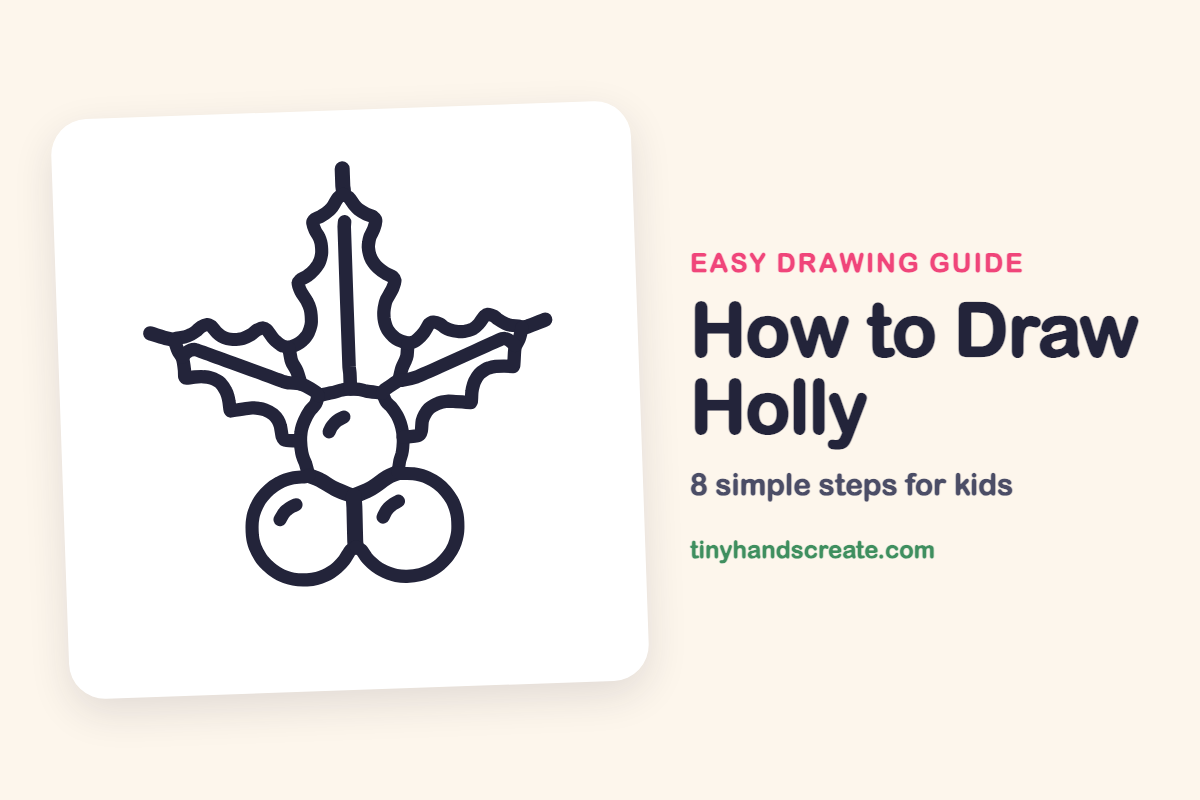
How to Draw Holly (Easy Step by Step)
Holly is a Christmas favorite, and it is easier to draw than it looks. It is made from three round berries and three leaves with bumpy edges. Once you can draw circles and wavy lines, you can draw holly.
- Easy
- 12 minutes
- 8 steps
You need: paper, a pencil, an eraser, and crayons or markers for coloring.
Start drawingIn this article (7 sections)
How to draw holly step by step
How to Draw Holly · tinyhandscreate.com
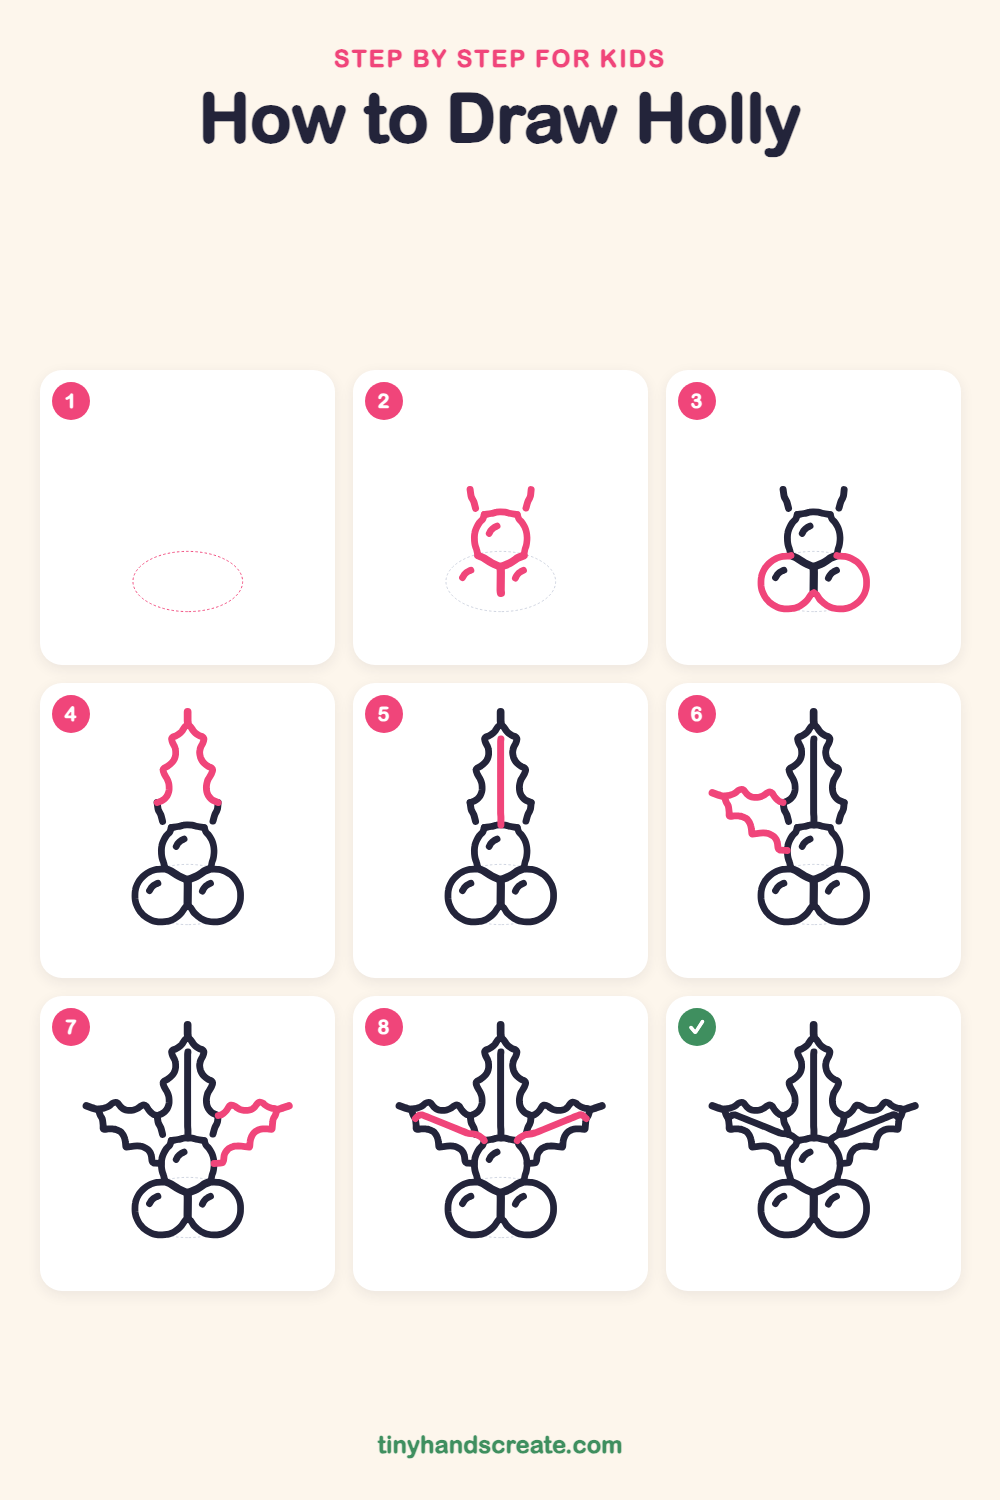
Step 1: Guide shapes
Lightly sketch this oval. It only shows where the big parts go, so press softly. You will erase it at the end.
Step 2: Top berry and guides
Draw a circle in the middle of your page with a small curved shine mark inside it, near the top left. Add two short curved lines just above it, one on each side, and a short line going straight down from the bottom of the circle. Add a tiny curved shine mark on each side of that line.
Step 3: Two lower berries
Draw two circles below the top berry, one on the left and one on the right. Let them touch the straight line in the middle and tuck up under the top berry.
Step 4: The tall center leaf
Start at the top of one short curved line and draw a bumpy wavy line up to a point. Do the same from the other short line so the two edges meet at the tip. Add a tiny stem at the very top.
Step 5: Center leaf vein
Draw one straight line up the middle of the tall leaf, from the top of the berry to near the tip.
Step 6: The left leaf
Start near the tall leaf and draw a row of wavy bumps going out to the left, ending in a point. Then draw bumpy wavy edges back along the bottom until you reach the top berry.
Step 7: The right leaf
Draw a matching leaf on the right. Start near the tall leaf, make wavy bumps out to a point on the far right, then bump your way back along the bottom to the top berry.
Step 8: Side leaf veins
Draw a straight line inside each side leaf, from near the leaf tip in toward the top berry.
All done!
Erase the guide shapes, go over your lines, then color it in.
Finished your holly? Keep the pencils out and learn how to draw a poinsettia or how to draw a fireplace next.
Tips for drawing holly
- Draw the top berry first, then tuck the two lower berries up against it. The leaves then have a clear place to start from.
- The bumpy leaf edges are the trickiest part. Draw them as a row of little hills, going slowly, one bump at a time.
- Draw the two side leaves with about the same number of bumps so the holly looks balanced.
Free holly coloring page
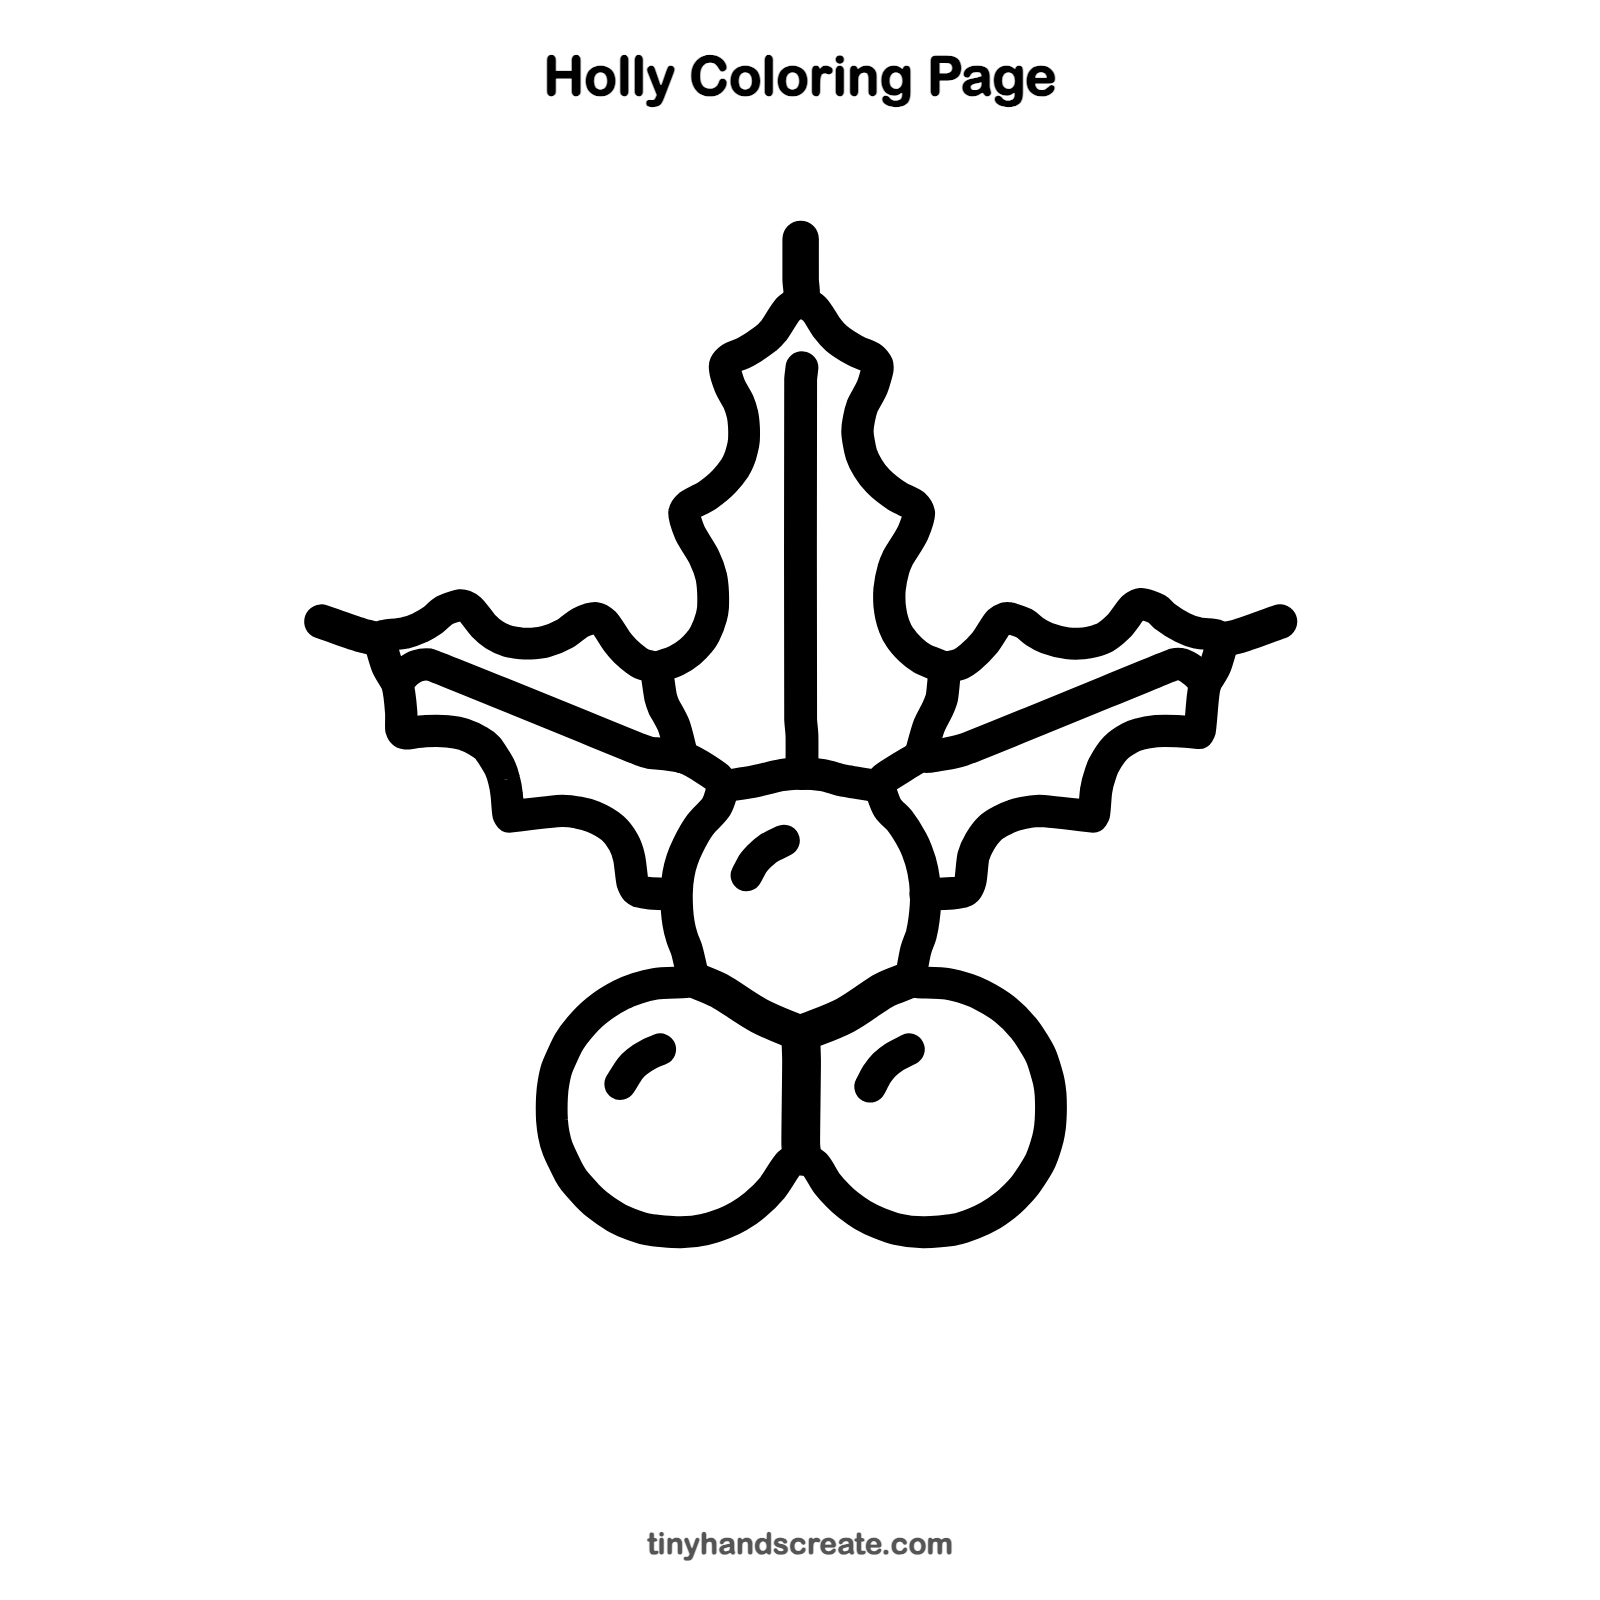
Want to go straight to coloring? Open this holly coloring page at full size and print it. It is the same drawing you just learned, with clean lines ready for crayons or markers.
How to color your holly drawing
Color the leaves dark green and the berries bright red, and leave the little shine marks white. For a twist, try gold or silver berries, or add a bow at the bottom.
Holly fun fact for kids
Holly plants have male and female versions, and only the female plants grow the bright red berries. Many birds eat them in winter, but the berries are not safe for people to eat.
Questions about drawing holly
What shapes do I need to draw holly?
You need three circles for the berries and three pointy leaf shapes. The leaves have wavy edges, which are just a row of small curved bumps.
How do I make my holly leaves look spiky?
Make each bump of the wavy edge end in a small point, then curve into the next bump. Keep the bumps about the same size.
How do I make my holly berries look shiny?
Add a small curved line near the top left of each berry and leave it uncolored. The white spot looks like light bouncing off the berry.