How to Draw a Christmas Cookie (Easy Step by Step)
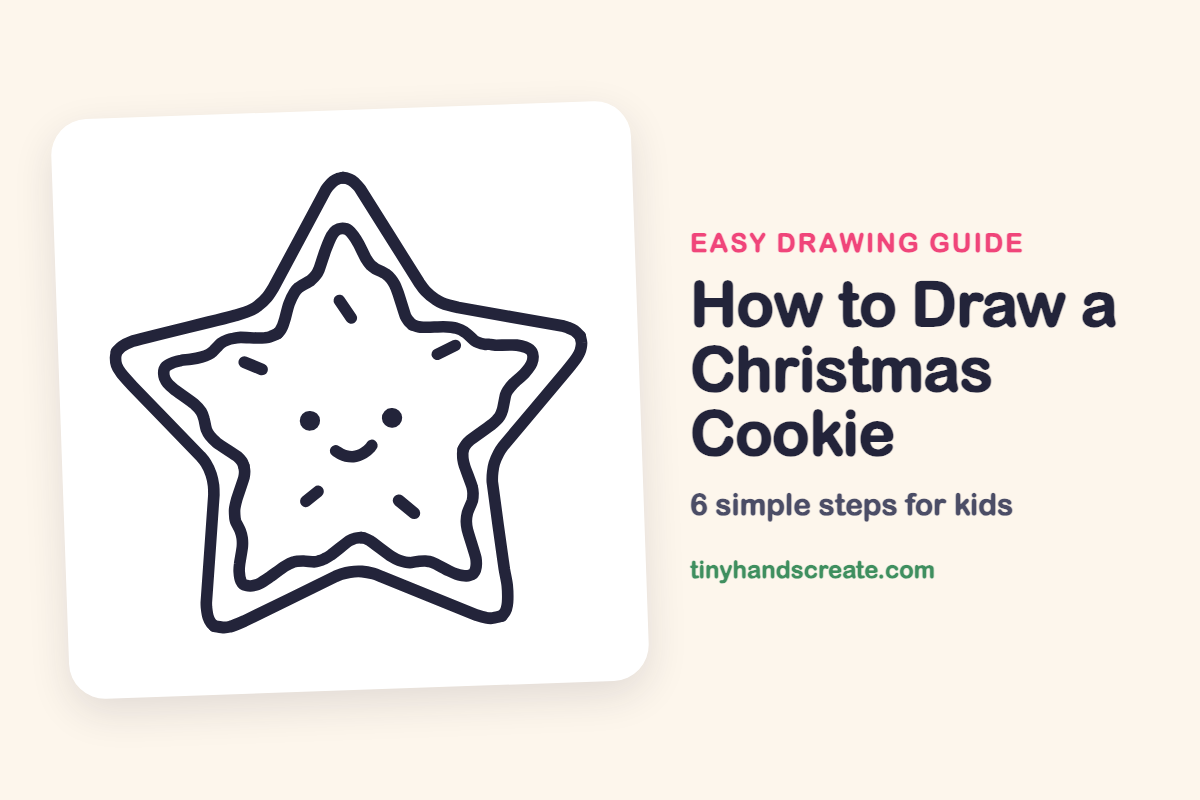
A Christmas cookie is a fun way to practice drawing a star. This one is built from a big star outline, a wobbly icing line inside it, two dot eyes, a smile, and a handful of short dashes for sprinkles.
- Easy
- 10 minutes
- 6 steps
You need: paper, a pencil, an eraser, and crayons or markers for coloring.
Start drawingIn this article (7 sections)
How to draw a Christmas cookie step by step
How to Draw a Christmas Cookie · tinyhandscreate.com
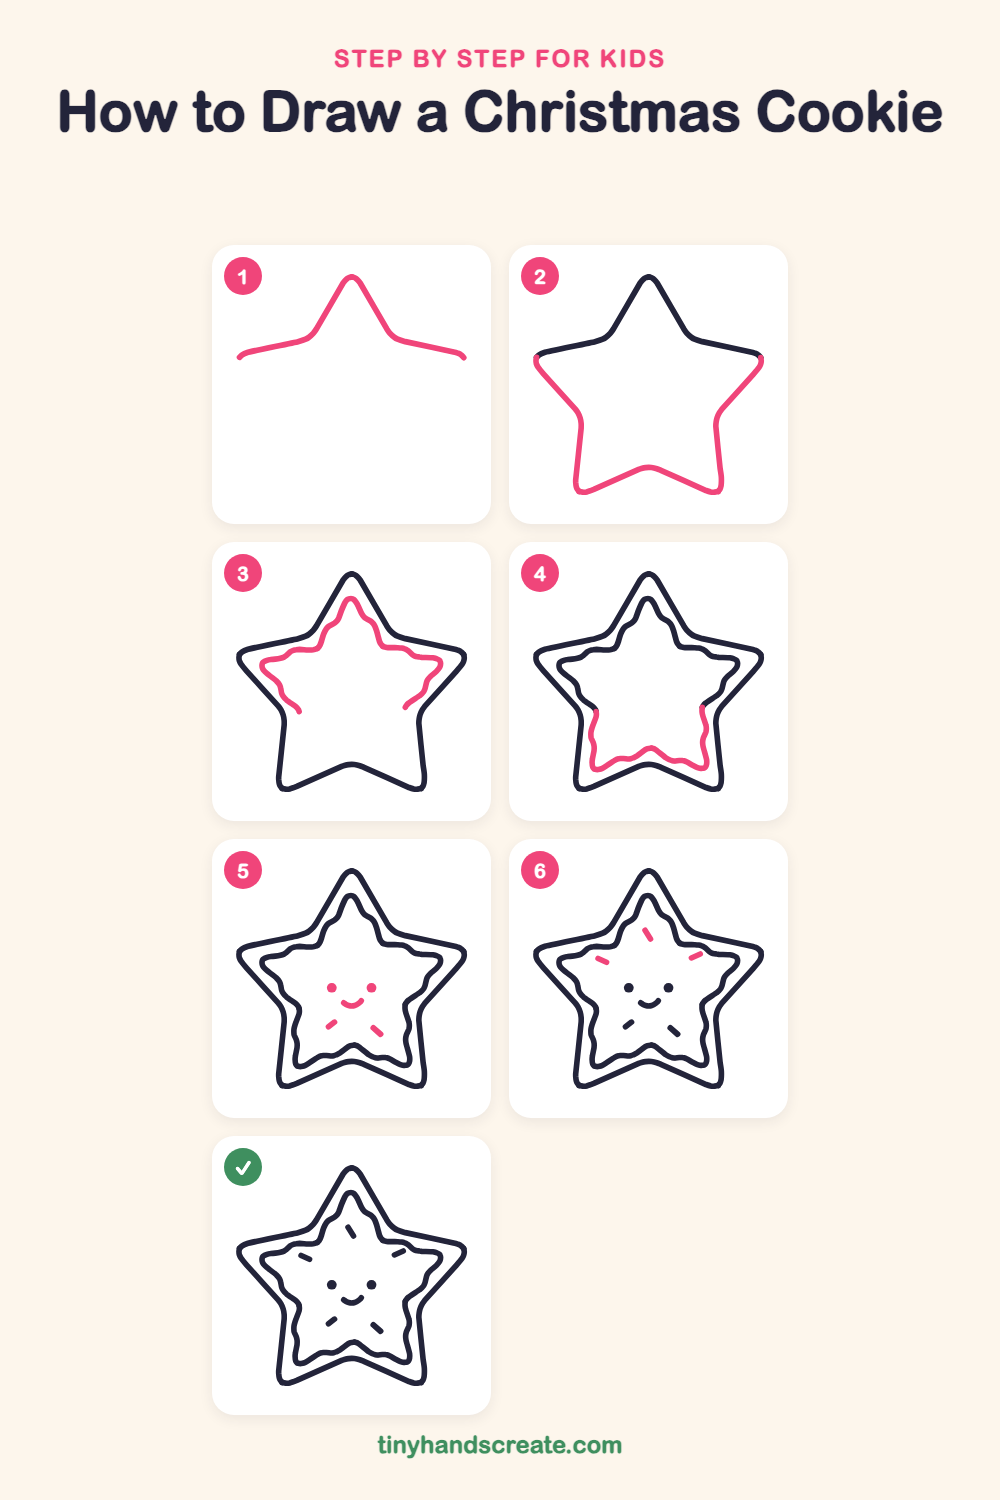
Step 1: Top of the star
Start at the left, draw a gentle line that slopes up to a pointy peak in the middle, then slope back down to the right. Keep the peak a little rounded, like the top of a star.
Step 2: Rest of the star
From the right end, draw down and out to the side point, then in to the first bottom leg. Dip up across the bottom to the other leg, then go back up the left side to meet where you started.
Step 3: Top of the icing
Inside the star, start with a wobbly line that makes a small peak near the top. Wiggle it out along the two side arms, stopping partway down on each side.
Step 4: Bottom of the icing
Pick up where the wobbly line stopped on each side and wiggle down the two legs. Join them across the bottom with a bumpy dip to close the icing shape.
Step 5: Face and sprinkles
Draw two little round dots for eyes in the middle. Under them add a small curved smile, then draw two short dashes near the bottom legs.
Step 6: Top sprinkles
Add three more short dashes near the top of the icing, one at the peak and one on each side. Tilt each one a different way so they look scattered.
All done!
Go over your lines with a marker, then color it in.
Finished your Christmas cookie? Keep the pencils out and learn how to draw a reindeer face or how to draw a North Pole sign next.
Tips for drawing a Christmas cookie
- Draw the outer star lightly first by marking five dots in a circle, then connecting them. It keeps the points even.
- The wobbly icing line is the trickiest part. Go slowly and make small gentle bumps, and it is fine if they are not the same.
- Keep the eyes and smile close together in the middle so the cookie looks cute and friendly.
Free Christmas cookie coloring page
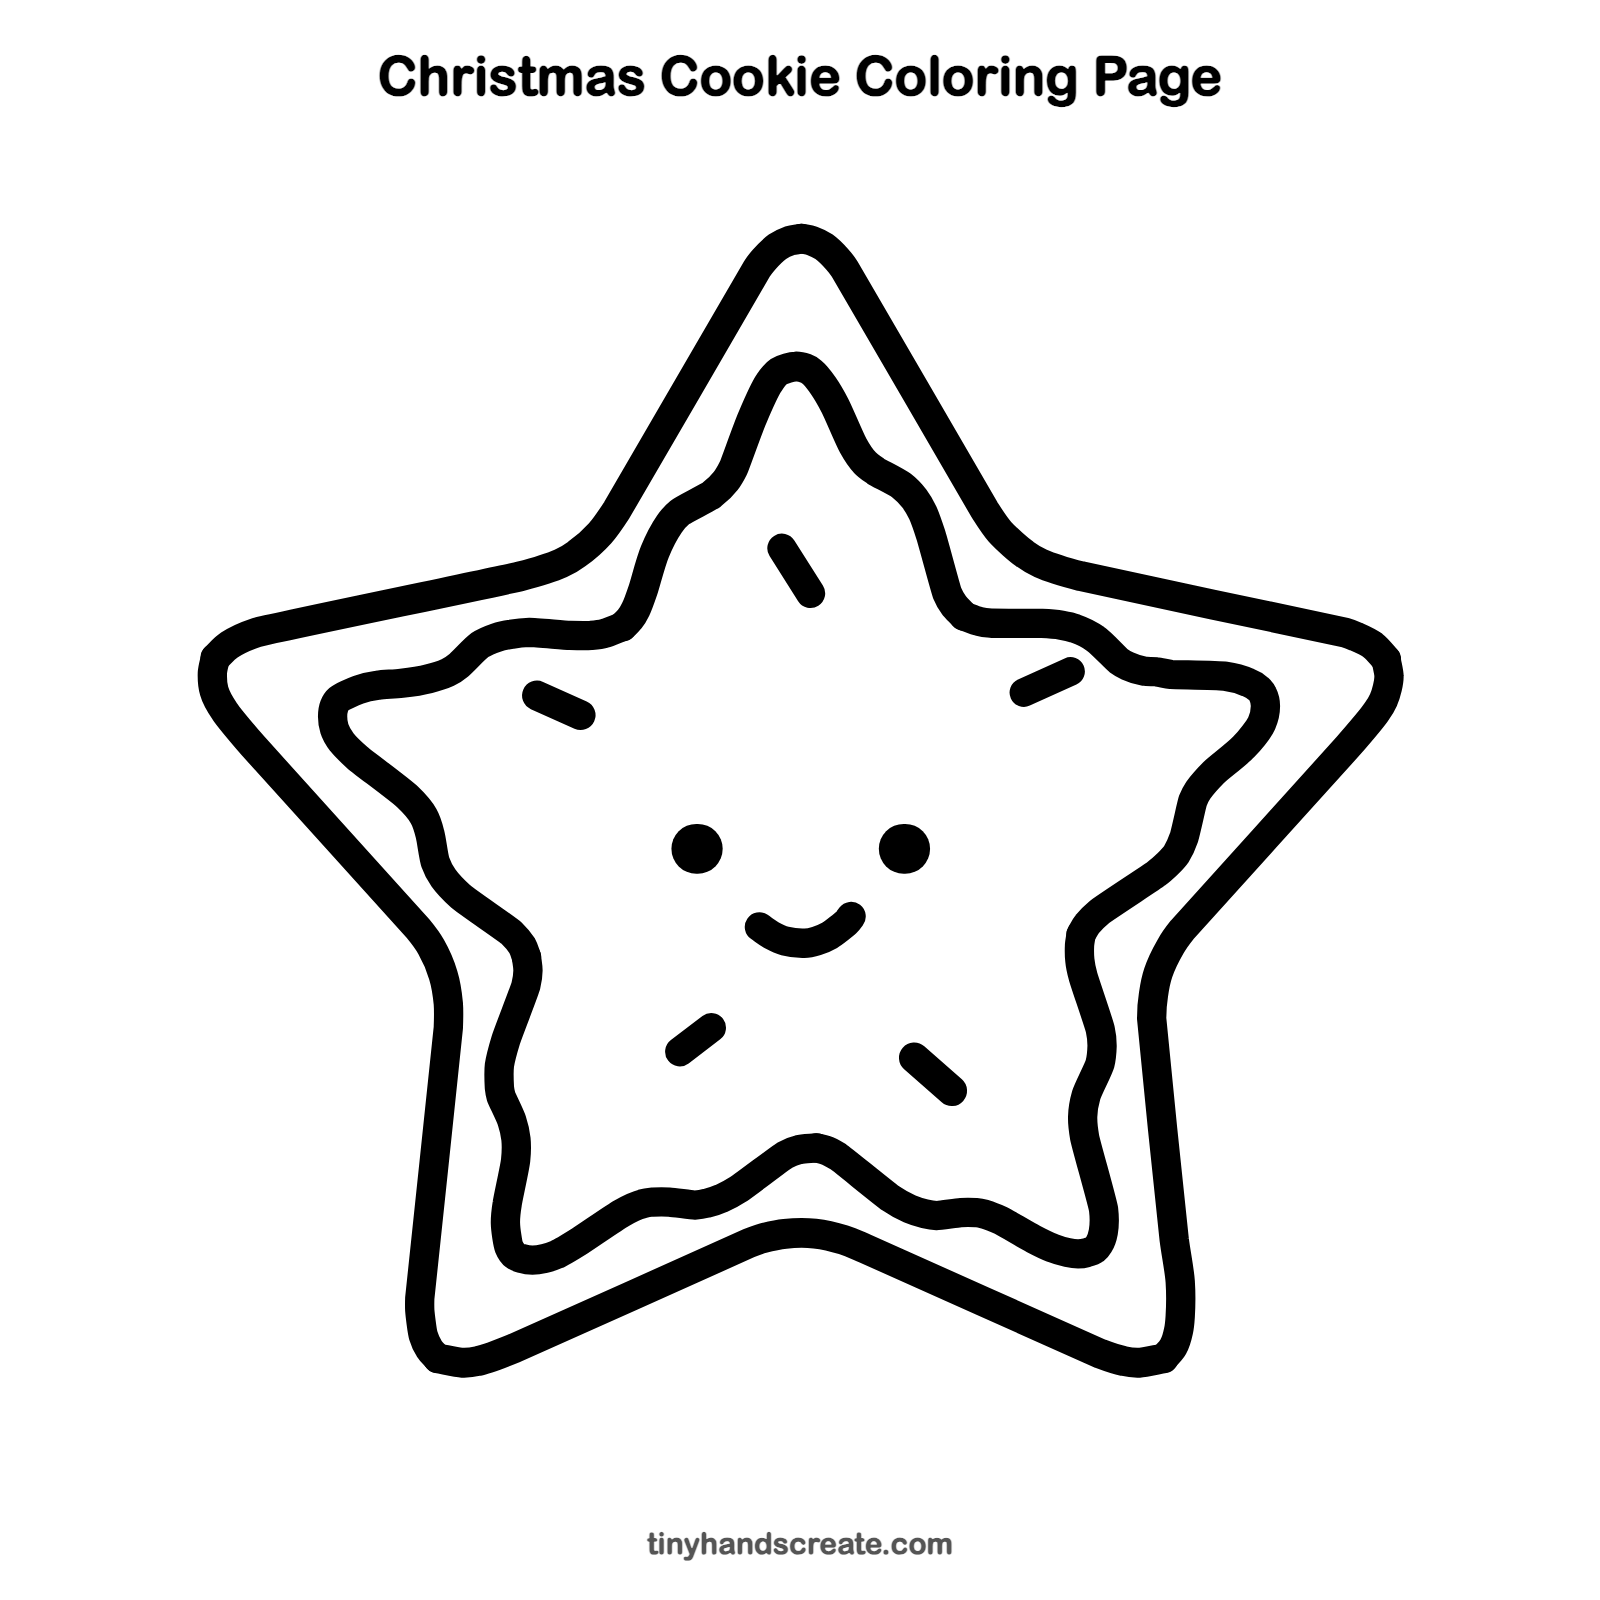
Want to go straight to coloring? Open this Christmas cookie coloring page at full size and print it. It is the same drawing you just learned, with clean lines ready for crayons or markers.
How to color your Christmas cookie drawing
Try golden brown for the cookie edge, white or pale blue for the icing, and bright red, green, and yellow for the sprinkles. For a twist, give your cookie a scarf or a tiny Santa hat.
Christmas cookie fun fact for kids
Cookie cutters in the shape of stars, trees, and angels have been used for holiday baking for hundreds of years, and many families keep a favorite cutter to hand down.
Questions about drawing a Christmas cookie
What shapes do I need to draw a Christmas cookie?
You need a star, a wobbly icing line shaped like a smaller star inside it, two small dots, a curved smile, and short little dashes for sprinkles.
How do I draw a star with even points?
Lightly mark five dots in a circle, then connect every other dot with straight lines. Round the points a little for a cookie look.
How do I make my cookie look cuter?
Keep the eyes close together with a small smile underneath. Add a few more sprinkles to fill empty spots.