How to Draw a Moose (Easy Step by Step)
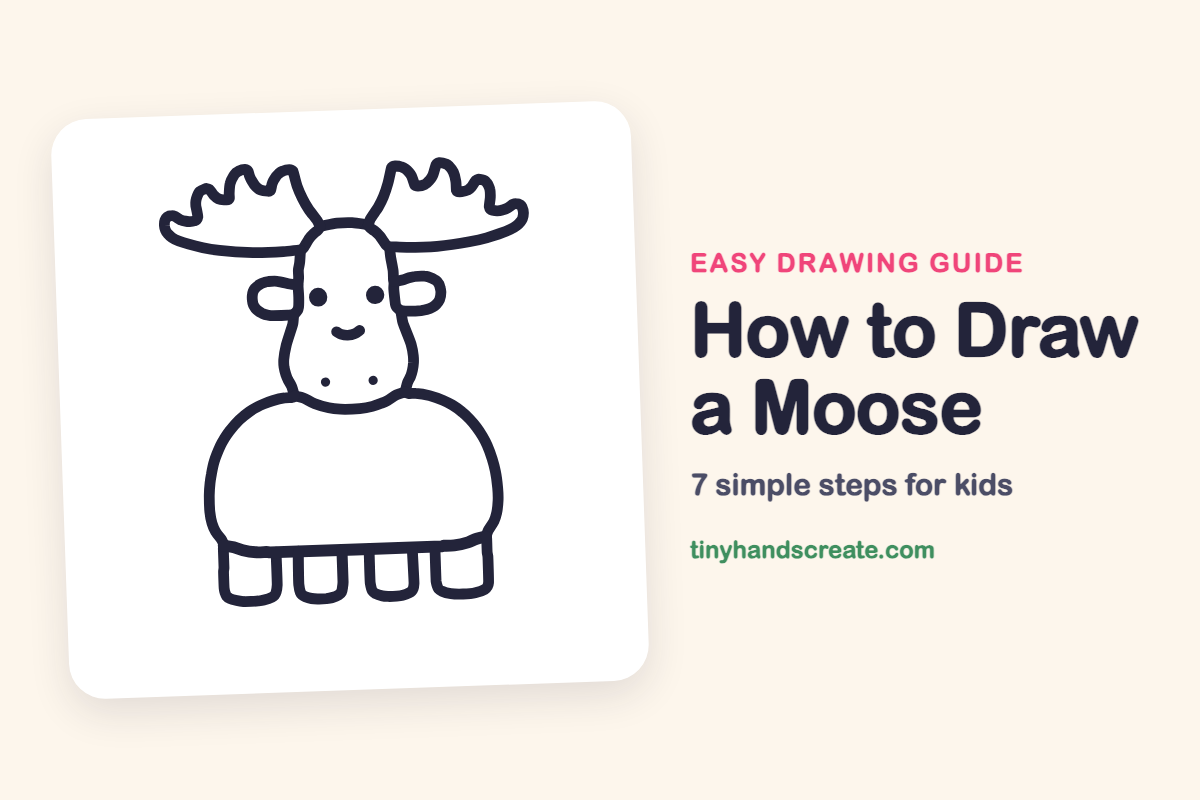
A moose is a fun one to draw because it is built from big, friendly shapes. You will use a pear shape for the head, a dome for the body, four stubby legs, little ovals for the ears, and wide bumpy antlers that make it look just like a moose.
- Medium
- 15 minutes
- 7 steps
You need: paper, a pencil, an eraser, and crayons or markers for coloring.
Start drawingIn this article (7 sections)
How to draw a moose step by step
How to Draw a Moose · tinyhandscreate.com
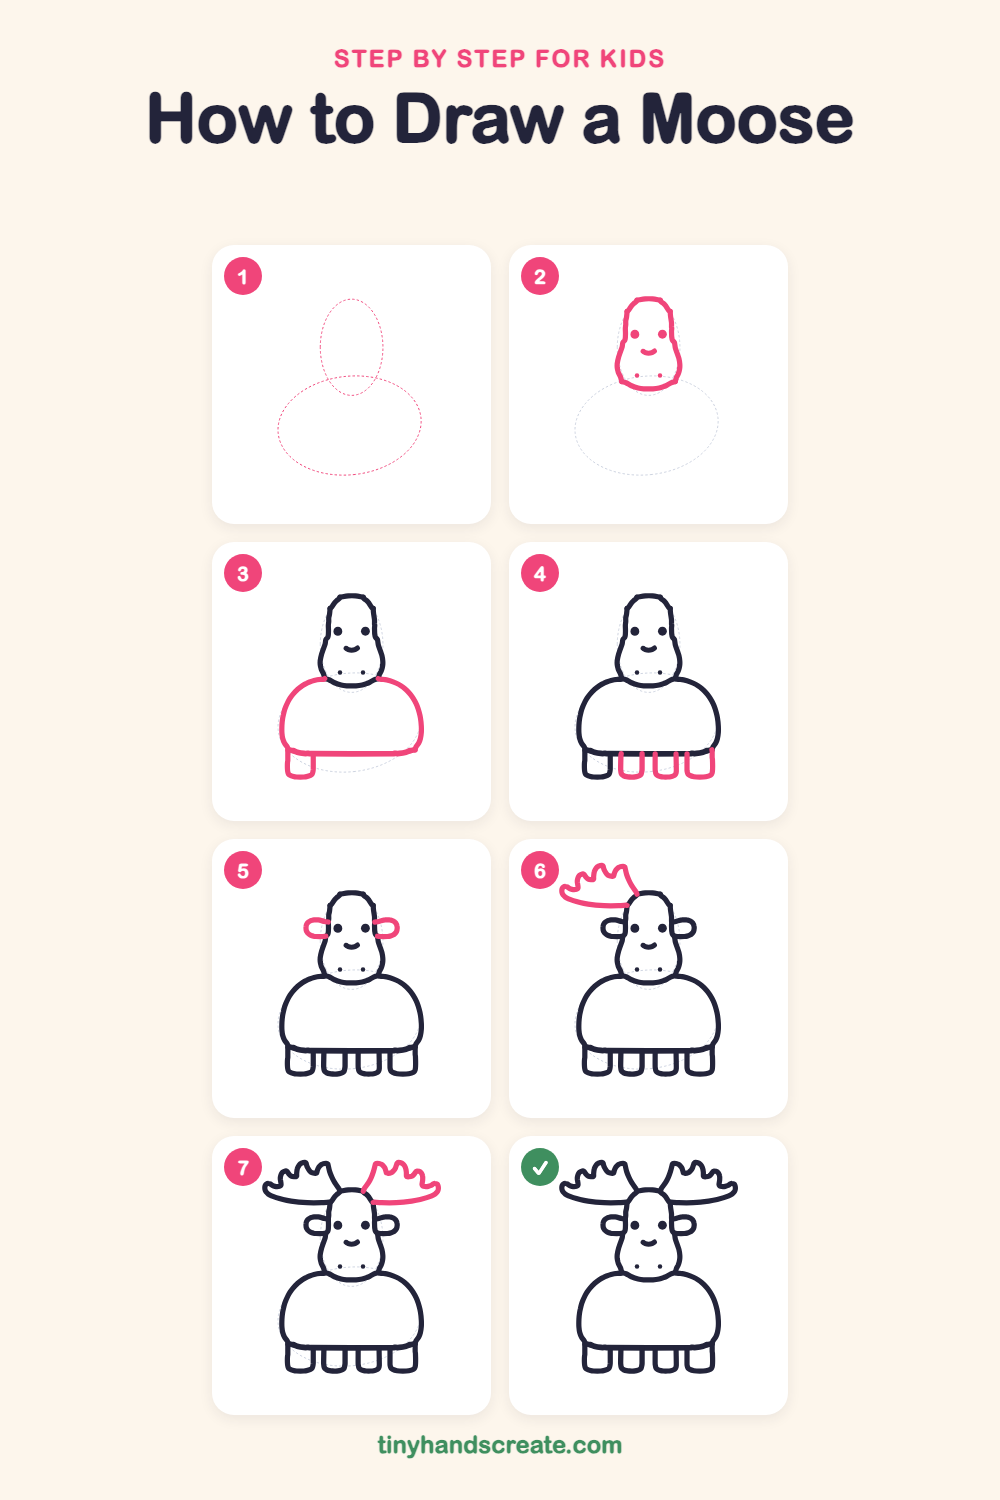
Step 1: Guide shapes
Lightly sketch these 2 ovals. They only show where the big parts go, so press softly. You will erase them at the end.
Step 2: The head and face
Draw a tall rounded shape like a pear, narrower at the top and wider at the chin. Add two round dots for eyes, a little smile under them, and two tiny dots near the bottom for nostrils.
Step 3: Body and first leg
Draw a big dome like half a ball, tucked right under the chin. Start at one side of the chin, curve down and around, and finish with a flat line across the bottom. Then add one short U shape hanging down at the left end of the flat line.
Step 4: Three more legs
Draw three more short, wide U shapes hanging down from the flat bottom line, evenly spaced next to the first leg. Make them all the same height so the moose stands steady.
Step 5: Two round ears
Draw a small sideways oval on each side of the head, level with the eyes. Tuck the inner end of each oval against the head so the ears stick out to the sides.
Step 6: The left antler
Start at the top of the head and draw a long, gently curved line out to the left. Add a wavy edge along the top with a few pointy bumps, like the fingers of a mitten.
Step 7: The right antler
Do the same on the other side. Draw a long curved line out to the right from the top of the head and add wavy bumps along the top, so both antlers match.
All done!
Erase the guide shapes, go over your lines, then color it in.
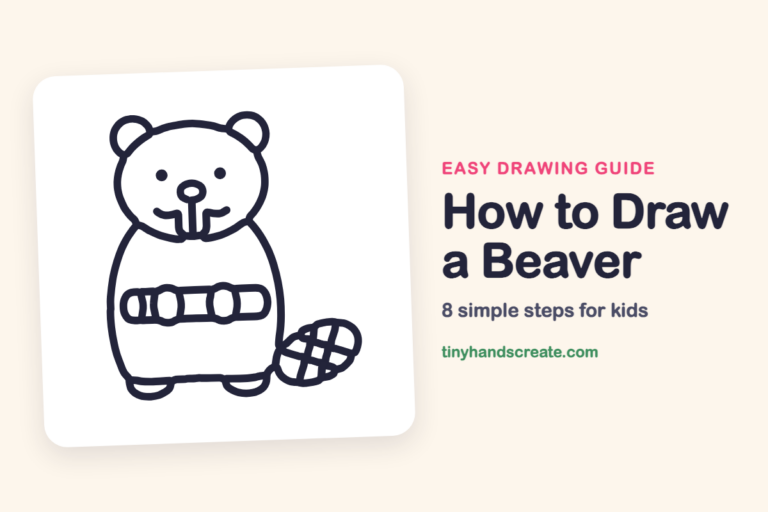
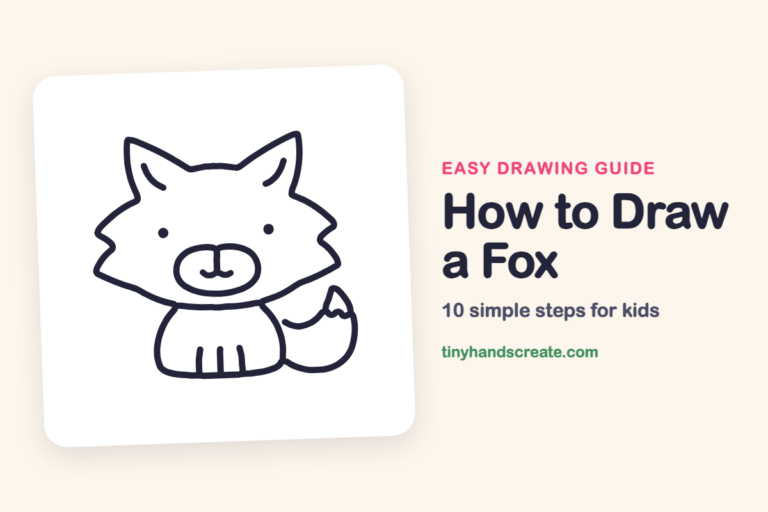
Finished your moose? Keep the pencils out and learn how to draw a beaver or how to draw a fox next.
Tips for drawing a moose
- Draw the head first and leave room on both sides, because the antlers stretch out wide and need space.
- The antlers are the trickiest part. Try making each one with a few bumps along the top, and draw the left one first so you can copy it on the right.
- Keep the four legs the same height and spacing so the moose looks like it is standing steady.
Free moose coloring page
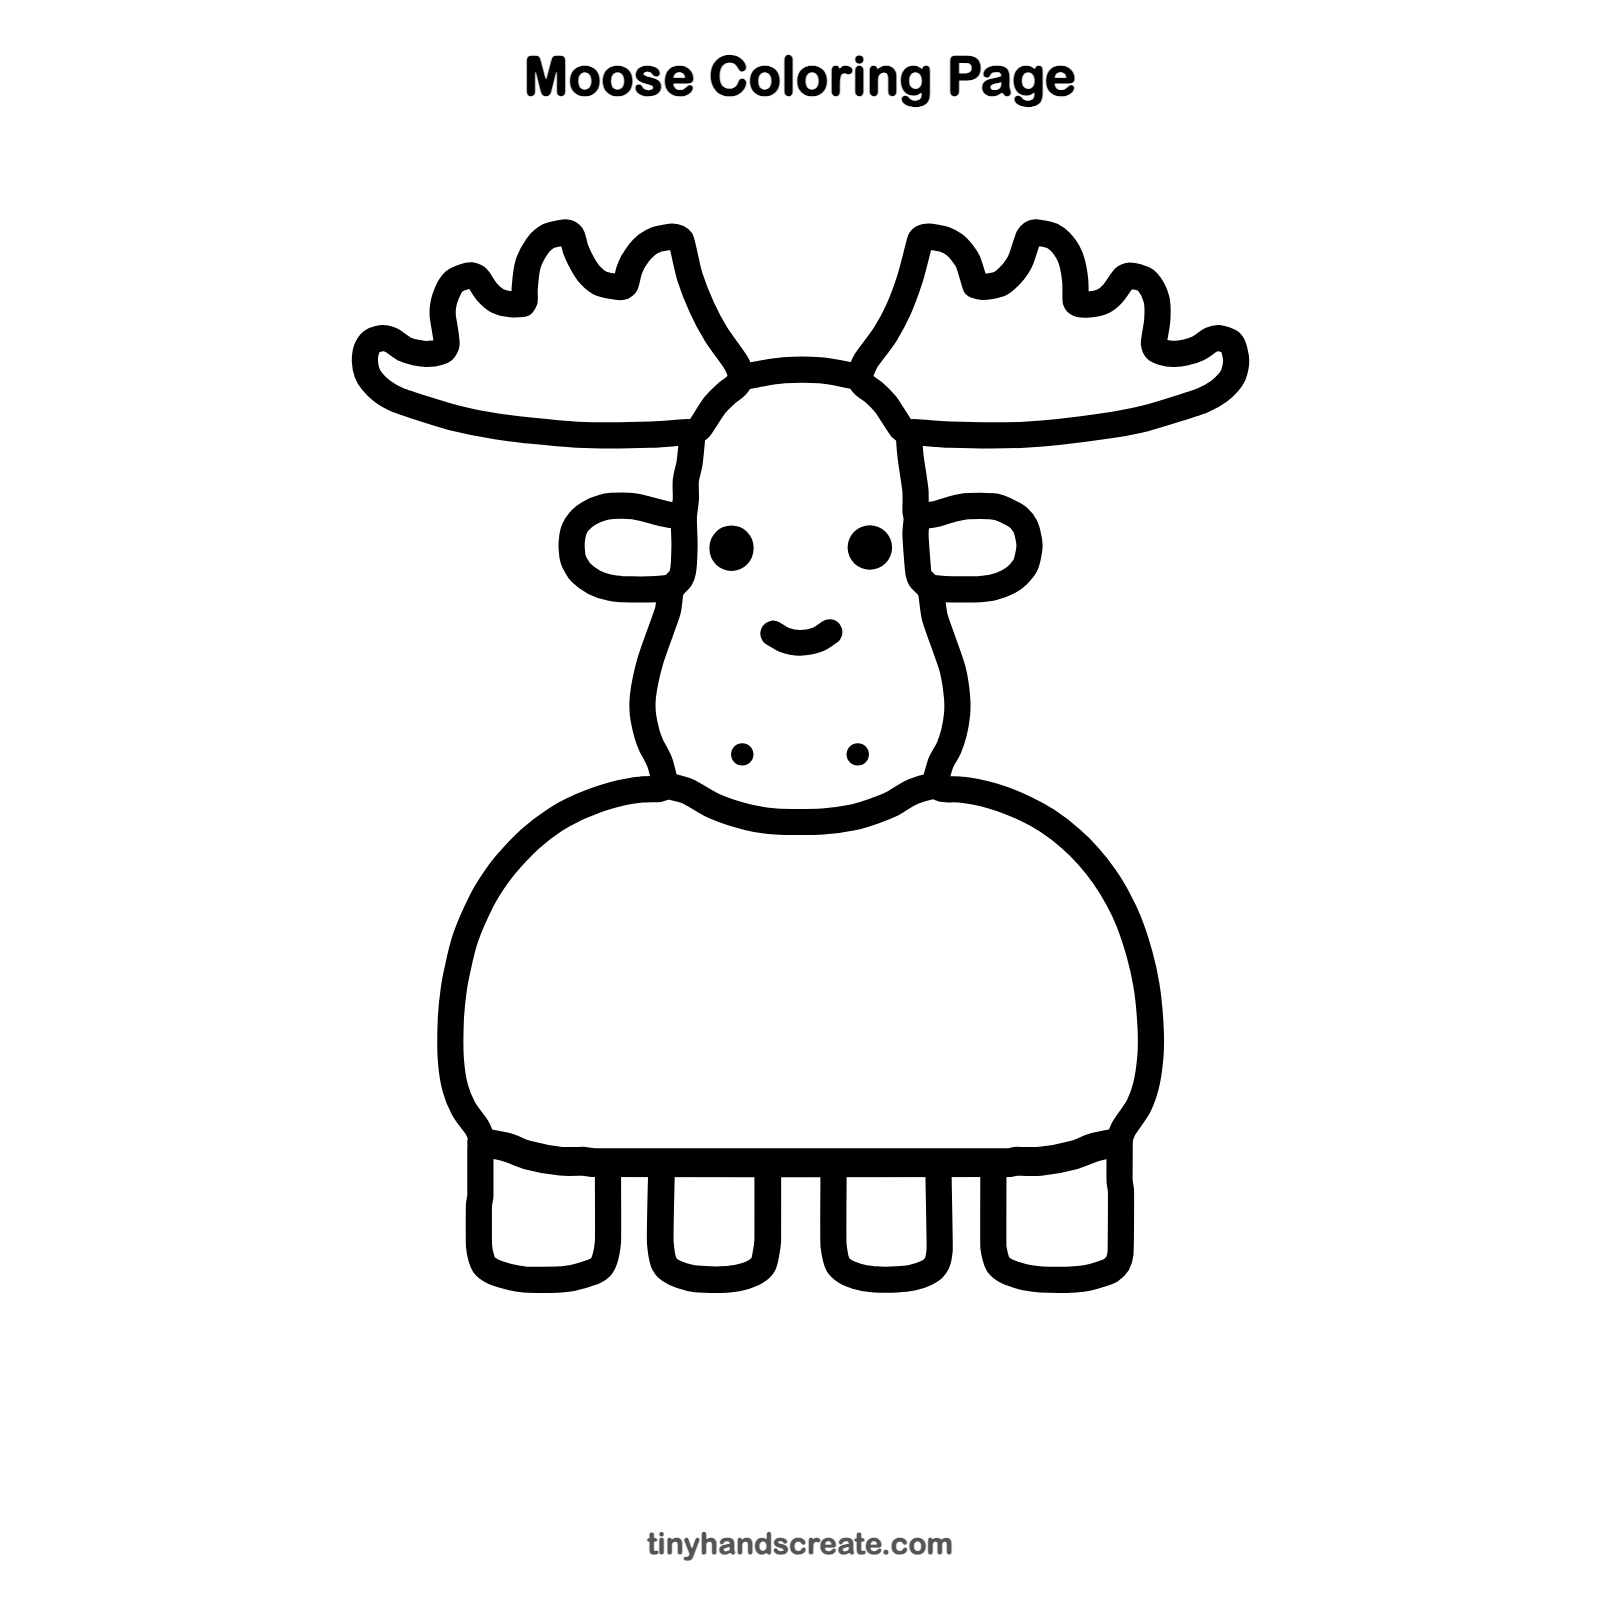
Want to go straight to coloring? Open this moose coloring page at full size and print it. It is the same drawing you just learned, with clean lines ready for crayons or markers.
How to color your moose drawing
Try warm browns for the body and a lighter tan for the antlers. For a creative twist, give your moose a bright striped scarf or a snowy forest background.
Moose fun fact for kids
Only male moose grow antlers, and they drop them every winter and grow a brand new pair each spring.
Questions about drawing a moose
What shapes do I need to draw a moose?
You need a pear shape for the head, a big dome for the body, four small U shapes for legs, two ovals for ears, and two wide, wavy shapes for the antlers.
How do I make my moose look cuter?
Add a small smile under the eyes. Make the body extra round and the legs short and stubby.
How do I draw moose antlers that match?
Draw one antler first, counting the bumps along the top. Then draw the other with the same number of bumps, starting from the top of the head and going out.