How to Draw a Fox (Easy Step by Step)
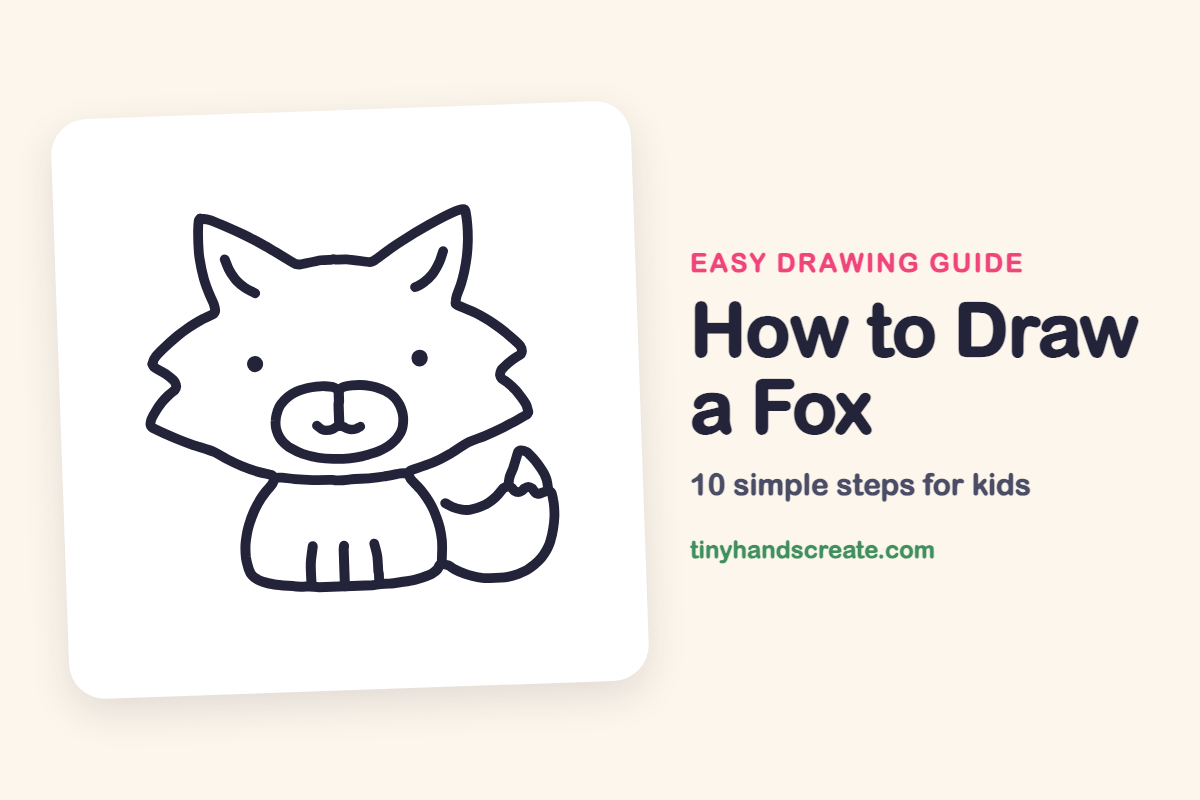
This little fox is fun to draw because it is built from simple shapes you already know: a wide rounded head, two pointy ears, an oval snout, and a dome for the body. The big curved tail with its zigzag tip is what helps it look like a fox and not a cat. Go slowly, one part at a time, and you will have a cute fox sitting up and smiling.
- Easy
- 12 minutes
- 10 steps
You need: paper, a pencil, an eraser, and crayons or markers for coloring.
Start drawingIn this article (7 sections)
How to draw a fox step by step
How to Draw a Fox · tinyhandscreate.com
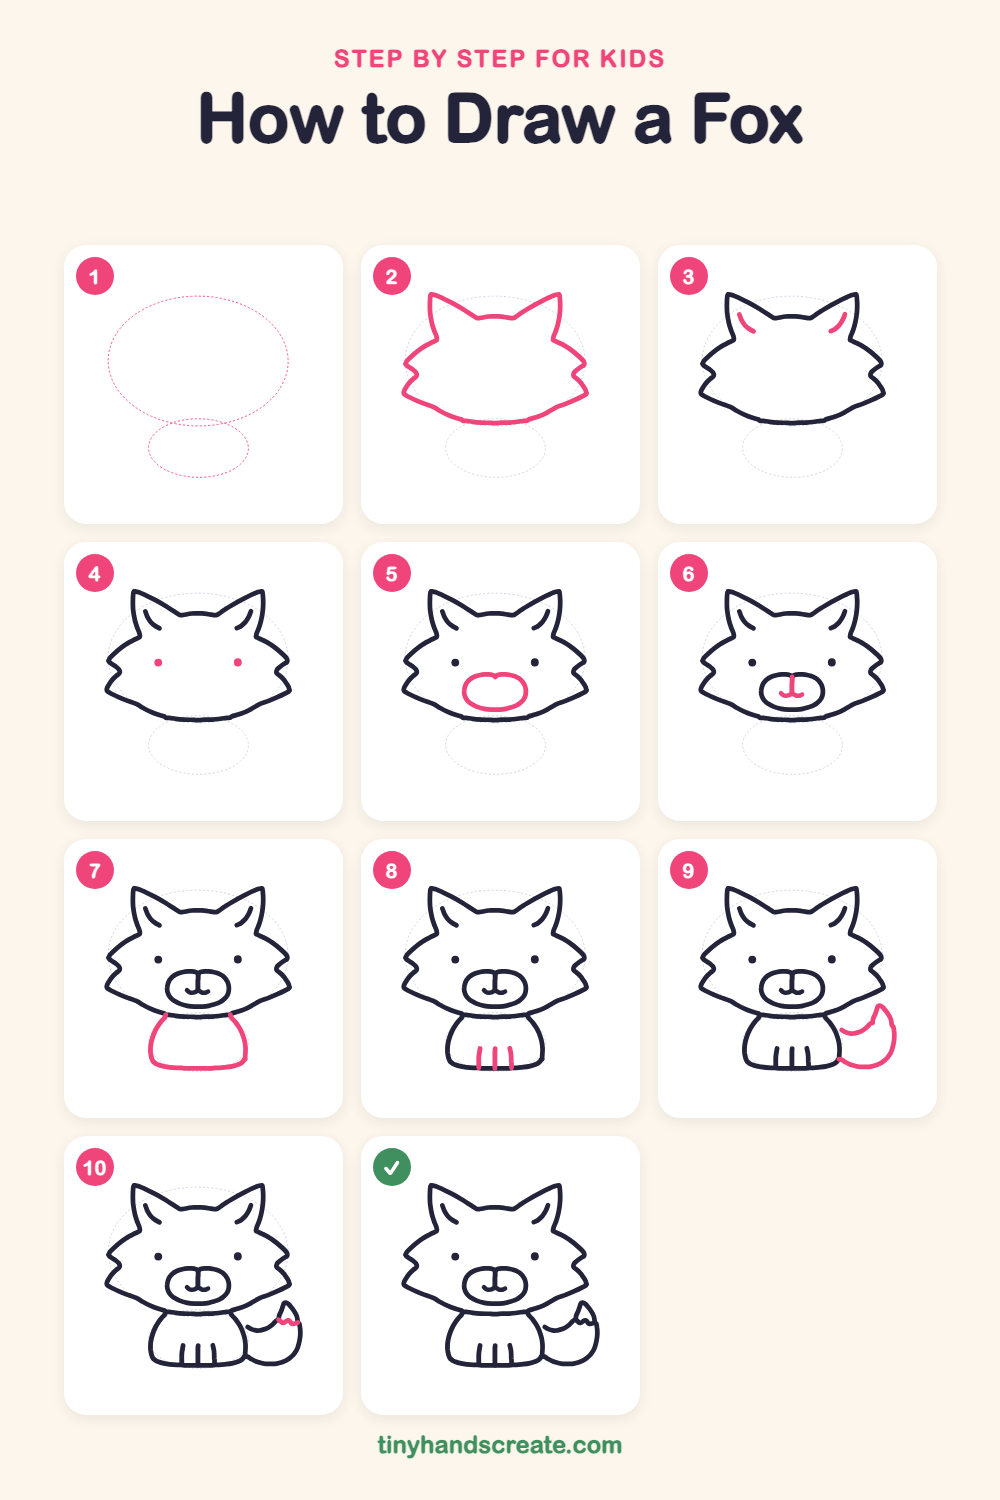
Step 1: Guide shapes
Lightly sketch these 2 ovals. They only show where the big parts go, so press softly. You will erase them at the end.
Step 2: The head
Start at the top left with a pointy ear, dip down, and make a second pointy ear on the right. Then draw fluffy zigzag cheeks down each side and join them with a gentle curve along the bottom.
Step 3: Inner ears
Inside each ear, near the pointy tip, draw a short curved line that follows the edge of the ear. Make the two lines match.
Step 4: The eyes
Draw two small solid dots for eyes, about halfway down the face. Keep them at the same height and put them wide apart.
Step 5: The muzzle
Draw a wide oval in the middle of the lower face for the fox's snout. Make it a little wider than it is tall.
Step 6: Nose and mouth
Inside the oval, near the top middle, draw a short line going down. At the bottom of that line, add a small curve to each side to make a little smile.
Step 7: The body
Under the head, draw a round, dome-shaped body that is narrower than the head. Start at the bottom of the head on one side, curve down, run flat along the bottom, and curve back up to the other side.
Step 8: Belly lines
Draw three short straight lines going up from the bottom of the body. Put one in the middle and one on each side, and let the outer two lean in a little.
Step 9: The fluffy tail
Next to the body on the right, draw a big curved tail that swoops out from the bottom of the body and up to a point. Then add a curved line inside the tail, starting near the body, to show where the tip begins.
Step 10: The tail tip
Near the pointy end of the tail, draw a small wavy zigzag line across the tail to mark the tip. Zigzags look like tiny mountains.
All done!
Erase the guide shapes, go over your lines, then color it in.
Finished your fox? Keep the pencils out and learn how to draw a hedgehog or how to draw a capybara next.
Tips for drawing a fox
- Make the head wider than the body. A big head and a small body is what makes the fox look cute.
- The zigzag cheeks are the trickiest part. Think of two or three small mountains on each side, and try to match them left and right.
- Draw the tail after the body. Start the curve at the bottom of the body so the two parts look connected.
Free fox coloring page
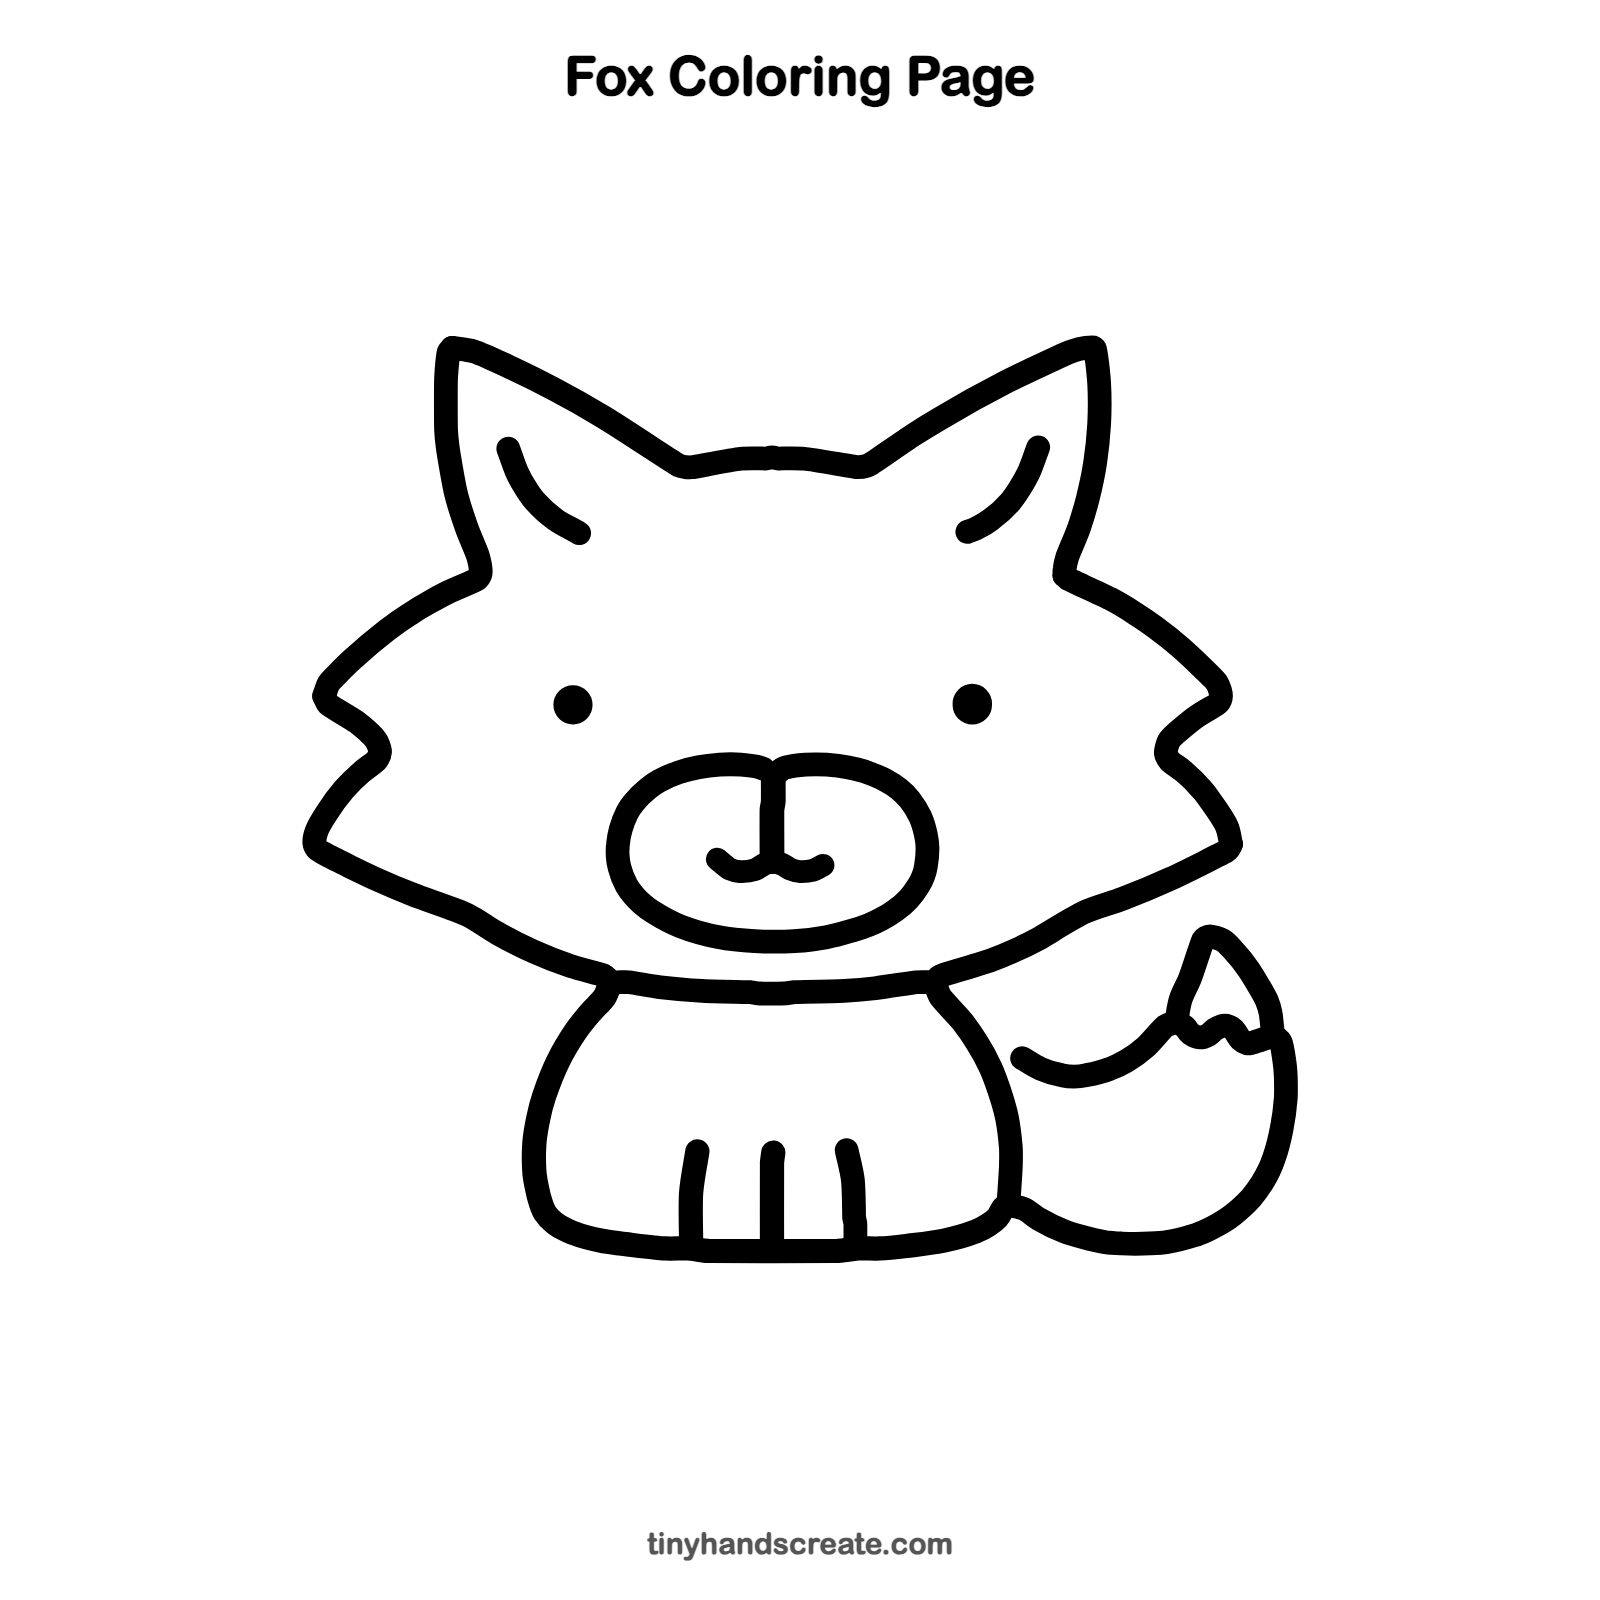
Want to go straight to coloring? Open this fox coloring page at full size and print it. It is the same drawing you just learned, with clean lines ready for crayons or markers.
How to color your fox drawing
Color the fox orange, with a white snout, a white belly and a white tail tip. For a creative twist, make a rainbow fox with a different bright color for each cheek zigzag.
Fox fun fact for kids
A fox uses its bushy tail like a blanket. When it sleeps in cold weather, it curls up and wraps the tail around its nose and feet to stay warm.
Questions about drawing a fox
What shapes do I need to draw a fox?
You need a wide rounded shape for the head with two pointy ears, an oval for the snout, and a dome for the body. The tail is a long curve that ends in a point.
How do I make my fox look cuter?
Put the eyes wide apart and keep them small and round. Draw the head bigger than the body and add a little smile under the nose.
How do I draw a fox tail?
Draw a big curve that swoops out from the bottom of the body and up to a point. Then add a small zigzag near the tip to mark the white fur.