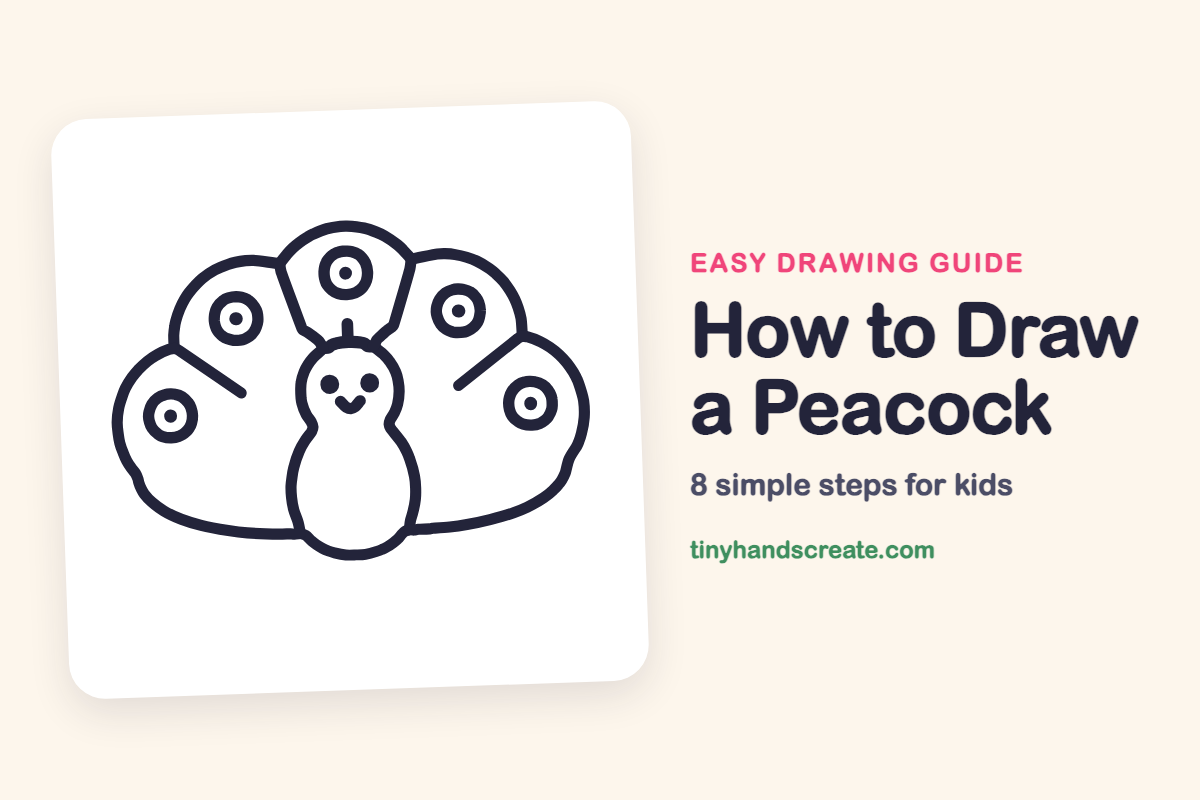
How to Draw a Peacock (Easy Step by Step)
A peacock is fun to draw because its big fan of feathers turns a few simple shapes into something showy. This one is built from a pear-shaped body, a round head, and a fan made of curves and rings. Every feather eye is just a ring with a dot inside.
- Medium
- 15 minutes
- 8 steps
You need: paper, a pencil, an eraser, and crayons or markers for coloring.
Start drawingIn this article (7 sections)
How to draw a peacock step by step
How to Draw a Peacock · tinyhandscreate.com
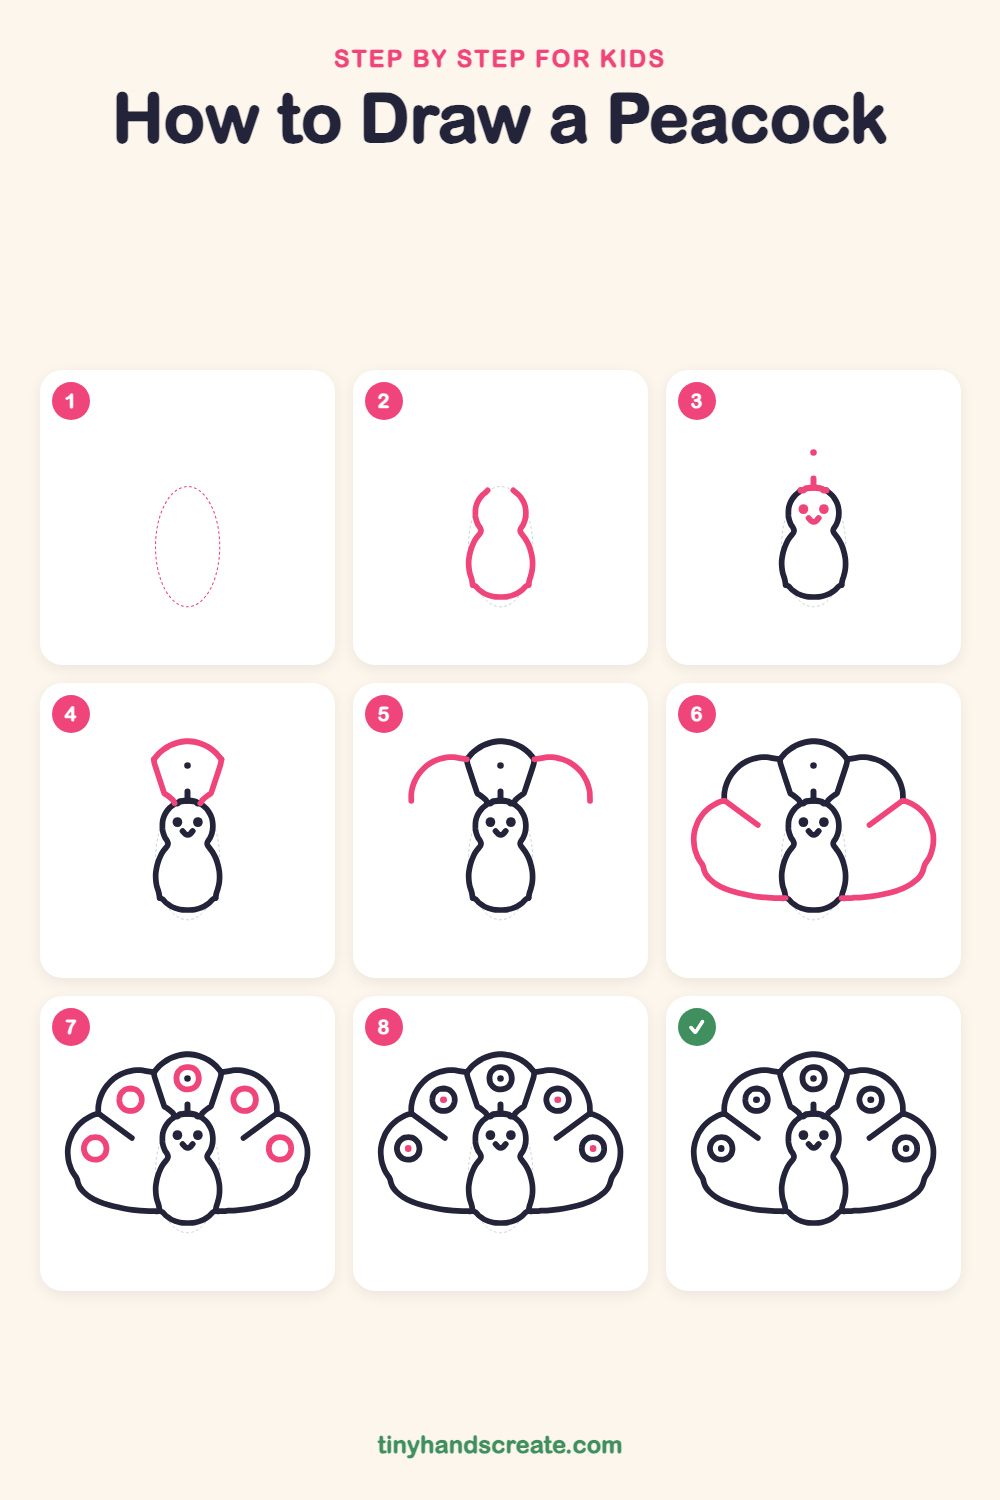
Step 1: Guide shapes
Lightly sketch this oval. It only shows where the big parts go, so press softly. You will erase it at the end.
Step 2: The body
Start with a tall pear shape in the middle of the page: a small round top and a bigger round bottom, joined at a gentle pinch. Leave a small gap at the very top of the pear, and close the bottom with a smooth curve.
Step 3: Head, crest and face
Close the top of the head with a small curve. Add one short stick on top with a dot floating just above it for the crest. Then draw two dot eyes and a small V for the beak.
Step 4: The middle fan
Draw a curved arch above the head. Then draw two slanted lines from the ends of the arch down to the sides of the head, so the shape looks like a small fan.
Step 5: Side fan tops
On each side of the middle fan, draw a curved line like a handle. Start each one at the top corner of the middle fan and curve it out and down.
Step 6: Lower wings
On each side, draw a big rounded wing that starts at the end of the curved line and sweeps down to meet the bottom of the body. Add a short slanted line inside each wing to split it from the fan above.
Step 7: Feather rings
Draw one small ring in the middle fan, one ring in each side fan, and one ring in each wing. That makes five rings in all.
Step 8: Feather dots
Finish with a small dot in the middle of each empty ring. Make them all about the same size.
All done!
Erase the guide shapes, go over your lines, then color it in.
Finished your peacock? Keep the pencils out and learn how to draw a fox or how to draw a hedgehog next.
Tips for drawing a peacock
- Draw the pear body first and keep it narrow, so there is plenty of room left on both sides for the fan.
- The crest is small: just one short stick with a dot floating above it. Keep it tiny so it does not crowd the fan.
- Try to place the feather rings evenly, one on top, two on the sides, and one in each wing, so the fan looks balanced.
Free peacock coloring page
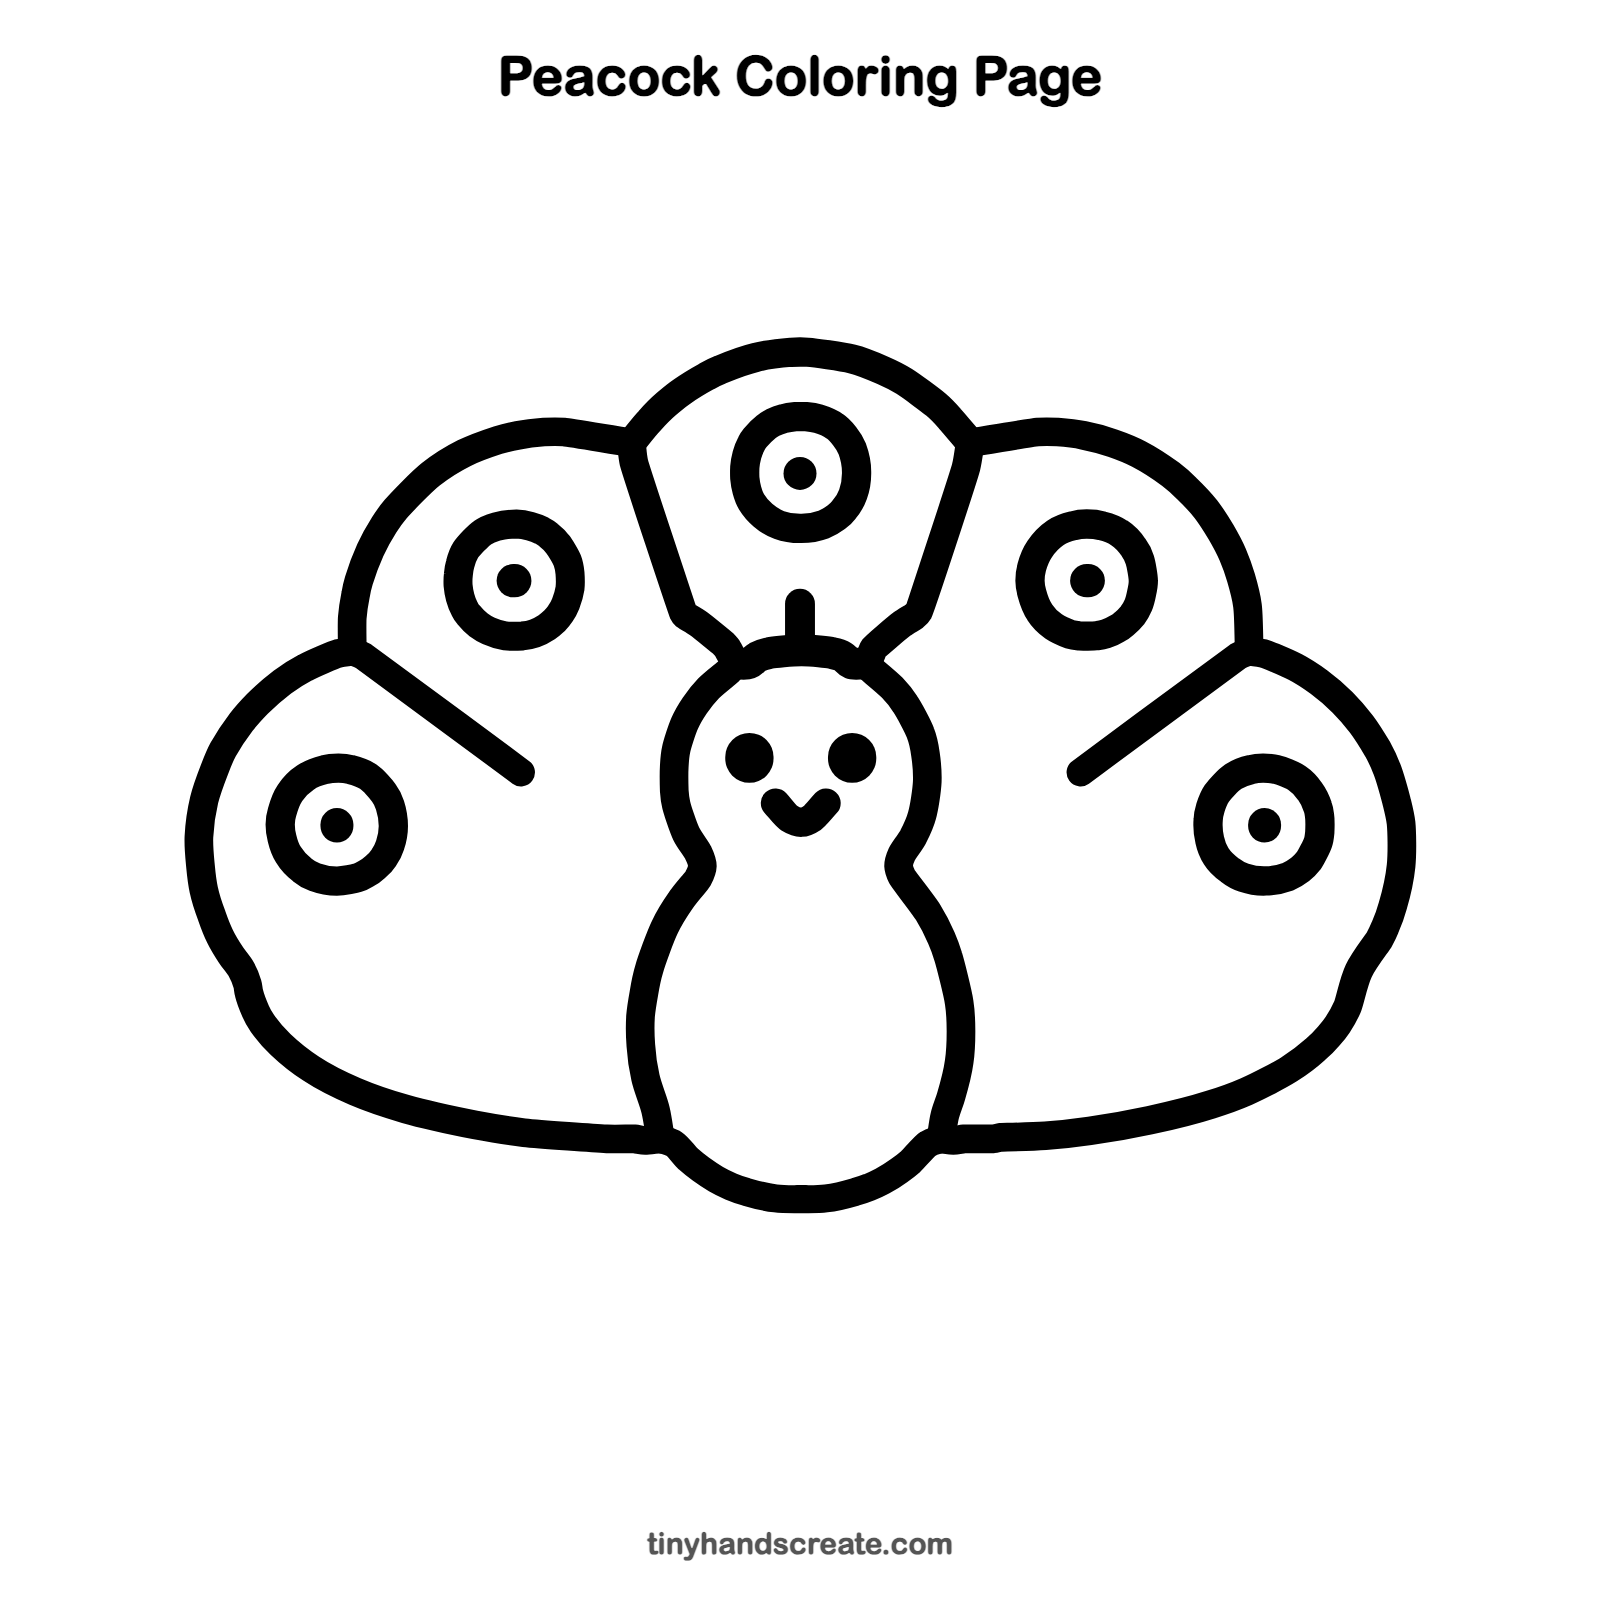
Want to go straight to coloring? Open this peacock coloring page at full size and print it. It is the same drawing you just learned, with clean lines ready for crayons or markers.
How to color your peacock drawing
Color the body and head a deep blue-green, and make the feather rings blue, green, and gold. For a creative twist, give each fan and wing a different pattern, like stripes or tiny dots.
Peacock fun fact for kids
Only male peacocks have the big, colorful tail fan. They spread it out to show off, and the round patterns on the feathers are called eyespots.
Questions about drawing a peacock
What shapes do I need to draw a peacock?
You need a pear shape for the body, a small round head, and curved lines for the fan. The feather eyes are rings with a dot in the middle.
How do I make my peacock look cuter?
Draw the eyes as round dots and keep the beak small. Making the head a little larger than usual also helps.
How do I draw the peacock's tail fan?
Start with one arch above the head and two slanted lines down to the head. Then add a curved line on each side and finish with wide wings that sweep down to the bottom of the body.