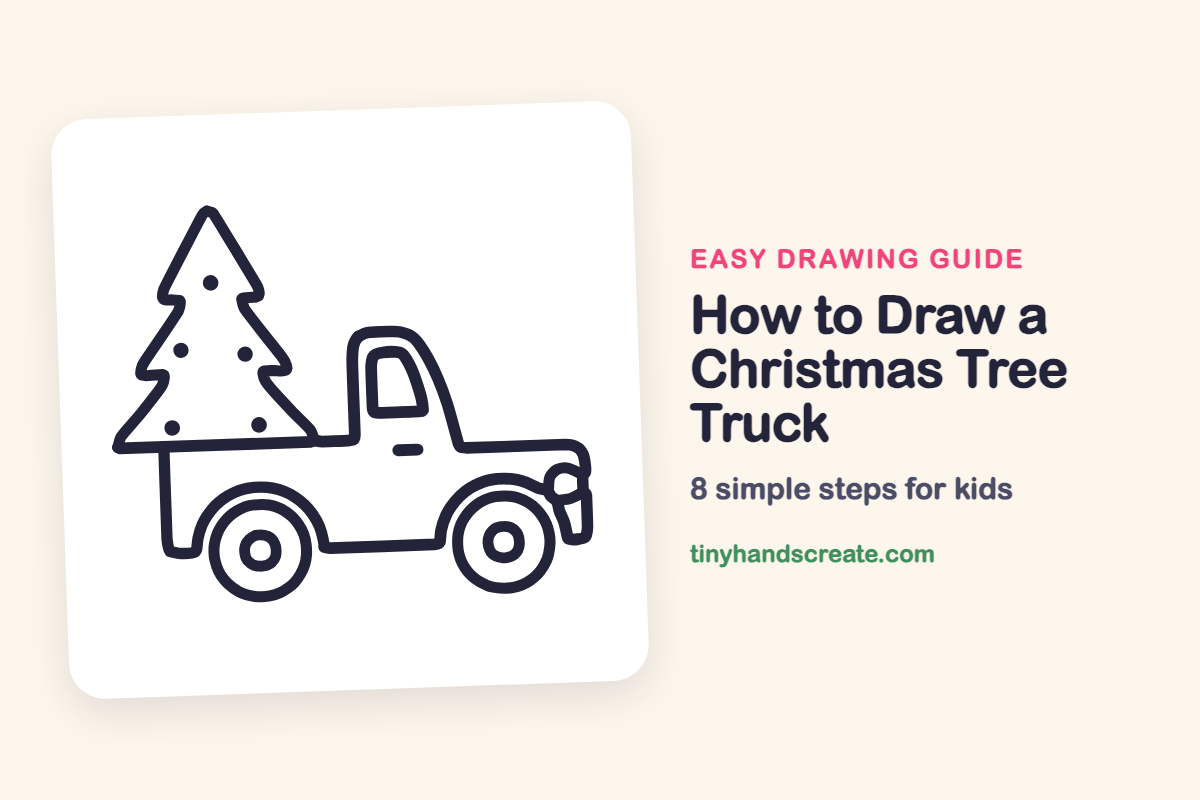
How to Draw a Christmas Tree Truck (Easy Step by Step)
A truck carrying a Christmas tree home is a cozy holiday scene to draw. It is built from simple shapes: a zigzag tree, a boxy cab, two circles for wheels, and a few dots for ornaments. Once you can draw those, you can draw this whole truck.
- Medium
- 15 minutes
- 8 steps
You need: paper, a pencil, an eraser, and crayons or markers for coloring.
Start drawingIn this article (7 sections)
How to draw a Christmas tree truck step by step
How to Draw a Christmas Tree Truck · tinyhandscreate.com
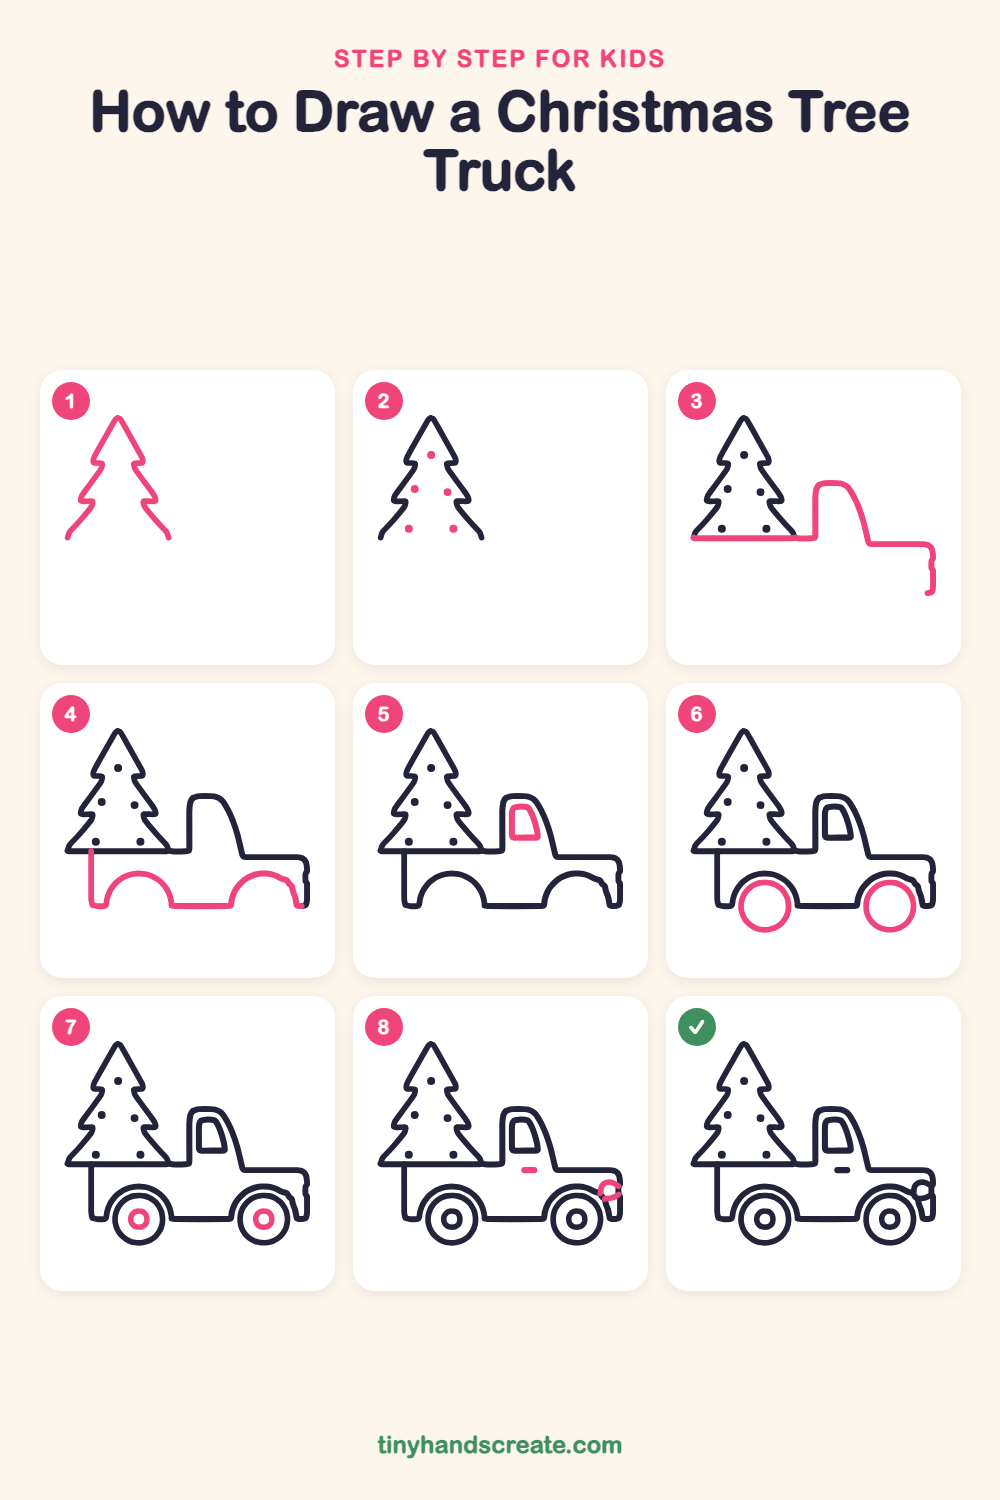
Step 1: The Christmas tree
Start at the top point and draw the left side of the tree going down in three zigzag layers, like steps. Then draw the right side the same way, so the tree has a pointed top and wide, jagged branches.
Step 2: Tree ornaments
Draw five small round dots on the tree for ornaments. Put one near the top and spread the others out in the middle and near the bottom.
Step 3: Truck bed and cab
Draw a long flat line along the bottom of the tree that keeps going right. Then turn it up into a tall cab with a rounded top, slope the roof down to the hood, and draw the hood across to the front, ending with a short line going down.
Step 4: Body and wheel arches
Start below the left end of the flat line and draw a straight line down, then a flat line along the bottom. Draw two big arches in that bottom line, one for each wheel, and finish the front corner of the truck.
Step 5: The cab window
Inside the cab, draw a small window shaped like a box with a slanted right side. Keep it a little away from the cab edges.
Step 6: Big wheels
Under each arch, draw a big circle for a wheel. Try to make the two wheels the same size.
Step 7: Wheel centers
Draw a small circle in the middle of each wheel for the hubcap.
Step 8: Handle and headlight
Draw a short dash below the window for the door handle. Then add a small circle at the front corner of the truck for the headlight.
All done!
Go over your lines with a marker, then color it in.
Finished your Christmas tree truck? Keep the pencils out and learn how to draw Mrs. Claus or how to draw a snowman face next.
Tips for drawing a Christmas tree truck
- Draw the tree first and lightly. Make the zigzag layers wider toward the bottom so the tree looks full.
- The wheel arches are the trickiest part. Make both arches about the same size so the wheels fit nicely under them.
- Space the ornaments out so they do not bunch together. Look for the open spots on the tree before you draw each dot.
Free Christmas tree truck coloring page
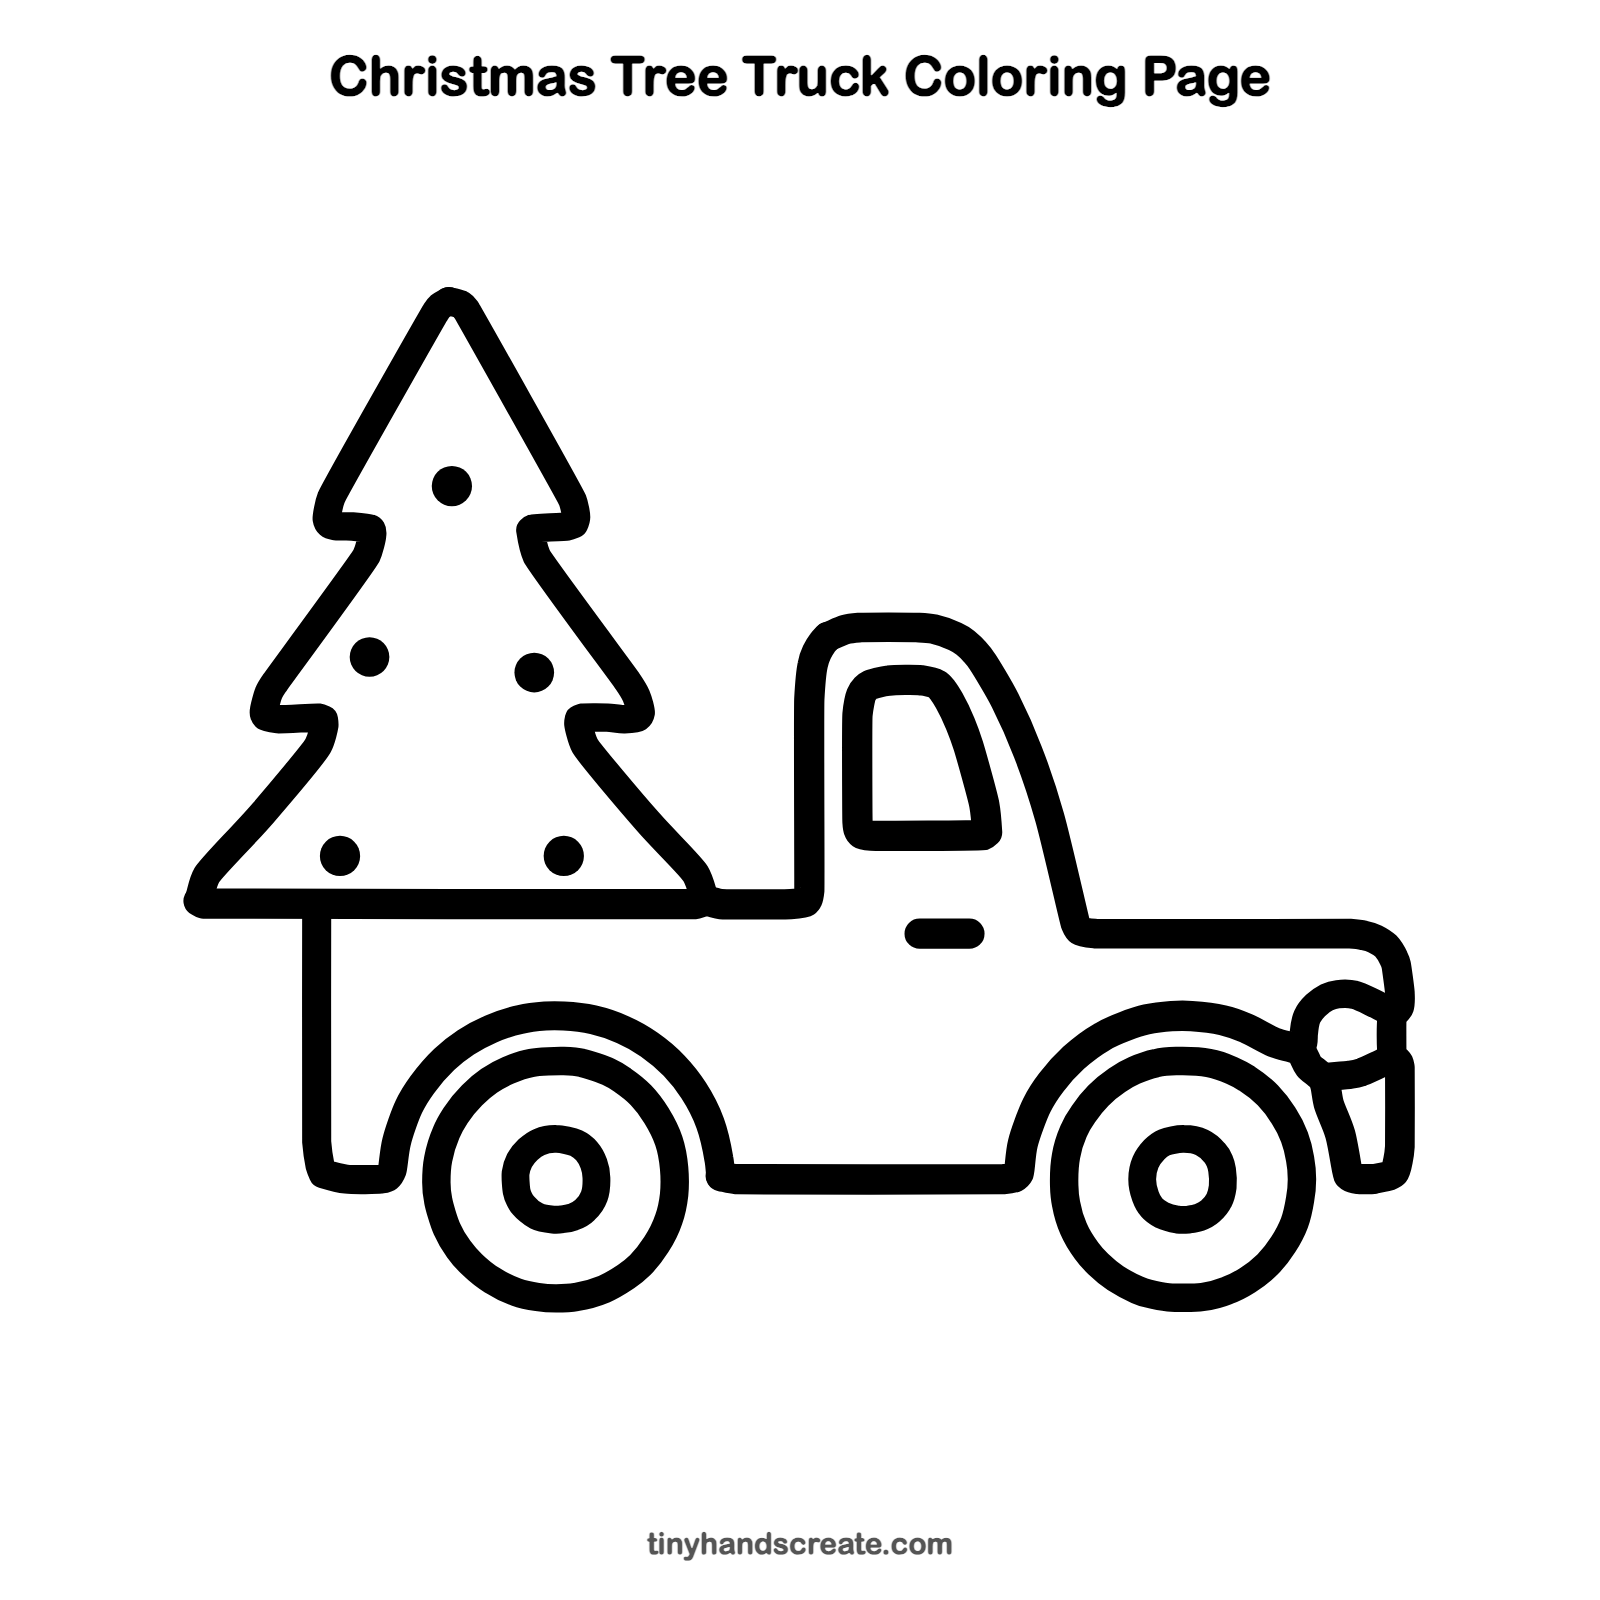
Want to go straight to coloring? Open this Christmas tree truck coloring page at full size and print it. It is the same drawing you just learned, with clean lines ready for crayons or markers.
How to color your Christmas tree truck drawing
Color the tree green, the truck red, and the wheels dark gray with light gray hubcaps. For a creative twist, make each ornament a different color or add snow falling around the truck.
Christmas tree truck fun fact for kids
Many families pick a real tree from a tree farm and tie it onto the back of a truck or car to bring it home. A tree usually takes about seven to ten years to grow to a size that is ready to cut.
Questions about drawing a Christmas tree truck
What shapes do I need to draw a Christmas tree truck?
You need a zigzag tree shape, a box with a rounded top for the cab, and circles for the wheels and hubcaps. Small dots make the ornaments.
How do I draw a truck wheel that looks round?
Draw a big circle first, then add a smaller circle inside it. Turning the paper as you draw can help make the curve smooth.
How do I make my Christmas tree look fuller?
Make the bottom layer wide and keep the zigzag steps even on both sides. A few ornaments will make it look festive.