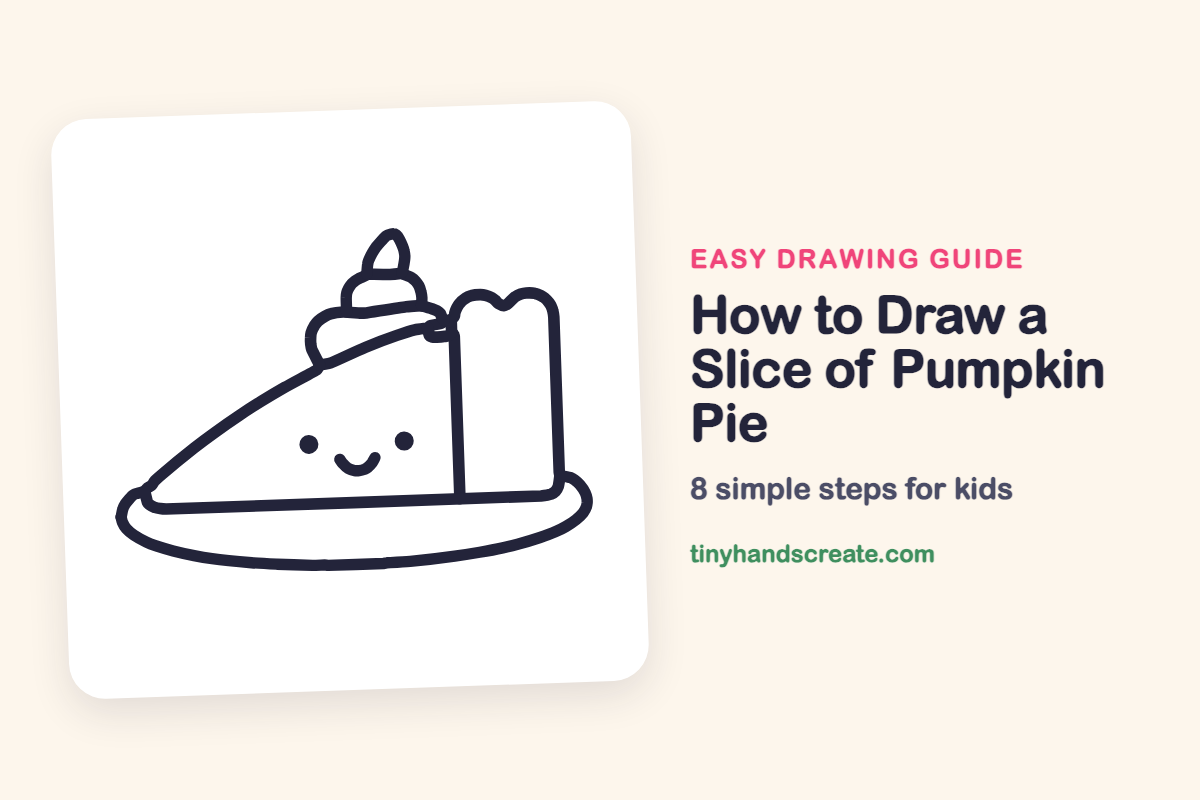
How to Draw a Slice of Pumpkin Pie (Easy Step by Step)
A slice of pumpkin pie is a cozy thing to draw, and this one has a happy face to make it even sweeter. It is built from simple shapes: a sloping line and a flat bottom for the slice, a tall rounded rectangle for the crust, a flat oval plate, and a few puffy bumps of whipped cream.
- Easy
- 12 minutes
- 8 steps
You need: paper, a pencil, an eraser, and crayons or markers for coloring.
Start drawingIn this article (7 sections)
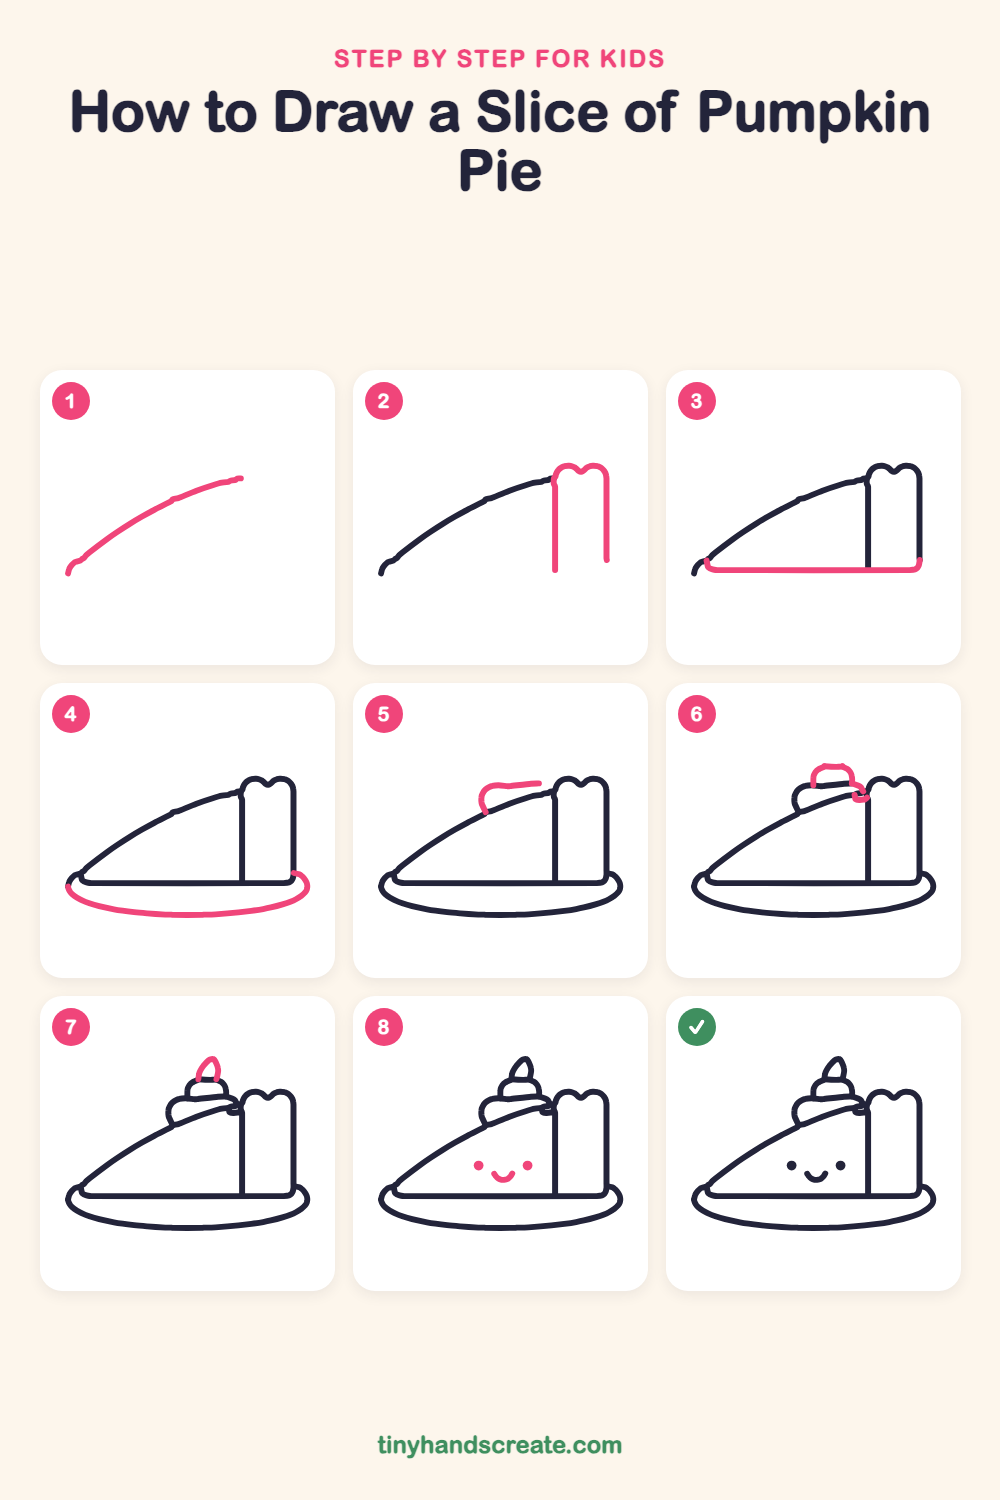
How to draw a slice of pumpkin pie step by step
How to Draw a Slice of Pumpkin Pie · tinyhandscreate.com
Step 1: Sloping top edge
Draw a long, gently curved line that starts low on the left and rises up toward the right. Draw it lightly at first so it is easy to fix.
Step 2: The tall crust
Near the right end of the curve, draw a tall rounded rectangle standing straight up, with no bottom line yet. Give its top a little dip in the middle so it looks like a wavy crust.
Step 3: The bottom edge
Draw a straight line along the bottom, from the left end of the sloping line across to the bottom of the crust. Curl the right end up just a little.
Step 4: The plate
Draw a wide, flat oval under the pie, like a squashed circle. Start at the left and right ends of the bottom edge and curve the line down below the slice.
Step 5: Whipped cream puff
On the sloping top edge, draw a wide puffy bump that sits on the slice. Start on the slope, curve up and over, and end near the crust.
Step 6: Cream swirl
On top of the first puff, draw a smaller rounded bump like a little hill. Add a tiny curl where the cream meets the crust.
Step 7: The pointy tip
At the very top of the swirl, draw a small curved shape that comes to a point, like a flame or an upside-down drop.
Step 8: A happy face
Draw two small dots for eyes in the middle of the slice. Between them, a little lower down, draw a smile shaped like the letter U.
All done!
Go over your lines with a marker, then color it in.
Finished your slice of pumpkin pie? Keep the pencils out and learn how to draw a pilgrim hat or how to draw corn on the cob next.
Tips for drawing a slice of pumpkin pie
- Draw the sloping top edge first and keep it a smooth, gentle curve. Everything else sits on or beside it.
- Make the crust tall and a bit narrow, and let the little dip at the top be shallow so it looks like a soft wave.
- Draw the whipped cream as bumps stacked from big to small. Leave a little space between the bumps so each one stays easy to see.
Free slice of pumpkin pie coloring page
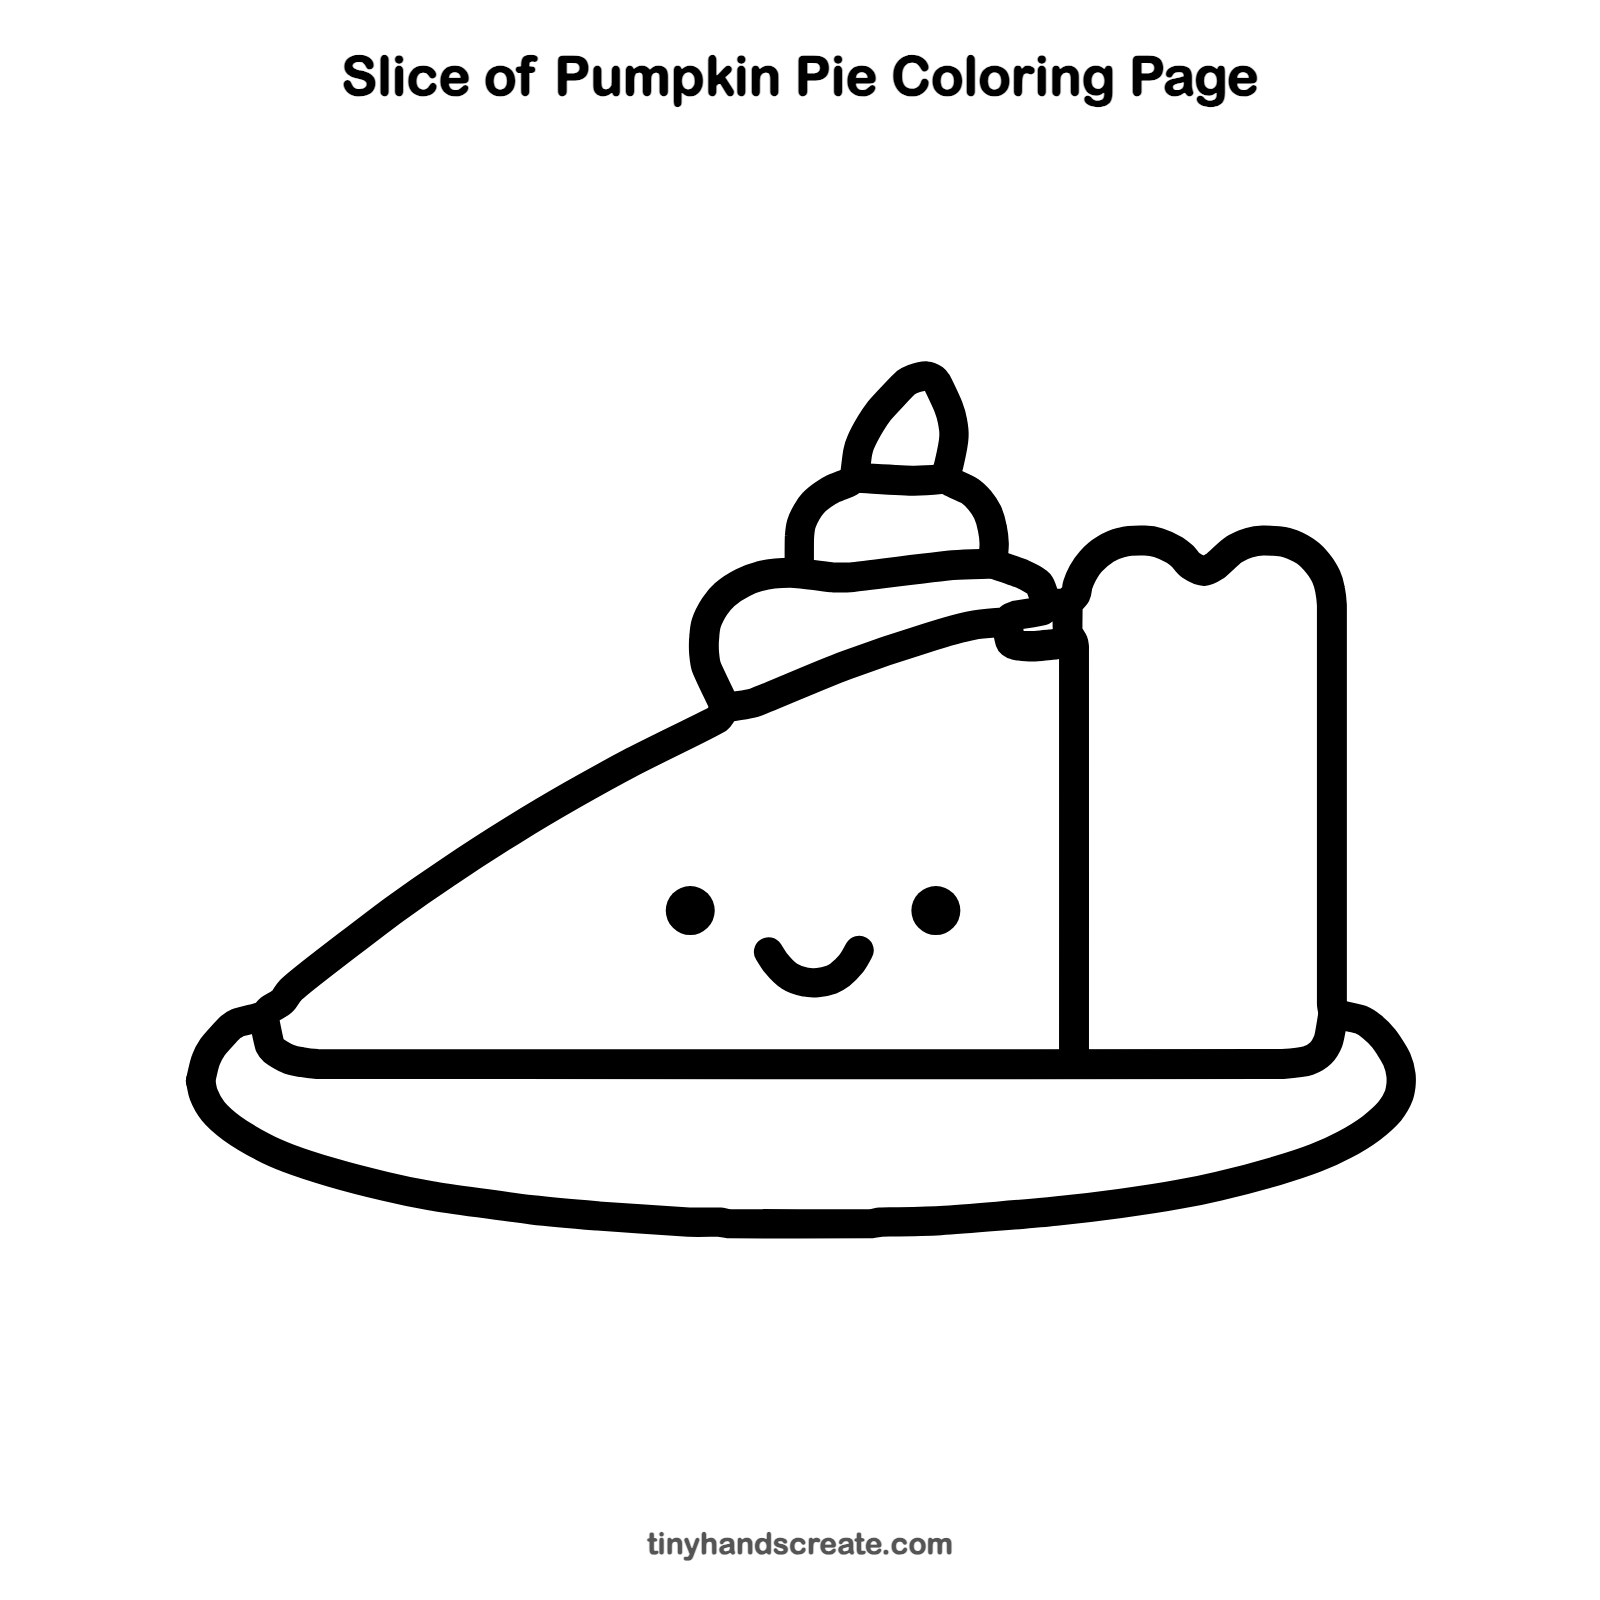
Want to go straight to coloring? Open this slice of pumpkin pie coloring page at full size and print it. It is the same drawing you just learned, with clean lines ready for crayons or markers.
How to color your slice of pumpkin pie drawing
Color the filling a warm orange, the crust golden brown, and the cream a soft cream or white with a pinch of cinnamon brown. For a twist, give the plate a pattern of little autumn leaves or stripes.
Slice of pumpkin pie fun fact for kids
Pumpkins are actually fruits, because they grow from a flower and hold seeds inside.
Questions about drawing a slice of pumpkin pie
What shapes do I need to draw a slice of pumpkin pie?
You need a curved sloping line and a flat bottom line for the slice, a tall rounded rectangle for the crust, and a flat oval for the plate. A few bumpy cloud shapes make the whipped cream.
How do I make my pumpkin pie look cuter?
Add a face with two small dots for eyes and a small U-shaped smile. Placing the face low and in the middle of the slice makes it look extra friendly.
How do I draw the whipped cream so it looks fluffy?
Start with a wide puffy bump on the sloping edge and stack a smaller bump on top. Finish with a small pointed tip so it looks like a swirl.