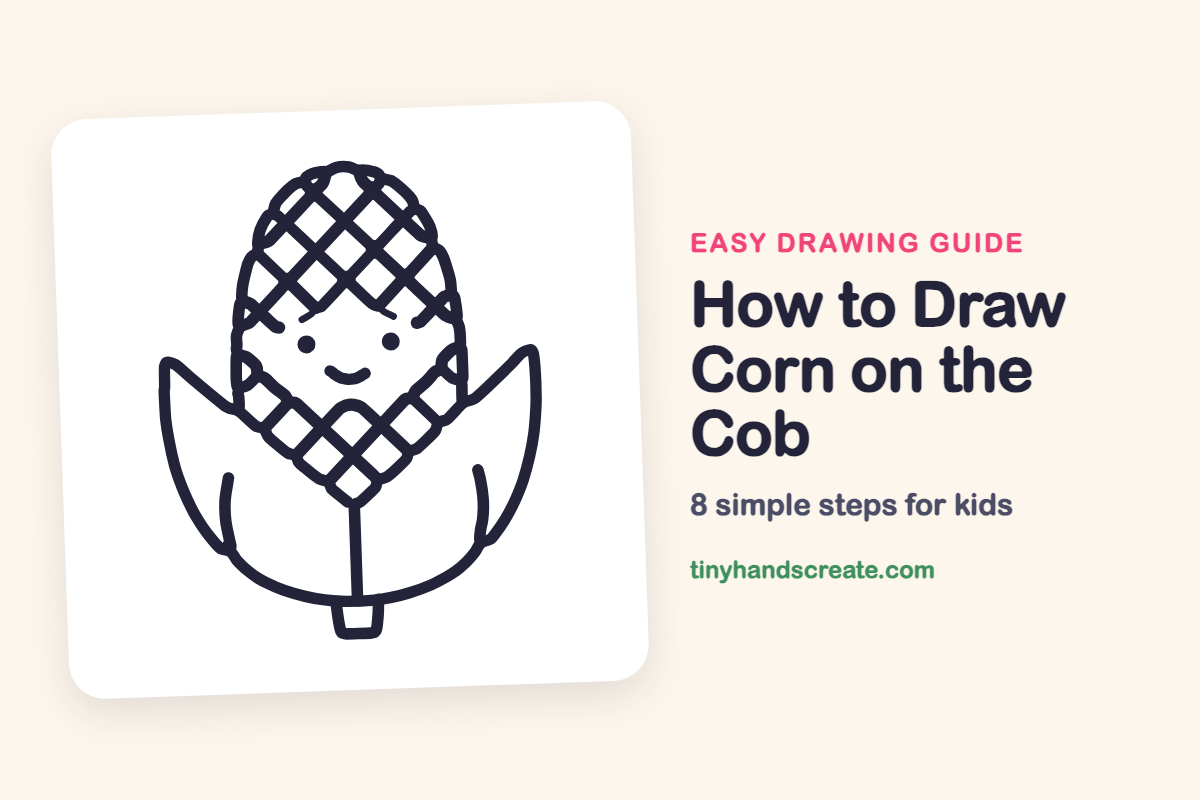
How to Draw Corn on the Cob (Easy Step by Step)
This smiling ear of corn is fun to draw because it is built from a few easy shapes: an arch for the top of the cob, two pointy leaves, and a net of diamonds for the kernels. If you can draw straight crisscross lines, you can draw the whole thing. The little face makes it feel like a friendly character.
- Medium
- 15 minutes
- 8 steps
You need: paper, a pencil, an eraser, and crayons or markers for coloring.
Start drawingIn this article (7 sections)
How to draw corn on the cob step by step
How to Draw Corn on the Cob · tinyhandscreate.com
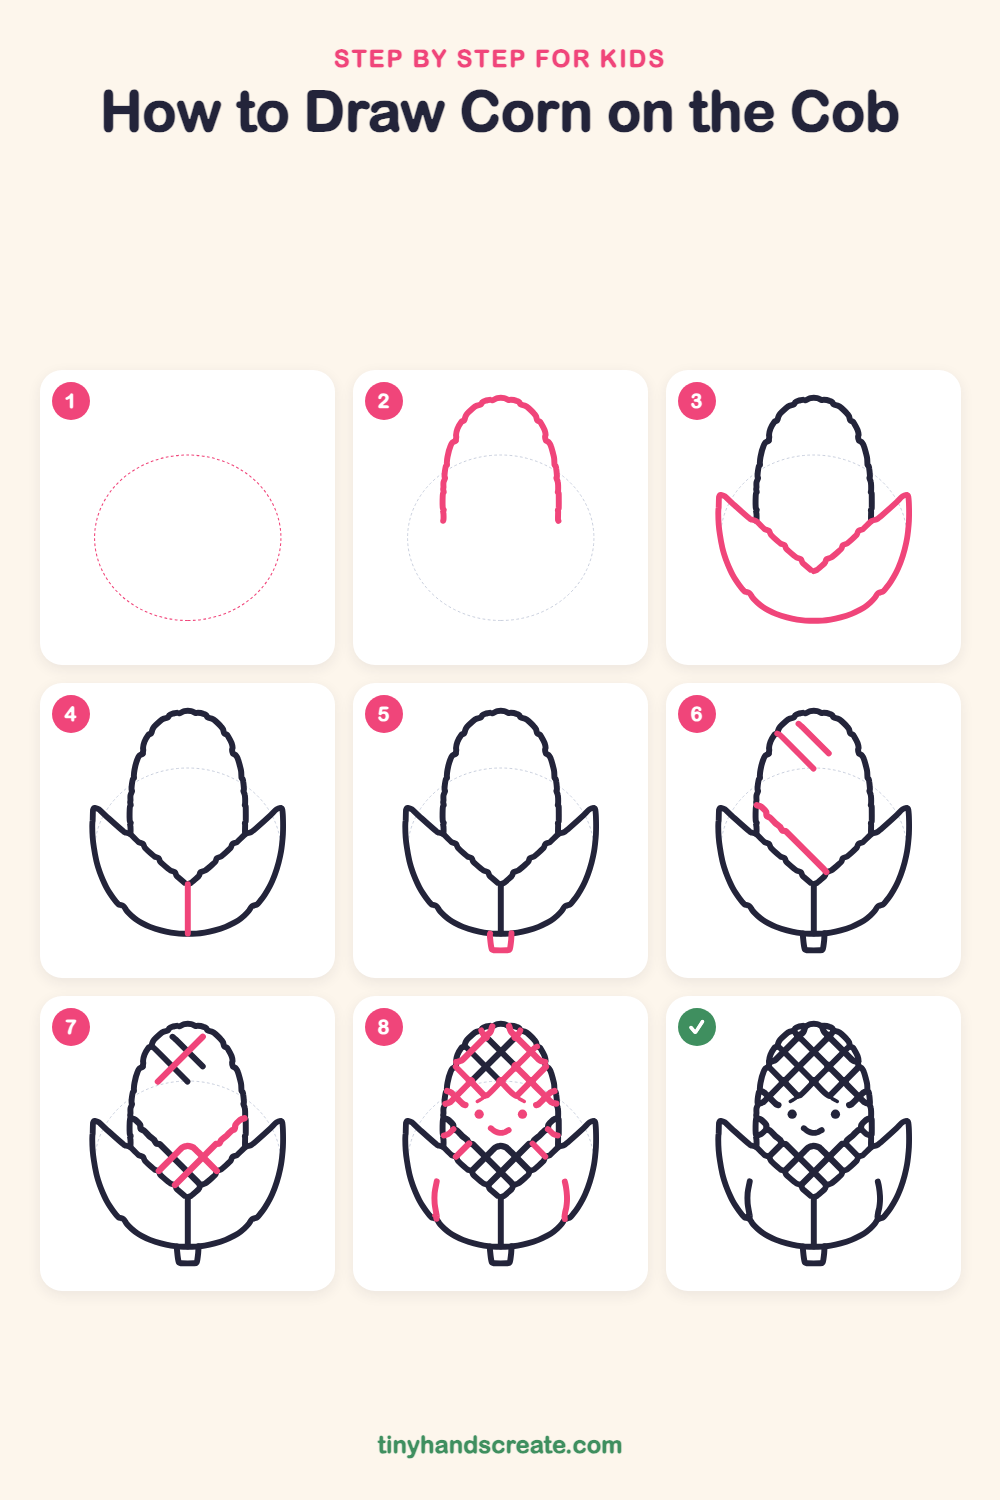
Step 1: Guide shapes
Lightly sketch this oval. It only shows where the big parts go, so press softly. You will erase it at the end.
Step 2: The top of the cob
Draw a curved arch like an upside-down U for the top of the cob. Start low on the left, curve up and over the top, and come down on the right. Leave the bottom open, because the leaves will cover it.
Step 3: The two husk leaves
Draw a big leaf on each side of the cob. Each leaf starts at a point high on the outside, curves down and around the bottom, then comes back up toward the middle to meet the other leaf in a V shape.
Step 4: The center fold
Draw a short straight line going down from the point of the V to the bottom edge of the leaves.
Step 5: The little stem
At the bottom, below the leaves, draw a small box shape with a flat bottom and no top. This is the stem where the corn was picked.
Step 6: Kernel lines slanting down
Inside the cob, draw a few straight lines that slant down to the right, side by side, like a set of slides. Draw some near the top and one long one near the bottom left, keeping them about the same distance apart.
Step 7: Kernel lines slanting up
Now draw lines slanting the other way, down to the left, so they cross the first ones and make a net of diamonds. Add some near the top and a few at the bottom, where the cob meets the leaves.
Step 8: Face and finishing touches
Leave a smooth patch in the middle of the cob and draw two round dots for eyes with a small curved smile between them. Then finish the kernel diamonds around the face and edges, and add a short curved line inside each leaf.
All done!
Erase the guide shapes, go over your lines, then color it in.
Finished your corn on the cob? Keep the pencils out and learn how to draw a hand turkey or how to draw a turkey next.
Tips for drawing corn on the cob
- Draw the top of the cob first, then draw the leaves so the cob looks tucked inside them.
- Draw the kernel lines with a ruler edge or a slow, steady hand, and keep the gaps the same size so the diamonds look even.
- Leave a blank patch for the face before you finish the crisscross lines, so the eyes and smile have room and do not get lost in the net.
Free corn on the cob coloring page
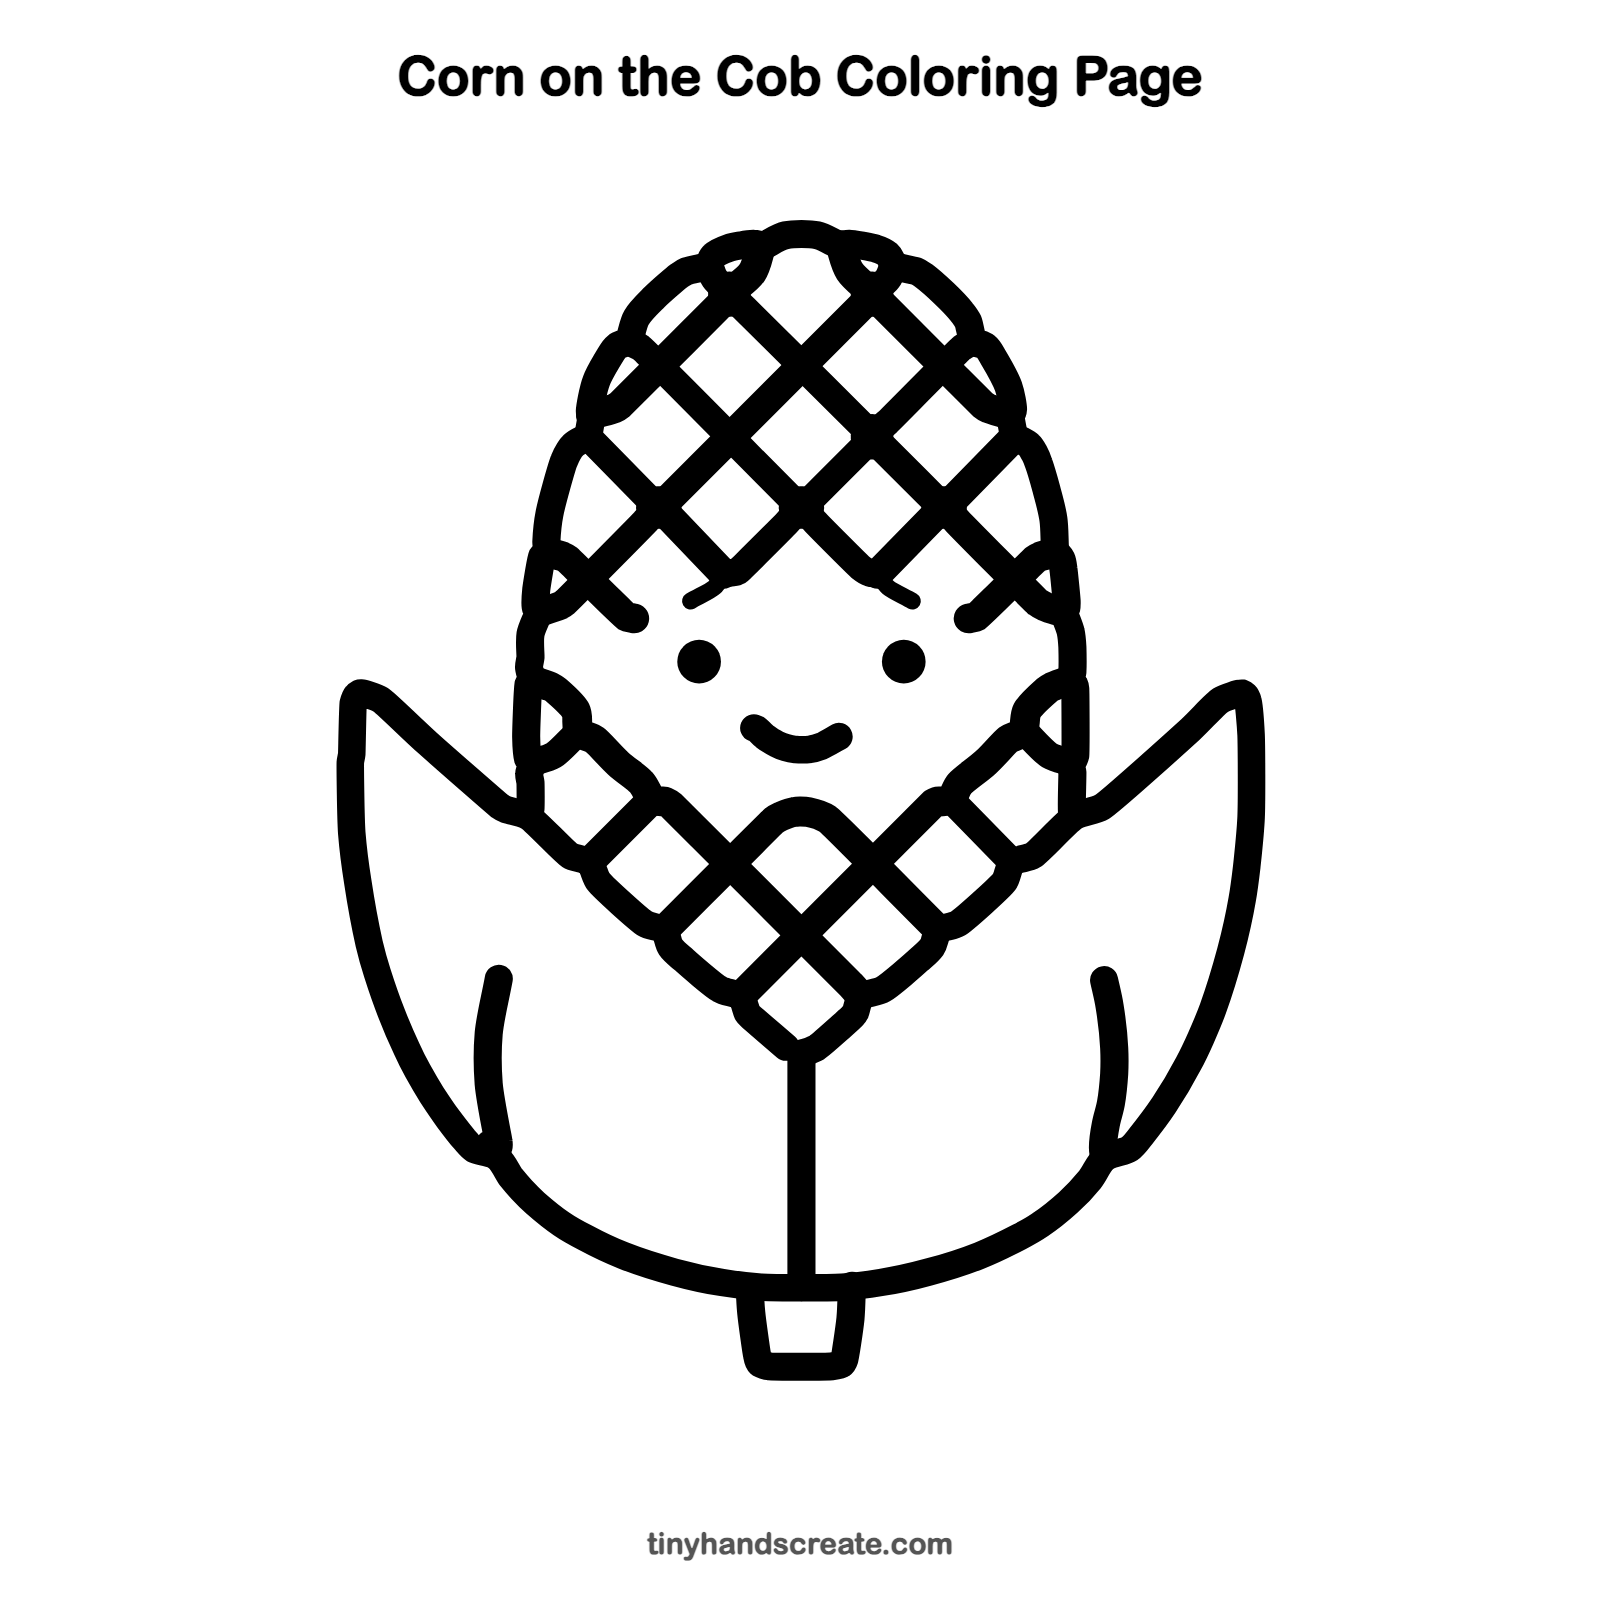
Want to go straight to coloring? Open this corn on the cob coloring page at full size and print it. It is the same drawing you just learned, with clean lines ready for crayons or markers.
How to color your corn on the cob drawing
Color the kernels sunny yellow and the leaves a fresh green, with a pale tan stem. For a creative twist, make every diamond a different shade of yellow and orange, like rainbow popcorn kernels.
Corn on the cob fun fact for kids
Corn silk, the soft threads you pull off an ear of corn, is actually made of many tiny strands, and each one is connected to a single kernel.
Questions about drawing corn on the cob
What shapes do I need to draw corn on the cob?
You need an arch for the top of the cob, two curved leaf shapes for the husk, and a small box for the stem. The kernels are just crisscross straight lines.
How do I make my corn look cuter?
Give it a face with two round dot eyes and a small smile, and place them in the smooth patch in the middle of the cob. Round, simple features look the friendliest.
How do I draw the kernels so they look neat?
Draw the lines that slant one way first, then cross them with lines slanting the other way. Keep the spacing even and the diamonds will line up.