How to Draw a Bat (Easy Step by Step)
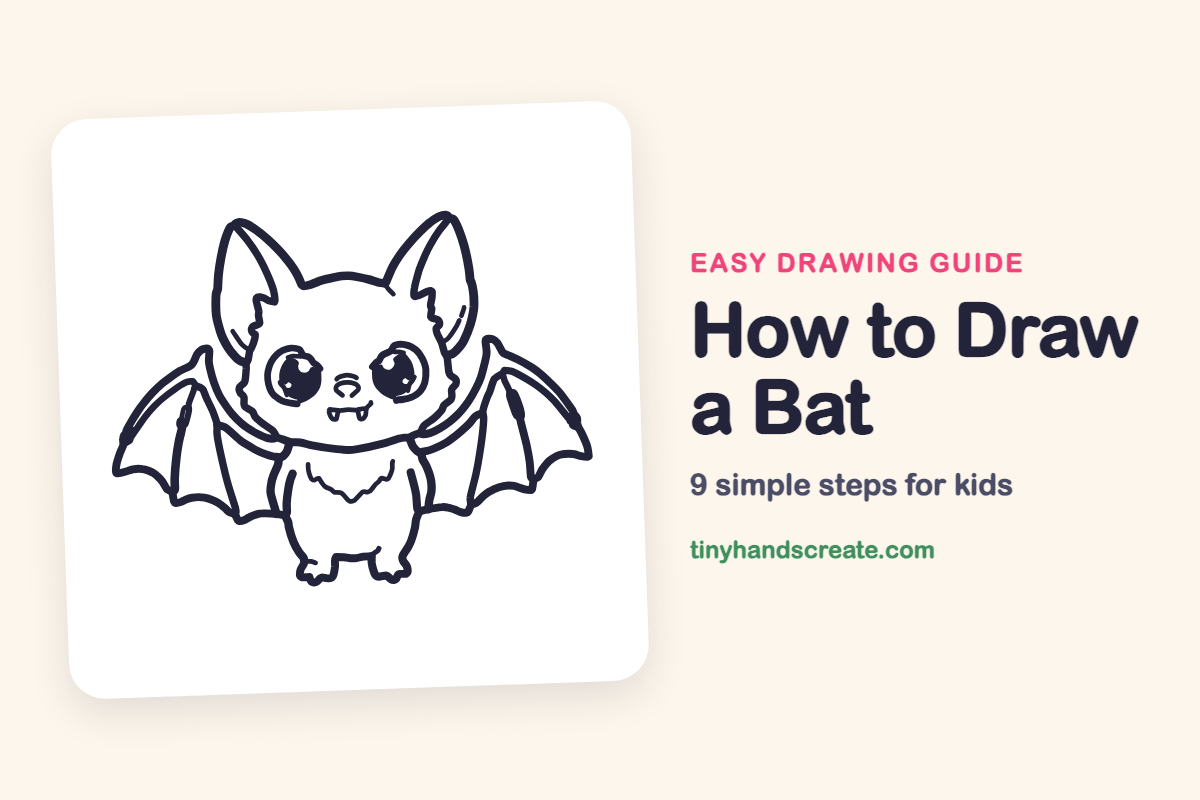
This little bat has big sparkly eyes, a tiny smile and wide wings with scalloped edges, which makes it more cute than spooky. It is built from simple parts: a fuzzy round head, two pointy ears, a small tummy and two wide wings.
- Medium
- 15 minutes
- 9 steps
You need: paper, a pencil, an eraser, and crayons or markers for coloring.
Start drawingIn this article (7 sections)
How to draw a bat step by step
How to Draw a Bat · tinyhandscreate.com
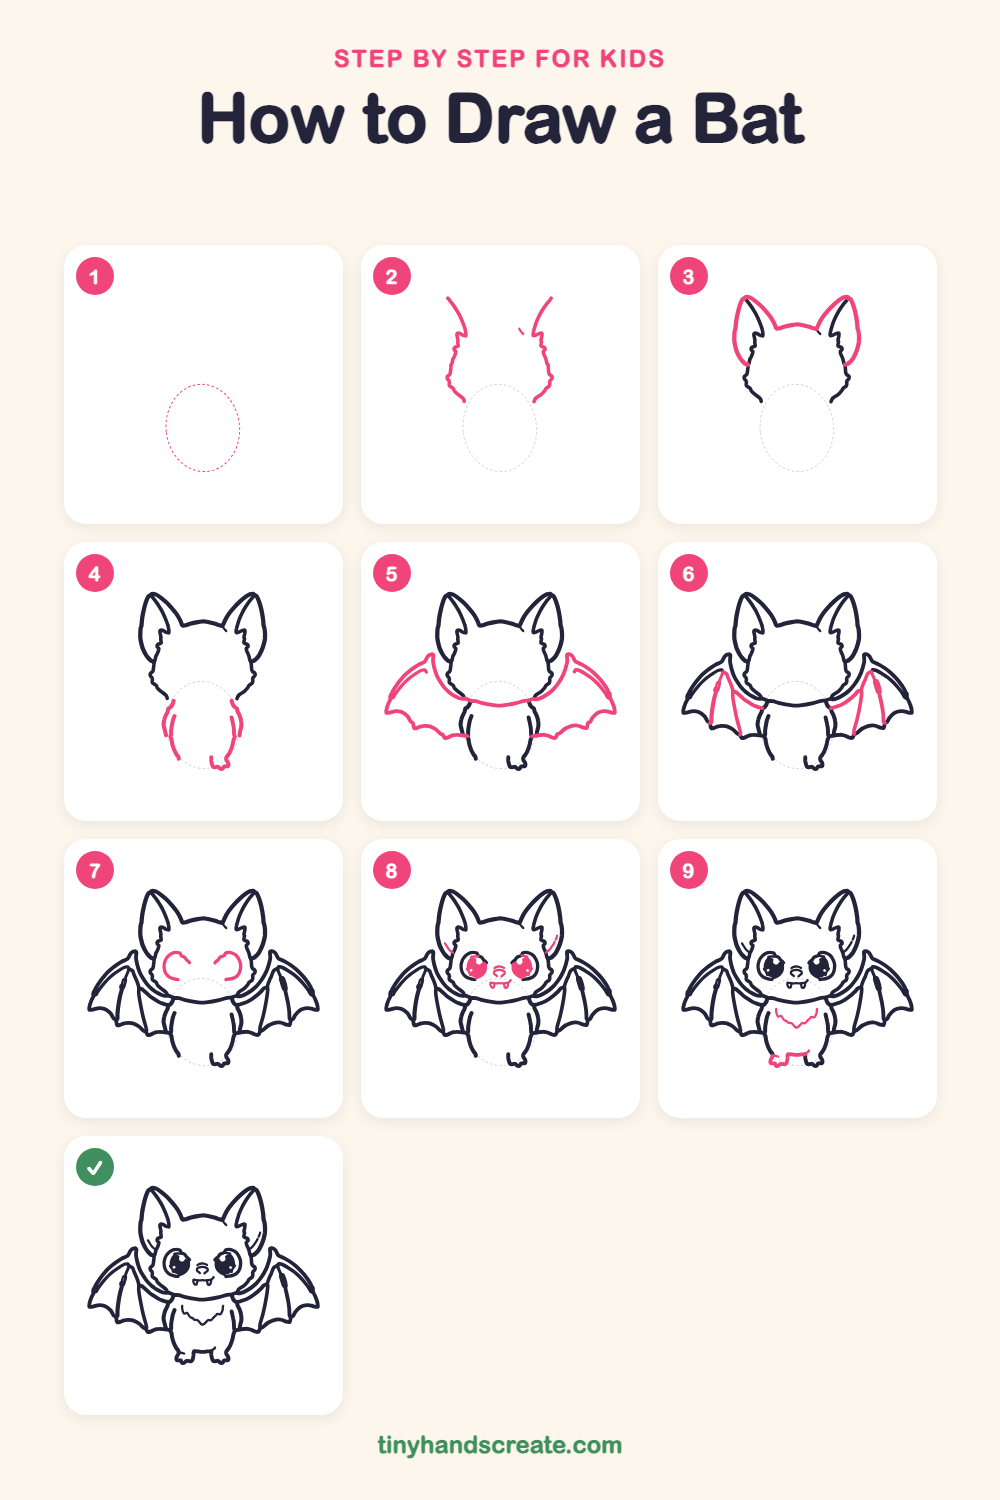
Step 1: Guide shapes
Lightly sketch this oval. It only shows where the big parts go, so press softly. You will erase it at the end.
Step 2: Fuzzy head sides
Near the top of your paper, draw the left and right sides of a round head. Make the lines a little bumpy and fuzzy, and leave the top open for now.
Step 3: Pointy ears and head top
Draw a tall ear on each side, starting at the head, curving up to a point and coming back down. Then connect the two ears with a soft, gently dipping line across the top of the head.
Step 4: Little body
Under the head, draw two curved lines for the sides of the tummy. Let them curve in a bit and meet near the bottom.
Step 5: Wing tops and edges
Start at each side of the head and draw a long curved line going up and out to a point for the top of the wing. Then draw the bottom edge as scoops, like a scalloped umbrella, coming back toward the body.
Step 6: Wing bones
Inside each wing, draw two long curved lines that start near the body and stretch out toward the scoops along the bottom edge.
Step 7: Eye curves
On the face, draw a curved C-shaped line for each eye. Make the curves open toward the middle of the face, like two little brackets.
Step 8: Eyes, nose and smile
Finish each eye as a big circle with a dark middle and leave a tiny white dot for a sparkle. Between the eyes, draw a small nose, and below it a little smile with two tiny fangs. Add a short curved line inside each ear.
Step 9: Chest fur and feet
On the tummy, draw a small zigzag line for fluffy fur. At the bottom of the body, draw two little feet.
All done!
Erase the guide shapes, go over your lines, then color it in.
Finished your bat? Keep the pencils out and learn how to draw a black cat or how to draw a witch hat next.
Tips for drawing a bat
- Draw the head sides and ears first, then add the tummy and wings. Everything else will fall into place around them.
- The wings are the trickiest part. Take your time with the scoops along the bottom edge, then add the long lines inside.
- Make the eyes big and put a small white dot in each one. Putting both dots in the same spot makes the bat look friendly and alive.
Free bat coloring page
Want to go straight to coloring? Open this bat coloring page at full size and print it. It is the same drawing you just learned, with clean lines ready for crayons or markers.
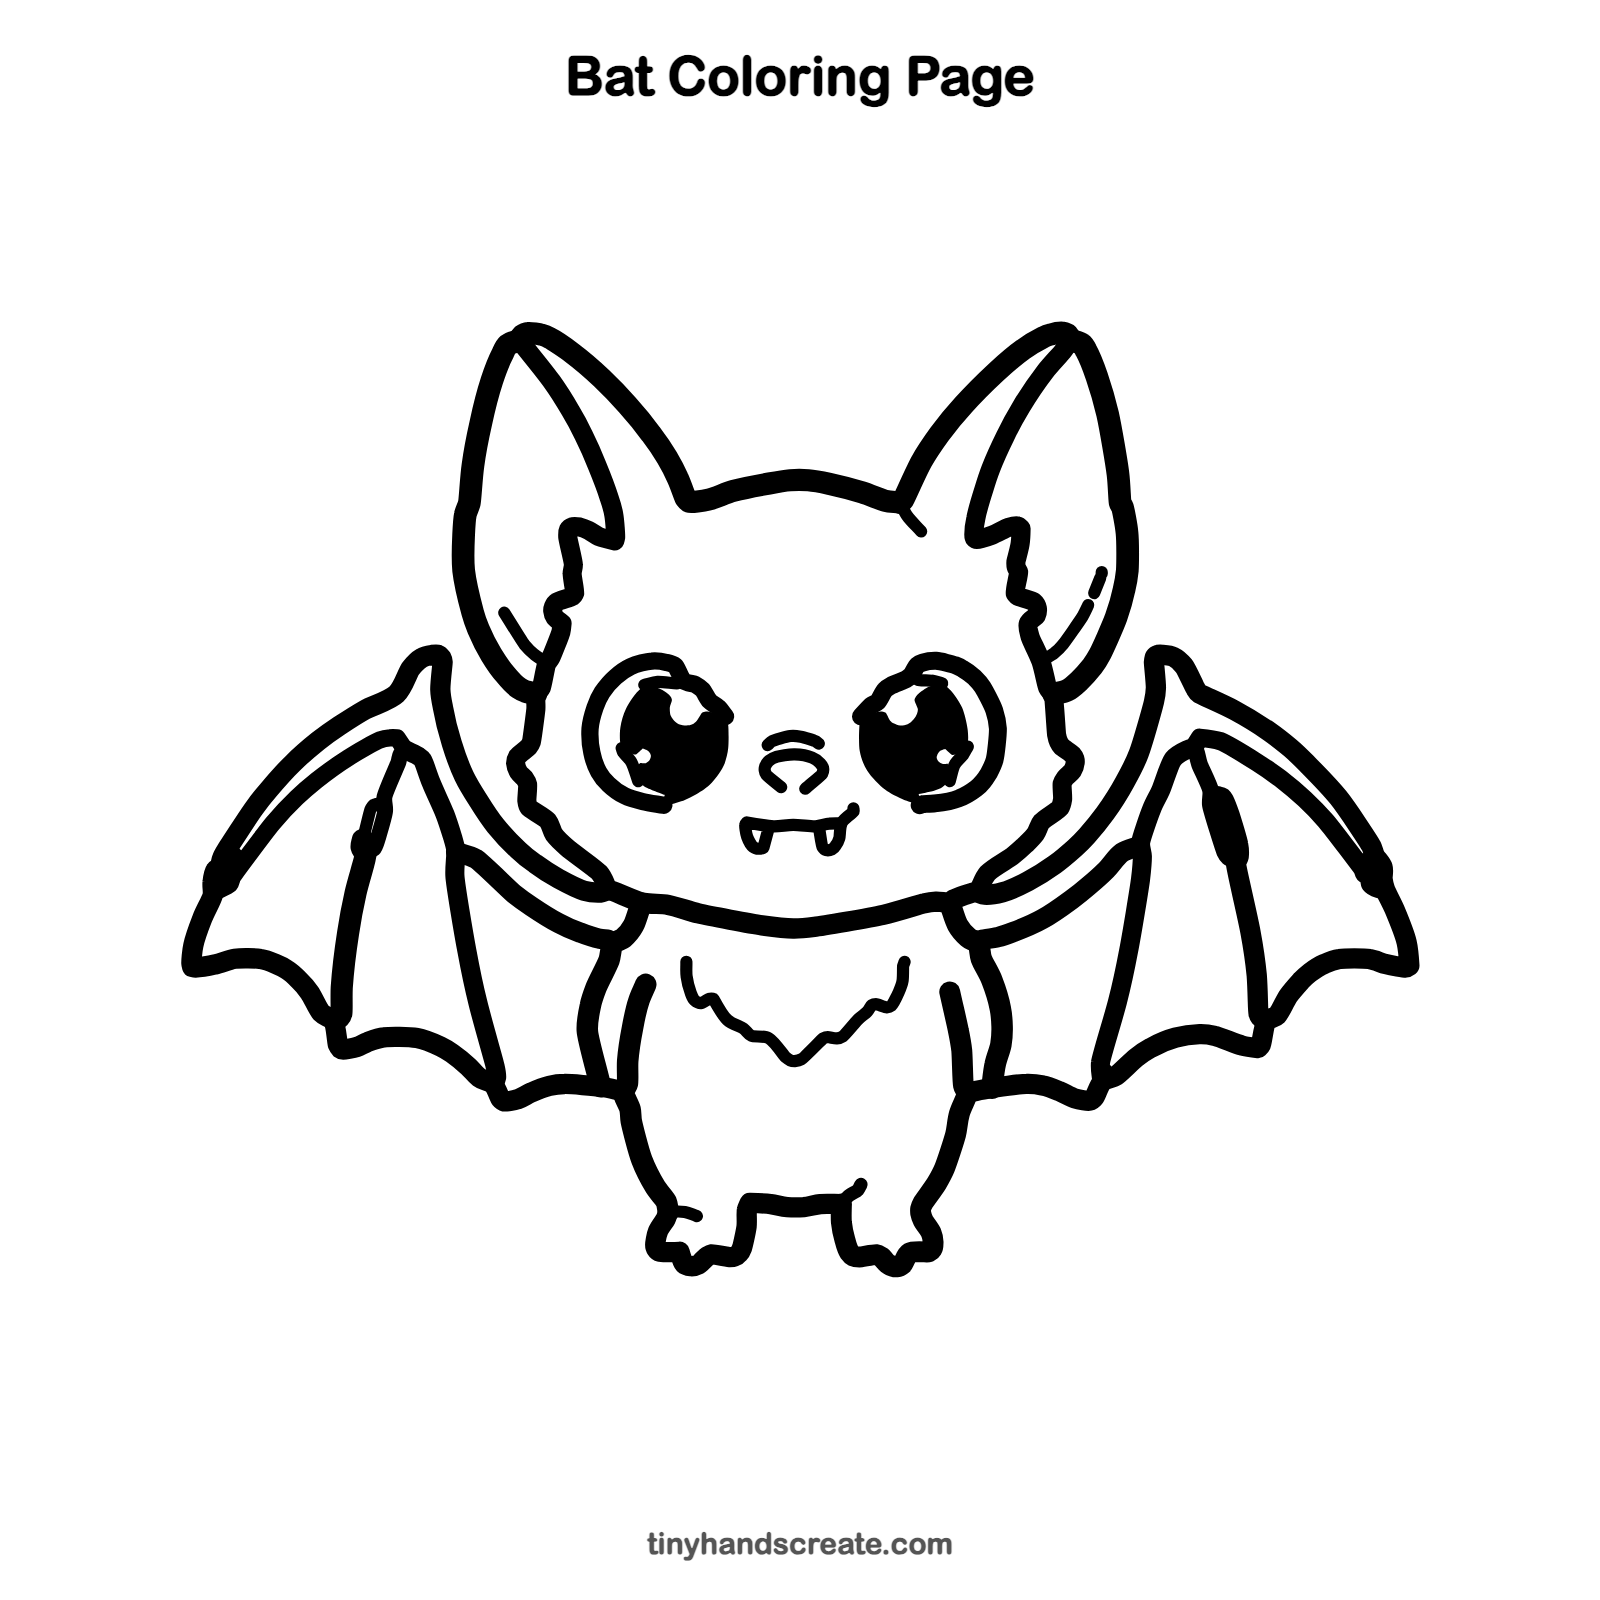
How to color your bat drawing
Try deep purple or soft gray for the body and a lighter pink or lilac for the wings, with bright yellow or green eyes. For a creative twist, color the wings like a night sky with stars and a moon.
Bat fun fact for kids
Bats are the only mammals that can truly fly. Their wings are made of thin skin stretched over long finger bones.
Questions about drawing a bat
What shapes do I need to draw a bat?
You need a fuzzy round shape for the head, two pointy ears, a small rounded tummy, and two wide wings with scalloped bottoms.
How do I make my bat look cuter?
Draw the eyes extra large with a shiny white dot, keep the smile small, and make the head big compared to the body. Round, soft shapes always look friendlier.
How do I draw bat wings that look right?
Start with a curved line from the side of the head going up and out to a point. Then draw scoops along the bottom edge and add long lines inside the wing, like the spokes of an umbrella.