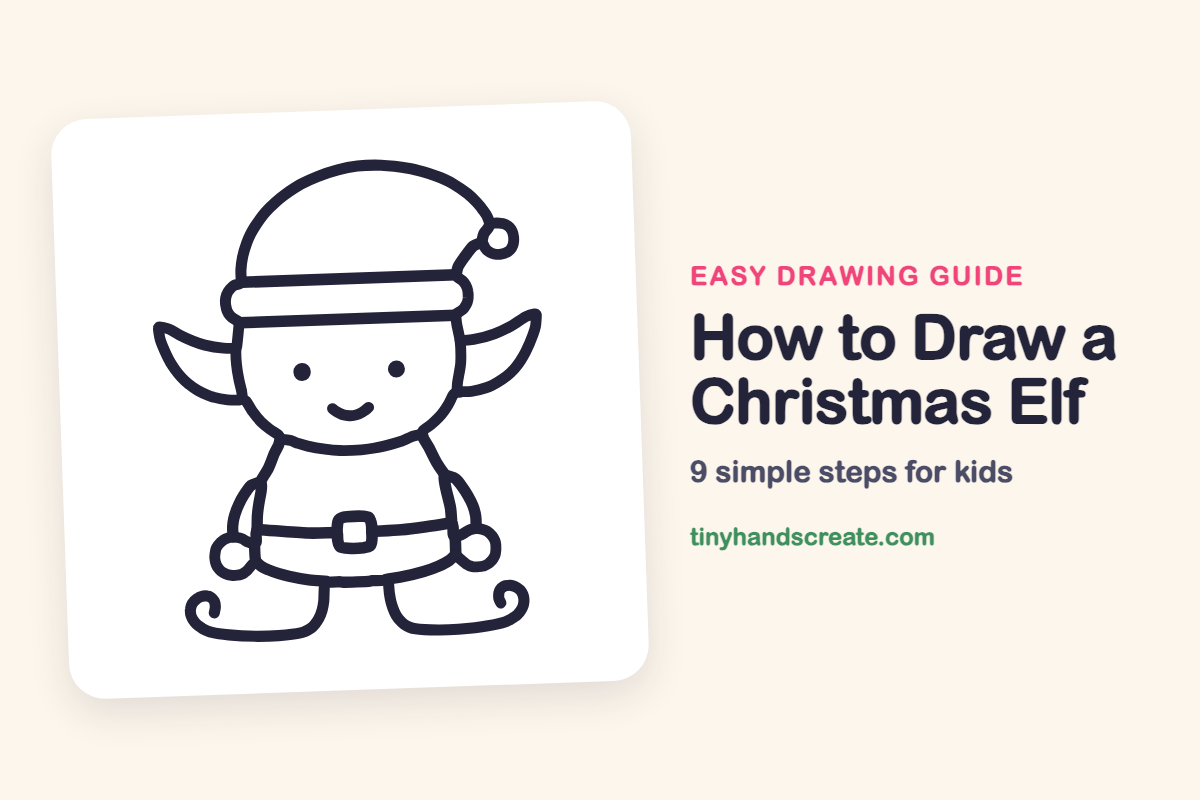
How to Draw a Christmas Elf (Easy Step by Step)
A Christmas elf is a happy little helper built from simple shapes: circles, curves and a small square. The pointy ears and curly boots make the elf look playful, and you can draw the whole thing with just a pencil. Take your time with each step and the shapes will come together.
- Easy
- 15 minutes
- 9 steps
You need: paper, a pencil, an eraser, and crayons or markers for coloring.
Start drawingIn this article (7 sections)
How to draw a Christmas elf step by step
How to Draw a Christmas Elf · tinyhandscreate.com
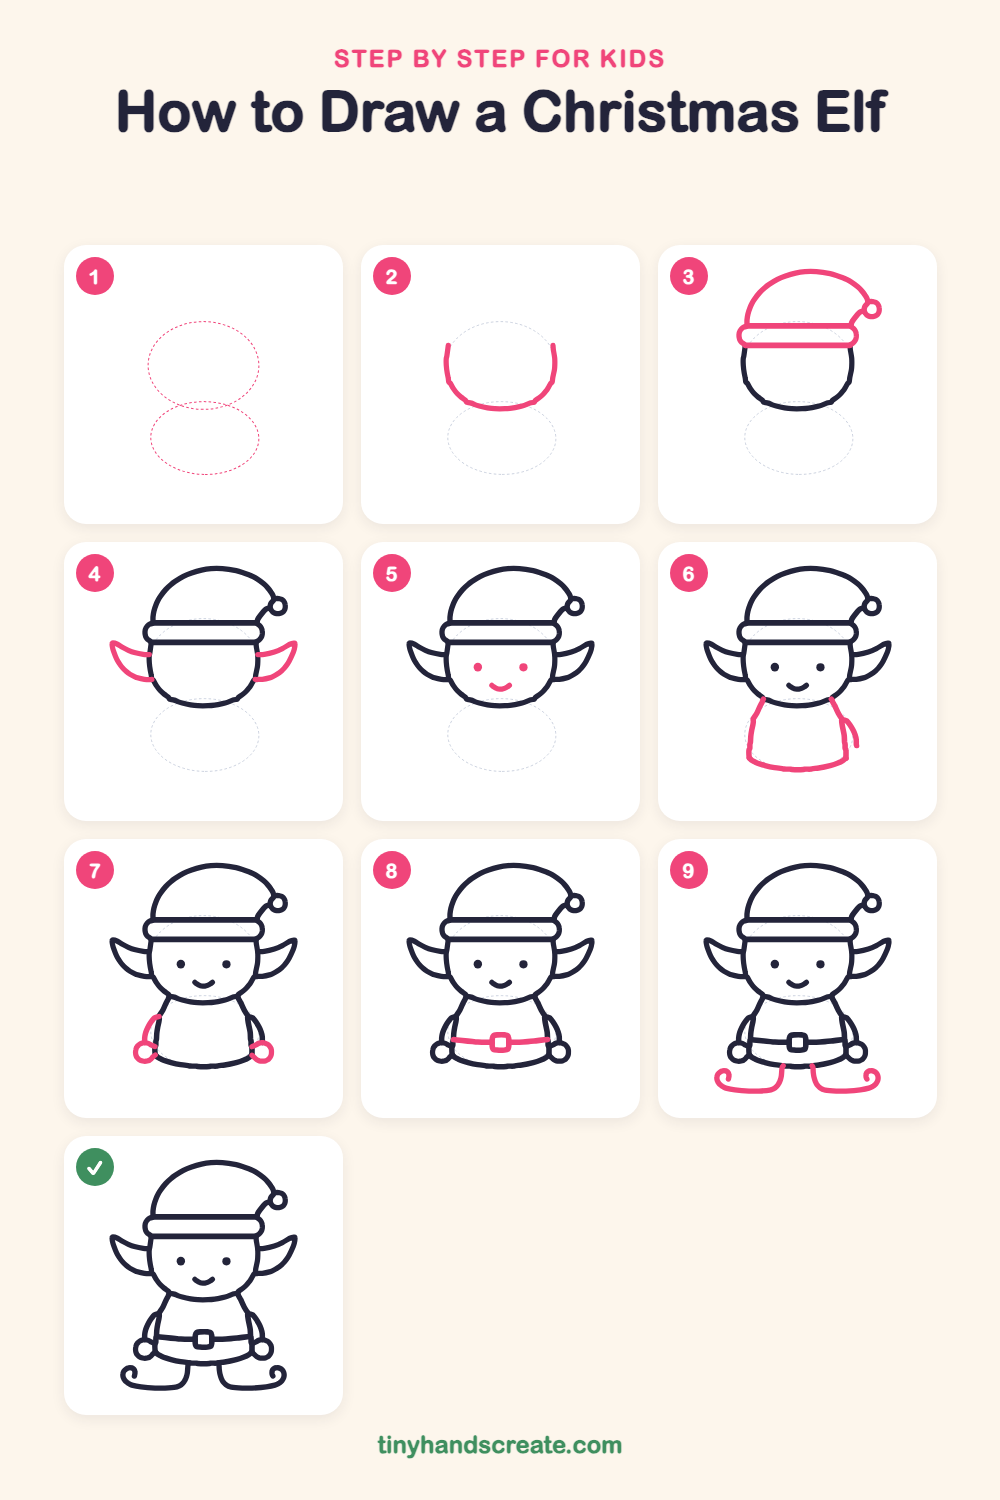
Step 1: Guide shapes
Lightly sketch these 2 ovals. They only show where the big parts go, so press softly. You will erase them at the end.
Step 2: The head
Draw a big U-shaped curve for the elf's face, like a round bowl. Leave the top open, because the hat will cover it.
Step 3: The hat
Draw a tall rounded dome above the face, then a puffy band across the bottom of the dome with two straight lines and rounded ends. Add a short curvy stalk on the right side of the hat, and finish it with a tiny circle for the pom-pom.
Step 4: Pointy ears
Draw a pointy leaf shape on each side of the head, starting at the face with the tip pointing up and out. Make both ears about the same size.
Step 5: Eyes and smile
Add two small round dots for eyes in the middle of the face. Draw a little curved smile below them.
Step 6: The tunic
Under the chin, draw the tunic: two lines that slope slightly outward, joined by a curved line across the bottom like a bowl.
Step 7: Arms and hands
Draw a curved arm on each side of the tunic, ending with a small circle for each hand.
Step 8: Belt and buckle
Draw a gently curved line across the middle of the tunic for the belt. Add a small rounded square in the center for the buckle.
Step 9: Curly boots
Under the tunic, draw two short legs that bend outward into boots. Finish each toe with a little curl, like a snail shell.
All done!
Erase the guide shapes, go over your lines, then color it in.
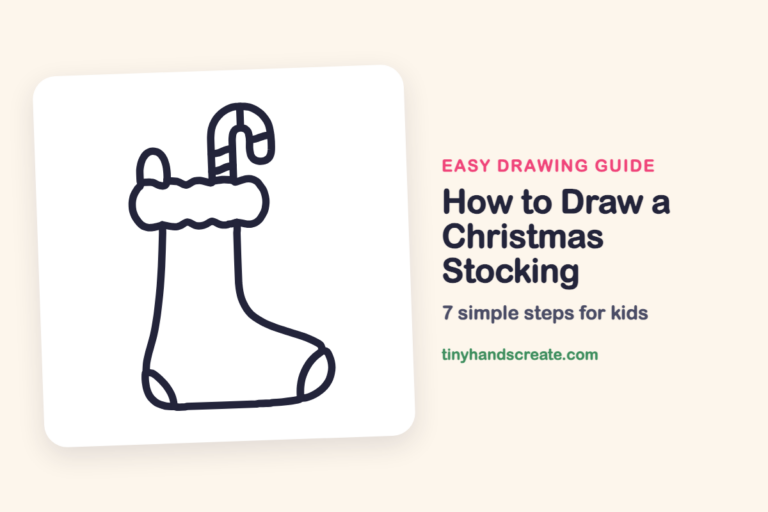
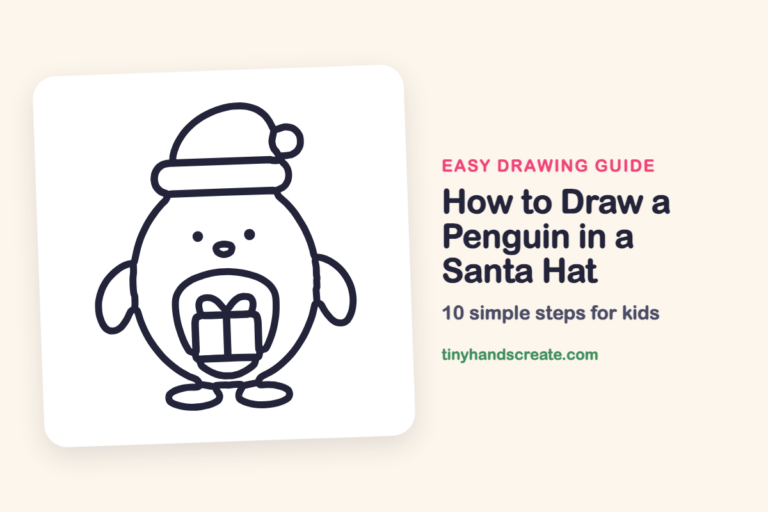
Finished your Christmas elf? Keep the pencils out and learn how to draw a Christmas stocking or how to draw a penguin in a Santa hat next.
Tips for drawing a Christmas elf
- Draw the head first and leave the top open. Then the hat will sit neatly on top of it.
- Draw the two ears at the same height. Start each one at the head and curve up to a sharp point, then check that both tips are about the same distance from the face.
- The curly boot toes are the trickiest part. Draw each leg down and out, then end the toe with a small curl like a snail shell, going slowly.
Free Christmas elf coloring page
Want to go straight to coloring? Open this Christmas elf coloring page at full size and print it. It is the same drawing you just learned, with clean lines ready for crayons or markers.
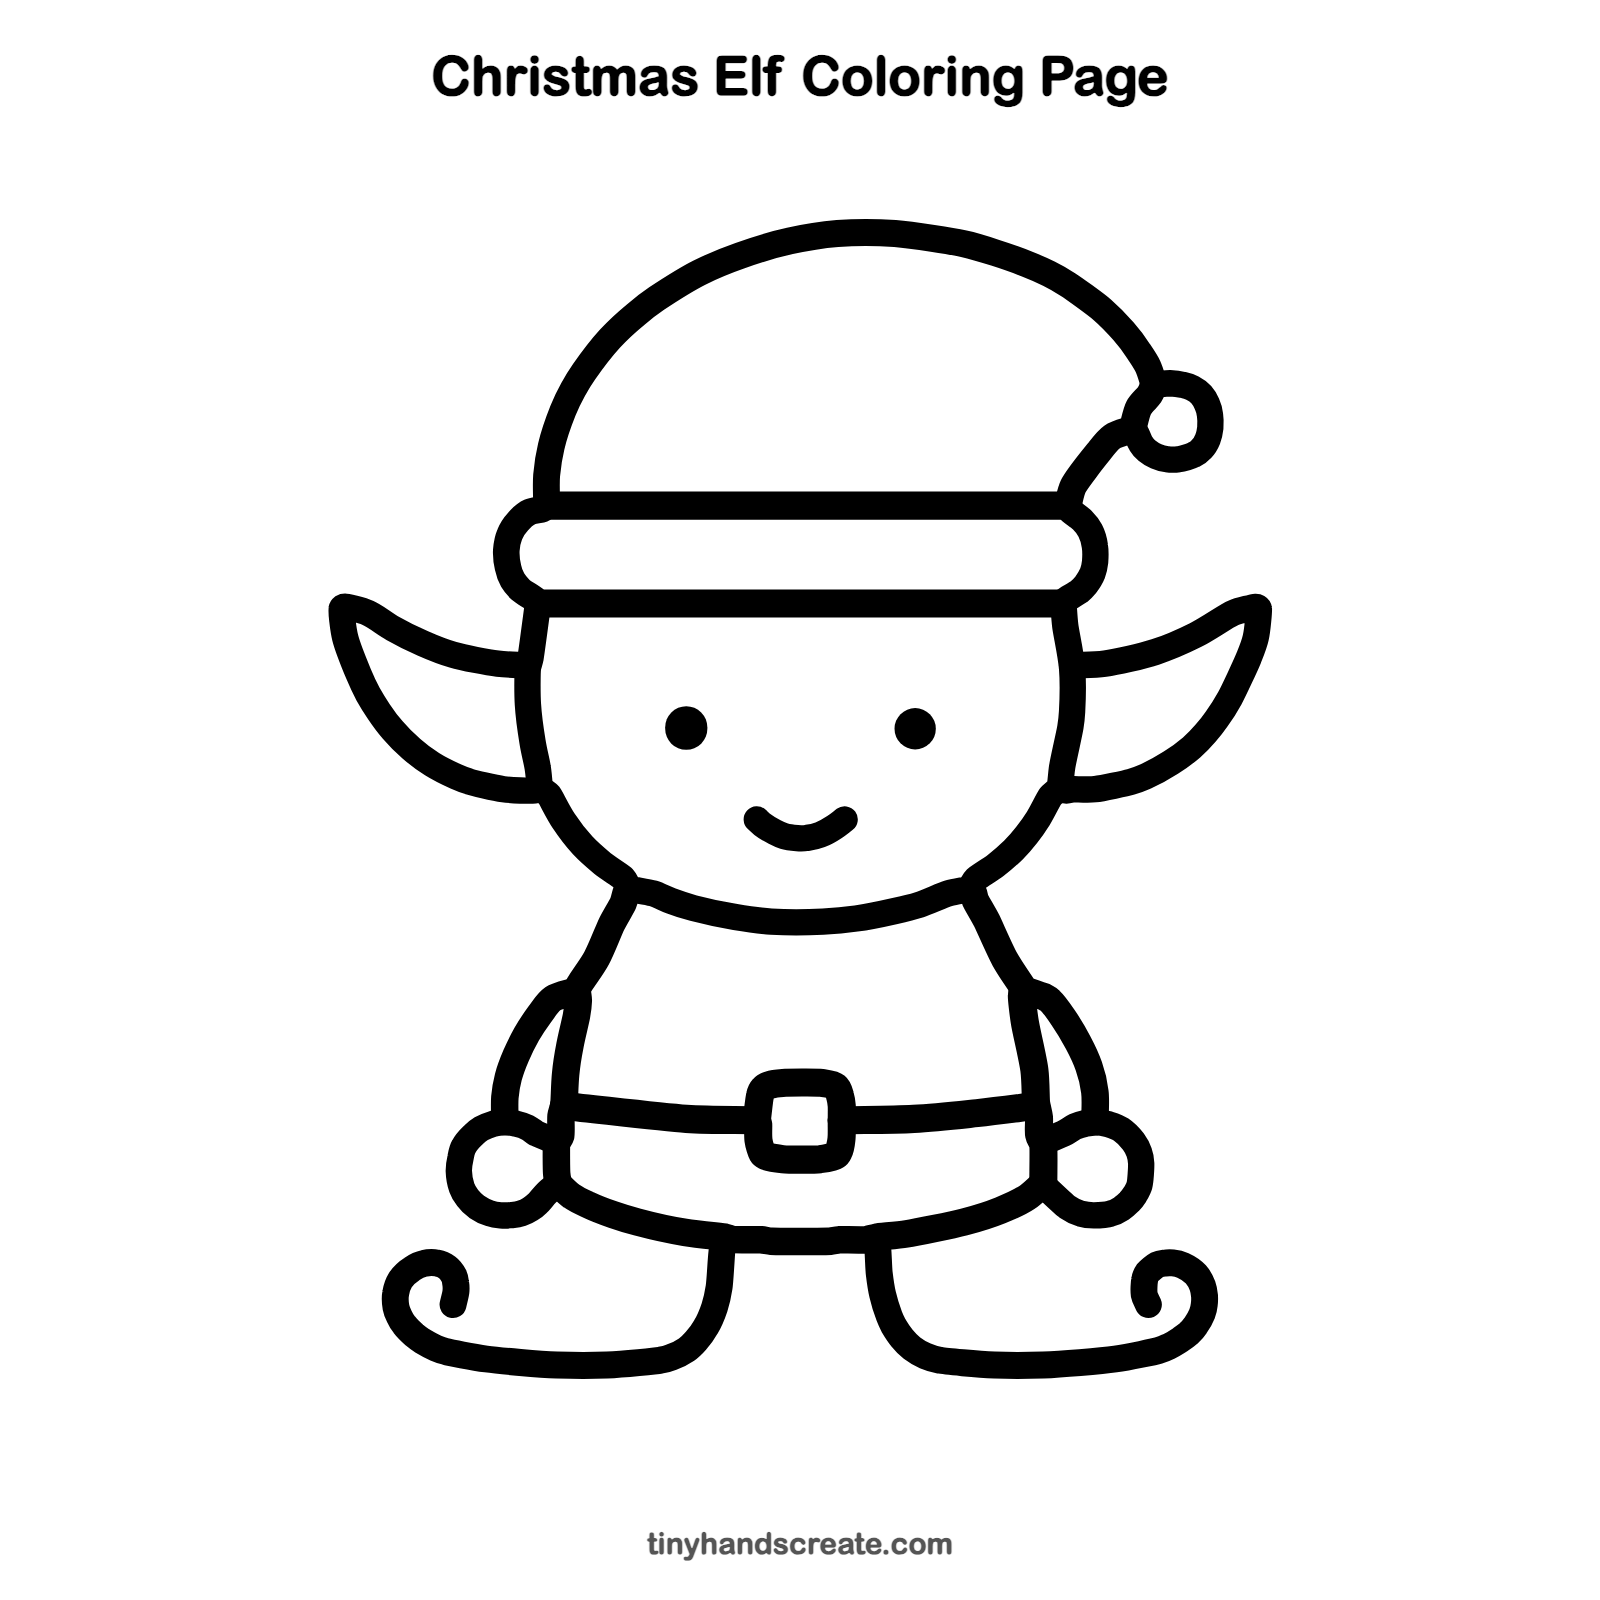
How to color your Christmas elf drawing
Try a red hat and a green tunic with a yellow belt buckle, and use light peach for the face and ears. For a creative twist, color the boots in stripes.
Christmas elf fun fact for kids
Elves come from old Norse and Germanic folk stories. In Christmas tales today, elves are Santa's helpers who make toys in his workshop at the North Pole.
Questions about drawing a Christmas elf
What shapes do I need to draw a Christmas elf?
You need a bowl-shaped curve for the head, a dome for the hat, and a rounded band across the hat. The tunic is a bowl shape too. Small circles make the hands and pom-pom, and a little square makes the belt buckle.
How do I make my elf look cuter?
Draw the head big compared to the body and keep the eyes small and wide apart. A curved smile and pointy ears also help a lot.
How do I draw the curly elf shoes?
Draw each leg down and bend it outward into a boot. Then curl the toe up into a small spiral, like the shell of a snail.