How to Draw a Polar Bear (Easy Step by Step)
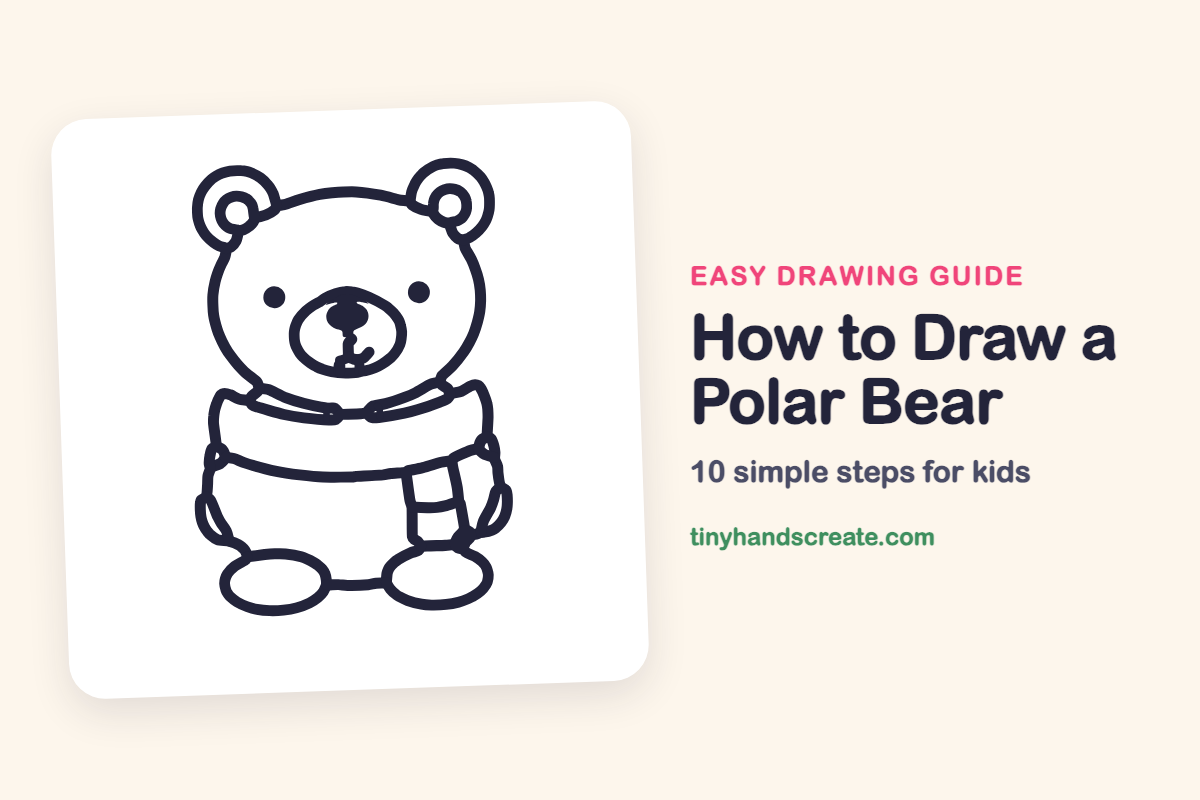
This cuddly polar bear is built mostly from ovals and circles, so it is a great drawing for beginners. A big round head, a chubby body, and a cozy striped scarf give it lots of personality with very few lines.
- Easy
- 15 minutes
- 10 steps
You need: paper, a pencil, an eraser, and crayons or markers for coloring.
Start drawingIn this article (7 sections)
How to draw a polar bear step by step
How to Draw a Polar Bear · tinyhandscreate.com
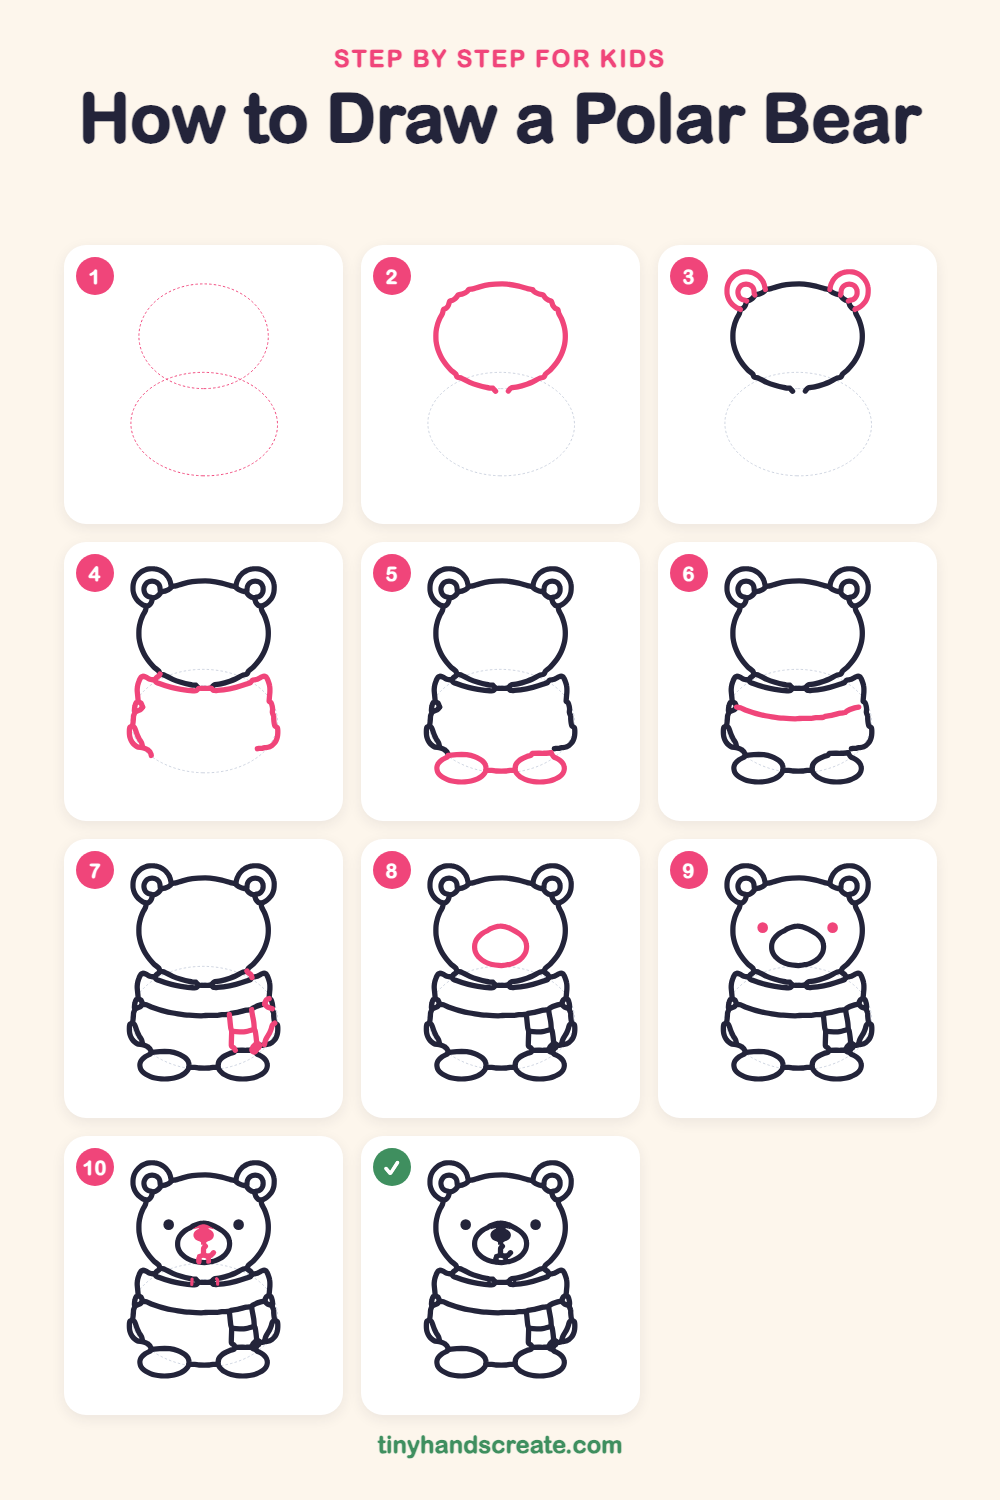
Step 1: Guide shapes
Lightly sketch these 2 ovals. They only show where the big parts go, so press softly. You will erase them at the end.
Step 2: The head
Draw a big, wide oval near the top of your page, a little wider than it is tall. Leave a tiny gap at the bottom middle where the neck will go.
Step 3: The round ears
Draw a small circle on each upper corner of the head, tucked in so it peeks out like a little bump. Then draw a tiny circle inside each ear.
Step 4: The body sides
Just below the head, draw a curved line straight across for the neck. From each end, draw a wobbly line down the side of the body, adding a small bump on each side for the arms. Leave the bottom open for now.
Step 5: The sitting feet
At the bottom, draw two flat ovals, one on the left and one on the right, so the bear sits on them. Join them with a short, gentle line between them.
Step 6: The scarf's lower edge
Draw one long, gentle curve across the body, a little below the neck line. Now the space between the two curved lines is a band for the scarf.
Step 7: The scarf tail
On the right side of the body, draw two straight lines hanging down from the scarf like a long strip. Add two short lines across the strip to make the stripes.
Step 8: The muzzle
In the middle of the face, draw a medium oval for the snout. Keep it a bit below the center of the head.
Step 9: The eyes
Draw two solid round dots for eyes, one on each side above the muzzle. Keep them level and far enough apart to look friendly.
Step 10: Nose and mouth
At the top of the muzzle, draw a small rounded blob and color it in for the nose. Draw a short line down from the nose, then a tiny curve at the bottom for the mouth.
All done!
Erase the guide shapes, go over your lines, then color it in.
Finished your polar bear? Keep the pencils out and learn how to draw a mug of hot cocoa or how to draw a present next.
Tips for drawing a polar bear
- Draw the head first and keep it wide. The ears and face all fit onto it, so a good oval makes everything else easier.
- The scarf is made from two curved lines, one under the head and one a little lower. Keep both lines gently curved so the band looks like it wraps around the neck.
- Draw the two feet as matching ovals, then check that they are about the same size. Keeping them level helps the bear sit steadily.
Free polar bear coloring page
Want to go straight to coloring? Open this polar bear coloring page at full size and print it. It is the same drawing you just learned, with clean lines ready for crayons or markers.
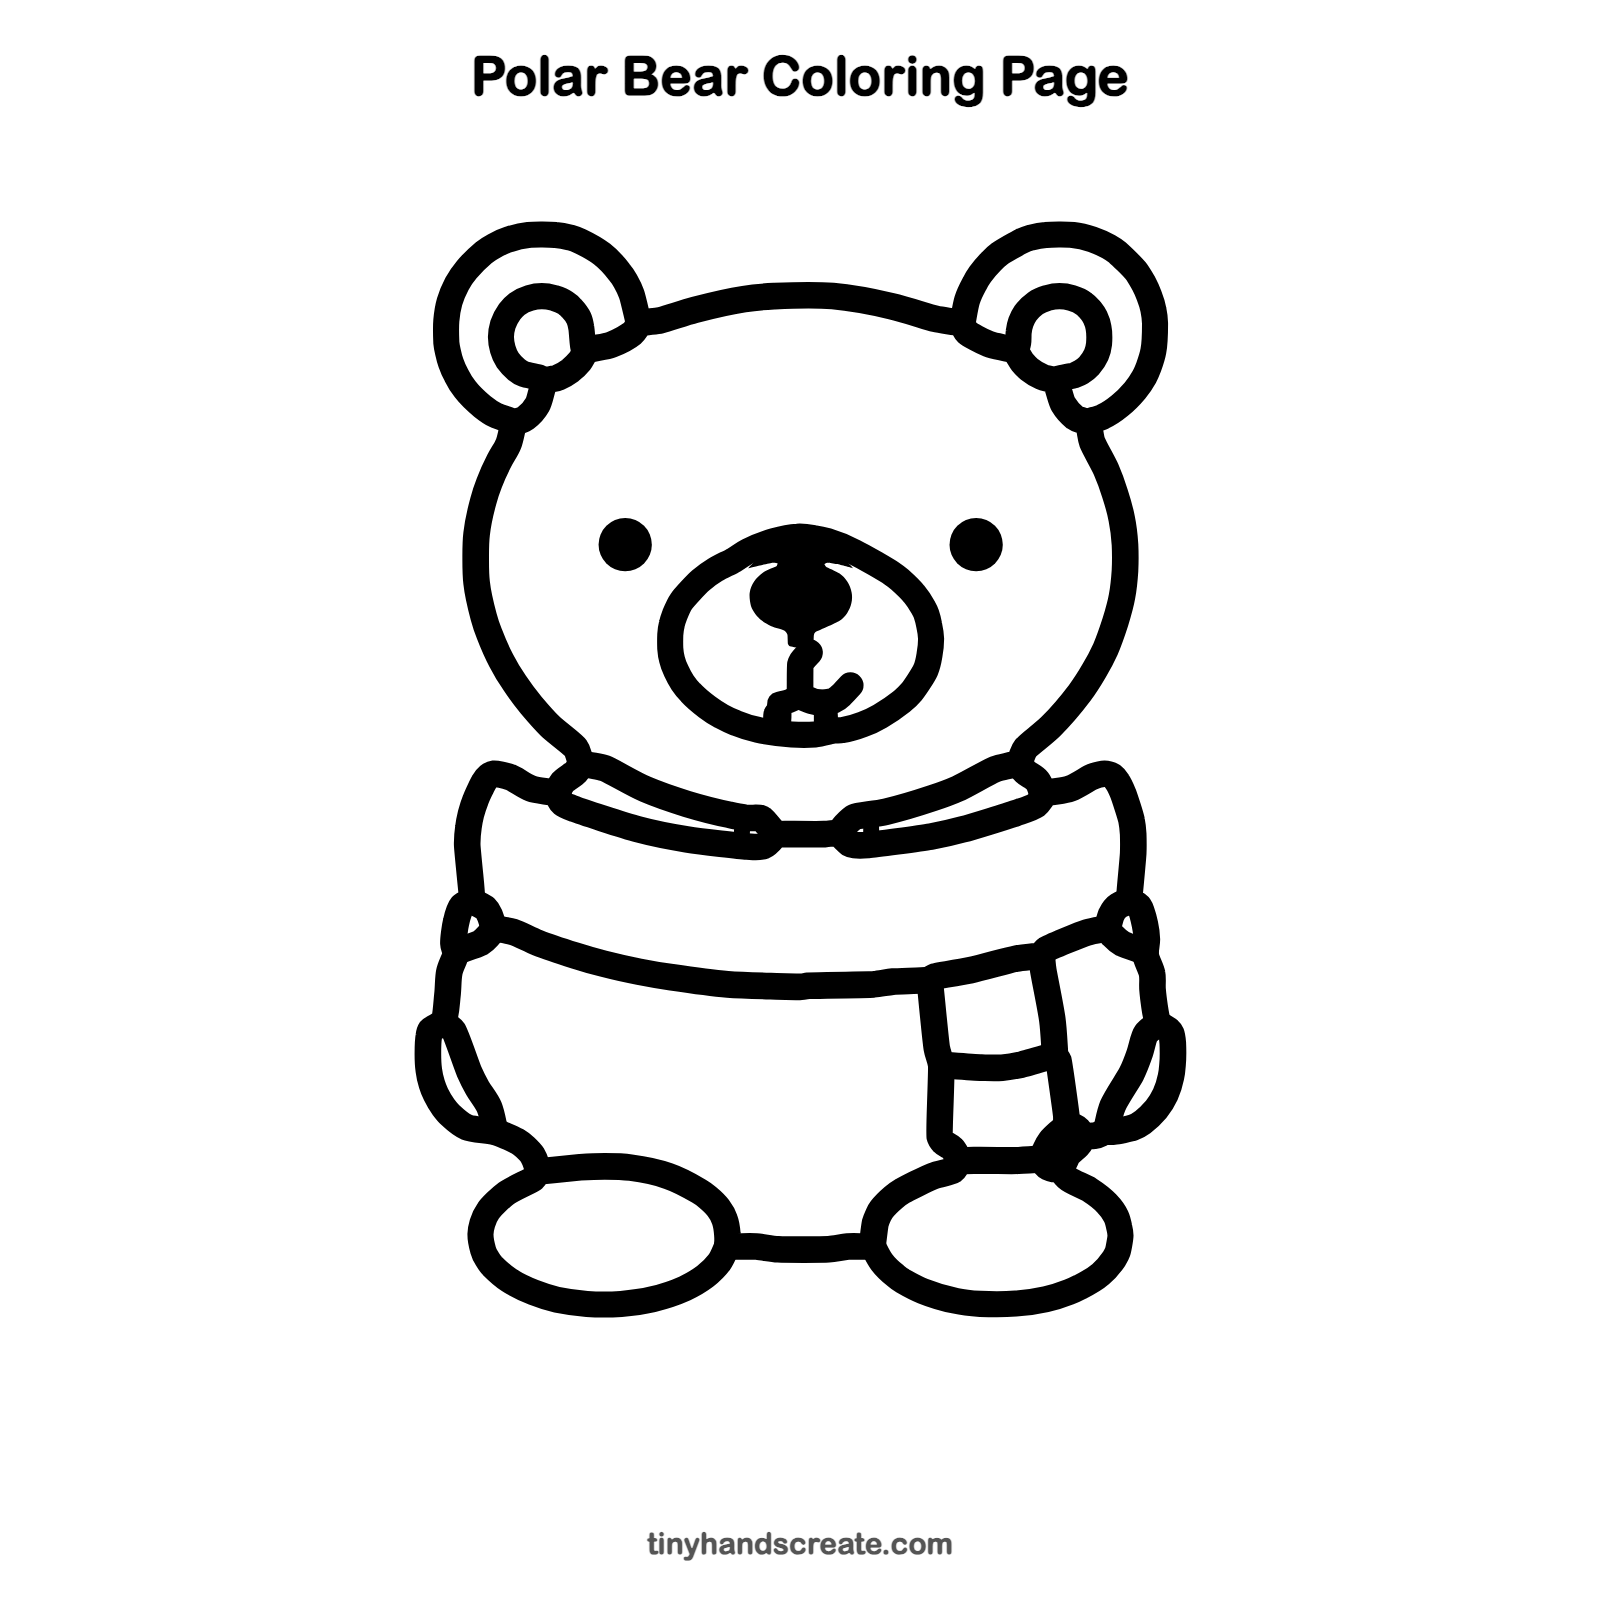
How to color your polar bear drawing
Leave the bear white or add a pale blue shadow so it looks like it is sitting in the snow. For a fun twist, give the scarf bright rainbow stripes and add falling snowflakes around the bear.
Polar bear fun fact for kids
A polar bear's skin is black, and its fur is not really white. Each hair is clear and hollow, and it scatters light so the bear looks white against the snow.
Questions about drawing a polar bear
What shapes do I need to draw a polar bear?
You mostly need ovals and circles. Use a big oval for the head, small circles for the ears, two flat ovals for the feet, and an oval for the muzzle.
How do I make my polar bear look cuter?
Place the eyes wide apart and keep the nose small. A big round head on a chubby body also makes any bear look adorable.
How do I draw the scarf so it looks like it wraps around the neck?
Draw one curved line under the head and a second curve a little lower, then let a striped strip hang down the right side. The curves make it look like it goes around the bear.