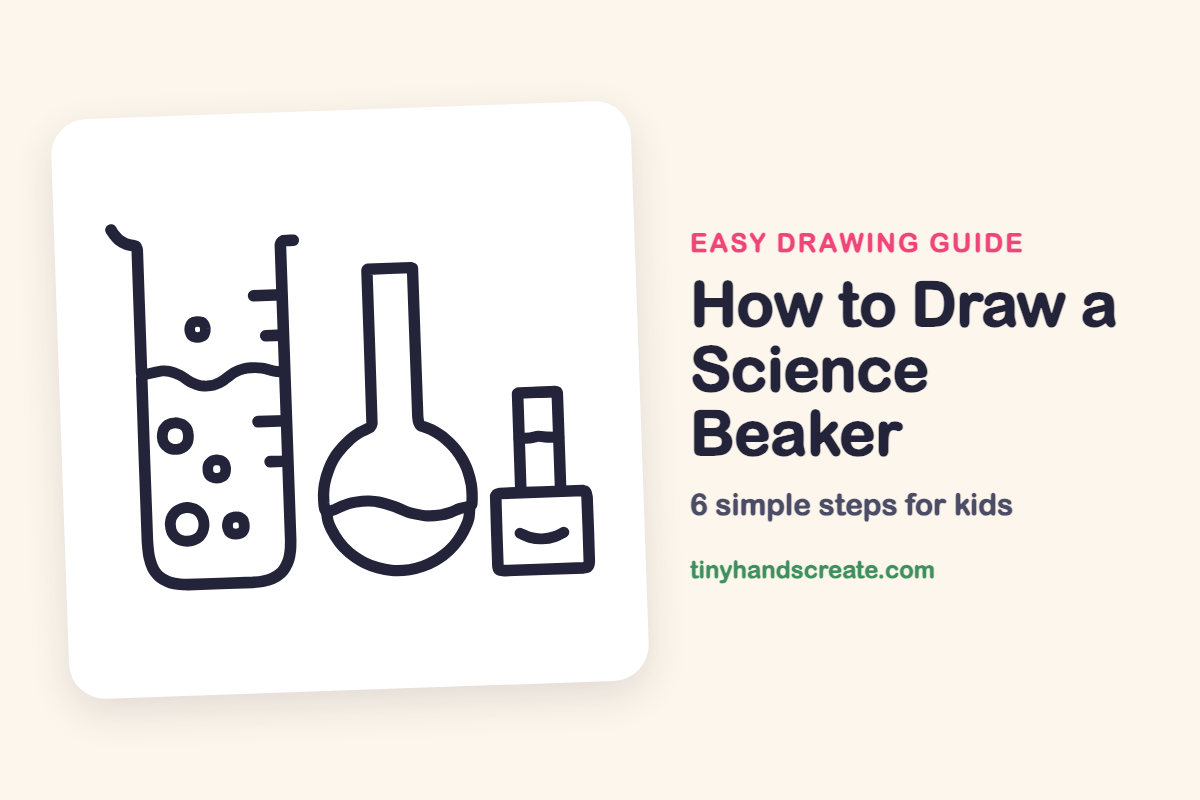
How to Draw a Science Beaker (Easy Step by Step)
A science beaker set is fun because it is built from shapes you already know: a U shape, circles, rectangles, and wavy lines. You get three different containers in one picture, plus bubbles inside the beaker. Take your time with the curves and it will look like a real lab.
- Medium
- 15 minutes
- 6 steps
You need: paper, a pencil, an eraser, and crayons or markers for coloring.
Start drawingIn this article (7 sections)
How to draw a science beaker step by step
How to Draw a Science Beaker · tinyhandscreate.com
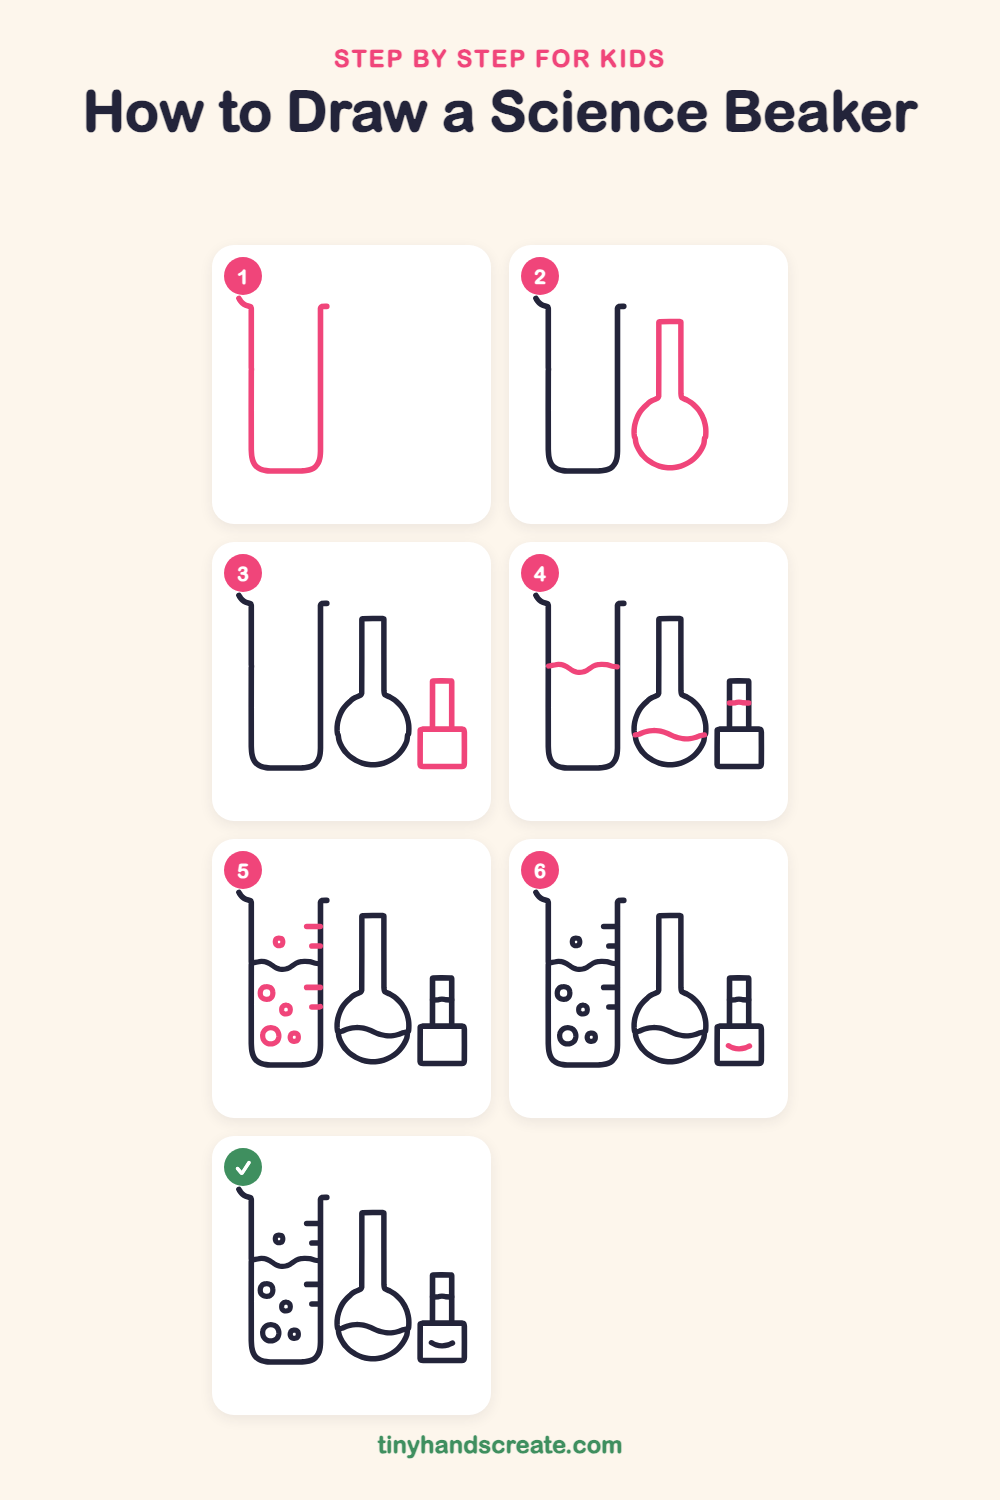
Step 1: The tall beaker
Draw a tall U shape that is open at the top, with straight sides and a rounded bottom. Add a little curved spout at the top of the left side and a tiny lip at the top of the right side.
Step 2: The round flask
Next to the beaker, draw a big circle. Then draw a tall, skinny tube rising from the top of the circle and close it with a flat line across the top.
Step 3: The little bottle
At the right, draw a small square for the bottle. Then draw a narrow tall rectangle on top of it for the neck, closed with a flat line across the top.
Step 4: Wavy liquid
Draw a wavy line across the beaker from one side to the other, like a gentle ocean wave. Draw a wavy line across the lower part of the round flask too, then a short curved line across the bottle's neck.
Step 5: Marks and bubbles
Inside the right wall of the beaker, draw short lines pointing inward, some longer and some shorter. Then draw small circles of different sizes in the beaker, with a tiny dot or circle inside the smallest ones.
Step 6: The bottle smile
On the square part of the little bottle, near the bottom, draw a small curved line like a smile.
All done!
Go over your lines with a marker, then color it in.
Finished your science beaker? Keep the pencils out and learn how to draw an atom or how to draw a school bus next.
Tips for drawing a science beaker
- Sketch a light circle first for the round flask, then add the tall neck on top so the two parts line up.
- For the wavy liquid, start at one wall and let your pencil rise and dip slowly, like a gentle ocean wave.
- Draw the bubbles as circles of different sizes, and keep them apart so they do not touch the walls or each other.
Free science beaker coloring page
Want to go straight to coloring? Open this science beaker coloring page at full size and print it. It is the same drawing you just learned, with clean lines ready for crayons or markers.
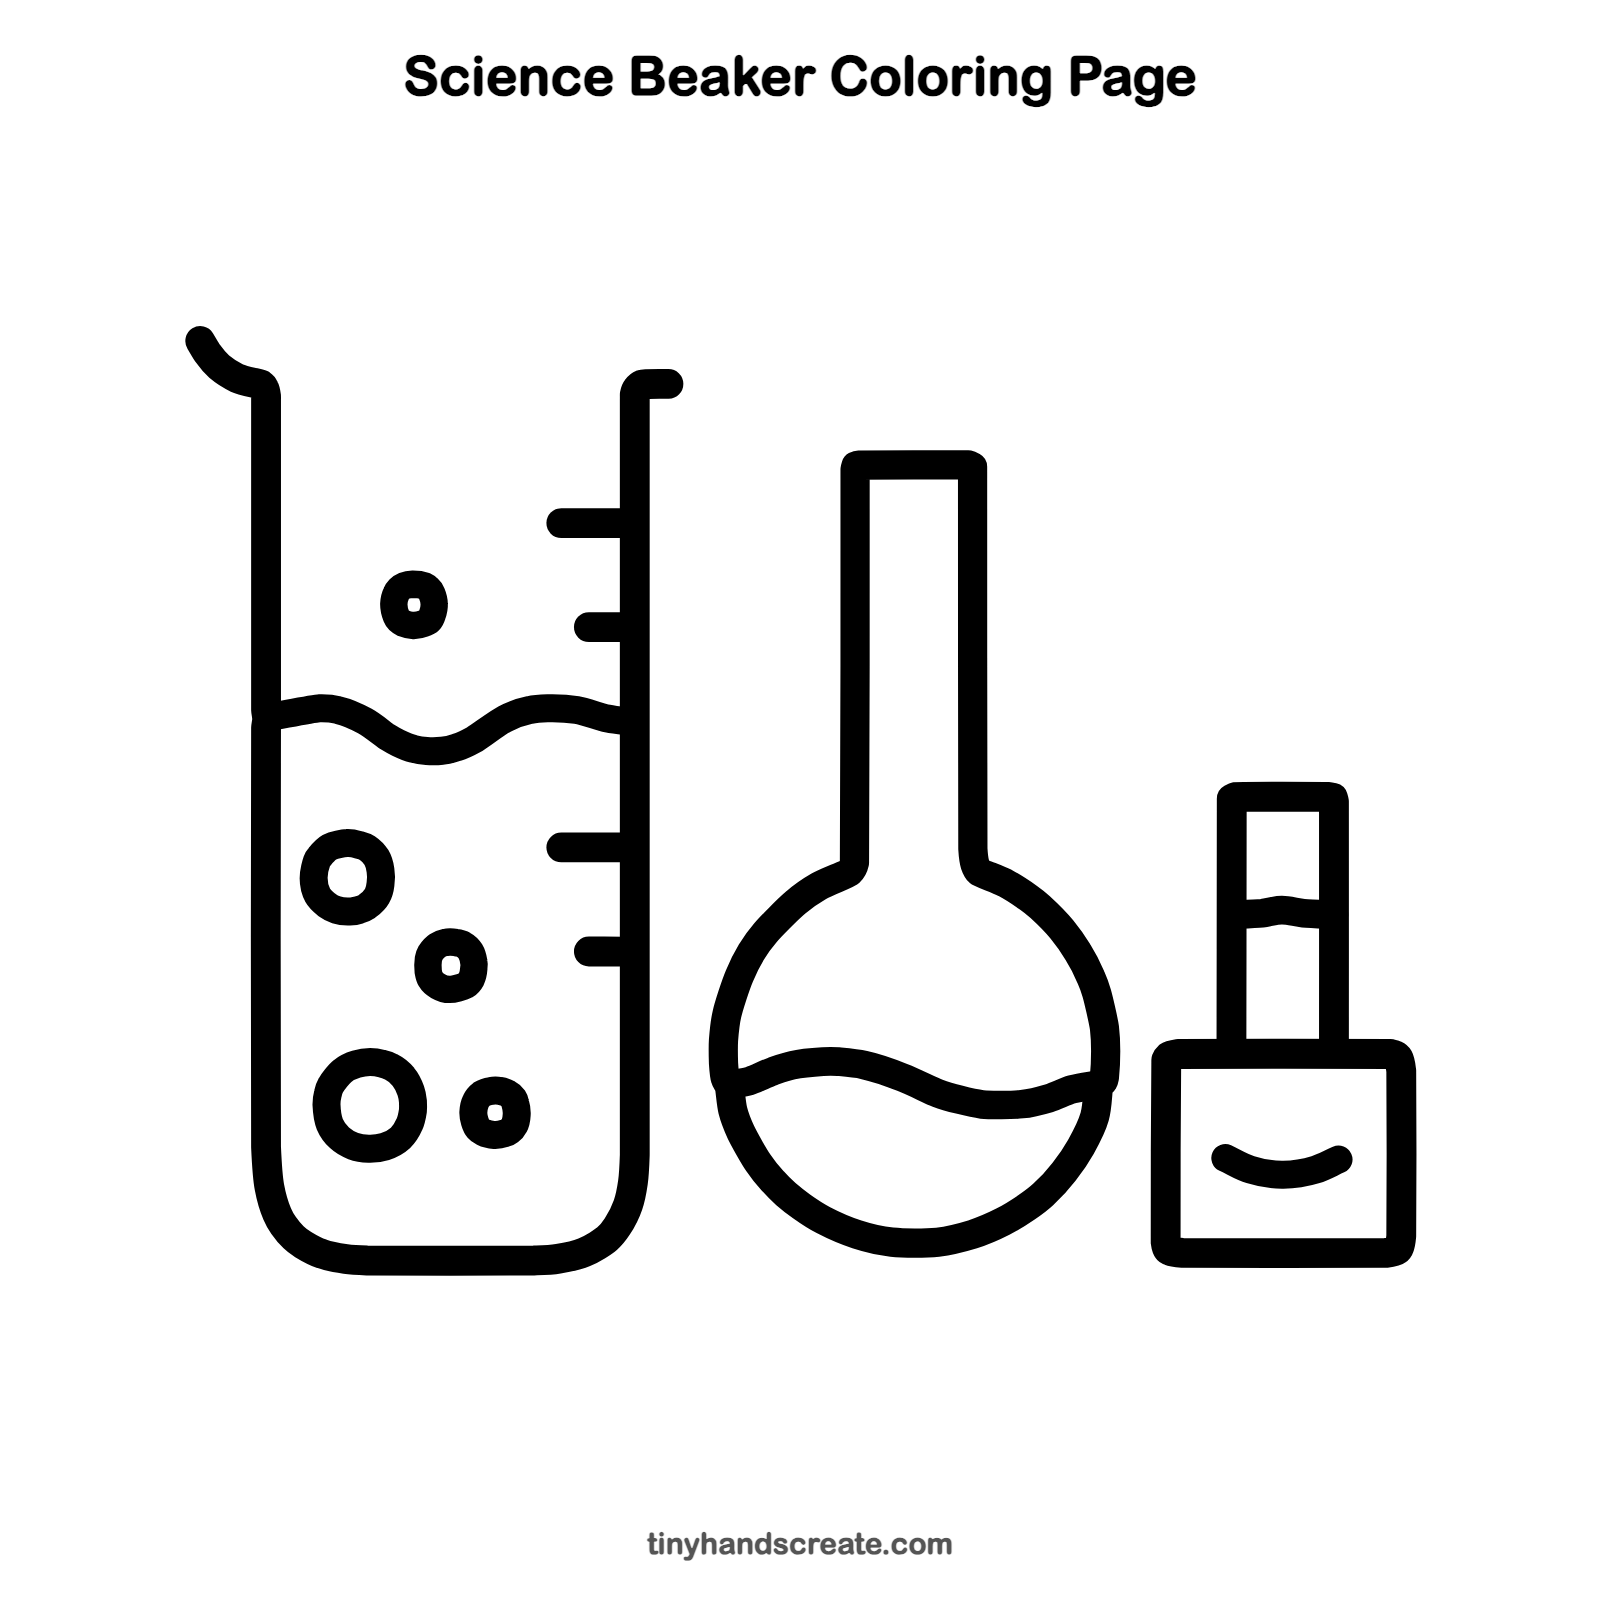
How to color your science beaker drawing
Try a light blue or green liquid with gray outlines, and leave the bubbles white. For a fun twist, give each container a different potion color.
Science beaker fun fact for kids
Lab glassware is often made of borosilicate glass, which handles sudden temperature changes better than ordinary glass. The short lines on the side of a beaker are measuring marks for how much liquid is inside.
Questions about drawing a science beaker
What shapes do I need to draw a science beaker?
You need a tall U shape, a big circle, a few rectangles, and wavy lines. The bubbles are small circles of different sizes.
How do I make the liquid look real?
Draw a wavy line across the container instead of a straight one, and color the part below it. Adding bubbles makes it look like it is fizzing.
How do I make the flask round?
Lightly sketch a circle first and trace over it once you like the shape. Then add the neck on top.