How to Draw a Golden Retriever (Easy Step by Step)
This golden retriever puppy is built from friendly shapes: a big circle for the head, an oval for the muzzle, and two floppy ears that hang down like soft flaps. The pose is simple and sits straight up, so it is a great first dog to draw. Once you can draw this one, you can try other pups with different ears.
- Easy
- 15 minutes
- 9 steps
You need: paper, a pencil, an eraser, and crayons or markers for coloring.
Start drawingIn this article (7 sections)
How to draw a golden retriever step by step
How to Draw a Golden Retriever · tinyhandscreate.com
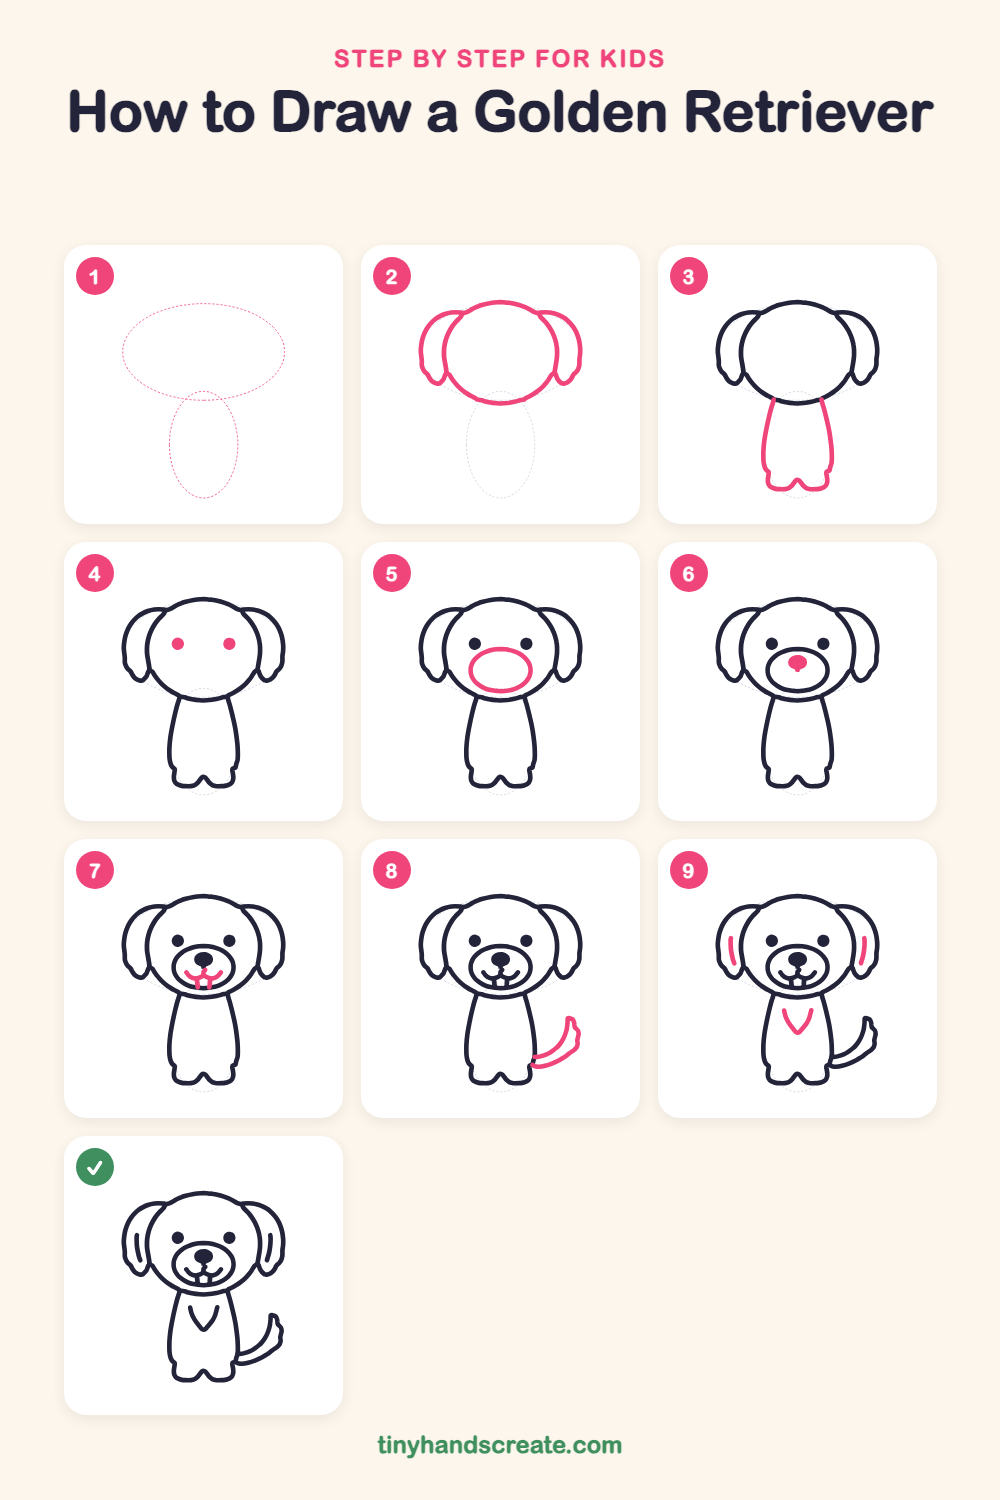
Step 1: Guide shapes
Lightly sketch these 2 ovals. They only show where the big parts go, so press softly. You will erase them at the end.
Step 2: Head and floppy ears
Draw a big round circle for the head. Then add a long rounded ear hanging down on each side, starting where the top of the head meets the side.
Step 3: Body and paws
Under the chin, draw two lines going down that curve out a little, like a tall bowl. Close the bottom with two little bumps for the front paws.
Step 4: The eyes
Draw two small solid dots in the upper middle of the face. Keep them the same size and far enough apart for a happy look.
Step 5: The muzzle
Draw a wide oval in the lower middle of the face, like a little pillow. This is where the nose and mouth will go.
Step 6: The nose
At the top center of the muzzle, draw a small rounded nose and color it in.
Step 7: Smile and teeth
Draw a short line down from the nose, then two curved lines like a big smile. Add two tiny straight teeth hanging down from the bottom of the smile.
Step 8: The wagging tail
On the right side of the body, draw a long curving tail that sweeps up. Give the tip a small bumpy end.
Step 9: Ear and chest fur
Draw a long curved line inside each ear. Then add a V shape on the chest for fluffy fur.
All done!
Erase the guide shapes, go over your lines, then color it in.
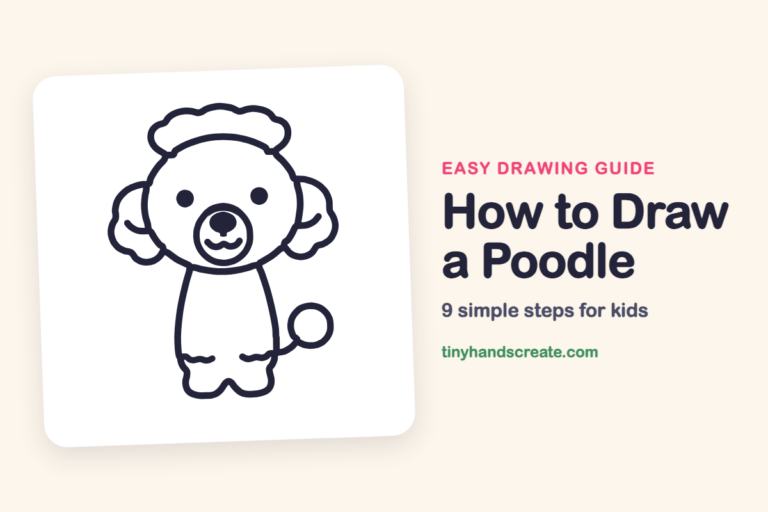
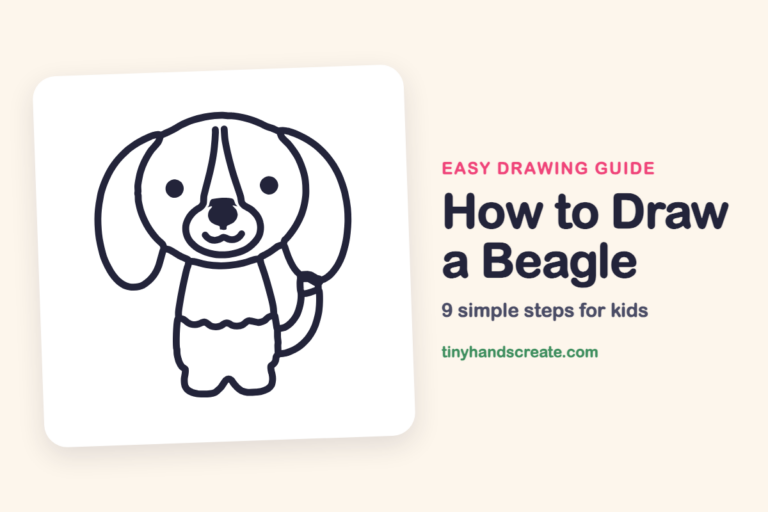
Finished your golden retriever? Keep the pencils out and learn how to draw a poodle or how to draw a beagle next.
Tips for drawing a golden retriever
- Start the head circle large and light, because the ears and muzzle need room to fit around it.
- Draw the muzzle oval before the nose and smile so the face parts stay centered and even.
- Make the two ears the same length by checking where each one ends compared with the other.
Free golden retriever coloring page
Want to go straight to coloring? Open this golden retriever coloring page at full size and print it. It is the same drawing you just learned, with clean lines ready for crayons or markers.
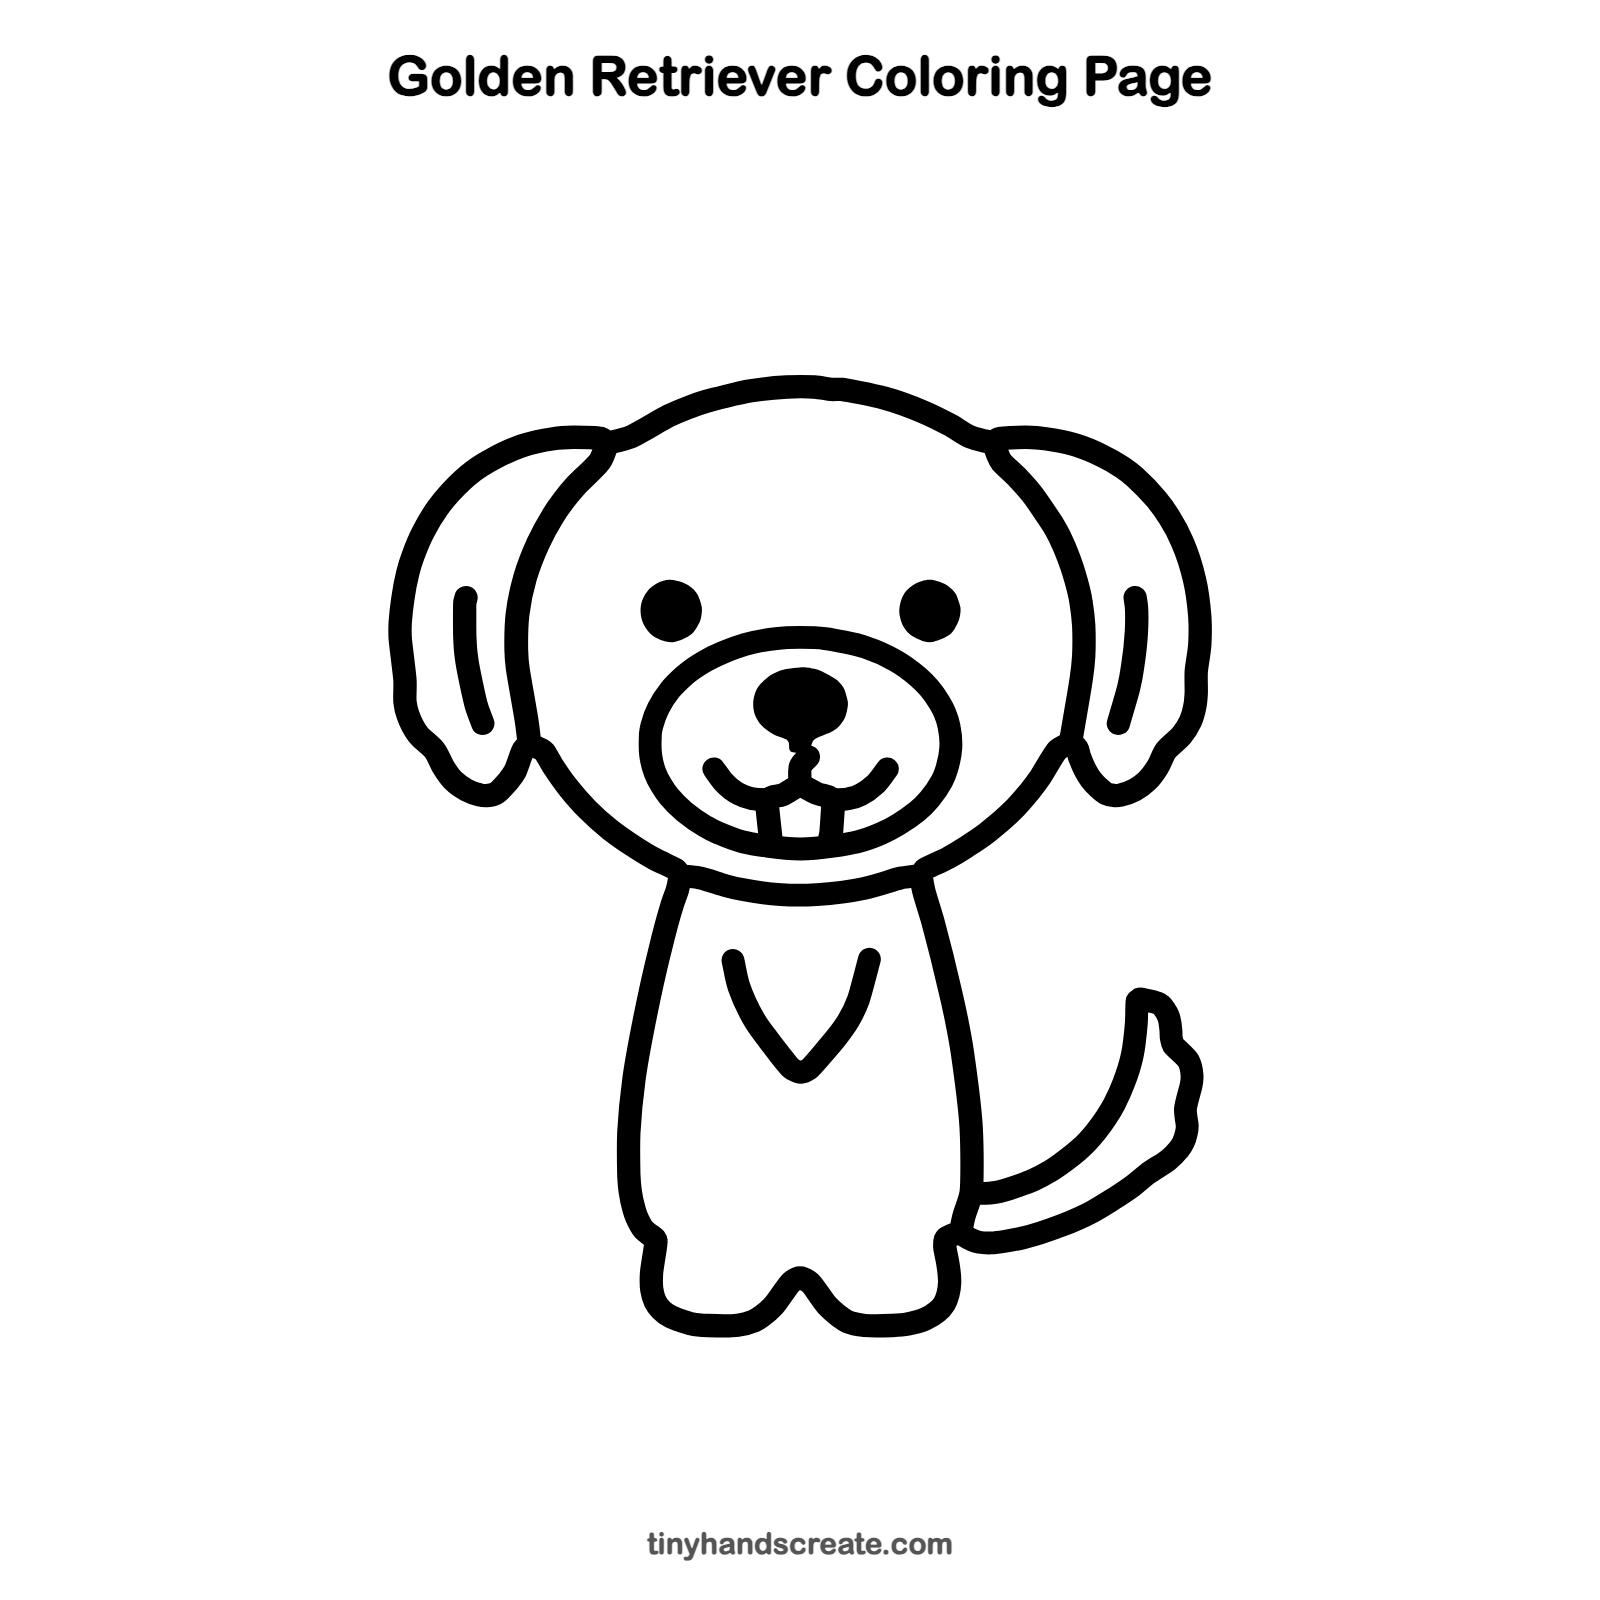
How to color your golden retriever drawing
Use warm golden yellow and light orange for the fur, with a darker brown for the nose and eyes. Leave the two little teeth white.
Golden retriever fun fact for kids
Golden retrievers have a water-resistant double coat, and they were first bred in Scotland in the 1800s to fetch birds from the water for hunters.
Questions about drawing a golden retriever
What shapes do I need to draw a golden retriever?
You need a big circle for the head, an oval for the muzzle, and two long rounded shapes for the ears. The body is a tall bowl shape with a curved tail.
How do I make my golden retriever look cuter?
Keep the two eyes the same size and add the two tiny teeth under the smile. Big floppy ears and a curvy tail make it look extra friendly.
How do I draw the floppy ears?
Start where the top of the head meets the side and draw a long curve down, then bump the bottom edge into a soft point. Later, add a curved line inside each ear to show the fold.