How to Draw a Bonsai Tree (Easy Step by Step)
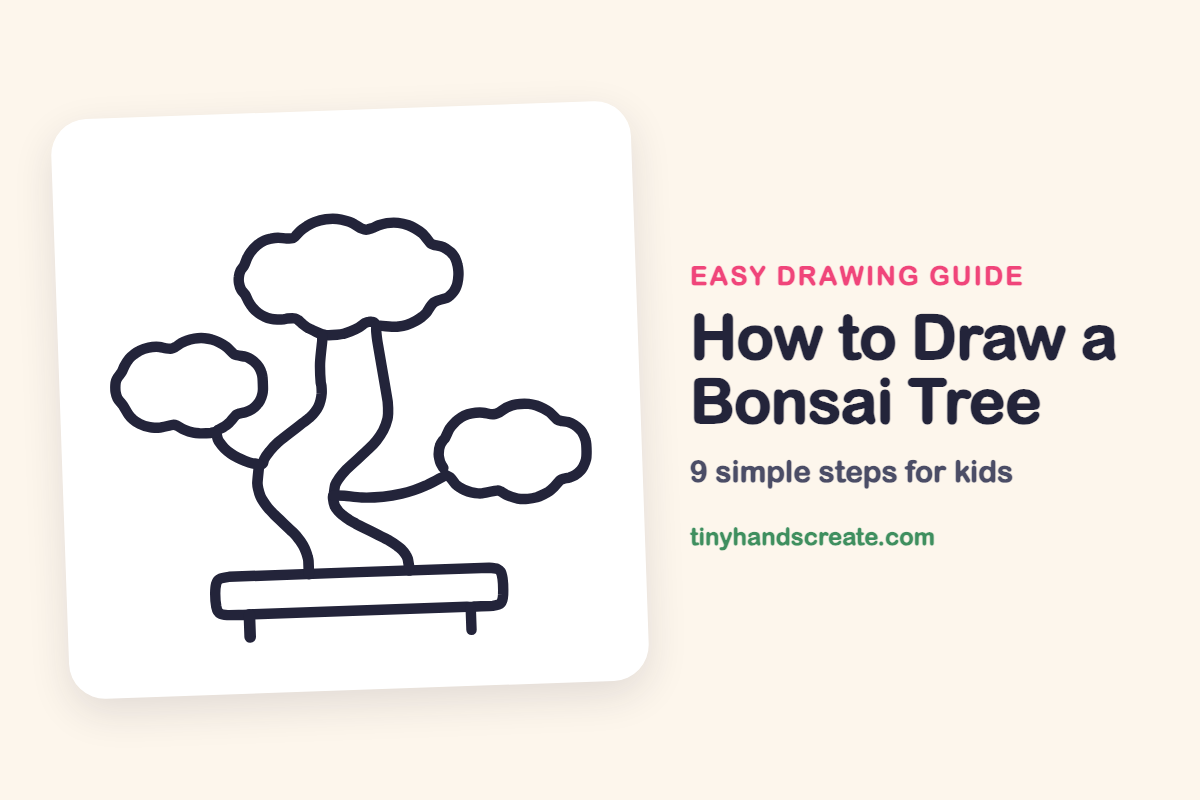
A bonsai tree is a tiny tree grown in a shallow pot, and it is a great drawing to try because it is made from just a few simple shapes. You will draw puffy clouds for the leaves, wavy lines for the trunk and branches, and a flat rounded rectangle for the pot. Put them together and you have a calm, tidy little tree.
- Easy
- 12 minutes
- 9 steps
You need: paper, a pencil, an eraser, and crayons or markers for coloring.
Start drawingIn this article (7 sections)
How to draw a bonsai tree step by step
How to Draw a Bonsai Tree · tinyhandscreate.com
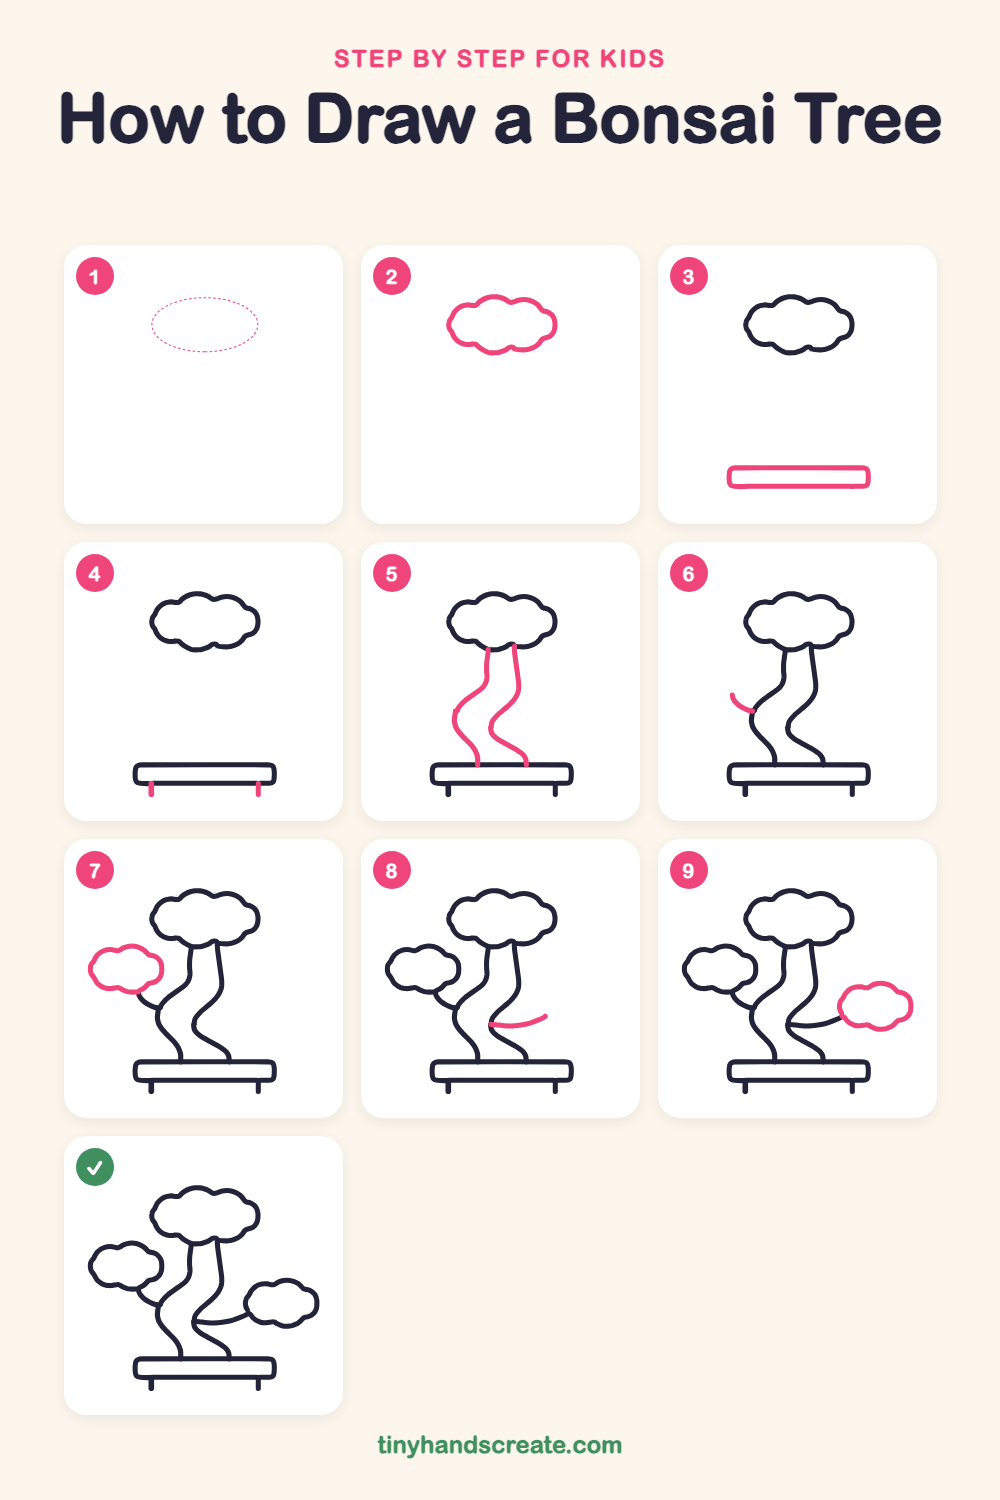
Step 1: Guide shapes
Lightly sketch this oval. It only shows where the big parts go, so press softly. You will erase it at the end.
Step 2: Top leaf cloud
Near the top of the page, draw a puffy cloud shape with a bumpy outline, with round bumps all the way around. This is the biggest clump of leaves.
Step 3: The pot
Near the bottom of the page, draw a long, flat rectangle with rounded corners. This is the little tray the tree grows in.
Step 4: Two pot legs
Under the pot, draw two short straight lines going down, one near each end, so the pot has two little legs to stand on.
Step 5: The wavy trunk
Draw two wavy lines that start on top of the pot and curve up in a gentle S shape. Stop when both lines touch the bottom of the big cloud. Keep the lines the same distance apart so the trunk looks like a bendy ribbon.
Step 6: Left branch
On the left side of the trunk, draw a short curved line that starts at the trunk and sweeps up and to the left. It will hold the next clump of leaves.
Step 7: Left leaf cloud
At the end of the left branch, draw a smaller bumpy cloud, like a little sister to the big one. Let the end of the branch touch the bottom of the cloud.
Step 8: Right branch
On the lower part of the trunk, draw a short curved line that starts at the trunk and swoops out to the right, like a gentle smile.
Step 9: Right leaf cloud
At the end of the right branch, draw another small bumpy cloud. Make it about the same size as the left one so the tree feels balanced.
All done!
Erase the guide shapes, go over your lines, then color it in.
Finished your bonsai tree? Keep the pencils out and learn how to draw a succulent or how to draw a monstera leaf next.
Tips for drawing a bonsai tree
- Draw the big top cloud first and leave plenty of room underneath it. The trunk needs space to curve, and it is easy to run out of paper if the cloud is too low.
- The wavy trunk is the trickiest part. Draw the two lines side by side and keep them about the same distance apart, like a road that bends from side to side.
- Make each cloud outline from small round bumps that connect, like a row of little hills. Try to keep the bumps different sizes so the leaves look soft and natural.
Free bonsai tree coloring page
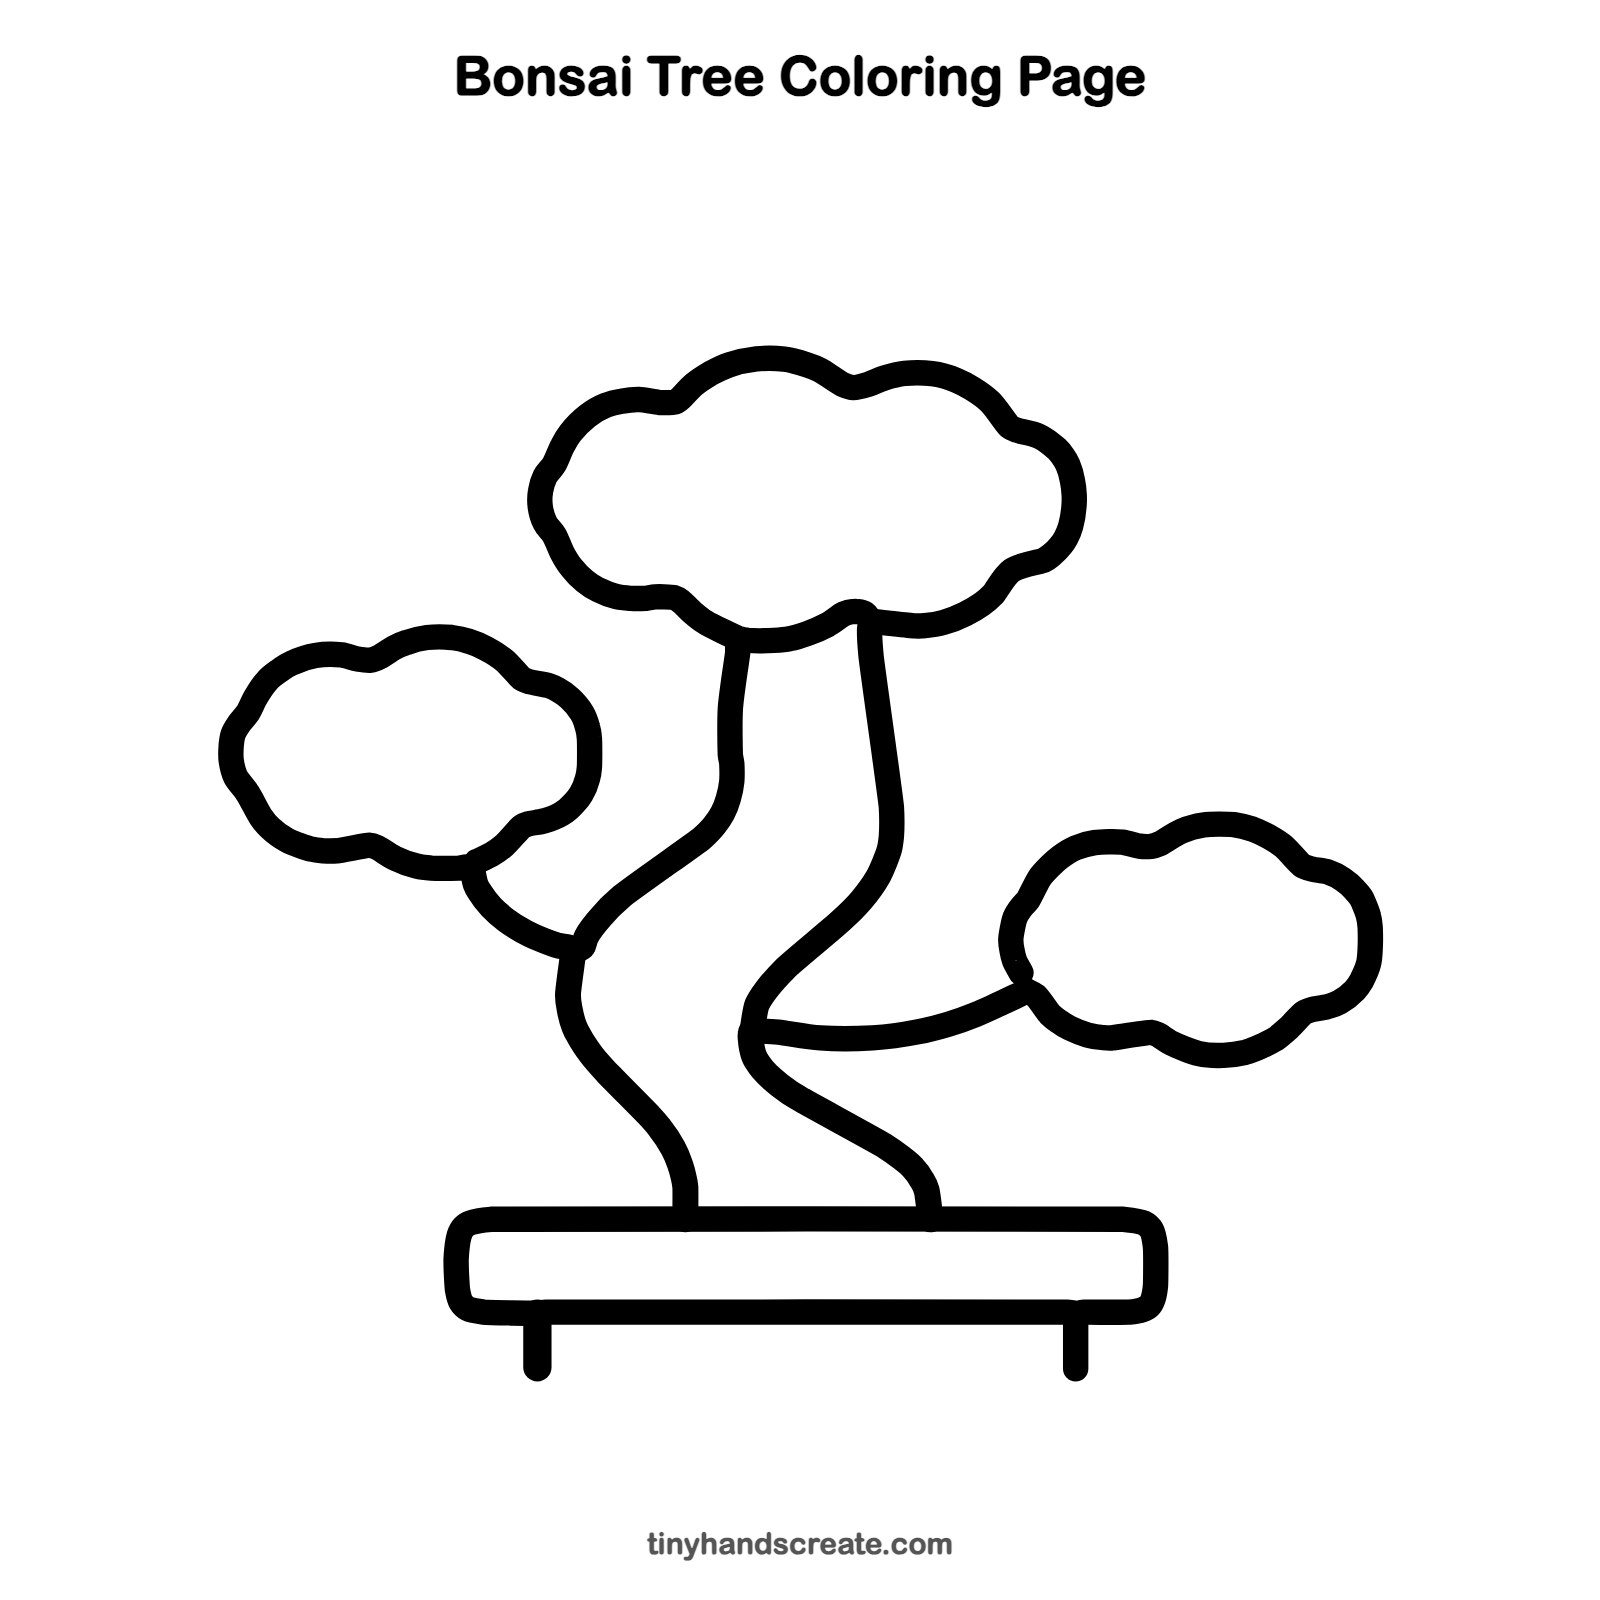
Want to go straight to coloring? Open this bonsai tree coloring page at full size and print it. It is the same drawing you just learned, with clean lines ready for crayons or markers.
How to color your bonsai tree drawing
Try soft greens for the leaf clouds, brown for the trunk and branches, and a blue or red pot. For a creative twist, color each cloud a different season: pink blossoms, green summer leaves, and orange autumn leaves on one tree.
Bonsai tree fun fact for kids
The word bonsai comes from Japanese and means 'tray planting.' Bonsai growers trim the branches and roots so the tree stays small, and some bonsai trees have been looked after for more than a hundred years.
Questions about drawing a bonsai tree
What shapes do I need to draw a bonsai tree?
You need puffy cloud shapes for the leaves, wavy lines for the trunk and branches, and a flat rounded rectangle for the pot. Two short straight lines make the pot legs.
How do I make the trunk look bendy like a real bonsai?
Draw it as a gentle S shape, with the two sides curving the same way. Bonsai trunks often twist and lean, so a little wobble makes it look more real.
How do I make my bonsai tree look more interesting?
Add one more branch with a small cloud, or draw tiny flowers or fruit among the leaves. You can also add a little rock or some moss on the pot.