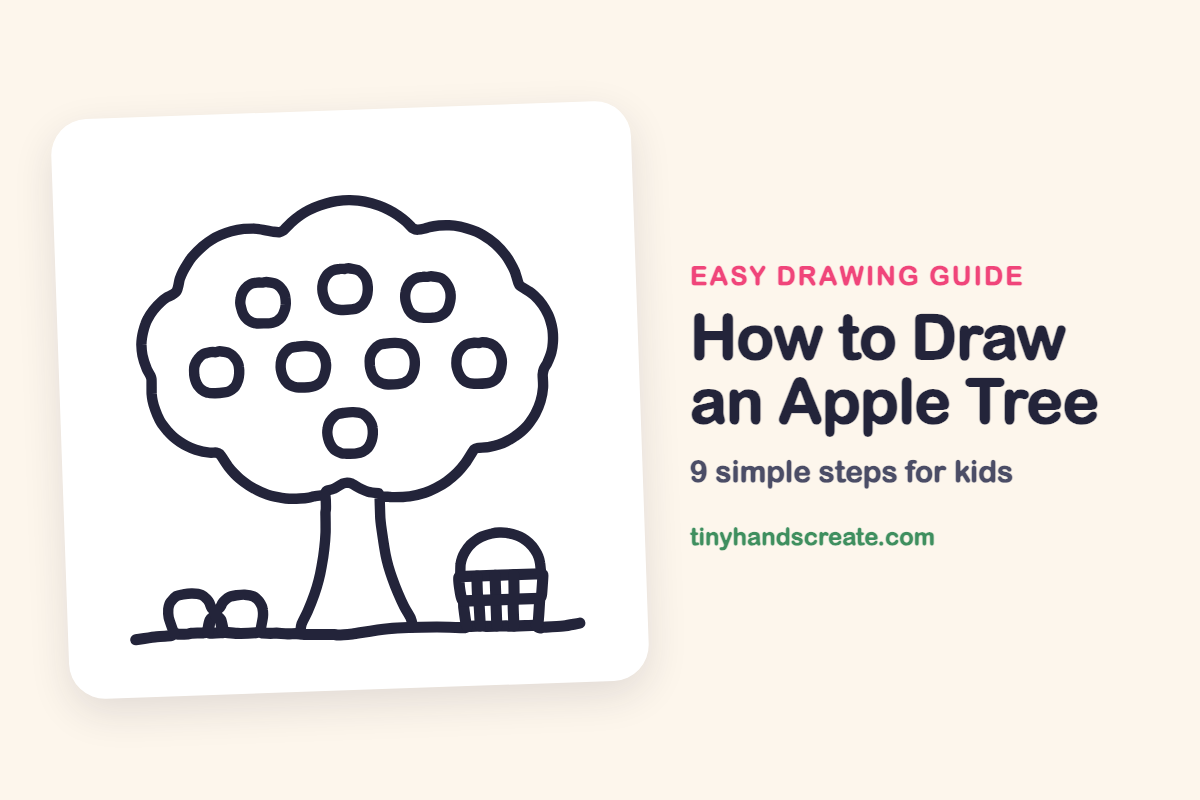
How to Draw an Apple Tree (Easy Step by Step)
An apple tree is a happy drawing because it is mostly round, friendly shapes. You will build it from a puffy cloud, a trunk, lots of little circles for apples, and a small basket sitting in the grass.
- Easy
- 15 minutes
- 9 steps
You need: paper, a pencil, an eraser, and crayons or markers for coloring.
Start drawingIn this article (7 sections)
How to draw an apple tree step by step
How to Draw an Apple Tree · tinyhandscreate.com
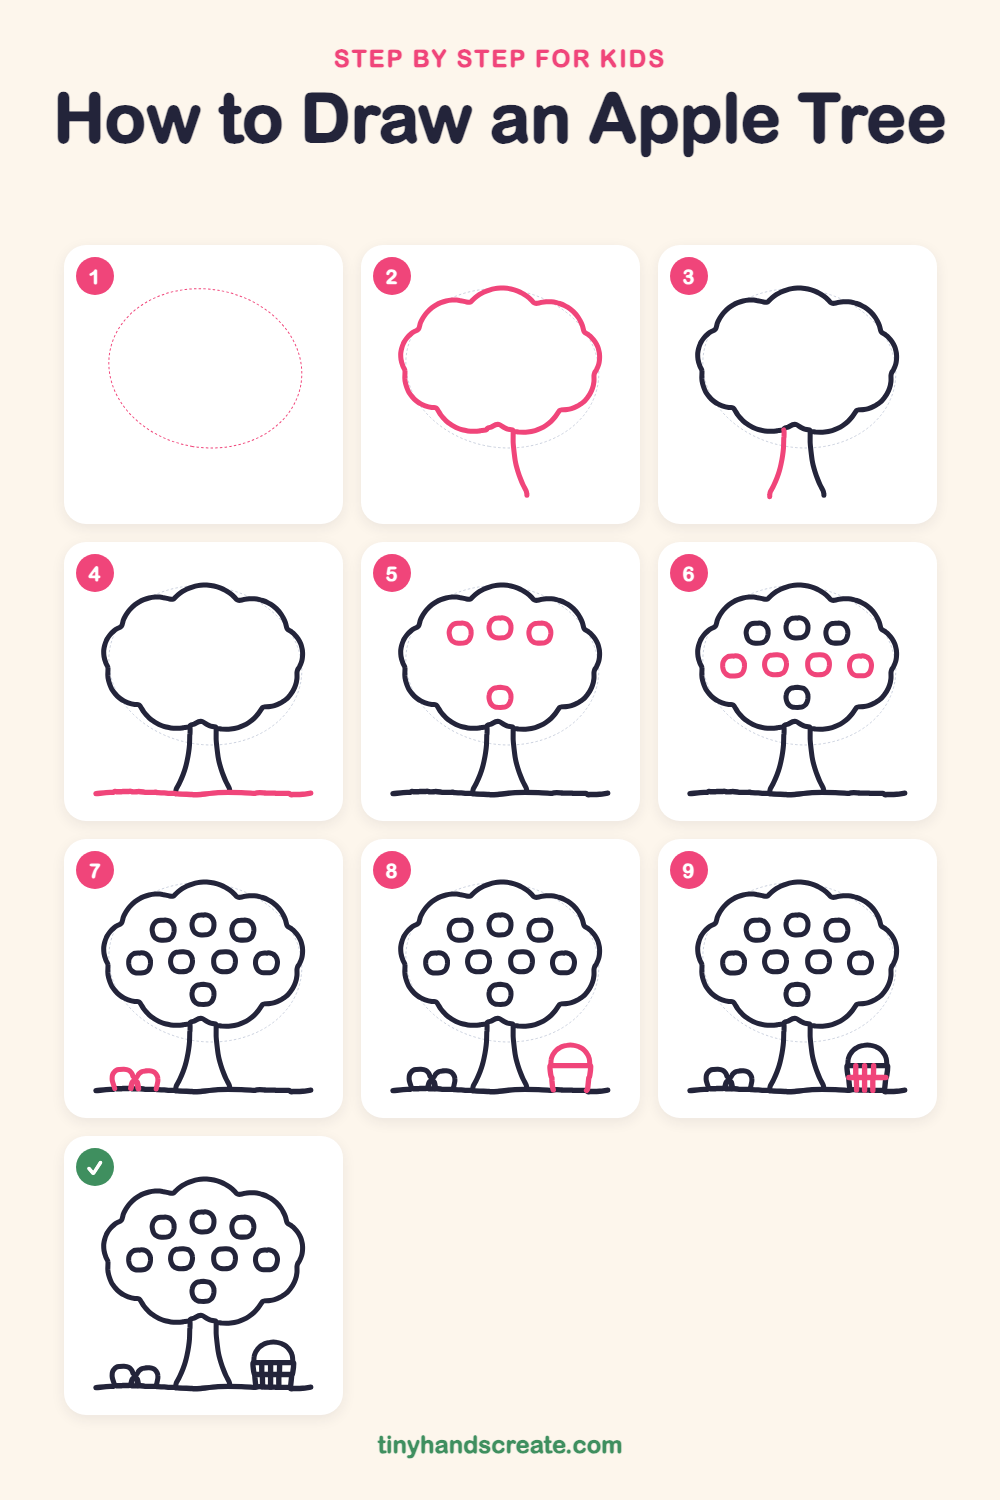
Step 1: Guide shapes
Lightly sketch this oval. It only shows where the big parts go, so press softly. You will erase it at the end.
Step 2: Treetop and trunk side
Draw a big, puffy cloud shape with a bumpy edge for the top of the tree. Then, from a dip at the bottom of the cloud, draw one curved line going down on the right side for the trunk.
Step 3: The other trunk line
Draw a second curved line on the left side of the trunk. Start at the bottom of the cloud and curve it down so the trunk gets a little wider near the bottom.
Step 4: The grassy ground
Draw a long, gently wavy line across the bottom. It should touch the bottom of the trunk and stretch out to both sides.
Step 5: Apples in the treetop
Draw four small, rounded circles inside the cloud. Make three in a row near the top, then one more lower down in the middle.
Step 6: The middle row of apples
Draw four more small rounded circles in a row across the middle of the treetop. Leave a little space between them.
Step 7: Apples on the grass
Next to the trunk on the left, draw two small round apple shapes sitting on the ground. Let them touch in the middle.
Step 8: The basket
On the right side of the trunk, draw a small basket sitting on the ground. Draw a curved handle arching over the top, a straight line across for the rim, and two short sides going down to the grass.
Step 9: The basket weave
Inside the basket, draw several short up-and-down lines. Then draw one straight line across them so the basket looks woven.
All done!
Erase the guide shapes, go over your lines, then color it in.
Finished your apple tree? Keep the pencils out and learn how to draw a willow tree or how to draw a honeycomb next.
Tips for drawing an apple tree
- Draw the cloud-shaped treetop big and light first, so there is plenty of room for all the apples inside it.
- Spread the tree apples out with space between them. Try making the first one, then put the next one about a thumb's width away.
- The basket weave is the trickiest part. Draw the up-and-down lines first and keep them about the same distance apart, then add the line across.
Free apple tree coloring page
Want to go straight to coloring? Open this apple tree coloring page at full size and print it. It is the same drawing you just learned, with clean lines ready for crayons or markers.
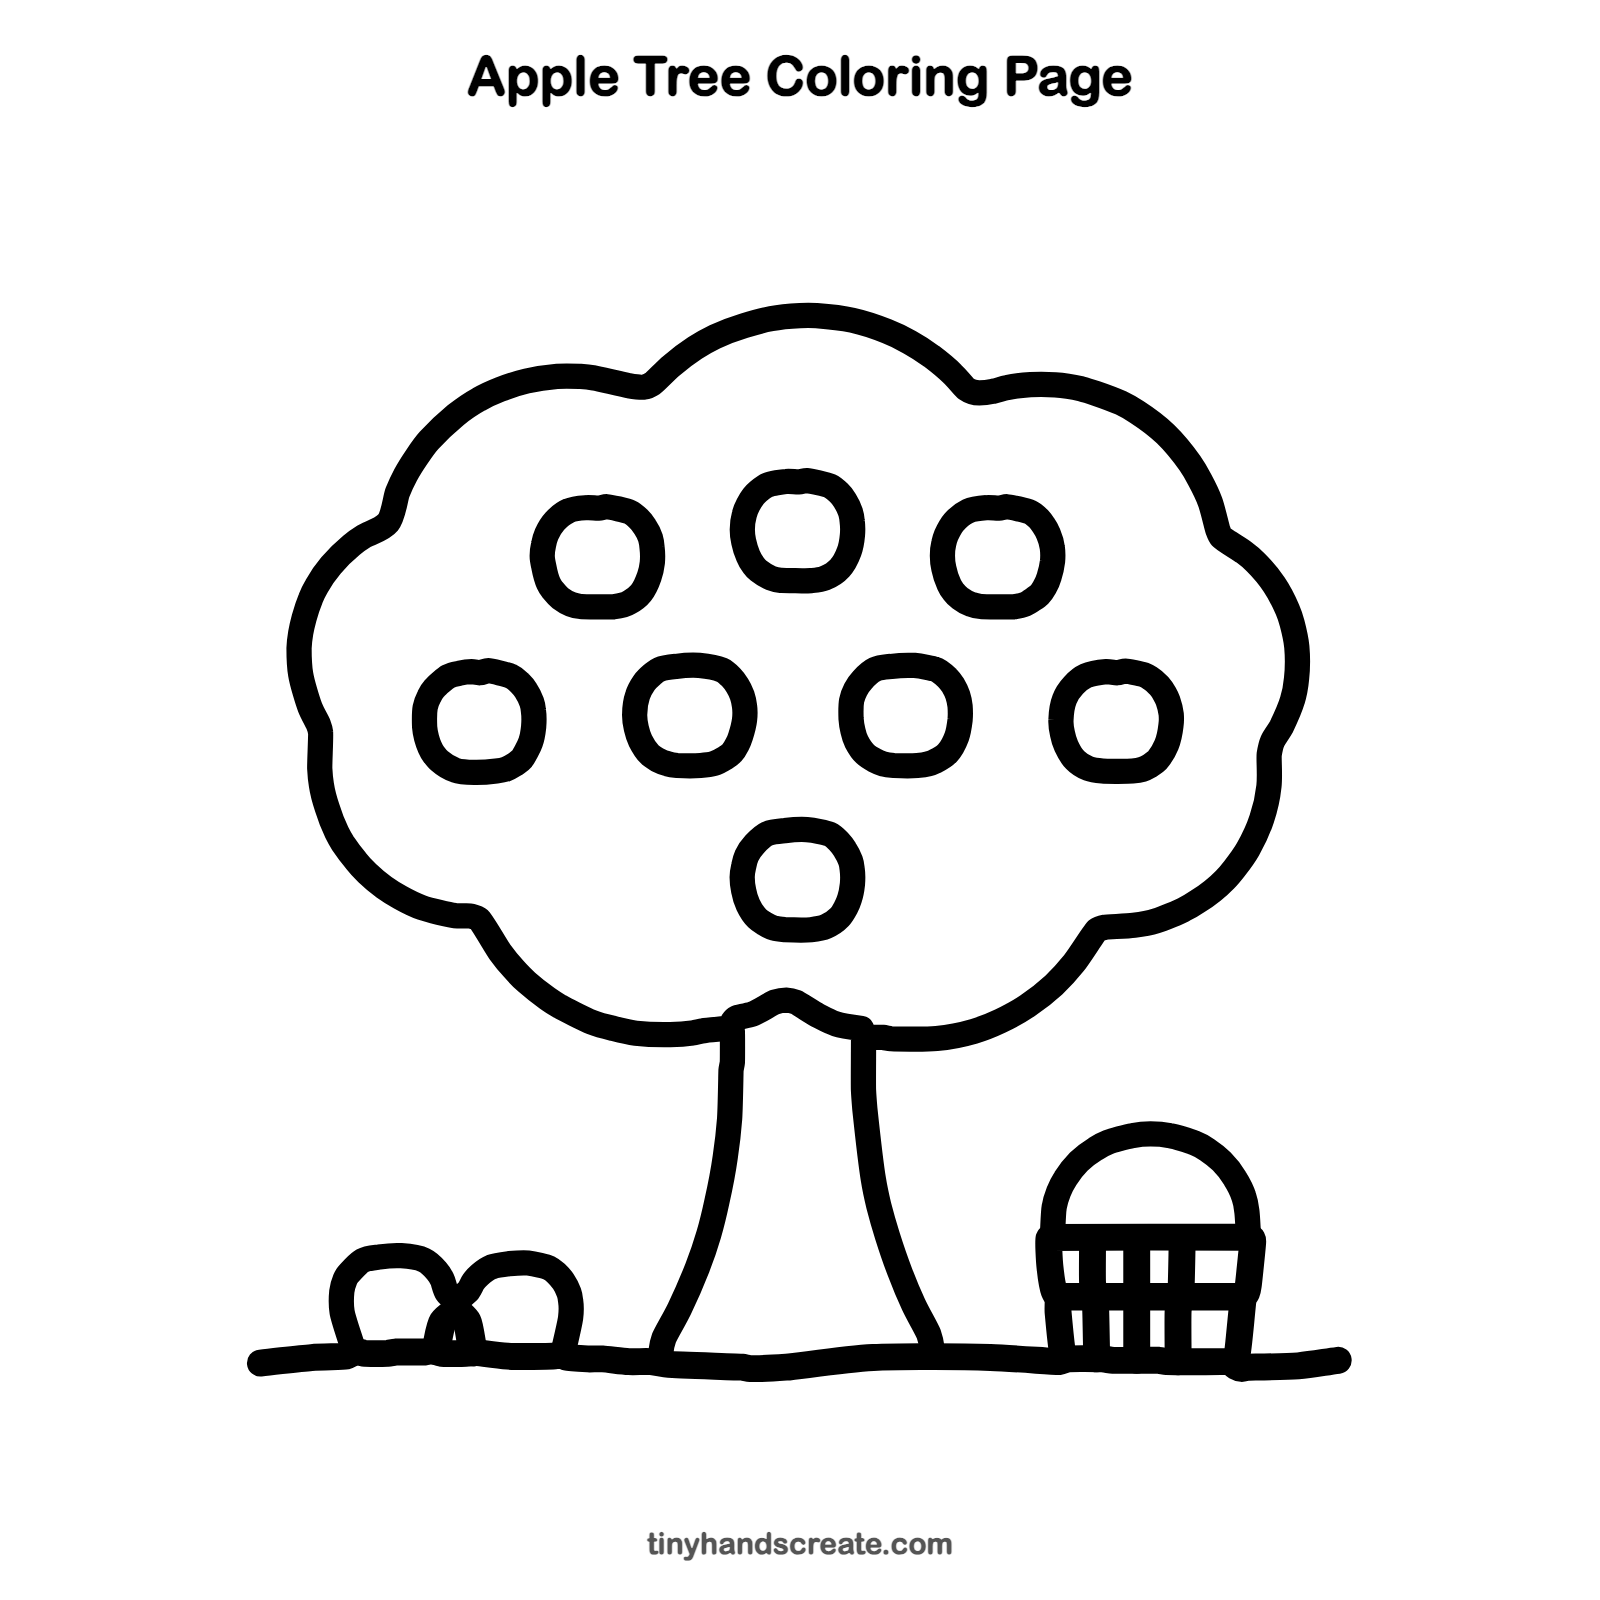
How to color your apple tree drawing
Color the apples red, the leaves green, the trunk brown, and the grass a lighter green. Make the basket a tan or light brown. For a creative twist, make every apple a different color, like a rainbow tree.
Apple tree fun fact for kids
Apples float in water because about one quarter of an apple is air.
Questions about drawing an apple tree
What shapes do I need to draw an apple tree?
You need a bumpy cloud shape for the leaves, two curved lines for the trunk, and lots of small circles for the apples. The basket is a small dome with a handle and a few straight lines.
How do I make my apples look like apples?
Draw each one as a small, round, slightly squished circle. Keep them all about the same size and spread them out inside the treetop.
How do I draw a tree trunk that looks real?
Make the trunk narrow near the leaves and wider at the bottom. Two gently curved lines that spread out near the ground do the job.