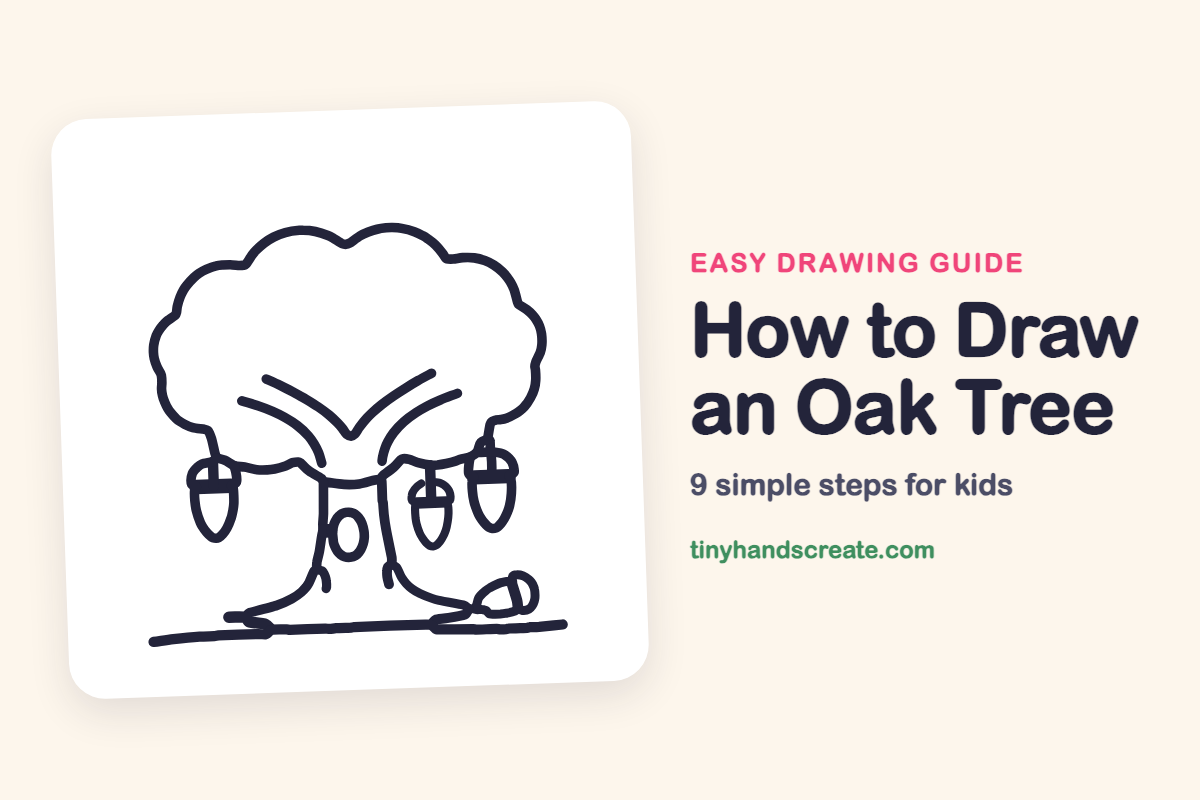
How to Draw an Oak Tree (Easy Step by Step)
An oak tree is a fun drawing because it is mostly one big puffy cloud sitting on a sturdy trunk. You only need a few simple shapes: bumpy curves, long lines, and little ovals for the acorns. The hanging acorns make this tree feel friendly and full of life.
- Easy
- 15 minutes
- 9 steps
You need: paper, a pencil, an eraser, and crayons or markers for coloring.
Start drawingIn this article (7 sections)
How to draw an oak tree step by step
How to Draw an Oak Tree · tinyhandscreate.com
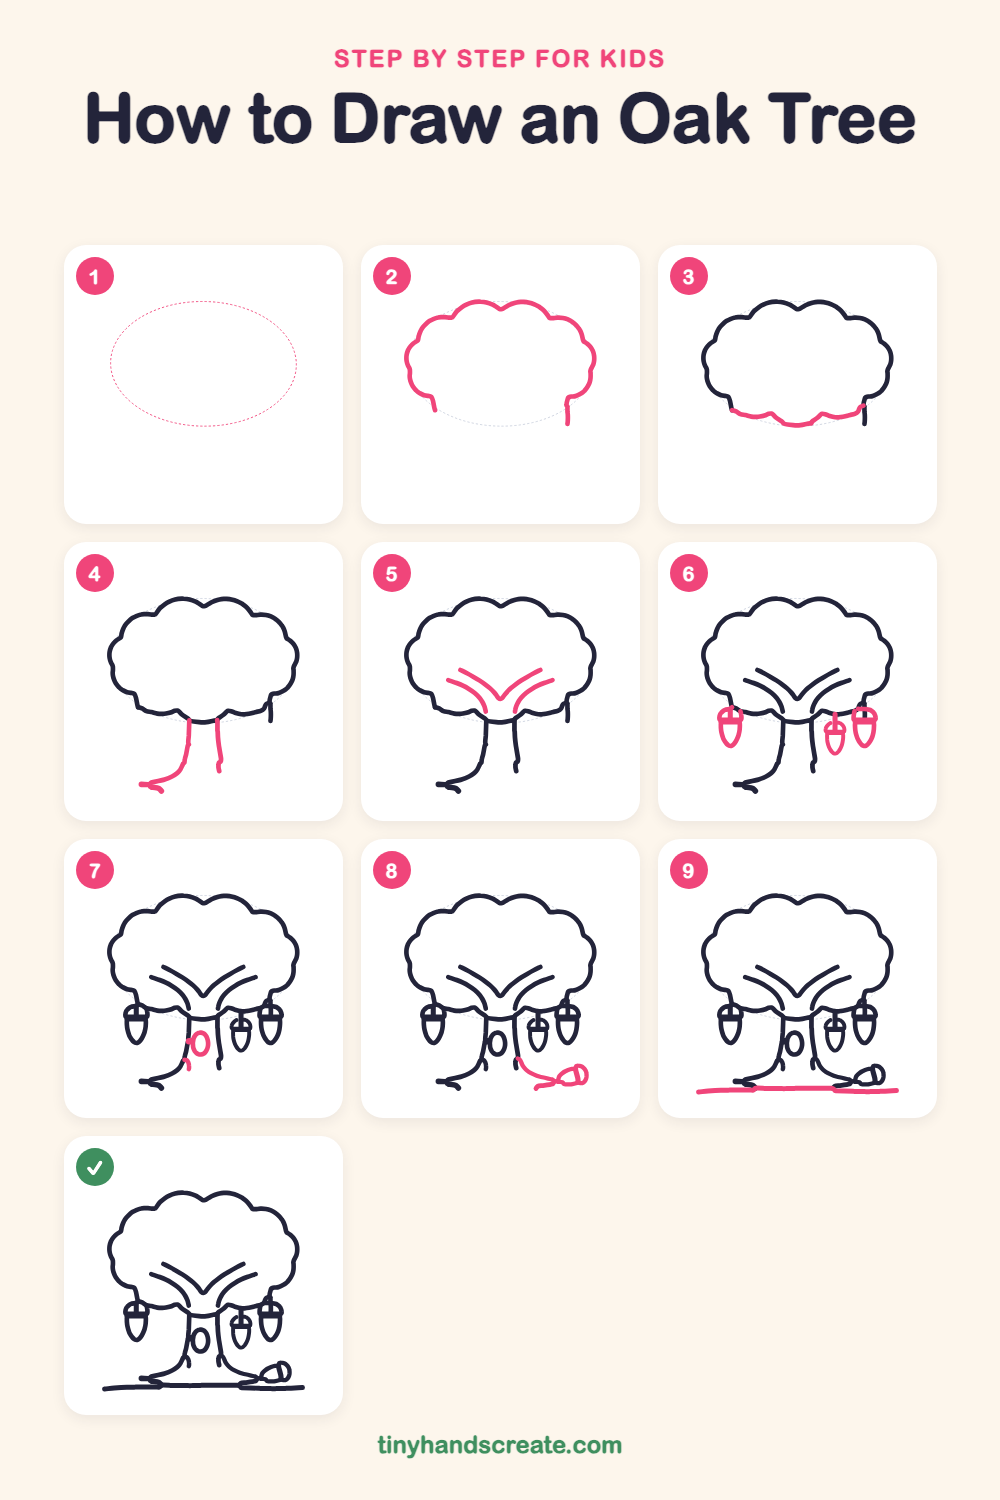
Step 1: Guide shapes
Lightly sketch this oval. It only shows where the big parts go, so press softly. You will erase it at the end.
Step 2: The leafy crown
Draw a big puffy cloud shape for the top of the tree, with lots of rounded bumps along the edge. Leave the bottom open, and end each side with a short line pointing down.
Step 3: Bottom of the crown
Draw a bumpy, wavy line along the bottom of the cloud to close it up. It should dip down in the middle and curve up on both sides.
Step 4: The trunk
Start under the dip in the crown and draw two lines going down, one on each side. Let the left line curve out at the bottom into a little root, and keep the right line a bit shorter.
Step 5: Branches in the crown
Inside the cloud, just above the trunk, draw two curved lines on the left and two on the right. Make them meet in the middle like a wide V.
Step 6: Hanging acorns
Hang three acorns from the bottom edge of the cloud. For each one, draw a little rounded cap with a flat line under it, and a pointy oval for the nut below.
Step 7: Knothole and bark
Draw a small tall oval on the trunk for a knothole. Add one short curved mark near the bottom of the trunk to make the bark look rough.
Step 8: Acorn on the ground
Draw a curved line from the bottom right of the trunk reaching out to the side. At its end, draw a little acorn lying on its side, with a round cap and a pointy nut.
Step 9: The ground
Finish with one long, slightly curved line across the bottom of the page, so your tree has a place to stand.
All done!
Erase the guide shapes, go over your lines, then color it in.
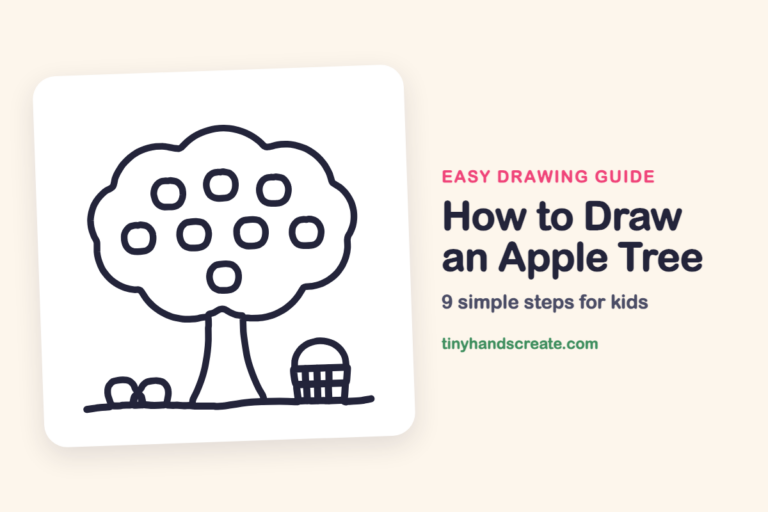
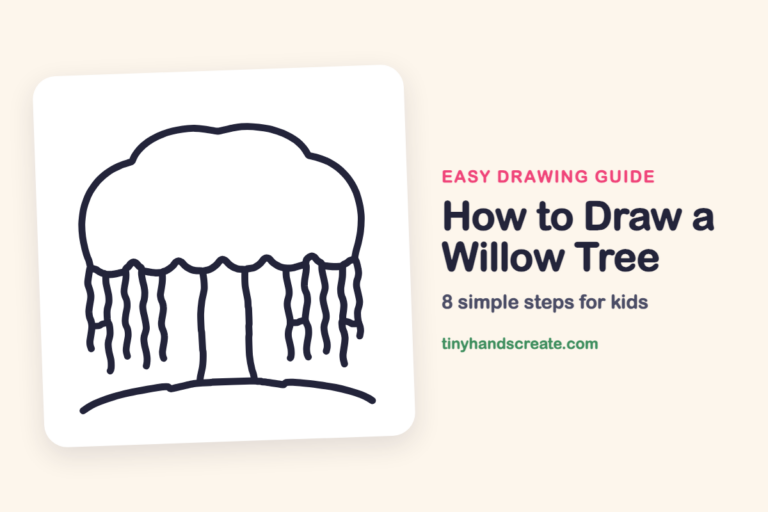
Finished your oak tree? Keep the pencils out and learn how to draw an apple tree or how to draw a willow tree next.
Tips for drawing an oak tree
- Make the bumps on the crown different sizes. Big and small bumps look more like real leaves than a row of matching scallops.
- Start the two trunk lines close together under the crown. Letting one curve out into a root at the bottom makes the tree look like it grips the ground.
- For each acorn, draw the cap first and the pointy nut second. Try making the three hanging acorns slightly different sizes so they look natural.
Free oak tree coloring page
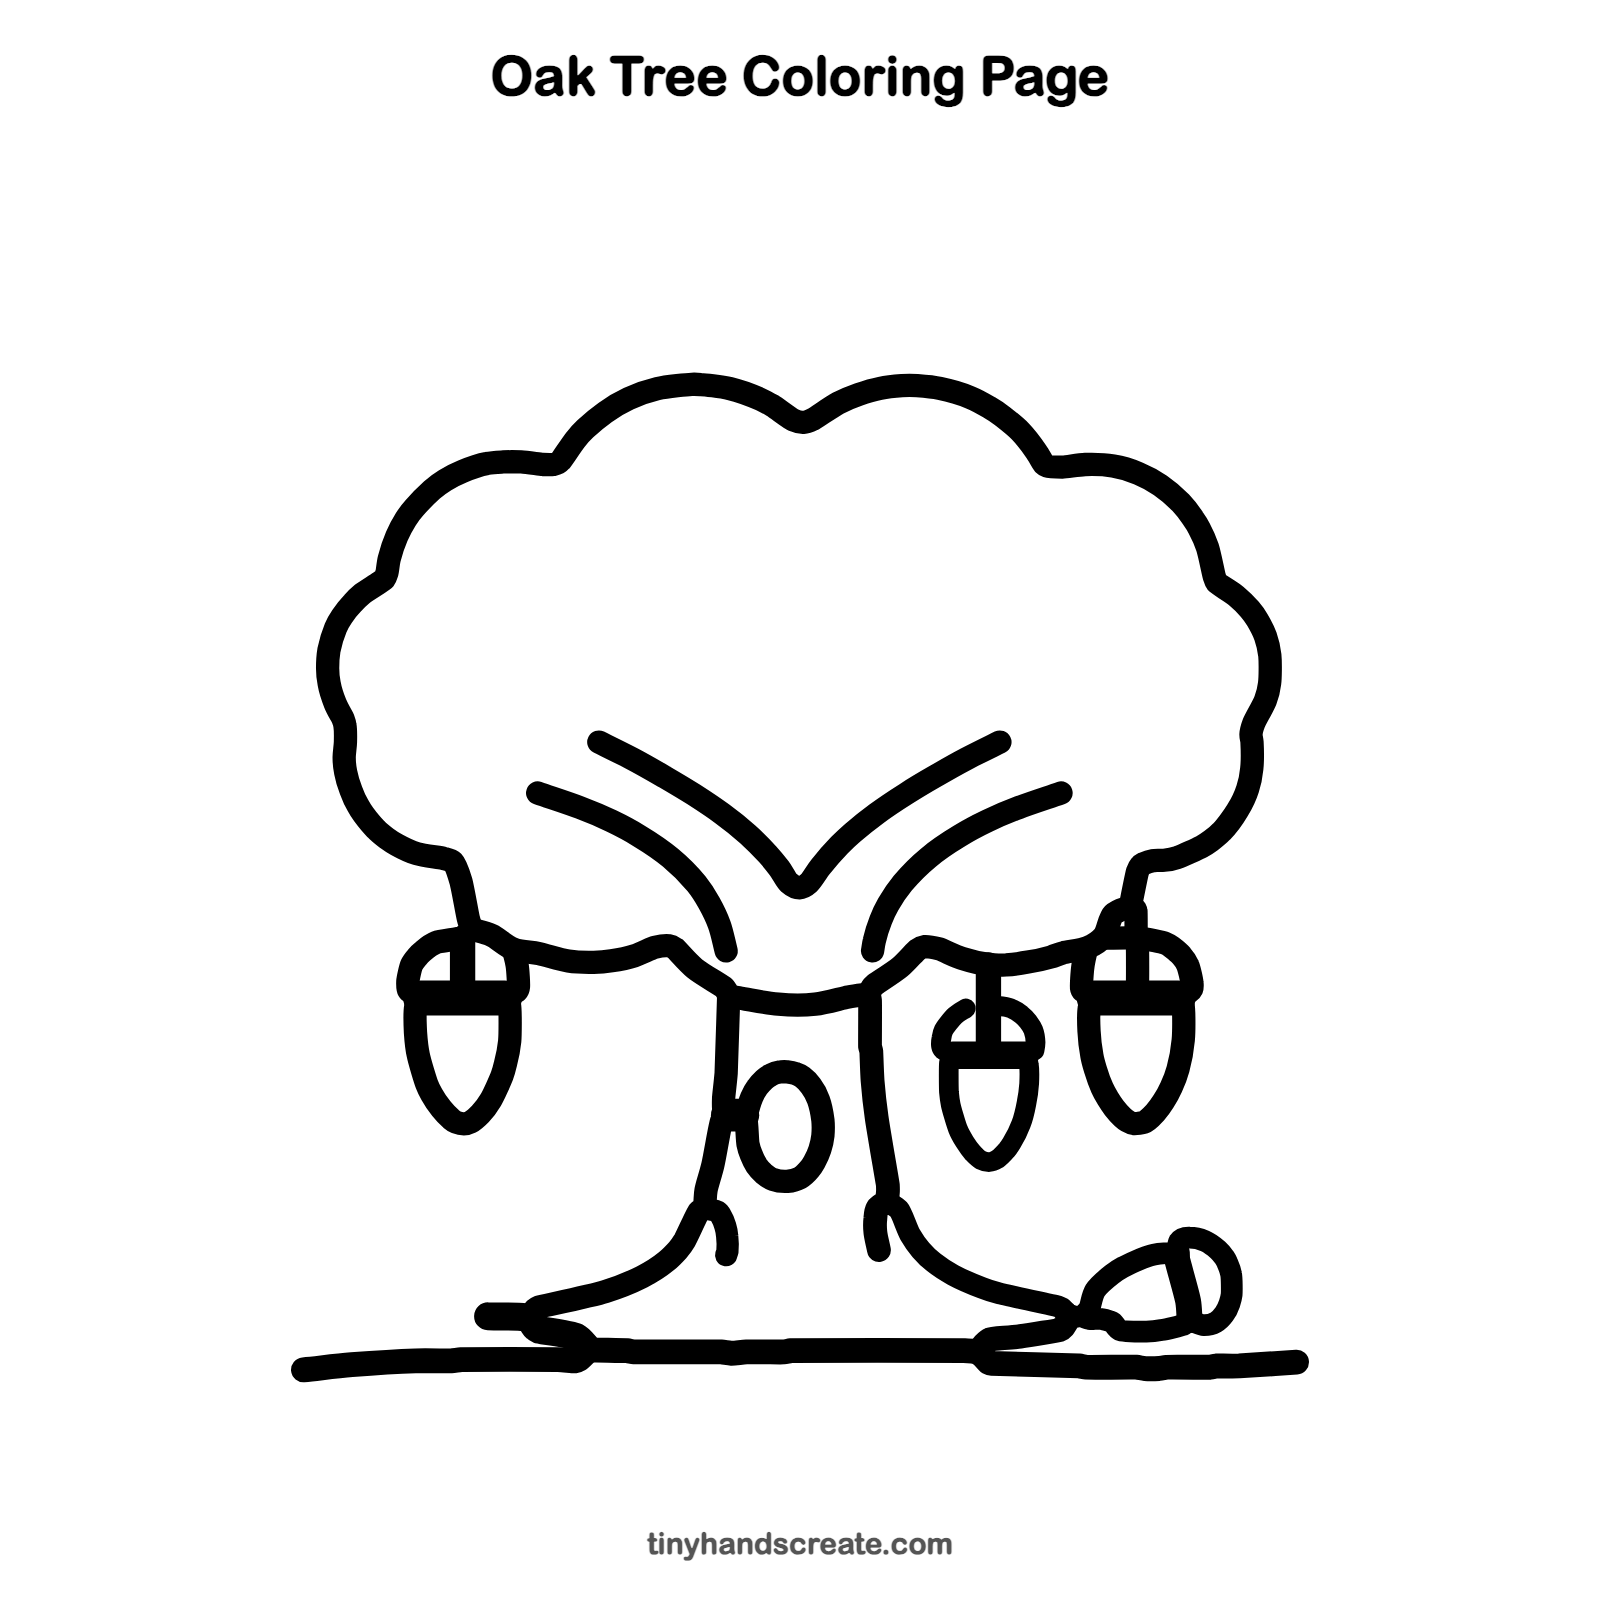
Want to go straight to coloring? Open this oak tree coloring page at full size and print it. It is the same drawing you just learned, with clean lines ready for crayons or markers.
How to color your oak tree drawing
Use several greens for the crown and warm browns for the trunk and acorns. For a creative twist, color the tree for autumn with orange, red, and yellow leaves.
Oak tree fun fact for kids
A single oak tree can drop thousands of acorns in one year, and squirrels and jays bury many of them. The ones they forget about can grow into new oak trees.
Questions about drawing an oak tree
What shapes do I need to draw an oak tree?
You need a big bumpy cloud shape for the leaves, two long lines for the trunk, and small ovals with pointy tips for the acorns.
How do I make my oak tree look fuller?
Add more bumps along the edge of the crown and a few extra acorns hanging from it. A few more curved branch lines inside the crown also help.
How do I draw an acorn?
Start with a small rounded cap and draw a short line under it. Then add an oval that ends in a point for the nut.