How to Draw a Monstera Leaf (Easy Step by Step)
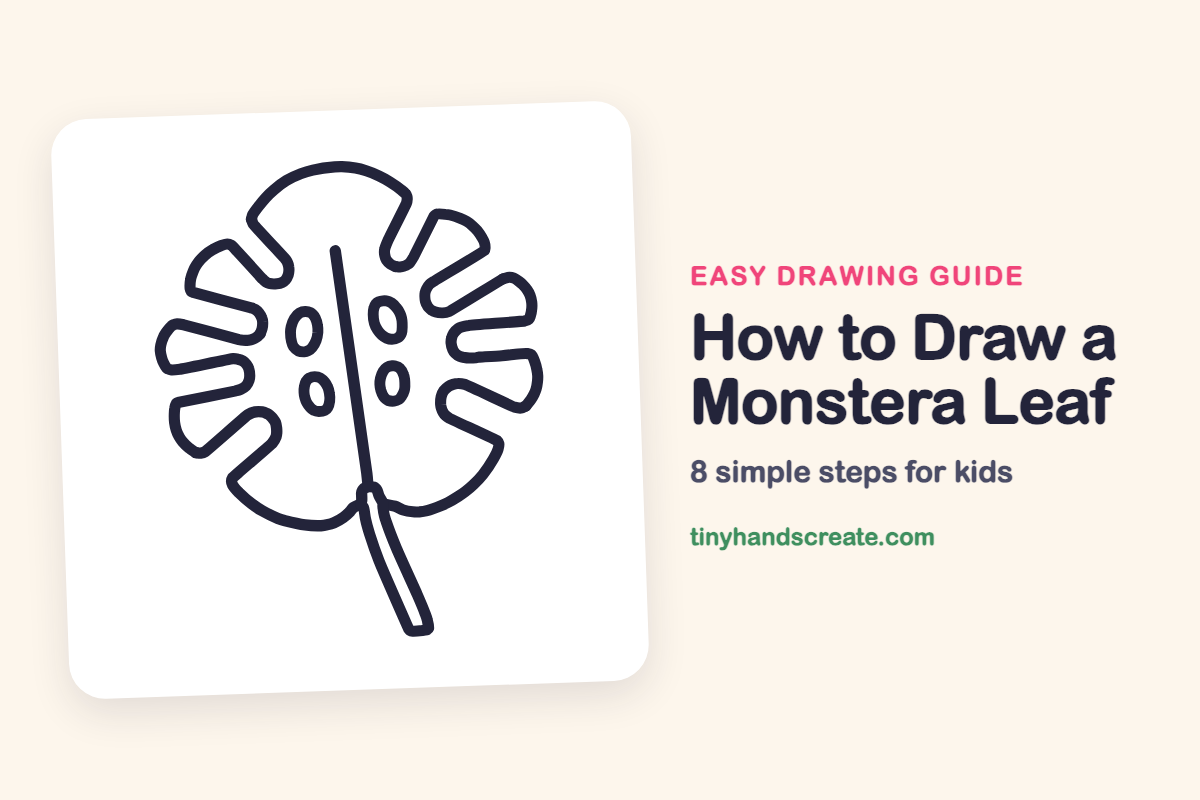
A monstera leaf looks fancy, but it is built from simple shapes: a big rounded leaf, a row of fingers, a straight vein, a few ovals, and a long thin stem. The narrow cuts along the edges and the little holes are what make it look like a real monstera. This is a good drawing for practicing smooth curves.
- Medium
- 15 minutes
- 8 steps
You need: paper, a pencil, an eraser, and crayons or markers for coloring.
Start drawingIn this article (7 sections)
How to draw a monstera leaf step by step
How to Draw a Monstera Leaf · tinyhandscreate.com
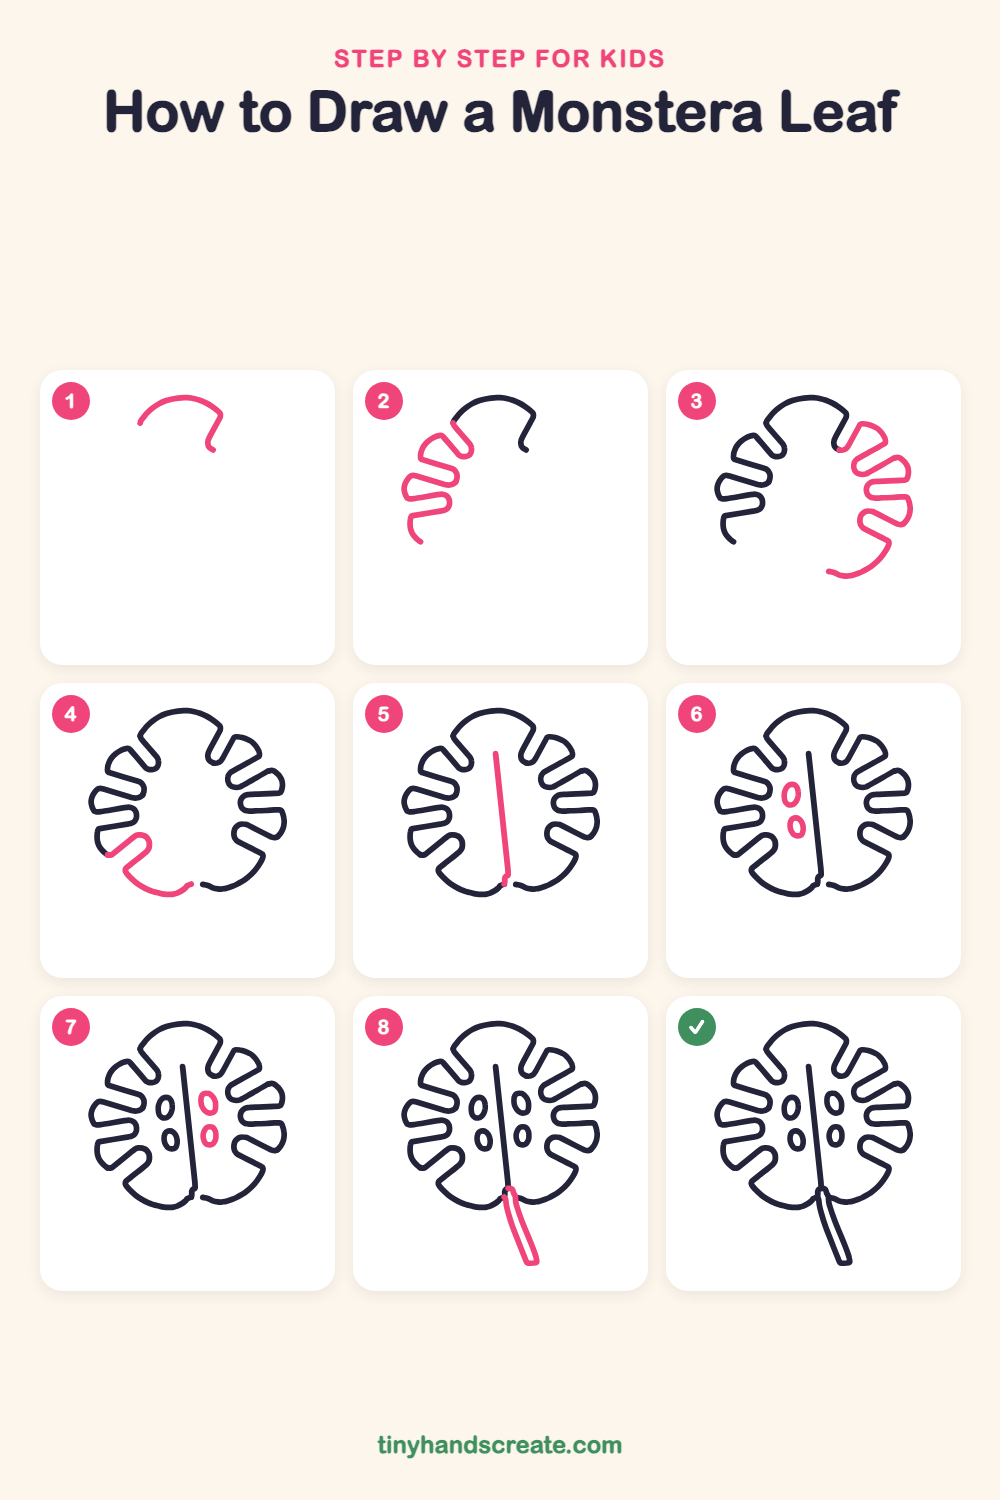
Step 1: Top of the leaf
Start on the left and draw a big curved dome, like a rainbow. At the right end, turn the line downward and make a short hook that curves in a little at the bottom.
Step 2: Left leaf fingers
Starting where the dome ends on the left, draw wide fingers going down the left side, like the fingers of a mitten. Each finger has a rounded tip, and the cuts between them are narrow with rounded bottoms.
Step 3: Right leaf fingers
Do the same on the right side, starting from the hook at the end of the dome. Draw rounded fingers with narrow slits between them, then sweep the line around the bottom right.
Step 4: Bottom of the leaf
On the lower left, draw one more small finger. Then draw a smooth curve along the bottom toward the middle, stopping just before the line from the right side so a small gap is left.
Step 5: The center vein
Draw one long, slightly slanted line starting inside the leaf near the top and running down to the small gap at the bottom, where the leaf meets the stem.
Step 6: Holes on the left
Draw two small tilted ovals on the left side of the vein, one above the other. Leave a little space between them.
Step 7: Holes on the right
Draw two more small tilted ovals on the right side of the vein, one above the other, to match the left side.
Step 8: The long stem
Draw two lines going down from the bottom of the leaf, leaning a little to the right. Close the bottom with a short line to make a skinny strip.
All done!
Go over your lines with a marker, then color it in.
Finished your monstera leaf? Keep the pencils out and learn how to draw an oak tree or how to draw an apple tree next.
Tips for drawing a monstera leaf
- Draw the cuts as long skinny U shapes. Keep both sides of each cut close together so the fingers look wide and the gaps look narrow.
- Try the left and right sides one finger at a time and compare them as you go. They do not need to match exactly, but they should be about the same size.
- Draw the holes as small tilted ovals, leaning the same way on both sides of the vein. Make a few a little bigger than the others so they look natural.
Free monstera leaf coloring page
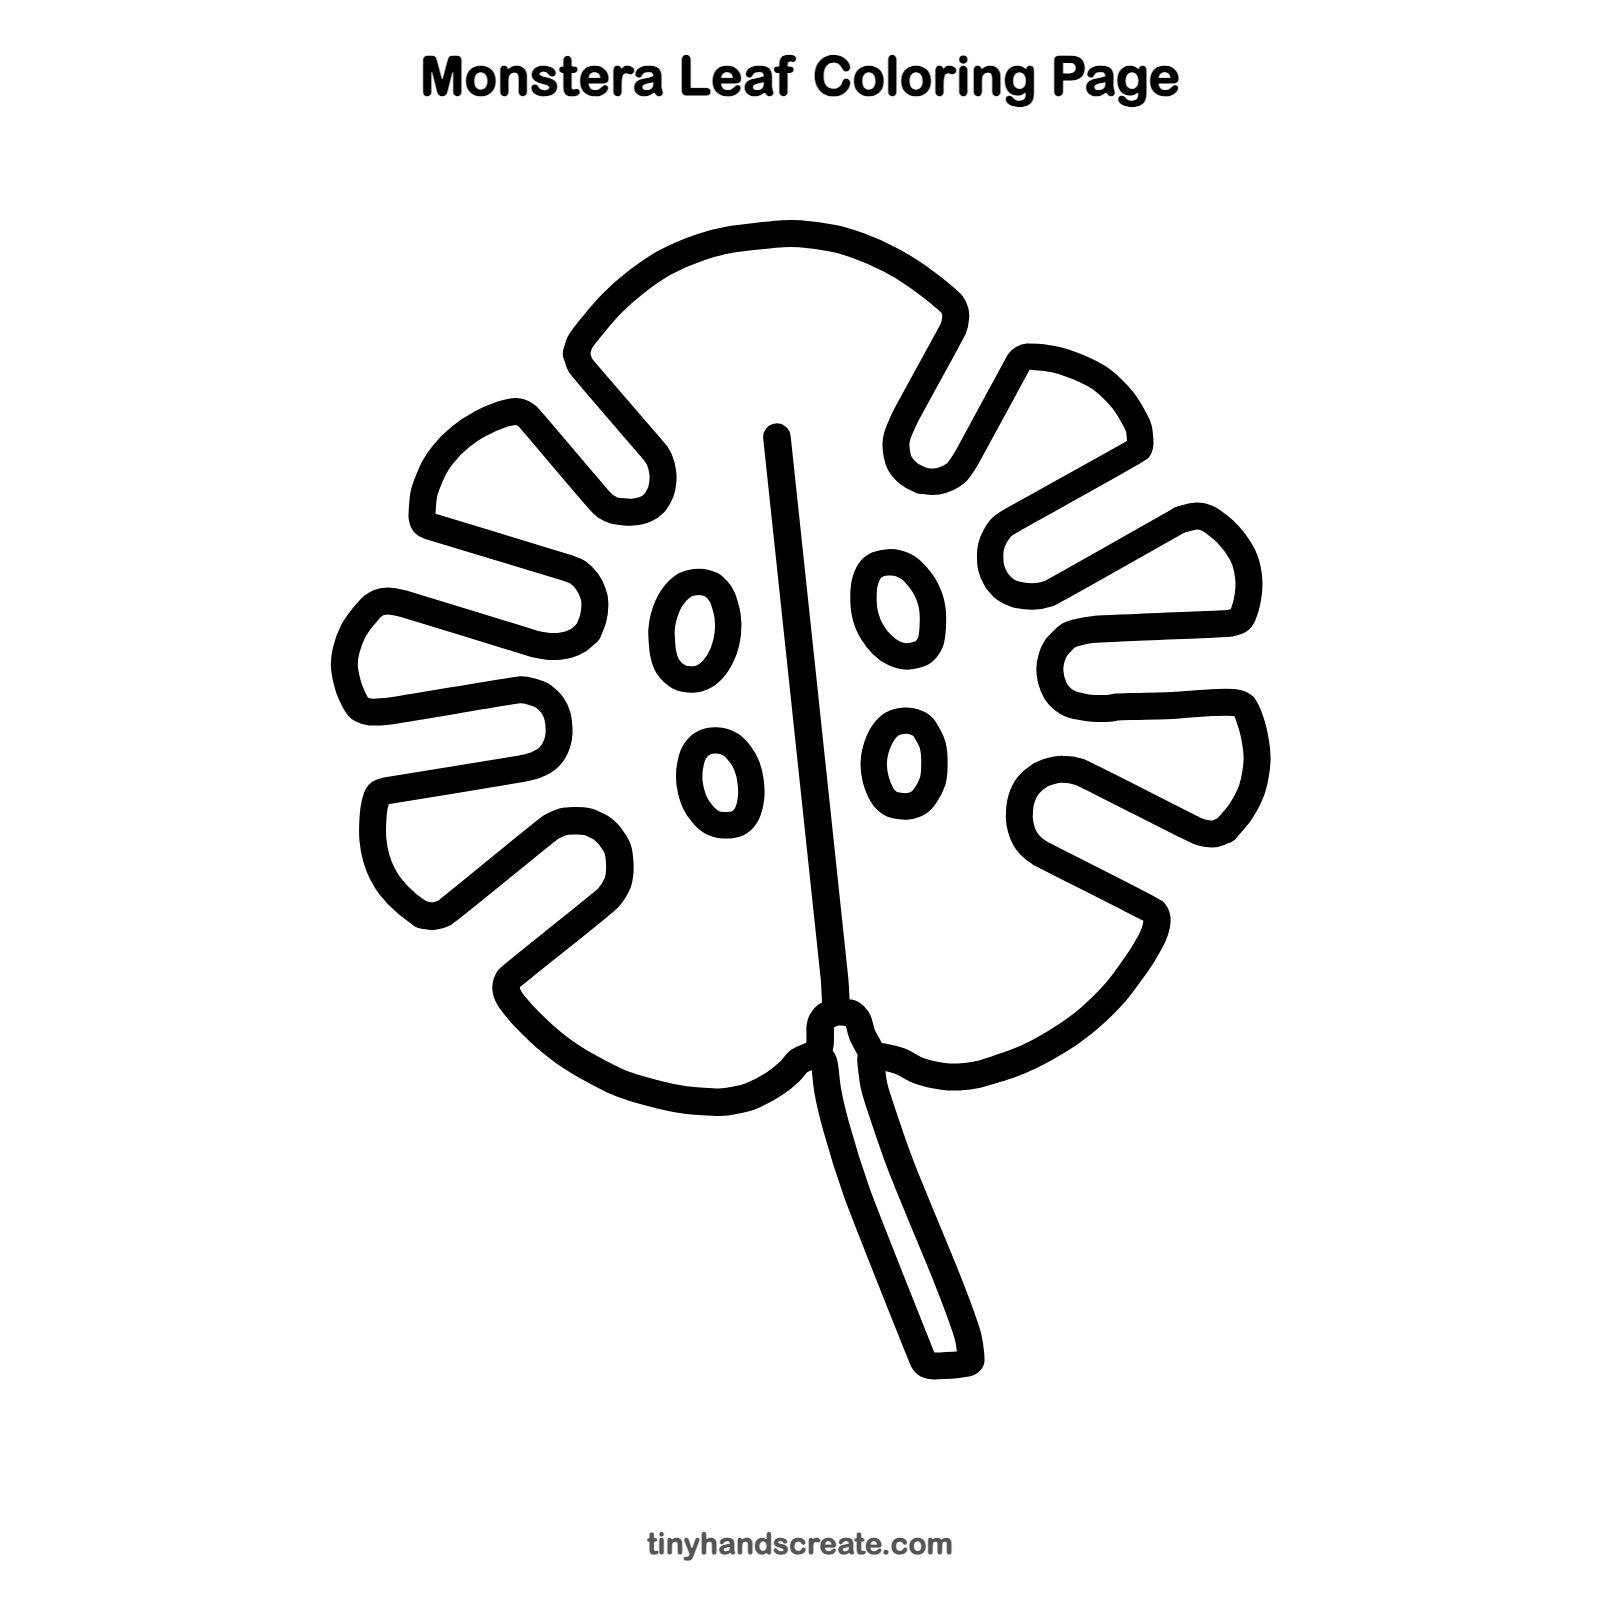
Want to go straight to coloring? Open this monstera leaf coloring page at full size and print it. It is the same drawing you just learned, with clean lines ready for crayons or markers.
How to color your monstera leaf drawing
Use a deep green for the leaf and a lighter green for the stem. For a twist, color each finger a slightly different shade of green, or make a rainbow monstera.
Monstera leaf fun fact for kids
Monstera plants grow wild in the rainforests of Central America, and people often call them Swiss cheese plants because of the holes in their leaves.
Questions about drawing a monstera leaf
What shapes do I need to draw a monstera leaf?
You need a big curved dome for the top, rounded finger shapes for the edges, a long line for the vein, a few small ovals for the holes, and two long lines for the stem.
How do I draw the cuts in a monstera leaf?
Draw each cut as a narrow U shape that goes in from the edge toward the middle. Keep the two sides close together and round the bottom.
How do I make my monstera leaf look more real?
Make the fingers different sizes and tilt the holes a little. Letting the stem lean to one side also helps the leaf look like it is hanging from a plant.