How to Draw a Succulent (Easy Step by Step)
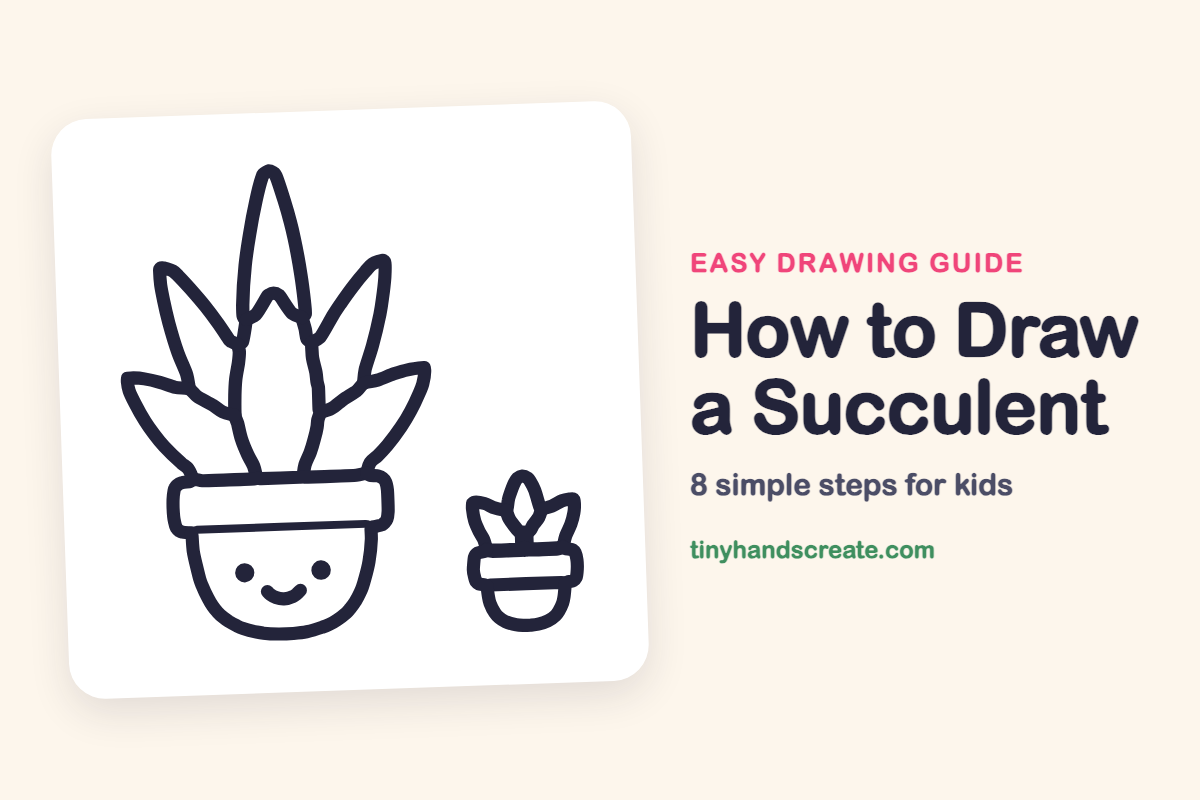
This little succulent sits in a pot with a happy face, which makes it a fun first plant to draw. It is built from long pointy ovals for leaves, a flat rounded strip for the pot rim, and a bowl shape for the pot. A tiny baby plant next to it finishes the scene.
- Easy
- 12 minutes
- 8 steps
You need: paper, a pencil, an eraser, and crayons or markers for coloring.
Start drawingIn this article (7 sections)
How to draw a succulent step by step
How to Draw a Succulent · tinyhandscreate.com
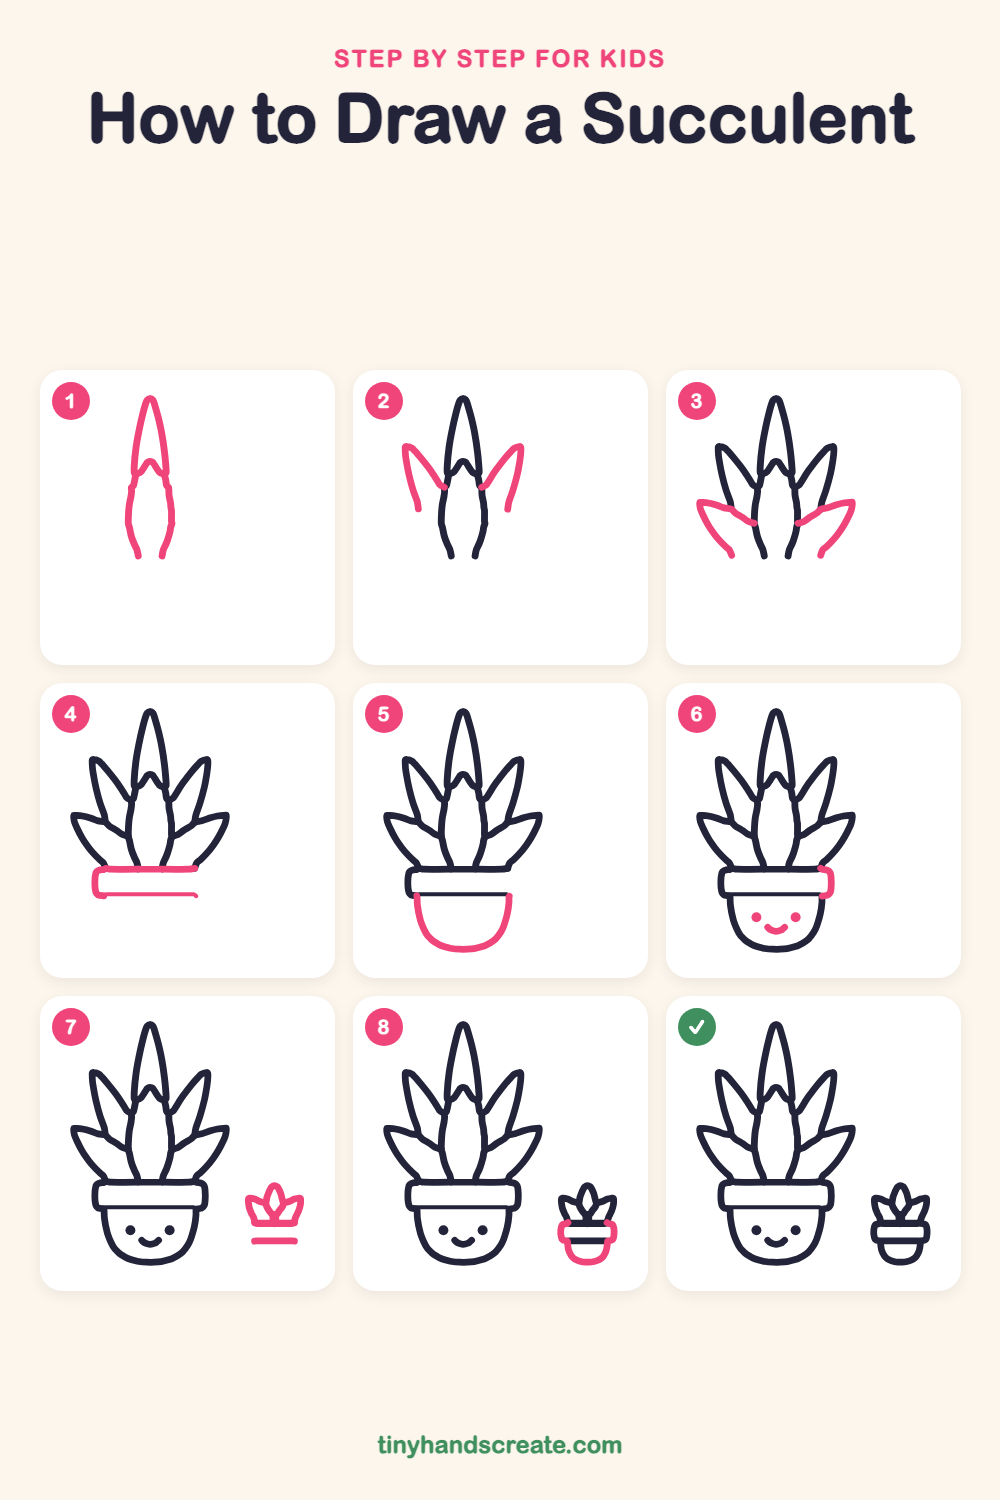
Step 1: Tall and front leaves
Draw a tall, thin leaf shaped like a long pointy oval, with the tip at the top. Then draw a fatter leaf in front of it, with its pointed tip overlapping the lower part of the tall leaf and its sides curving down to the bottom.
Step 2: Two back leaves
Draw one pointy leaf leaning out to the left and one leaning out to the right. Tuck their bottoms behind the front leaf.
Step 3: Low side leaves
Add a wide leaf on each side, lower down, pointing out and slightly up. Each one starts near the bottom of the plant and ends in a pointy tip.
Step 4: The pot rim
Under the leaves, draw a long, flat strip for the top of the pot. Make a straight line along the bottom of the leaves, curve the left end around, and draw another straight line underneath. Leave the right end open for now.
Step 5: The pot bowl
Below the rim, draw a bowl shape like a big U. Start at the bottom corners of the rim and curve down and around.
Step 6: Smiley face
Draw two round dots for eyes in the middle of the pot. Add a small smile curve between and below them. Then close the right end of the rim with a small curve.
Step 7: The little plant
Off to the side, draw a small plant with three pointy leaves, one tall in the middle and two shorter ones out to the sides. Add a short straight line under them.
Step 8: The little pot
Around the short line, draw a tiny rounded rectangle for the rim, then a small bowl shape below it for the pot.
All done!
Go over your lines with a marker, then color it in.
Finished your succulent? Keep the pencils out and learn how to draw a monstera leaf or how to draw an oak tree next.
Tips for drawing a succulent
- Start with the tall middle leaf and make it a narrow oval with a point on top. The other leaves are easier to place once it is there.
- Let the leaves overlap. When one leaf is in front, stop your line where it touches the leaf behind it.
- Draw the pot rim wider than the bowl below it, and keep the face in the middle of the bowl so the eyes sit side by side.
Free succulent coloring page
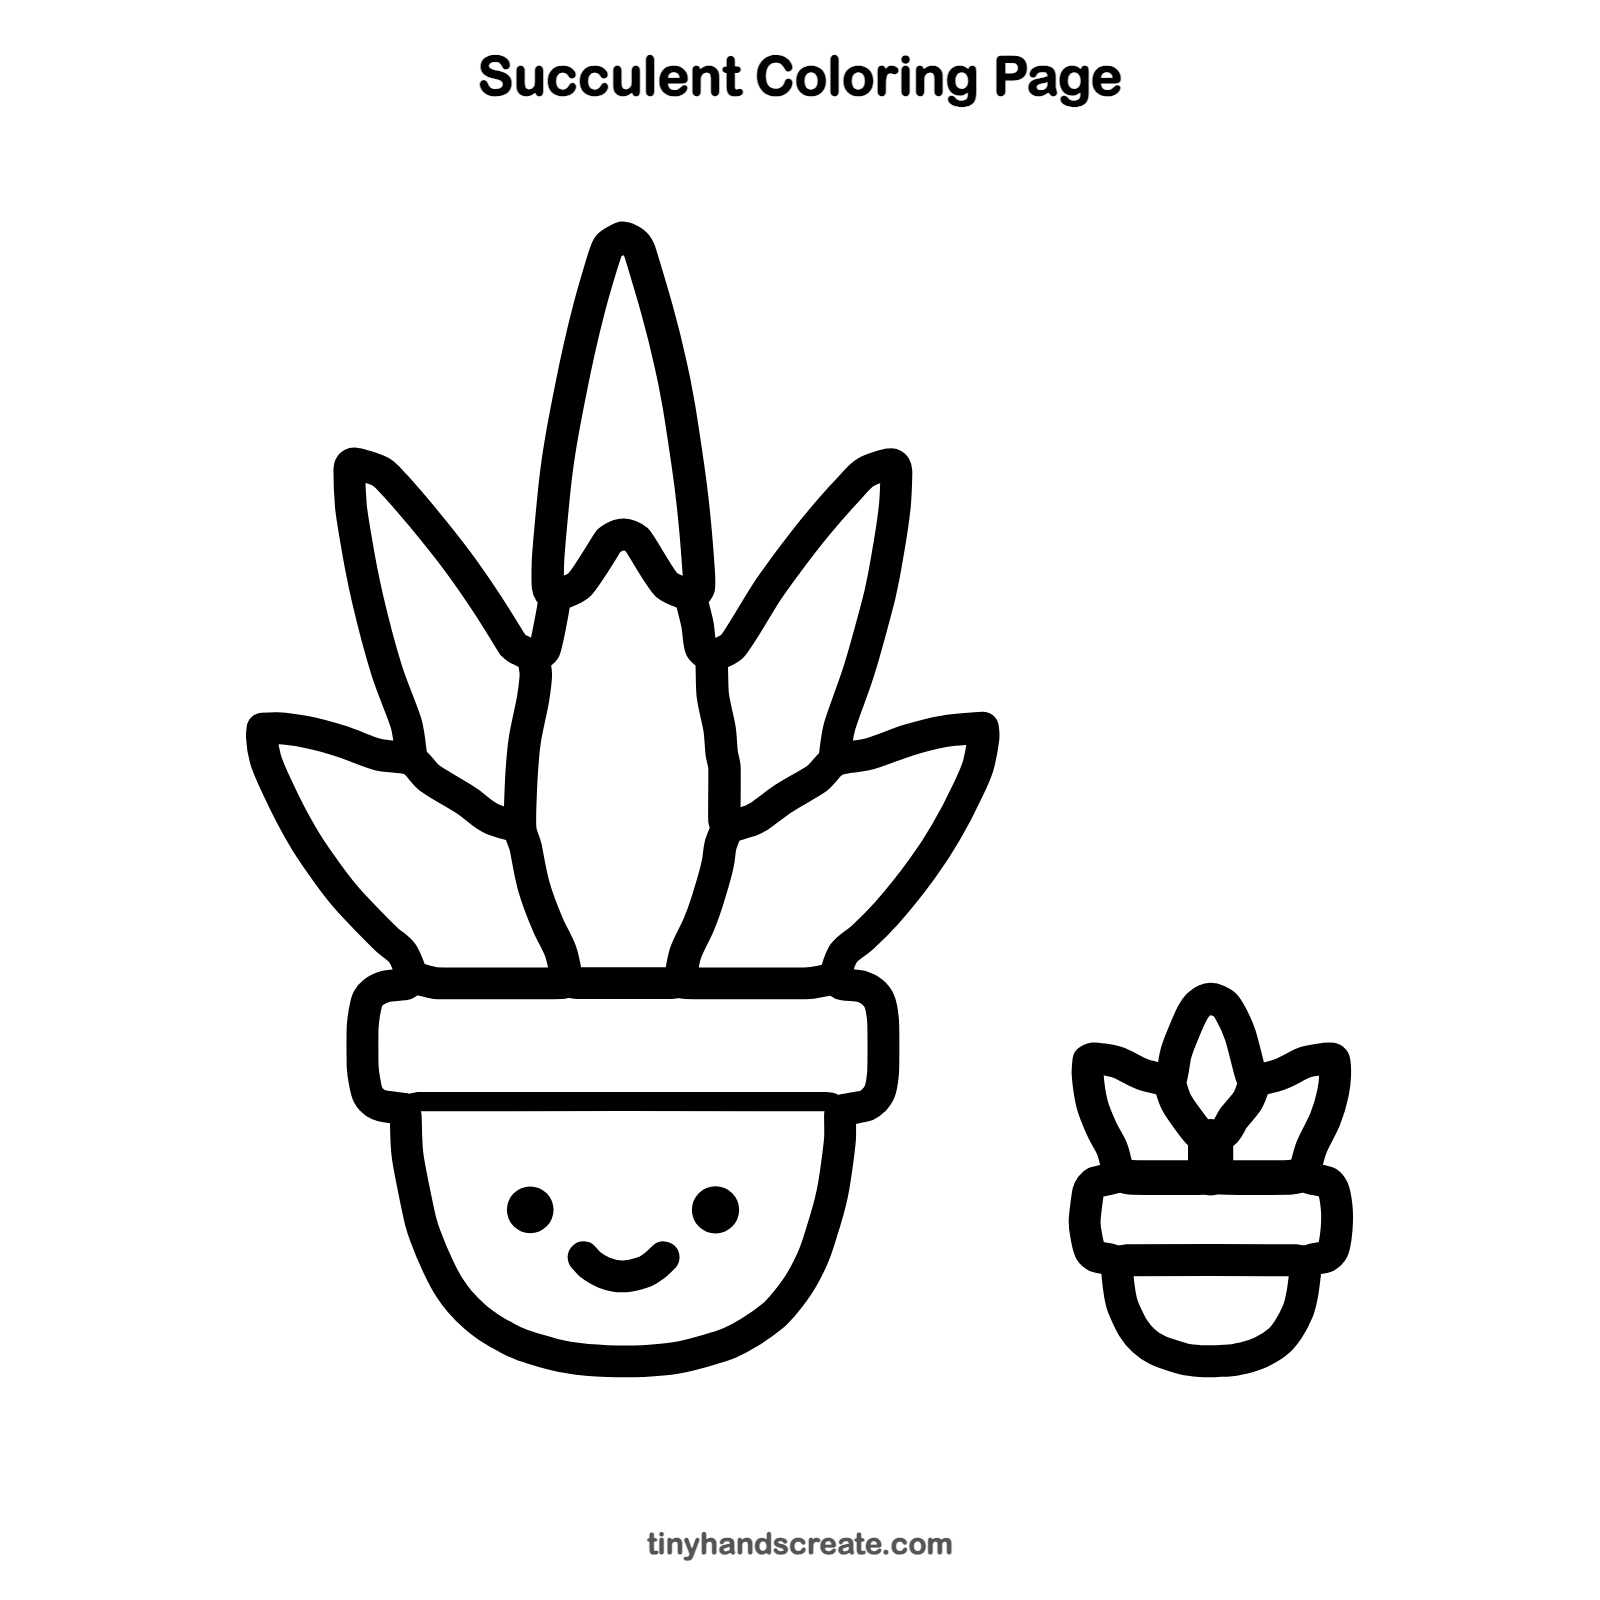
Want to go straight to coloring? Open this succulent coloring page at full size and print it. It is the same drawing you just learned, with clean lines ready for crayons or markers.
How to color your succulent drawing
Try several greens for the leaves, with a lighter green in the middle, and a terracotta orange for the pots. You could also paint the pots in stripes or give each leaf its own pattern of dots.
Succulent fun fact for kids
Succulents store water in their thick leaves, which is why many of them can go a long time without a drink.
Questions about drawing a succulent
What shapes do I need to draw a succulent?
You need long pointy ovals for the leaves, a flat rounded strip for the pot rim, and a bowl shape for the pot. Two dots and a small curve make the face.
How do I make my succulent look cuter?
Put the eyes wide apart in the middle of the pot, and add a small smile. The tiny baby plant beside it adds charm too.
Why do my leaves look messy?
Draw the tall leaf first and stop your lines where the front leaf begins. Sketching each leaf lightly before you press harder also helps.