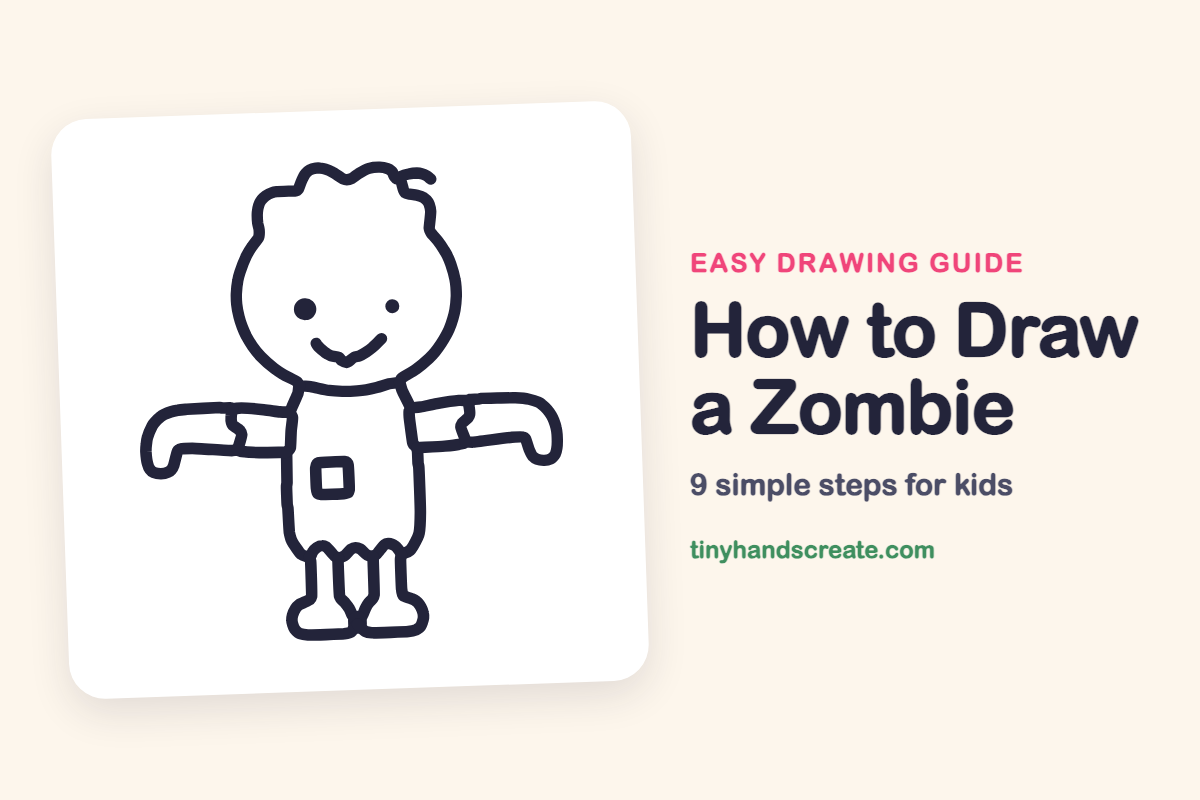
How to Draw a Zombie (Easy Step by Step)
This friendly zombie is one of the easiest monsters to draw, and it is more silly than scary. It is built from a circle with messy hair, two long side lines, two bent arms and a few ragged lines.
- Easy
- 12 minutes
- 9 steps
You need: paper, a pencil, an eraser, and crayons or markers for coloring.
Start drawingIn this article (7 sections)
How to draw a zombie step by step
How to Draw a Zombie · tinyhandscreate.com
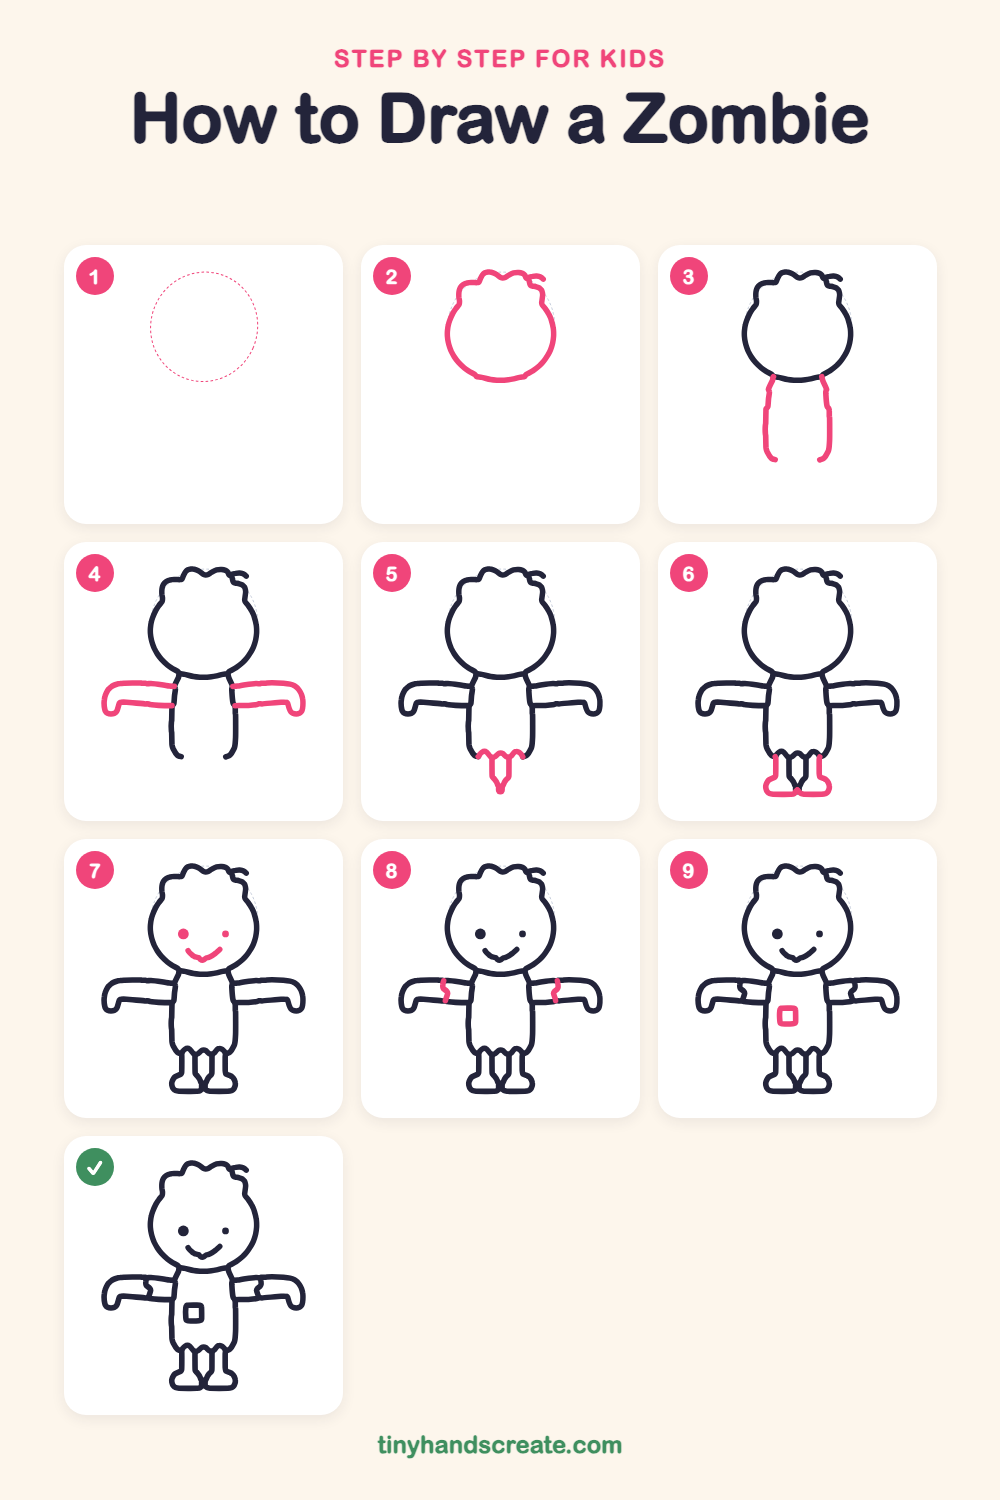
Step 1: Guide shapes
Lightly sketch this oval. It only shows where the big parts go, so press softly. You will erase it at the end.
Step 2: Head and messy hair
Draw a big circle for the head, but make the top a wavy, bumpy line for messy hair. Finish with one little curl sticking out on the right.
Step 3: Body sides
Under the head, draw two long lines going straight down, one on each side. Start each line at the bottom of the head and curve it in a little at the bottom.
Step 4: Stretched-out arms
Draw two long arms reaching out from the sides of the body. Make each one a bent tube that hooks down at the end to make a hand.
Step 5: Ragged shorts
Join the bottom of the body with a wavy, ragged line for torn shorts. Let one long pointed tip hang down in the middle.
Step 6: Legs and feet
Draw a short straight line down on the outside of each leg. At the bottom of each line, draw a rounded boot that pokes out to the side, and let the two boots nearly touch in the middle.
Step 7: Eyes and smile
Draw two small round dots for eyes, one a little bigger than the other. Then draw a small smile under them with a tiny dip in the middle.
Step 8: Torn sleeves
On each arm, near the body, draw a short wiggly line across the arm. It makes the sleeve look ripped.
Step 9: The patch
Draw a small square with rounded corners on the middle of the body, like a patch sewn onto the shirt.
All done!
Erase the guide shapes, go over your lines, then color it in.
Finished your zombie? Keep the pencils out and learn how to draw a witch's cauldron or how to draw a tombstone next.
Tips for drawing a zombie
- Draw the head circle first and lightly, so the body lines can start right at its bottom edge.
- Keep both arms level and about the same length. If one ends up wobbly, make the hand hook bigger instead of erasing it.
- For the ragged shorts, draw a row of small up-and-down bumps along the bottom of the body, then add one long pointed tip in the middle.
Free zombie coloring page
Want to go straight to coloring? Open this zombie coloring page at full size and print it. It is the same drawing you just learned, with clean lines ready for crayons or markers.
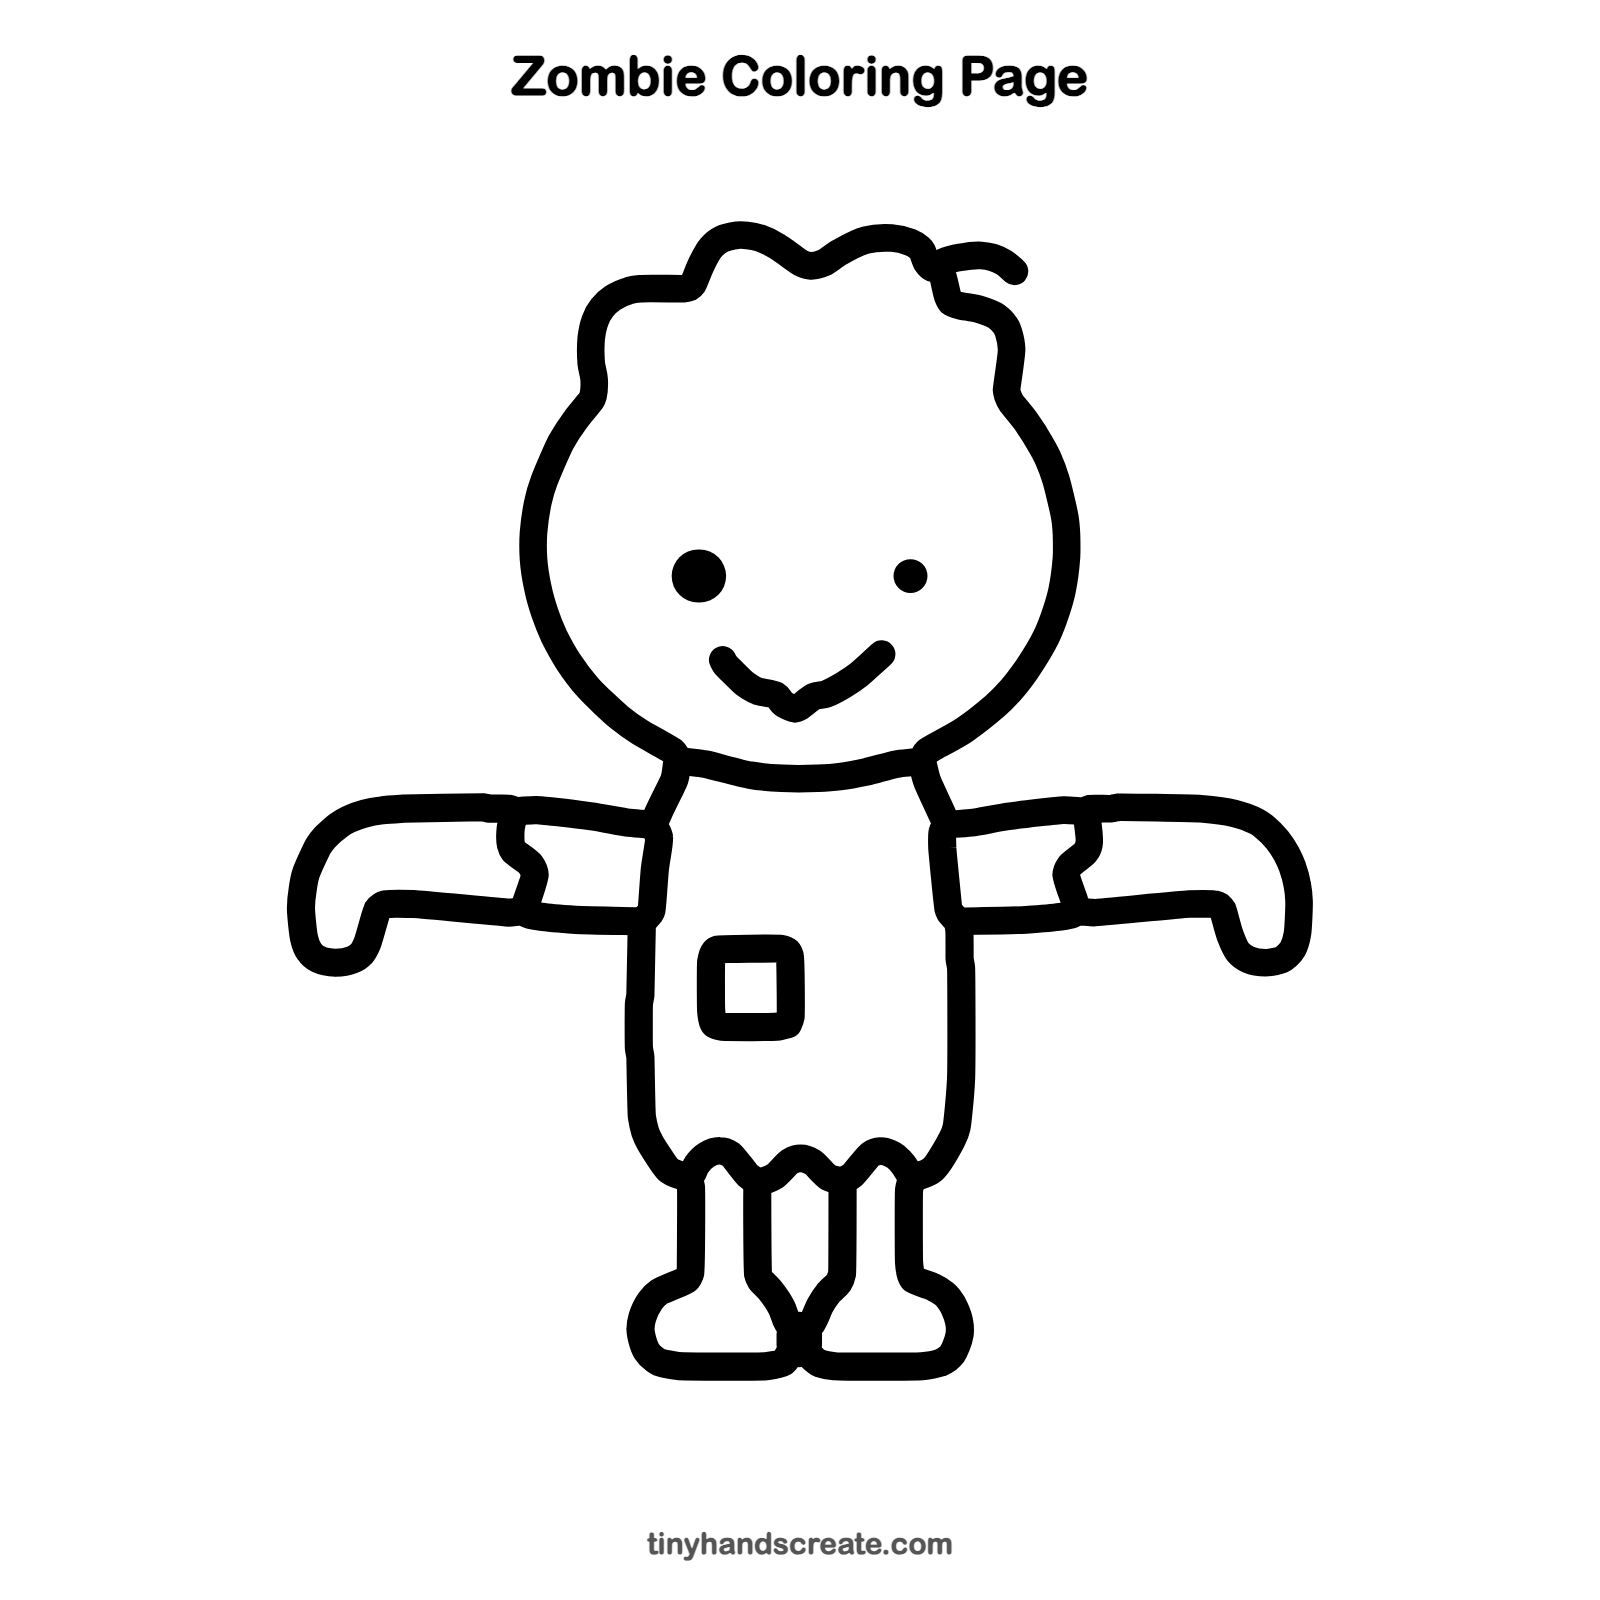
How to color your zombie drawing
Try green skin on the head and hands, with a purple shirt and brown shorts. For a creative twist, color the hair bright orange and make the patch bright yellow.
Zombie fun fact for kids
The word zombie comes from the Haitian Creole word zonbi, which is part of the folklore of Haiti.
Questions about drawing a zombie
What shapes do I need to draw a zombie?
You need a circle for the head, two long lines for the sides of the body, and two bent tubes for the arms. Add a ragged line for torn shorts and two little boots, and you are done.
How do I make my zombie look cute instead of scary?
Use a big round head, small dot eyes and a little smile. A messy curl of hair and a patch on the shirt make it look silly and friendly.
How do I draw torn clothes?
Use a wavy, ragged line instead of a smooth one. Use it on the bottom of the shorts, and add short wiggly lines across the sleeves.