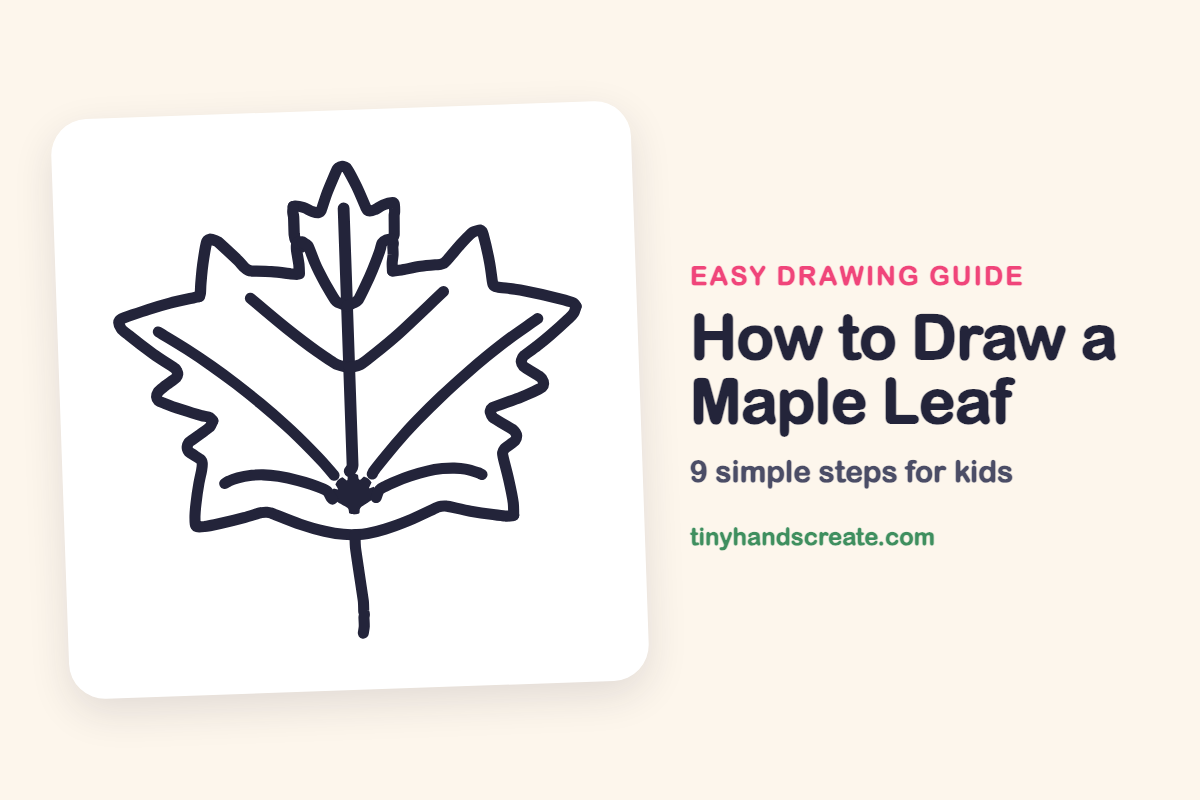
How to Draw a Maple Leaf (Easy Step by Step)
A maple leaf is a great first nature drawing because it is built from a few easy parts: a pointy top, zigzag edges, and curved lines for veins. Once you can zigzag and match the left side to the right, you can draw one for every season.
- Easy
- 10 minutes
- 9 steps
You need: paper, a pencil, an eraser, and crayons or markers for coloring.
Start drawingIn this article (7 sections)
How to draw a maple leaf step by step
How to Draw a Maple Leaf · tinyhandscreate.com
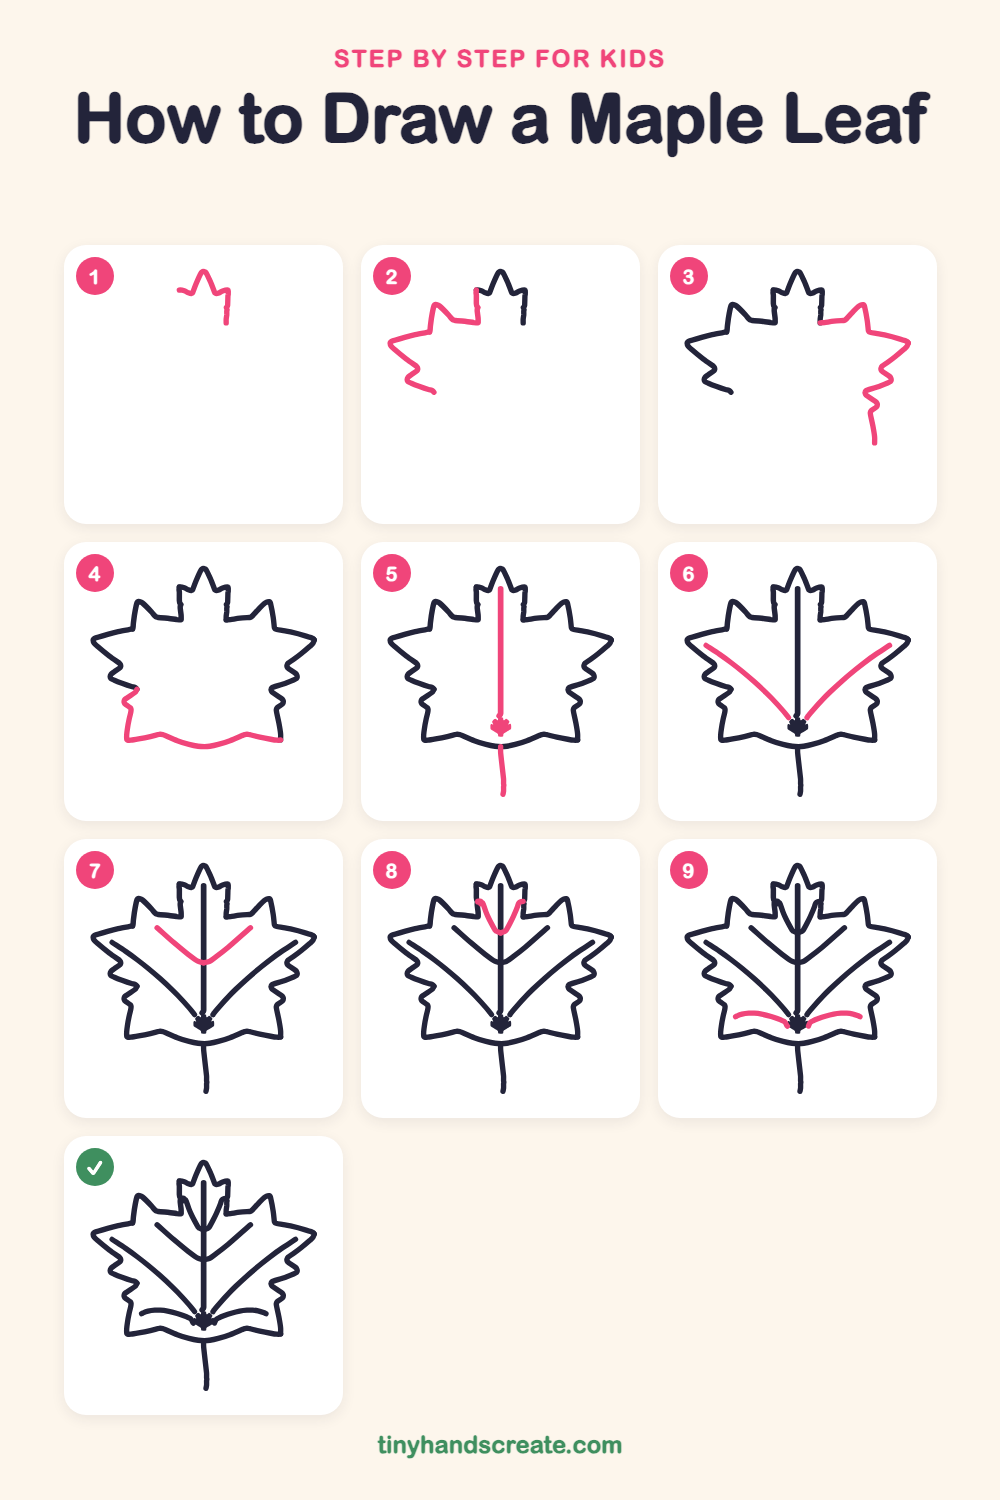
Step 1: Top point outline
Near the top of your paper, draw a small pointy peak, like a tiny tent. Add a little notch on the left and a short step down on the right.
Step 2: Left side zigzag
Start at the left foot of the top point and zigzag out to the left. Make a big pointy tip, then zigzag down and in again.
Step 3: Right side zigzag
Now do the same on the right side, starting at the right foot of the top point. Zigzag out to a big pointy tip, then zigzag down again.
Step 4: Bottom edge
Join the two sides along the bottom with a wavy line that dips down in the middle. The ends of the wavy line meet the ends of the zigzag sides.
Step 5: Middle vein and stem
Draw a straight line from the top point down the middle of the leaf, and finish it with a small tuft. Then draw a short stem below the bottom edge, curving just a tiny bit.
Step 6: Big side veins
Start at the tuft and draw two long curved lines that sweep up and out toward the far points, like open arms. Make the left and right match.
Step 7: Upper side veins
Higher up on the middle line, draw a shallow V: two shorter lines that slant up and out from the middle line, like a smaller pair of arms.
Step 8: Top point vein
Inside the top point, draw a narrow U shape. Start near the zigzags on each side and curve down to meet the middle line.
Step 9: Small curved lines
Near the bottom of the leaf, start at the tuft and draw one gentle curved line out to each side, like a small wing. Make both sides match.
All done!
Go over your lines with a marker, then color it in.
Finished your maple leaf? Keep the pencils out and learn how to draw a pumpkin or how to draw a squirrel next.
Tips for drawing a maple leaf
- Make the zigzag points sharp and a little uneven. Tiny differences make the leaf look real, so do not worry about being perfect.
- The trickiest part is matching the left and right sides. Draw the left side, then look at it and copy the same number of points on the right side.
- Start all the big veins from the same spot at the bottom of the middle line. That makes the leaf look like it grows from one place.
Free maple leaf coloring page
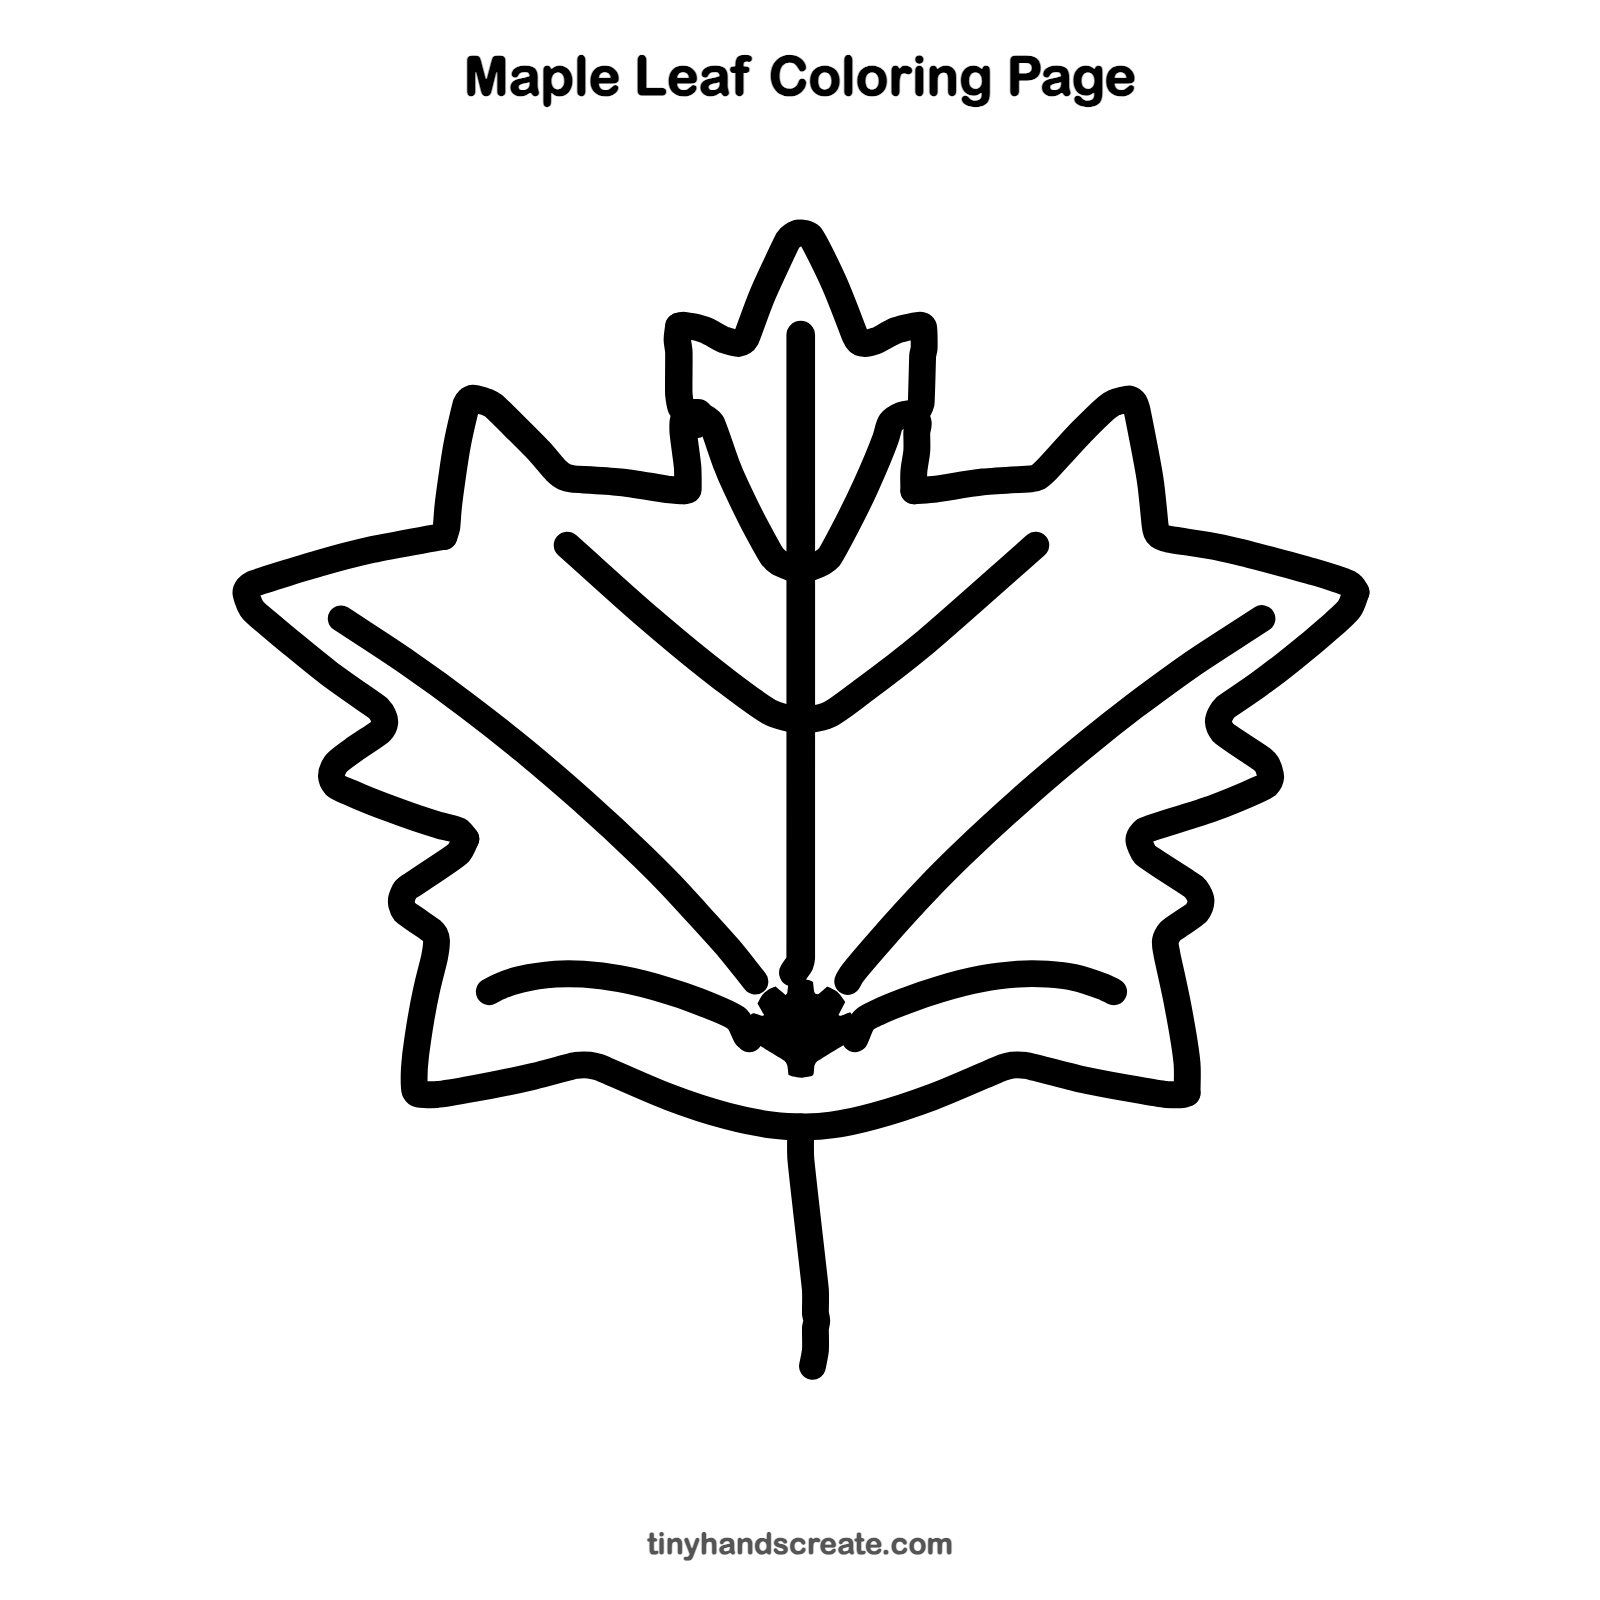
Want to go straight to coloring? Open this maple leaf coloring page at full size and print it. It is the same drawing you just learned, with clean lines ready for crayons or markers.
How to color your maple leaf drawing
Try red, orange and yellow for a fall leaf, or fresh green for summer. For a twist, color each point a different shade so the leaf looks like a sunset.
Maple leaf fun fact for kids
Maple syrup is made from the sap of maple trees. People collect the sap in late winter and boil it down, and it takes about 40 gallons of sap to make 1 gallon of syrup.
Questions about drawing a maple leaf
What shapes do I need to draw a maple leaf?
You need zigzag lines for the edges, a pointy shape for the top, a wavy line for the bottom, and straight or gently curved lines for the veins. A short curved line makes the stem.
How do I make both sides of my maple leaf match?
Draw the left side first, then count its points and copy them on the right side. Check that each point is about the same height as its partner.
How do I make my maple leaf look more real?
Add veins that start from the middle line and reach toward the points, and make the points a little different in size. Coloring in fall colors helps a lot too.