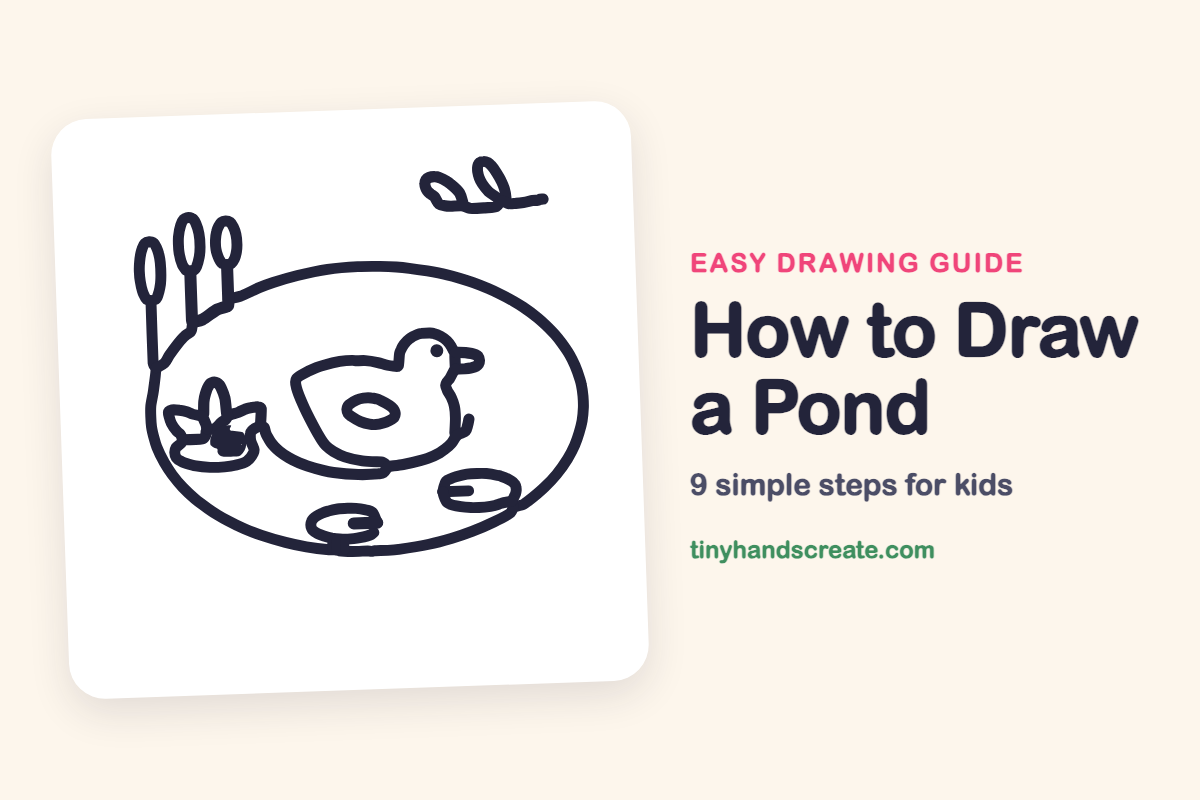
How to Draw a Pond (Easy Step by Step)
A pond scene is a great first picture because it is made of simple shapes. A big oval makes the water, flat ovals make the lily pads, tall skinny ovals make the cattails, and a round duck floats in the middle. Add a pair of dragonfly wings overhead and the whole scene comes to life.
- Medium
- 15 minutes
- 9 steps
You need: paper, a pencil, an eraser, and crayons or markers for coloring.
Start drawingIn this article (7 sections)
How to draw a pond step by step
How to Draw a Pond · tinyhandscreate.com
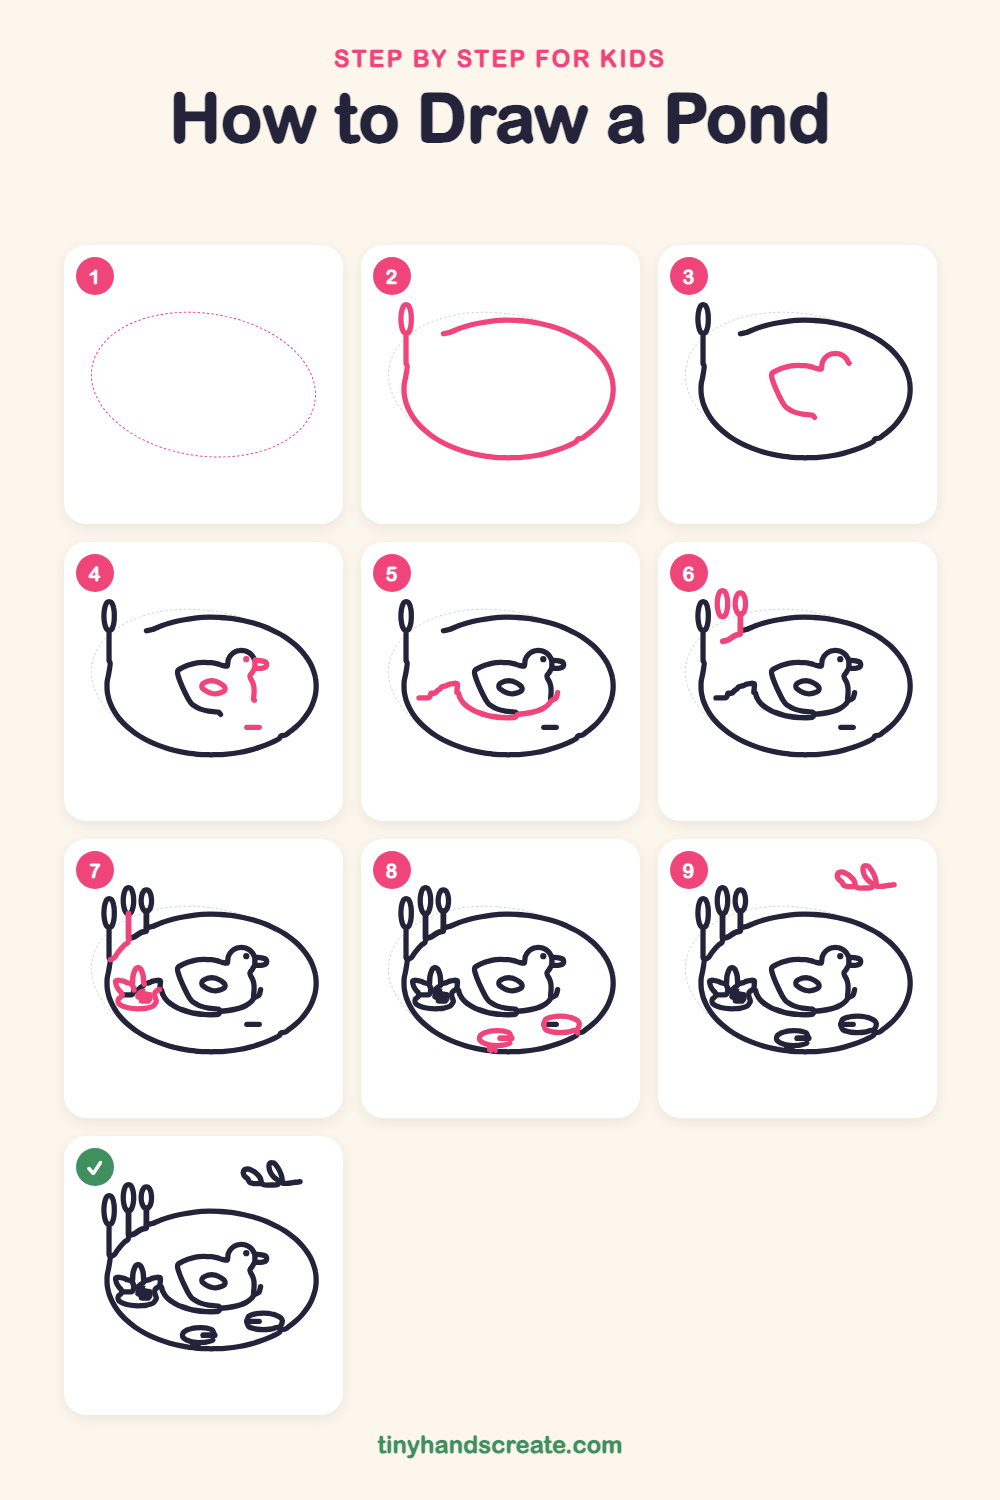
Step 1: Guide shapes
Lightly sketch this oval. It only shows where the big parts go, so press softly. You will erase it at the end.
Step 2: Pond and first cattail
Draw a big wide oval for the pond, but leave a small gap in the top left. At the left side, draw a small tall oval with a straight stem going down into the pond's edge.
Step 3: The duck's body
Inside the pond, draw a rounded body like a bowl with a pointed tail on the left. Then add a small round head on the right with a little neck bump.
Step 4: Wing, eye and beak
Draw a small oval wing in the middle of the body. Add a tiny dot for the eye and a little beak on the front of the head, then a short curve for the chest. Add a short dash in the water below the duck.
Step 5: Water ripples
Start at the left side of the pond and draw a wavy line that curves under the duck like a smile. Finish it with a small curl up at the duck's chest.
Step 6: Two more cattails
Next to the first cattail, draw two more small tall ovals a little lower. Give each one a straight stem that reaches down toward the pond.
Step 7: Lily pad and flower
On the left side of the pond, draw a flat oval lily pad. On top, draw a flower with a few pointy petals. Also finish the stem of the third cattail down to the pond.
Step 8: Floating lily pads
Near the bottom of the pond, draw two more flat ovals. Add a short line inside each one.
Step 9: Dragonfly wings
In the open space above the pond on the right, draw two pairs of small pointy loops for wings. Join them with a short line.
All done!
Erase the guide shapes, go over your lines, then color it in.
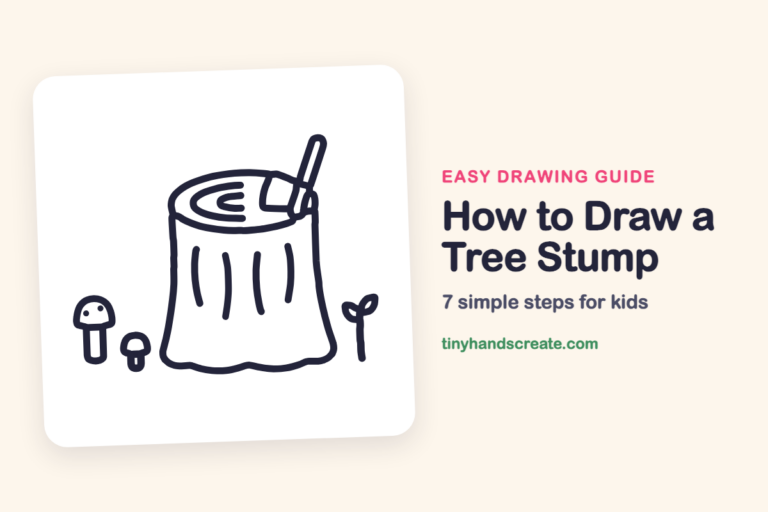
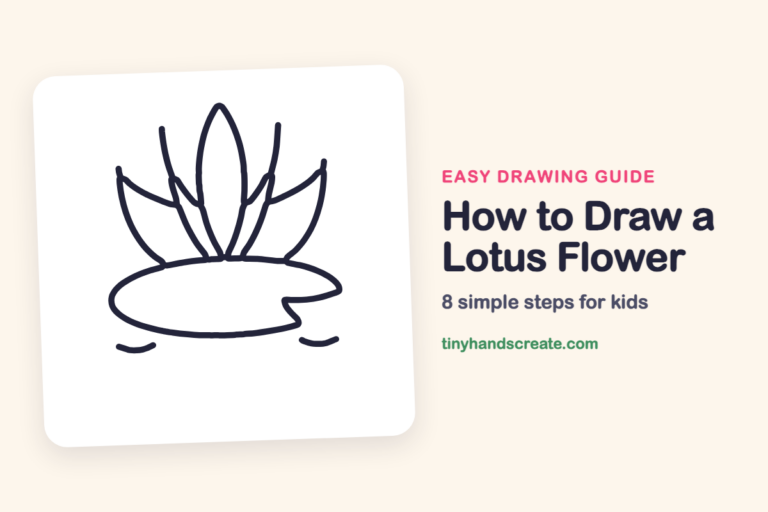
Finished your pond? Keep the pencils out and learn how to draw a tree stump or how to draw a lotus flower next.
Tips for drawing a pond
- Draw the big pond oval first and keep it light, so the duck, pads and flower all have room inside it.
- The duck's head sits on top of a neck bump. Start the head as a small circle, then join it to the body with a smooth curve.
- Draw the cattails as small tall ovals at slightly different heights. Straight lines for the stems keep them looking tidy.
Free pond coloring page
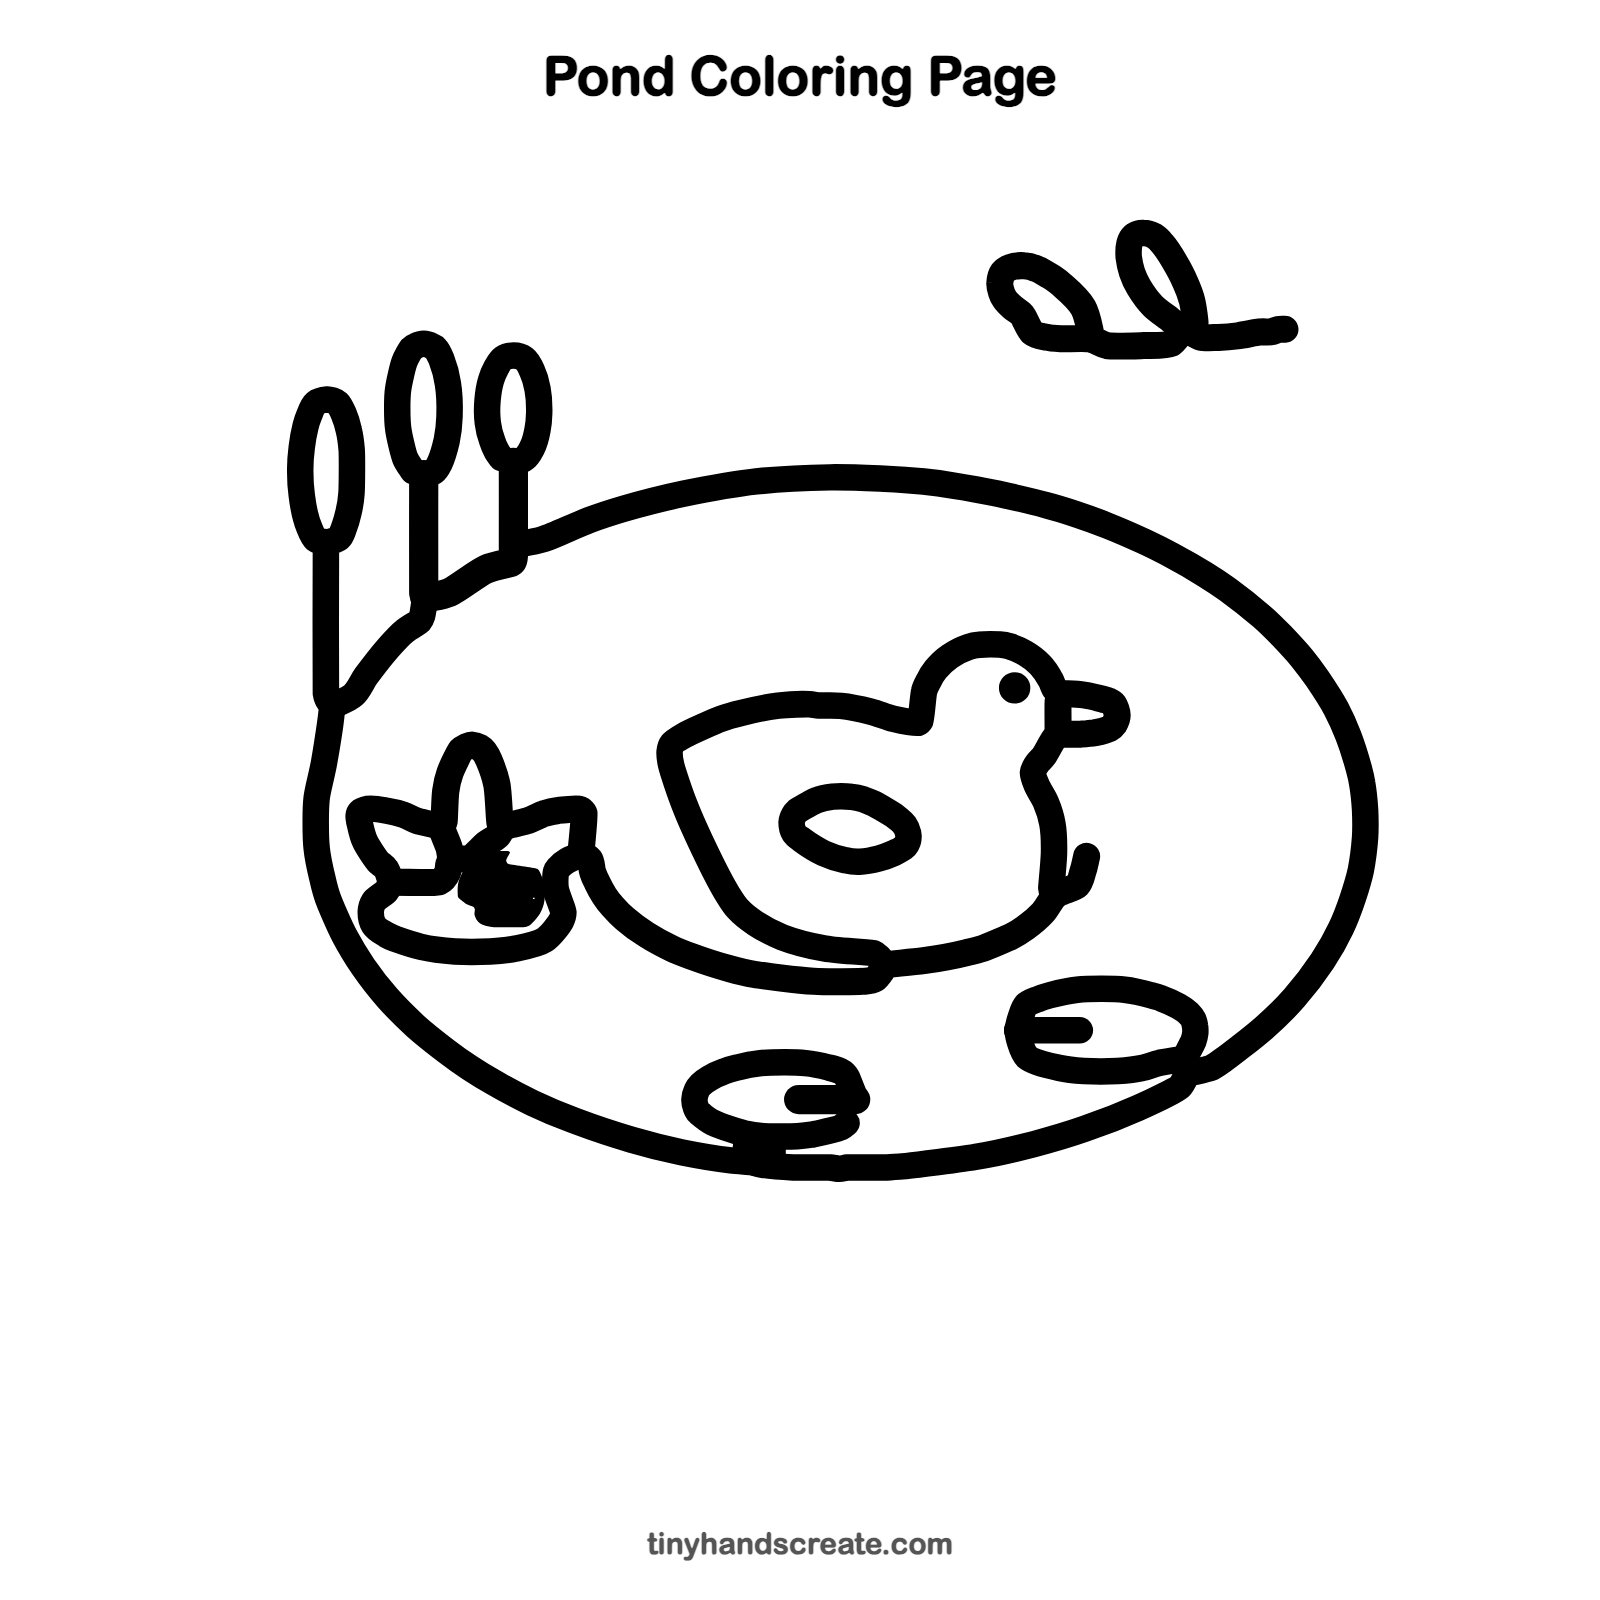
Want to go straight to coloring? Open this pond coloring page at full size and print it. It is the same drawing you just learned, with clean lines ready for crayons or markers.
How to color your pond drawing
Try blue for the water, green for the pads and cattail stems, brown for the cattails, and yellow for the duck. For a creative twist, color the dragonfly wings in rainbow stripes or add a golden sunset reflection on the water.
Pond fun fact for kids
Ducklings can swim within hours of hatching. Ducks also have an oil gland near their tails and spread the oil on their feathers, which helps keep them dry.
Questions about drawing a pond
What shapes do I need to draw a pond?
Mostly ovals. You need one big oval for the pond, small flat ovals for the lily pads, and tall skinny ovals for the cattails. The duck is a round body with a small round head.
How do I make my duck look cuter?
Keep the eye as a small dot on the head, close to the beak. A short, rounded beak gives the duck a sweet look.
How do I make the water look like it is moving?
Draw a wavy line that curves under the duck. The curve looks like a little ripple, so the duck seems to be paddling along.