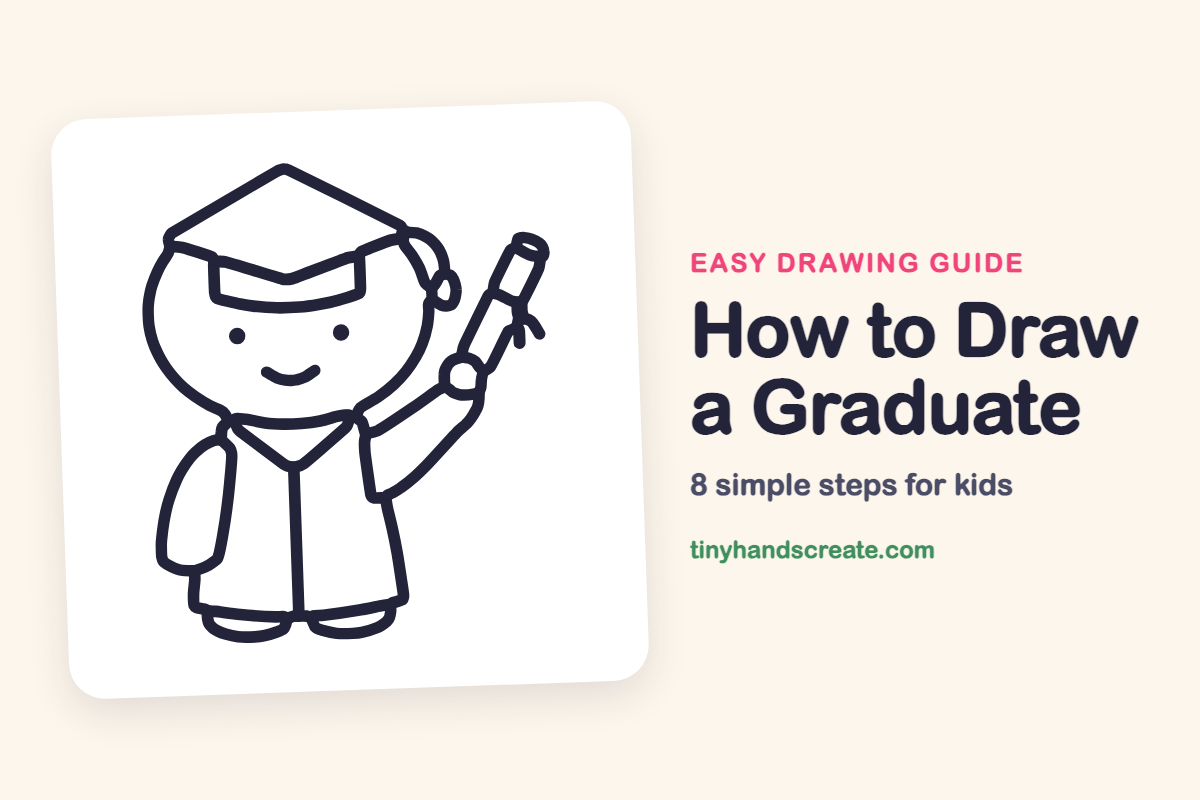
How to Draw a Graduate (Easy Step by Step)
A graduate is a fun drawing because it is built from simple shapes you already know. You start with a round head, then add a flat diamond cap, a long gown and a rolled up diploma. The tassel and the little smile give your graduate lots of personality.
- Medium
- 15 minutes
- 8 steps
You need: paper, a pencil, an eraser, and crayons or markers for coloring.
Start drawingIn this article (7 sections)
How to draw a graduate step by step
How to Draw a Graduate · tinyhandscreate.com
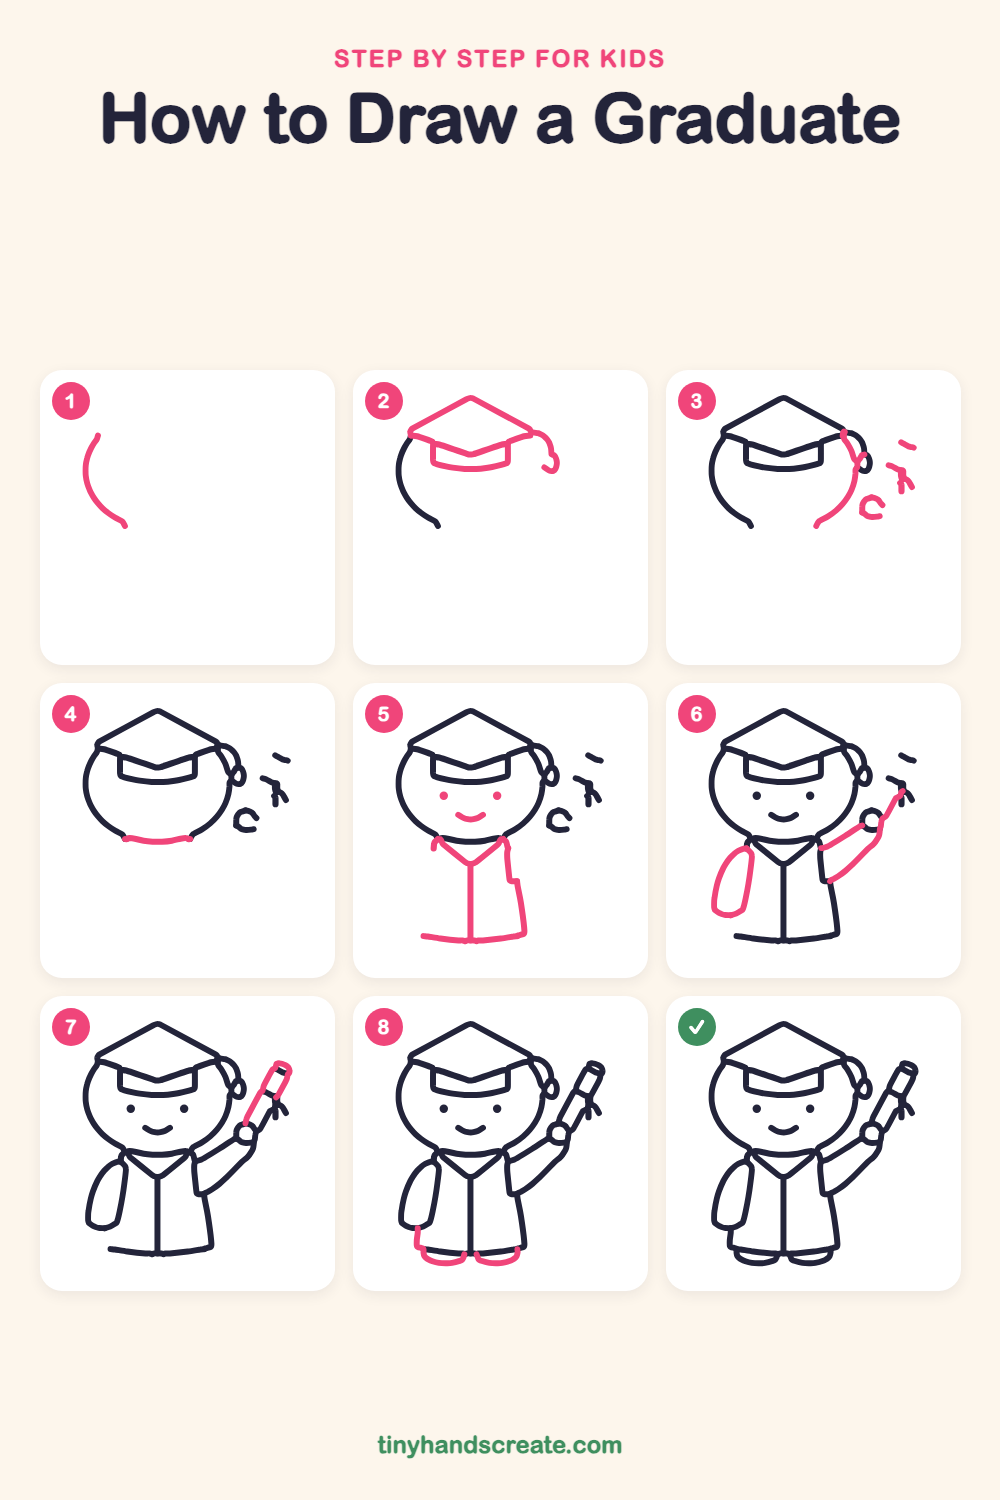
Step 1: Left side of head
Draw a curved line that starts on the left, bows out to the left, and curves in at the bottom. This is the left side of a big round head.
Step 2: Cap and tassel
Draw a flat diamond for the cap, with a point at the top. Under it, draw a short band that dips down like a V, with a small box shape in front. From the right corner, draw a curved string that hangs down with a little hook at the end.
Step 3: Right side of head
Draw a curved line from the right end of the cap down and around, so it bows out to the right and ends near the bottom of the head. Add the small marks beside it for the ties on the diploma.
Step 4: Chin
Draw a gentle curved line across the bottom of the head to join the left and right sides. Now the head is a closed round shape.
Step 5: Face and gown
Add two small dots for eyes and a little curved smile below them. Under the head, draw a V shape for the collar, a straight line down the middle, and a gown that gets a bit wider with a flat bottom edge.
Step 6: Arms
On the left, draw a rounded sleeve shaped like a long oval hanging beside the gown. On the right, draw an arm bent up from the shoulder and finish it with a small circle for the hand.
Step 7: The diploma
In the raised hand, draw a long tilted tube with two straight sides and a small oval at the top. The ties you drew earlier sit near its middle.
Step 8: Little feet
At the bottom of the gown, draw two small curved shapes, like half circles, for the feet peeking out.
All done!
Go over your lines with a marker, then color it in.
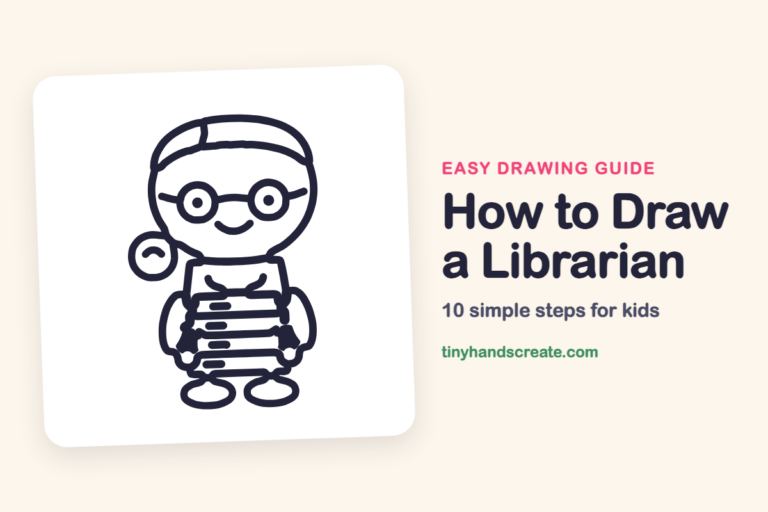
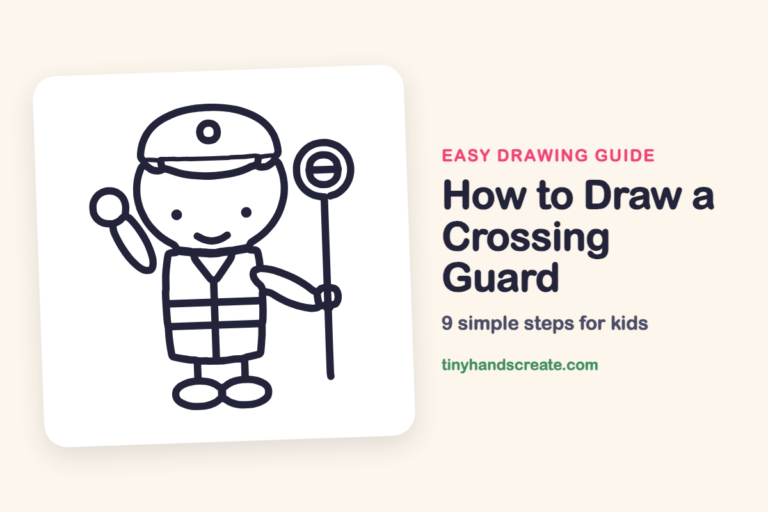
Finished your graduate? Keep the pencils out and learn how to draw a librarian or how to draw a crossing guard next.
Tips for drawing a graduate
- Draw the cap as a flat diamond first, then add the band under it. Make sure the band touches the head so the cap looks like it sits on top.
- The raised arm is the trickiest part. Draw a gentle slanted line up from the shoulder, then add the round hand so the diploma lines up with it.
- Keep the gown a little wider at the bottom. Draw the middle line from the point of the V all the way down to the hem.
Free graduate coloring page
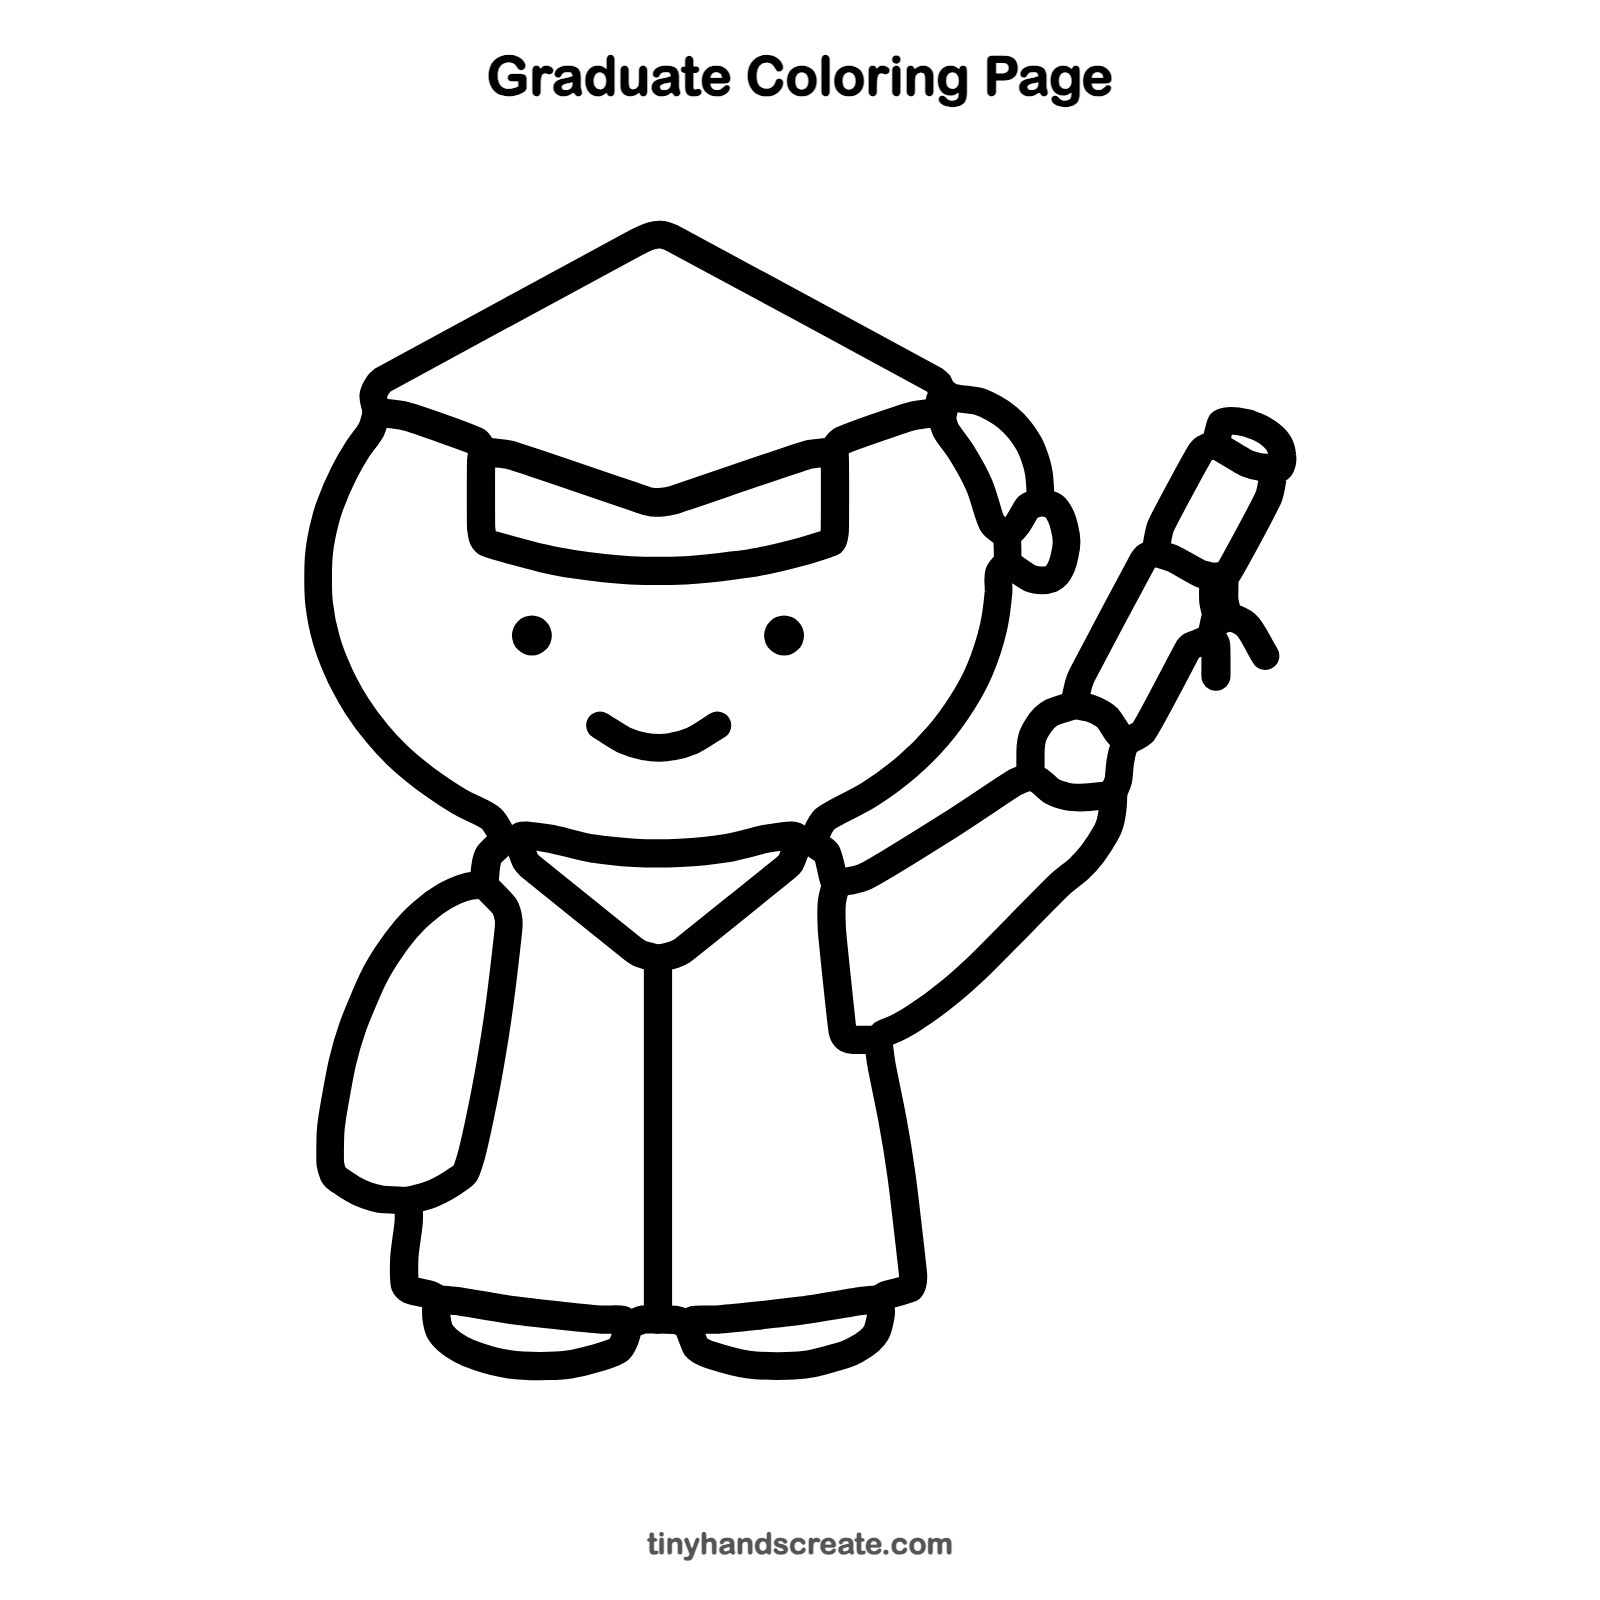
Want to go straight to coloring? Open this graduate coloring page at full size and print it. It is the same drawing you just learned, with clean lines ready for crayons or markers.
How to color your graduate drawing
Try a black or deep blue gown with a bright gold tassel and a cream diploma. For a creative twist, add stars or confetti floating in the air around your graduate.
Graduate fun fact for kids
The flat square graduation cap is called a mortarboard because it looks like the board that bricklayers use to hold mortar.
Questions about drawing a graduate
What shapes do I need to draw a graduate?
You need a big round shape for the head, a diamond for the cap, a long tube for the diploma, and a few small circles and curves for the hand, eyes, smile and feet.
How do I make my graduate look cuter?
Make the head extra big and keep the eyes small and far apart. A wide smile and a hanging tassel also make the character feel happy and playful.
How do I draw the graduation cap so it looks flat?
Start with a wide diamond shape that is pointed at the top and corners. Then draw a curved band below it so the cap looks like it rests on the head.