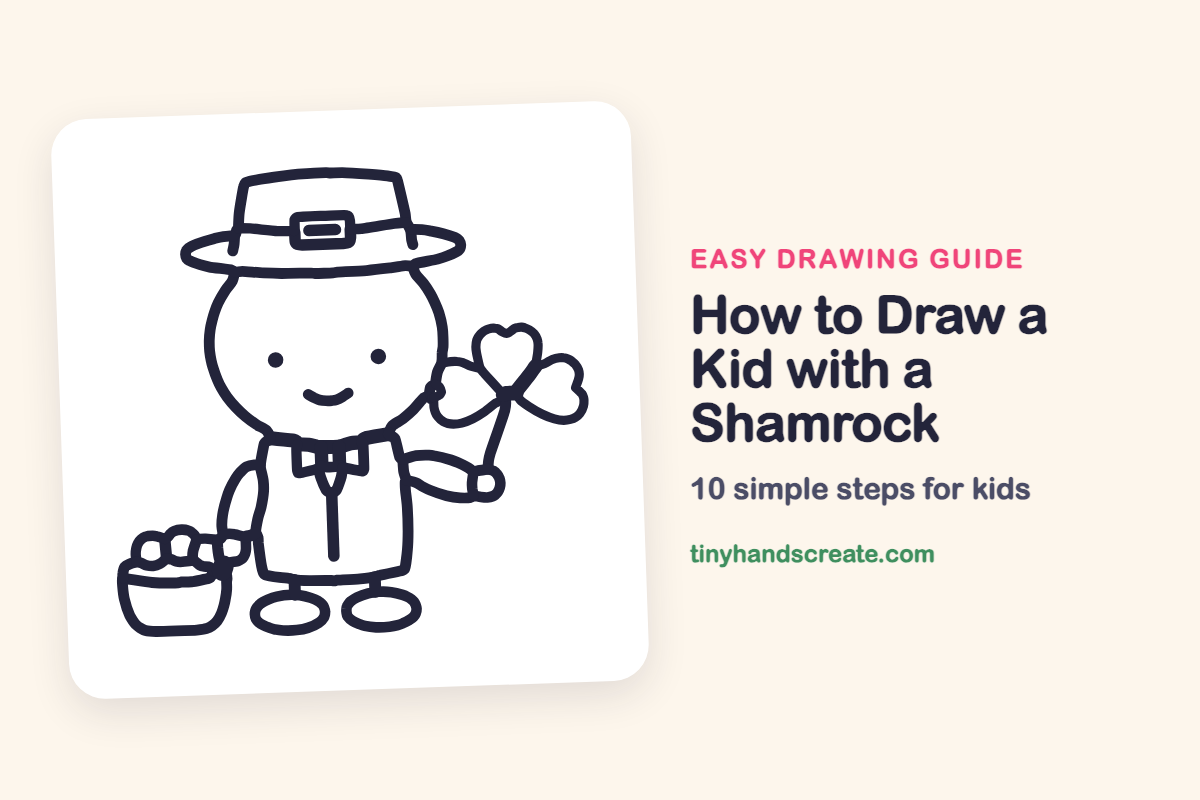
How to Draw a Kid with a Shamrock (Easy Step by Step)
This kid in a tall hat is holding a lucky shamrock, and it is built from simple shapes like ovals, boxes and rounded leaves. The big round head and boxy coat make it easy to get the proportions right. The three rounded leaves on the shamrock are the fun part to draw.
- Medium
- 15 minutes
- 10 steps
You need: paper, a pencil, an eraser, and crayons or markers for coloring.
Start drawingIn this article (7 sections)
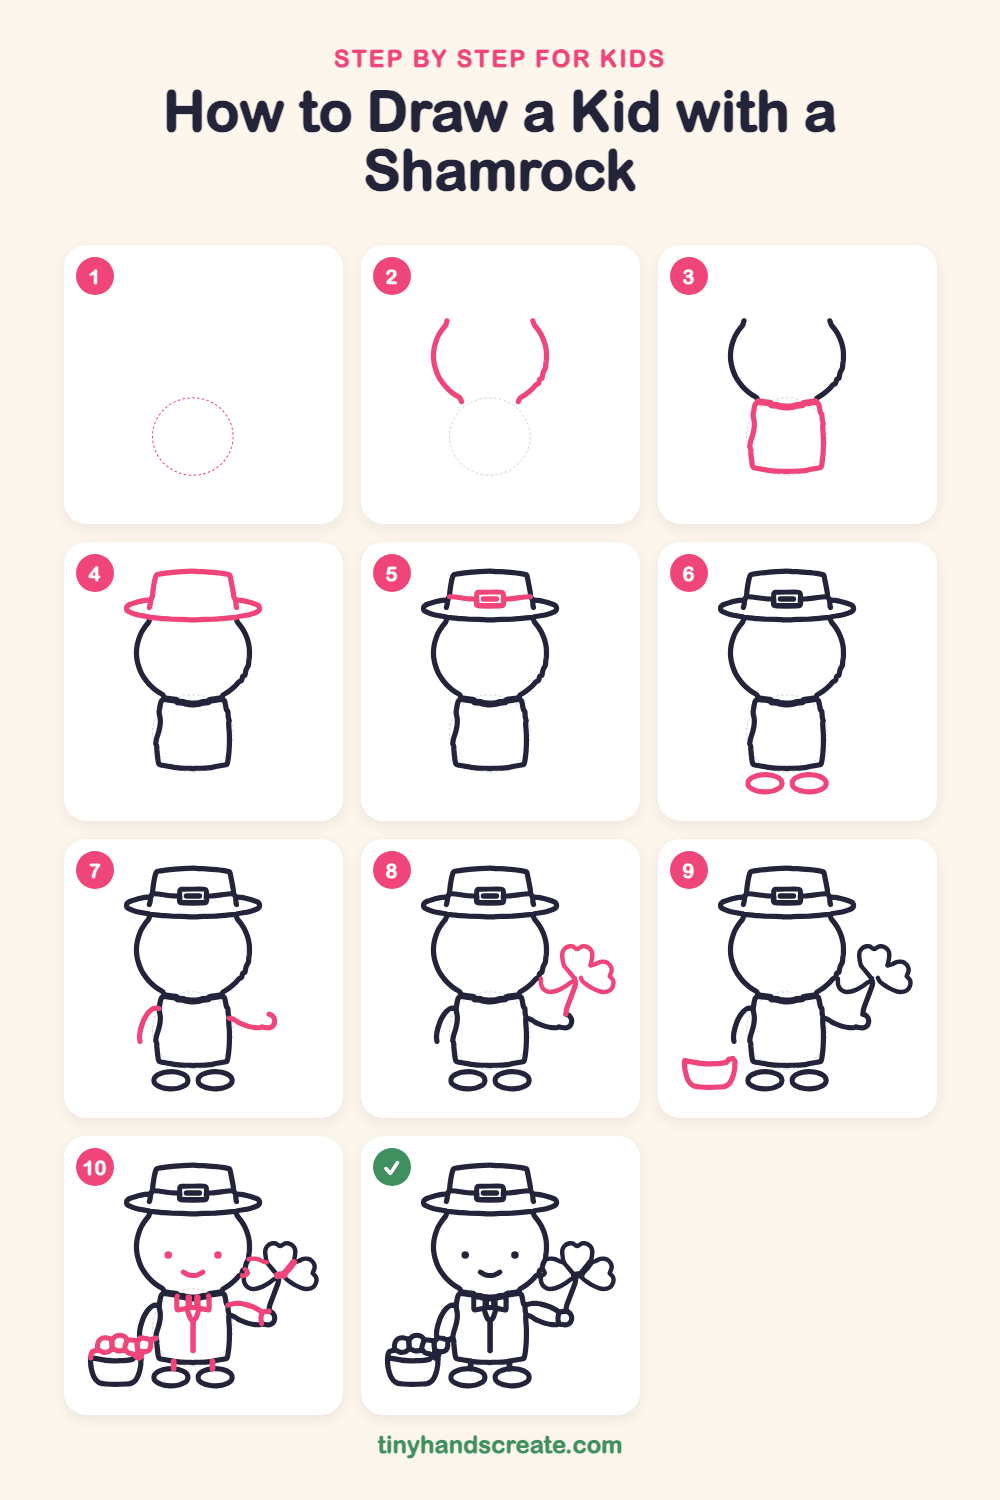
How to draw a kid with a shamrock step by step
How to Draw a Kid with a Shamrock · tinyhandscreate.com
Step 1: Guide shapes
Lightly sketch this oval. It only shows where the big parts go, so press softly. You will erase it at the end.
Step 2: Sides of the head
Draw two curved lines that bend toward each other, like the left and right sides of a big round ball. Leave open space at the top and bottom, because the hat and coat will cover those parts.
Step 3: The coat
Under the head, draw a short box with slightly wobbly sides for the coat. Start the top line where the head curves meet, and make it a little wavy.
Step 4: Hat top and brim
Draw a wide, flat oval across the top of the head for the brim. Then draw a tall shape with a flat top standing on the brim, a little narrower at the top.
Step 5: Hat band and buckle
Draw a gently curved band across the hat just above the brim. In the middle, add a small rounded rectangle for the buckle with a little rounded bar inside.
Step 6: Two round shoes
Under the coat, draw two wide ovals side by side for the shoes. Leave a little space between them.
Step 7: Arms
On one side of the coat, draw a short curved line going down for the arm. On the other side, draw a curved line that ends in a tiny curl for the hand.
Step 8: The shamrock
Next to the curled hand, draw a thin stem going up and to the side. At the top, draw three rounded, heart-like leaves bunched together, with their points meeting at the stem.
Step 9: Start of the basket
Near the shoes on the arm side, draw a short, wide bowl shape that is curved at the bottom and open at the top.
Step 10: Face and finishing touches
Add two dot eyes and a happy smile on the face. Then draw a small bow tie and a straight line down the middle of the coat. Finish the basket with a rim and a few round coins on top, and add a few small lines to the shamrock and hand.
All done!
Erase the guide shapes, go over your lines, then color it in.
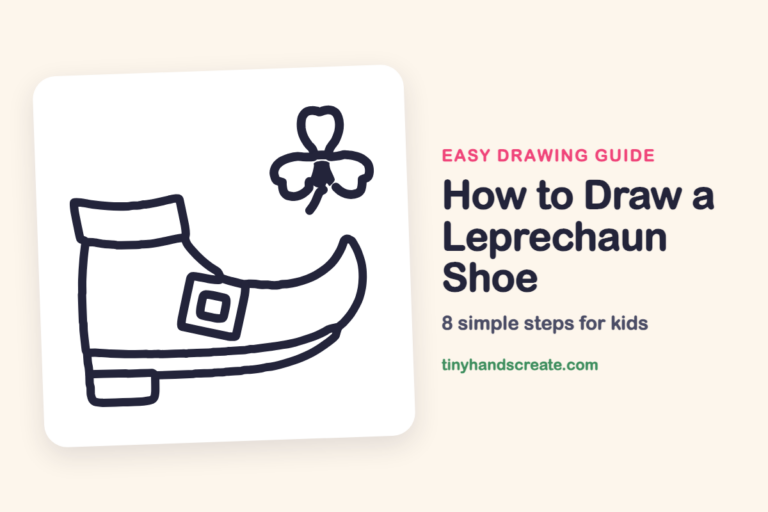
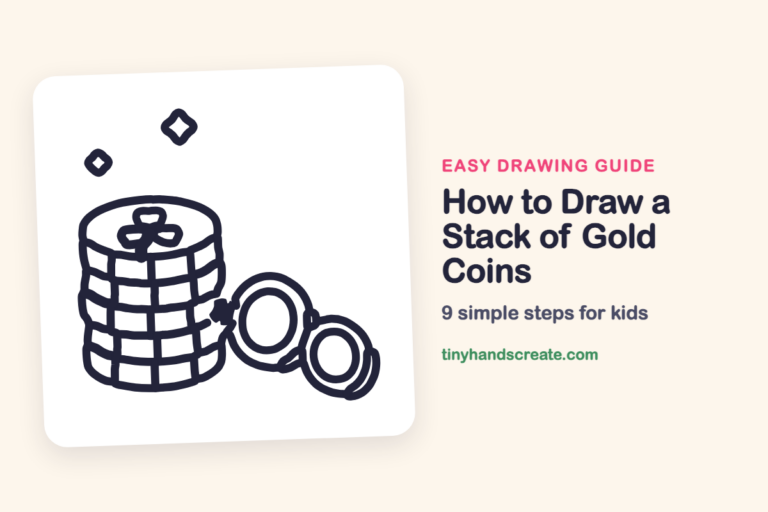
Finished your kid with a shamrock? Keep the pencils out and learn how to draw a leprechaun shoe or how to draw a stack of gold coins next.
Tips for drawing a kid with a shamrock
- Draw the two sides of the head as smooth curves, and leave the top and bottom open for the hat and coat.
- Make the hat brim a wide, flat oval, wider than the head, so the hat looks like it sits on top.
- For the shamrock, draw the stem first, then bunch three rounded leaves together at the top.
Free kid with a shamrock coloring page
Want to go straight to coloring? Open this kid with a shamrock coloring page at full size and print it. It is the same drawing you just learned, with clean lines ready for crayons or markers.
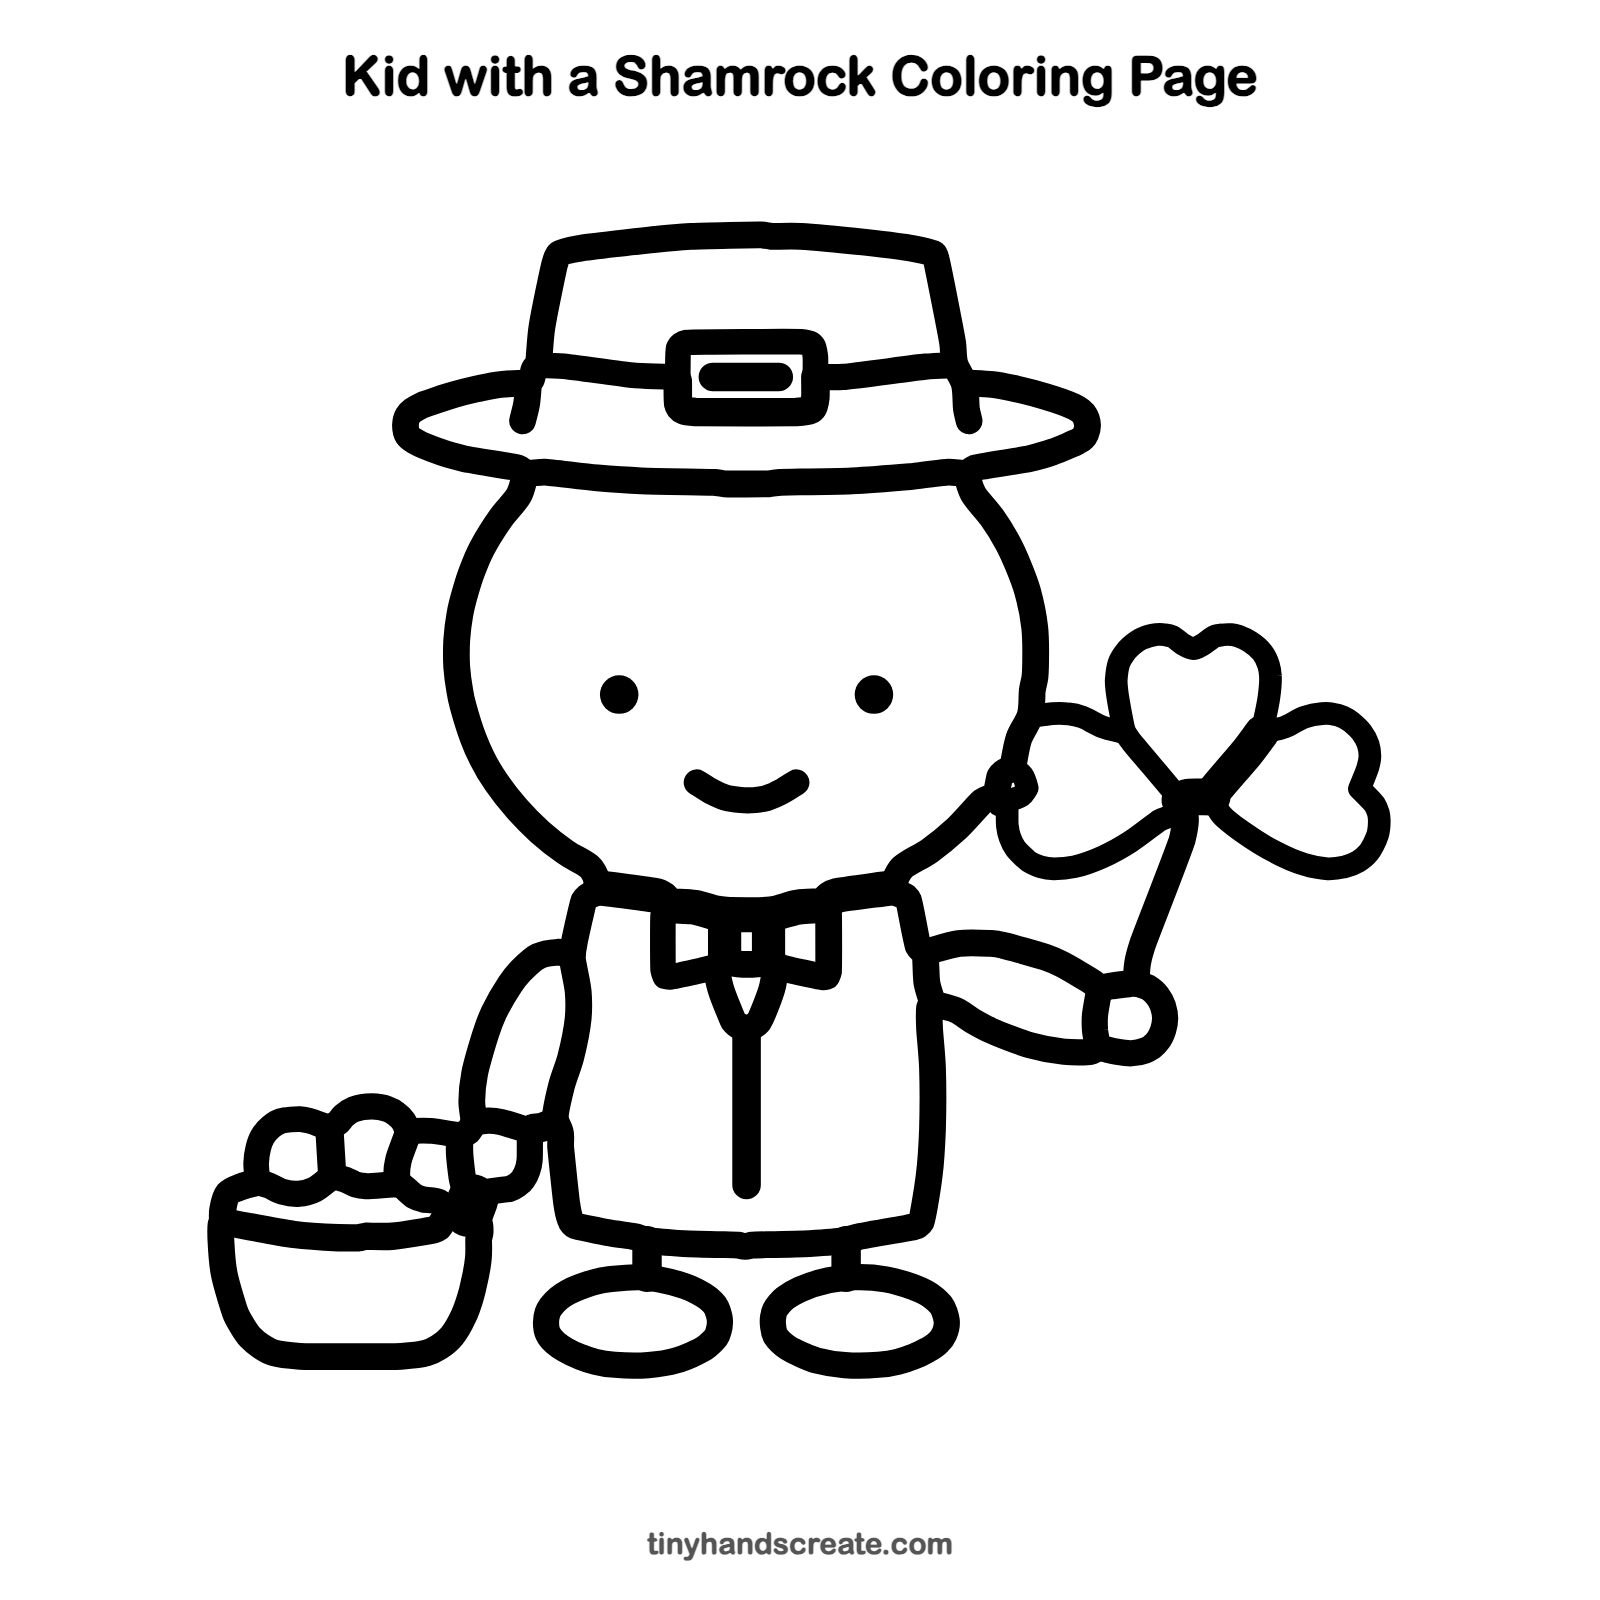
How to color your kid with a shamrock drawing
Try a green hat and coat with a gold buckle and shiny gold coins in the basket. For a twist, color each shamrock leaf a different shade of green.
Kid with a shamrock fun fact for kids
People in Ireland have worn shamrocks on St. Patrick's Day, March 17, for hundreds of years. Clovers with four leaves are rare, which is why people call them lucky.
Questions about drawing a kid with a shamrock
What shapes do I need to draw a kid with a shamrock?
You need two curved lines for the head, a box for the coat, ovals for the hat brim and shoes, and three rounded leaves for the shamrock.
How do I make the shamrock look right?
Draw a thin stem, then bunch three rounded leaves together at the top. Keep the leaves about the same size.
How do I make my kid look cuter?
Place the eyes low on the face and far apart, and draw a small smile. A bigger head and tiny shoes make the character look extra cute.