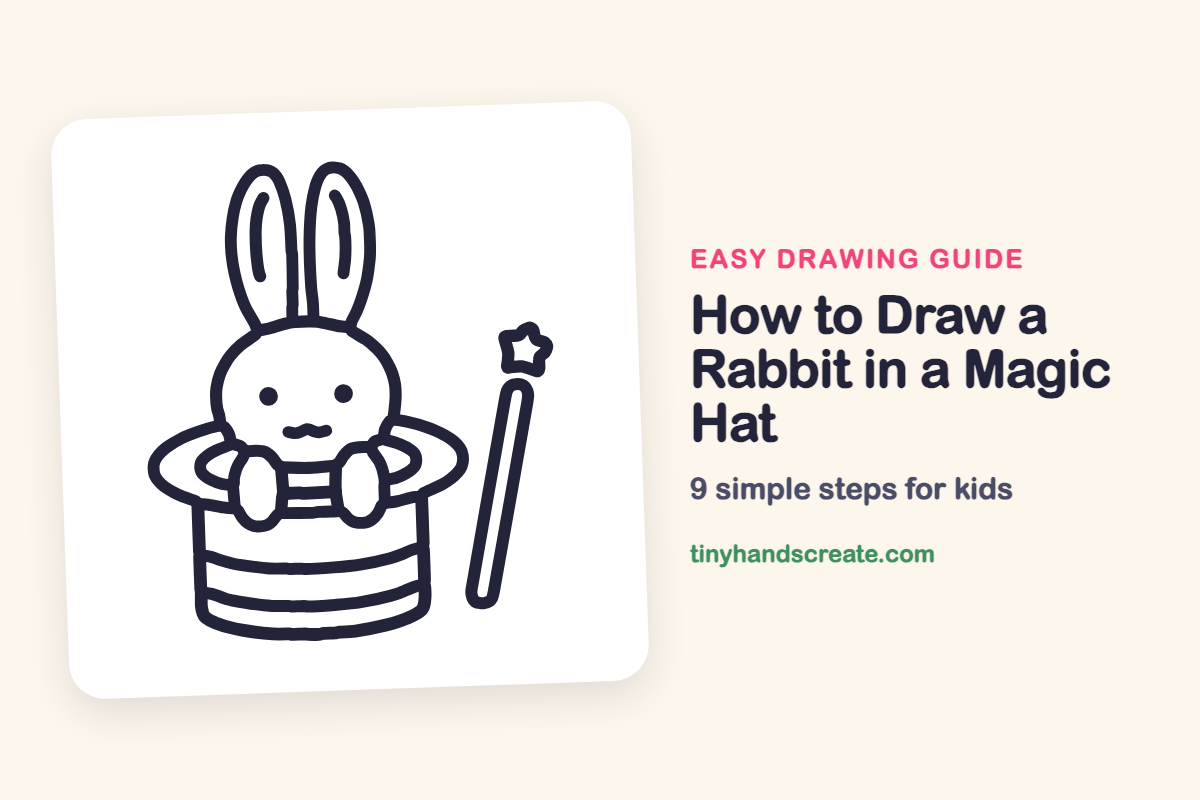
How to Draw a Rabbit in a Magic Hat (Easy Step by Step)
A bunny popping out of a magic hat is a classic, and it is easier to draw than it looks. It is built from ovals, a few curved lines, and one small star, so beginners can finish it with a pencil and a little patience. The wand on the side makes the scene feel like a real magic trick.
- Medium
- 15 minutes
- 9 steps
You need: paper, a pencil, an eraser, and crayons or markers for coloring.
Start drawingIn this article (7 sections)
How to draw a rabbit in a magic hat step by step
How to Draw a Rabbit in a Magic Hat · tinyhandscreate.com
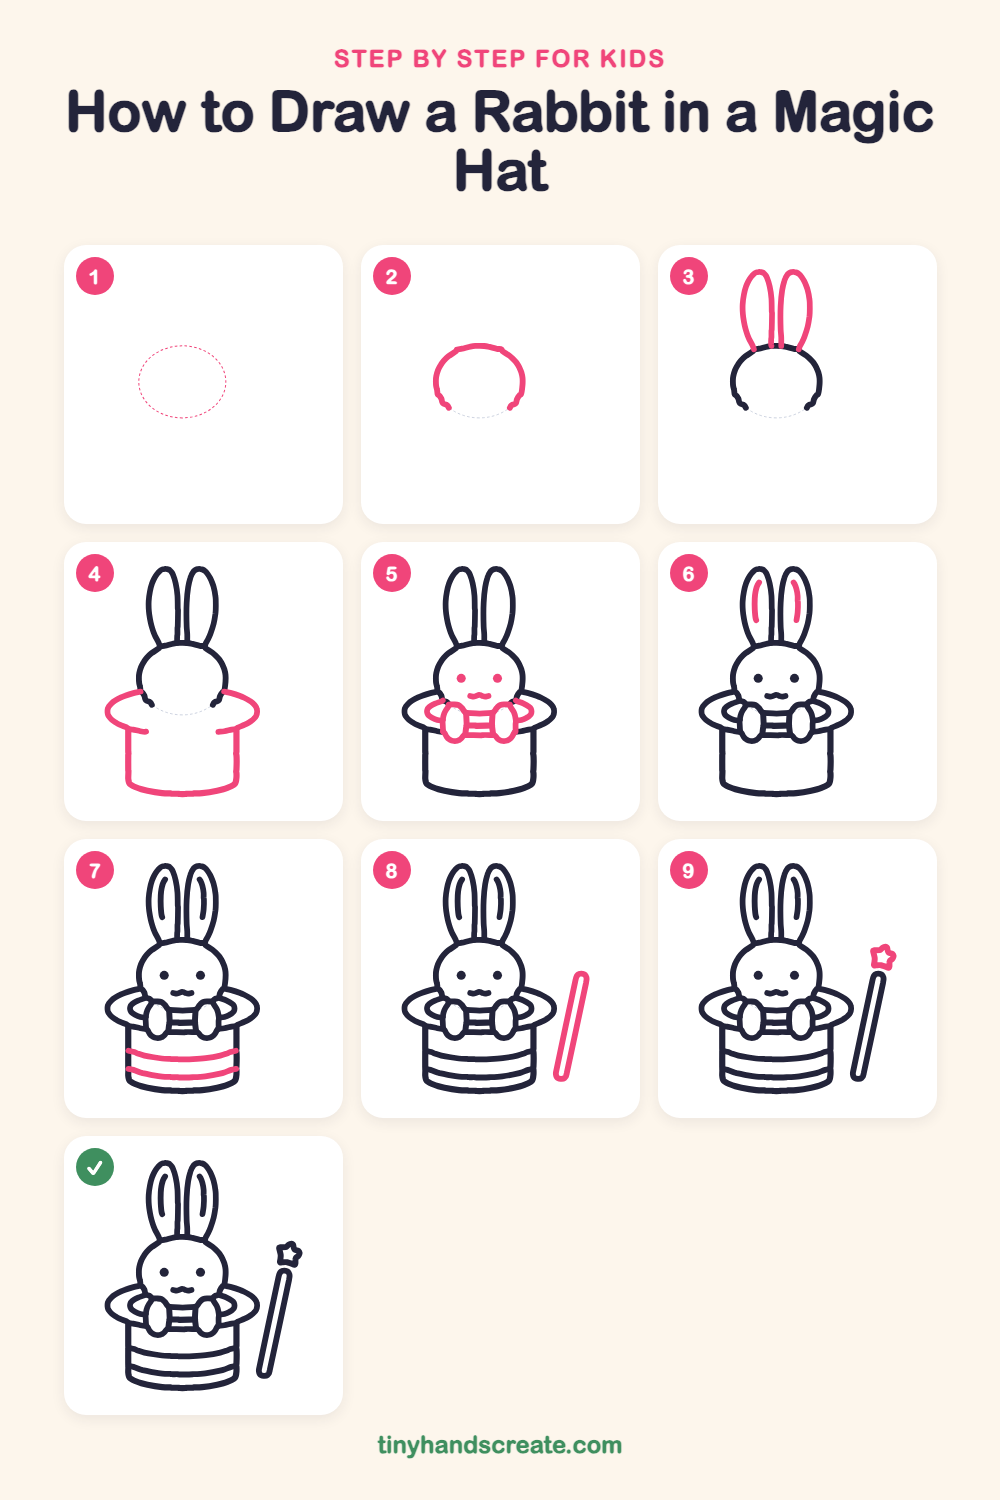
Step 1: Guide shapes
Lightly sketch this oval. It only shows where the big parts go, so press softly. You will erase it at the end.
Step 2: Top of the head
Start at the left side of the guide oval and draw a curved line up and over the top, ending on the right side. Leave the bottom of the head open for now.
Step 3: The tall ears
Draw two long, skinny ovals standing up side by side on top of the head. The bottom of each ear starts on the head line.
Step 4: The hat
Draw the hat brim as a wide curved line on each side of the head, like two wings that go out and curl around. Then draw a straight side going down from each brim and join the two sides with a curved line at the bottom.
Step 5: Face, paws and tummy
Draw two round dots for eyes and a tiny wavy smile below them. Then draw the rest of the head's bottom curve, a smaller oval inside the brim for the hat opening, two small oval paws resting on its front edge, and a little tummy with two short stripes between the paws.
Step 6: Inside the ears
Draw one long curved line inside each ear, close to the edge. Start near the top and stop before the bottom.
Step 7: Hat stripes
Draw two curved lines across the hat, one near the top and one near the bottom. Make them bend the same way as the bottom of the hat.
Step 8: The magic wand
Next to the hat, draw a long, thin, slightly tilted rectangle with rounded ends. It should lean a little to the right at the top.
Step 9: The star
At the top of the wand, draw a small star outline. Keep the five points short and a little rounded.
All done!
Erase the guide shapes, go over your lines, then color it in.
Finished your rabbit in a magic hat? Keep the pencils out and learn how to draw a mermaid tail or how to draw an ice castle next.
Tips for drawing a rabbit in a magic hat
- Draw the head first and leave plenty of space above it, so both tall ears fit on the page without running off the top.
- The hat is the trickiest part. Draw the brim lightly on both sides of the head, then add the smaller oval inside it so the bunny looks like it is sitting in the hat.
- Make the two paws about the same size, and keep the hat stripes curved the same way as the bottom of the hat so it looks round.
Free rabbit in a magic hat coloring page
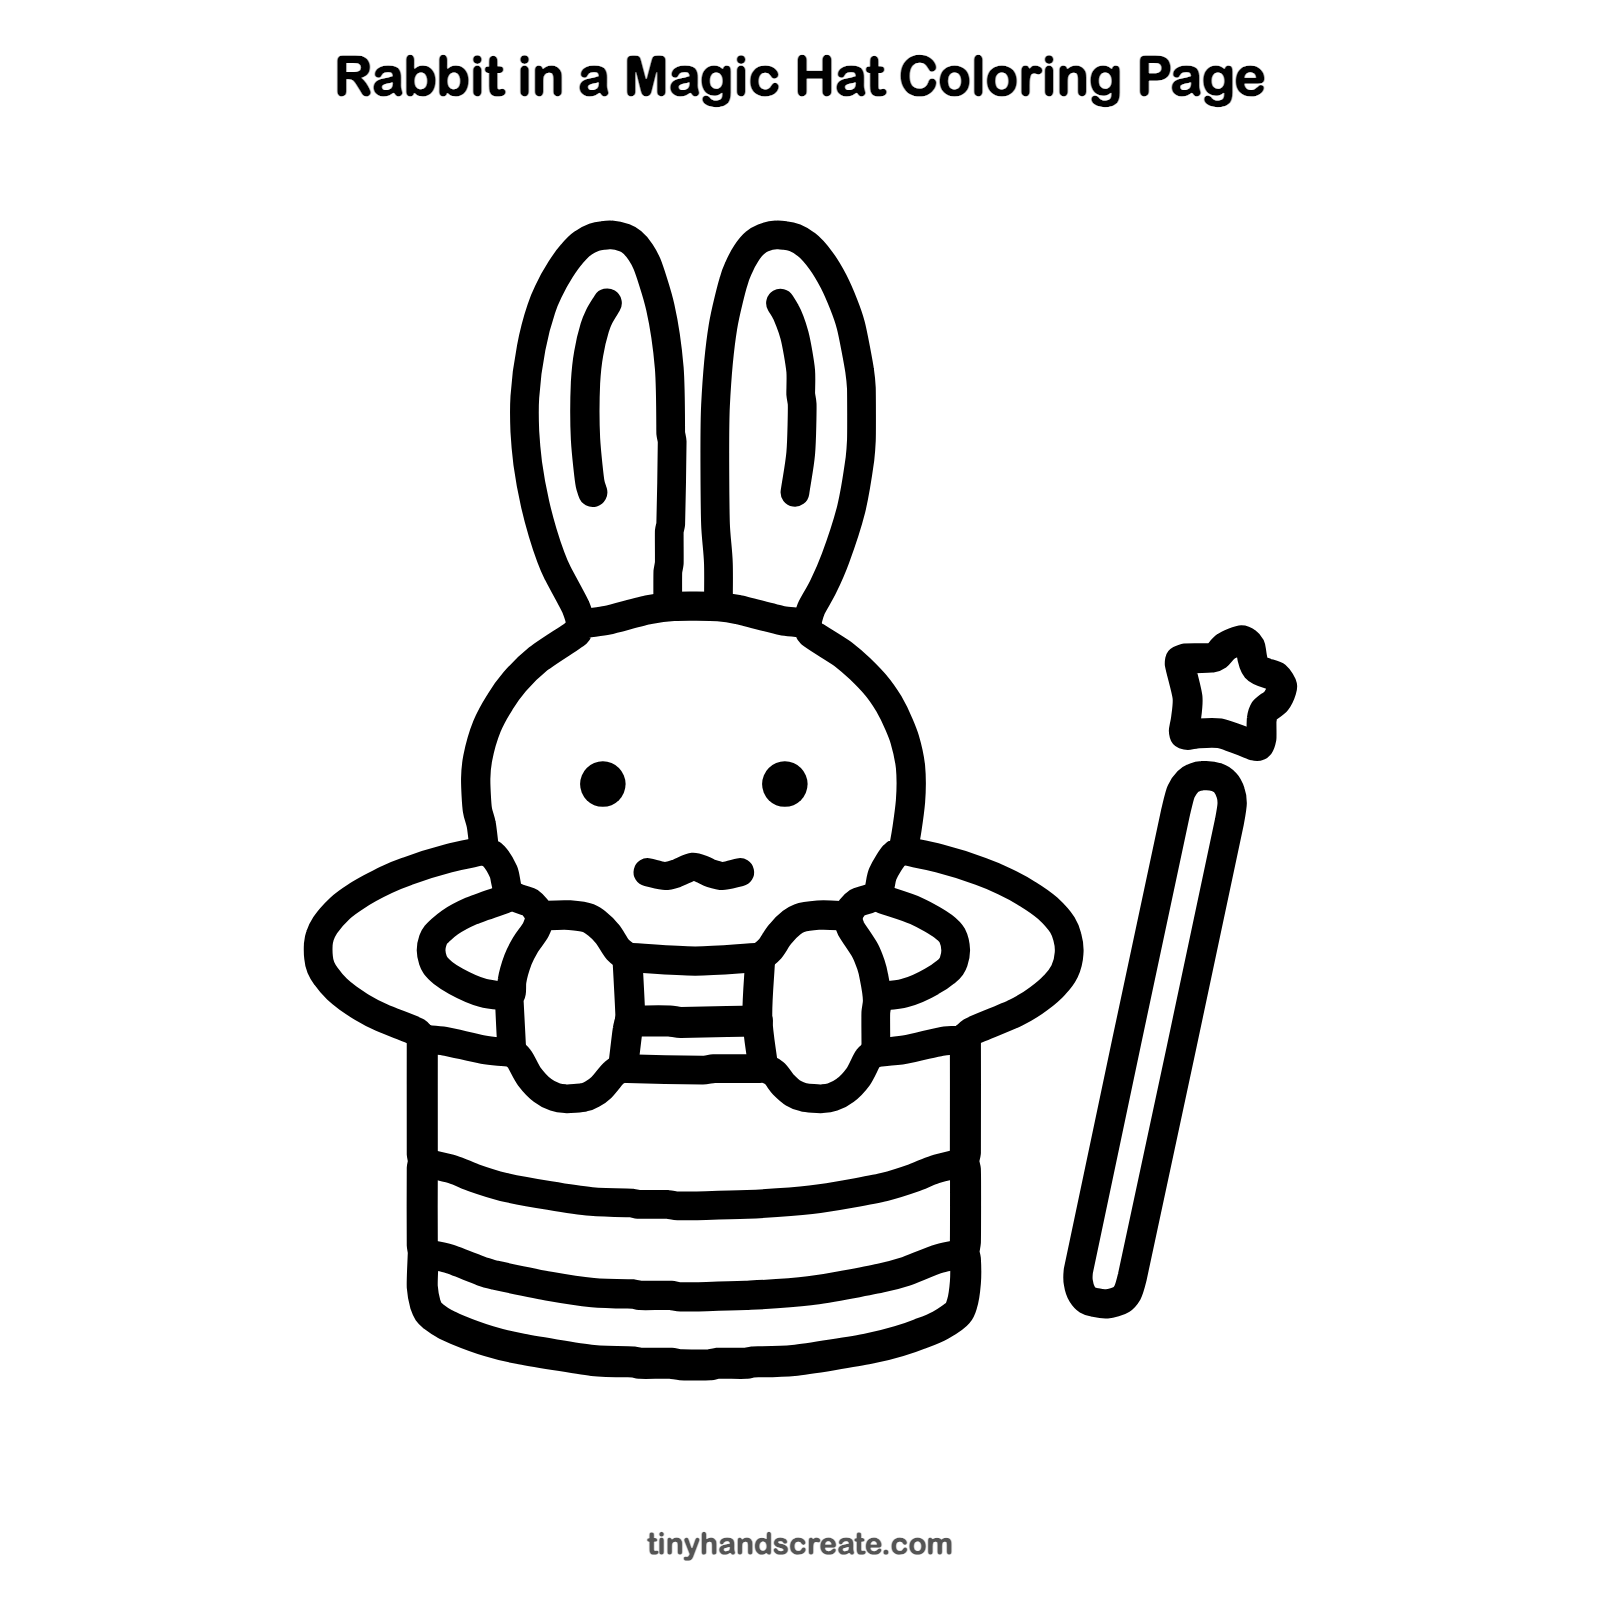
Want to go straight to coloring? Open this rabbit in a magic hat coloring page at full size and print it. It is the same drawing you just learned, with clean lines ready for crayons or markers.
How to color your rabbit in a magic hat drawing
Try a soft gray or white bunny with pink inside the ears, a black hat with bright red or purple stripes, and a golden star. For a creative twist, color the wand with rainbow stripes or add sparkles floating around it.
Rabbit in a magic hat fun fact for kids
Rabbits can turn their ears almost all the way around to listen in different directions, and their long ears also help them stay cool in hot weather.
Questions about drawing a rabbit in a magic hat
What shapes do I need to draw a rabbit in a hat?
You need ovals for the head, ears, paws, and the opening of the hat, curved lines for the brim and stripes, two straight sides with a curve for the hat body, a long rounded rectangle for the wand, and a small star for the tip.
How do I make the bunny look cuter?
Keep the eyes as small dots, and keep the smile tiny. Tall, skinny ears and round paws on the hat edge also add a lot of charm.
How do I make the bunny look like it is inside the hat?
Draw the smaller oval for the hat opening around the bunny, and let the paws rest on its front edge. Lines that overlap show what is in front.