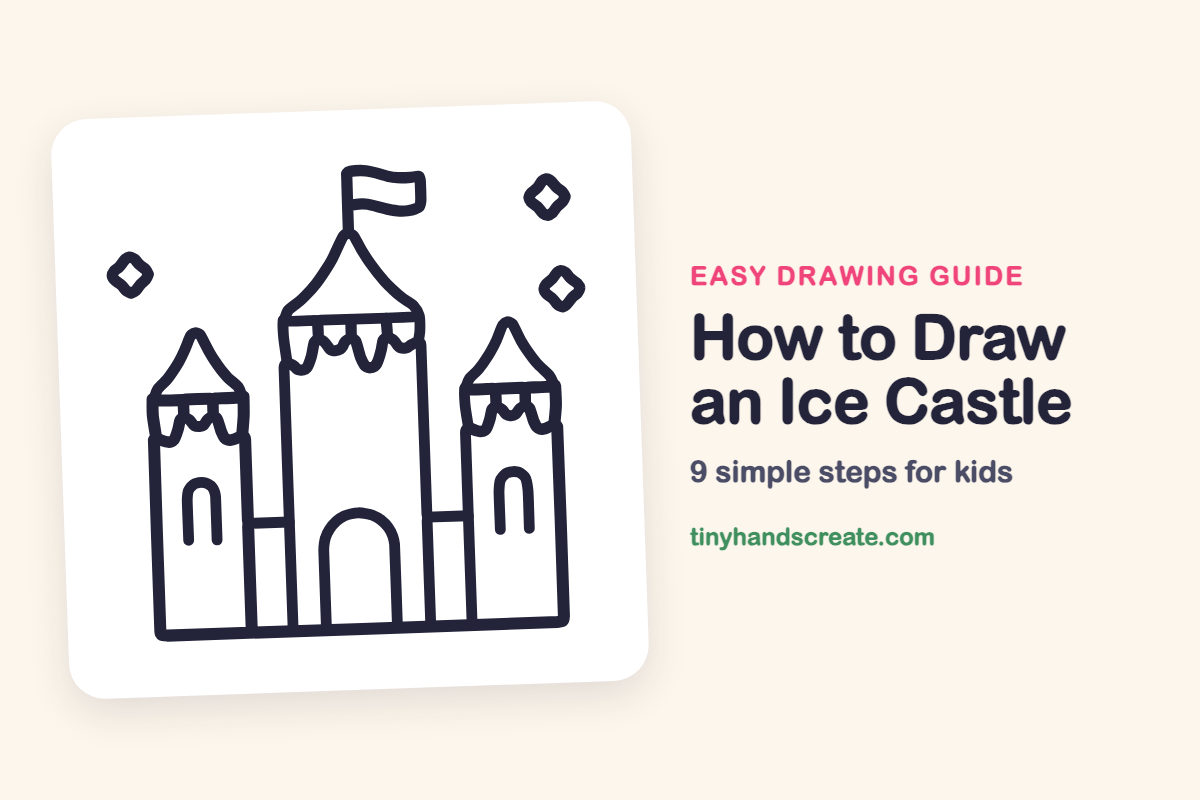
How to Draw an Ice Castle (Easy Step by Step)
An ice castle is a fun drawing because it looks grand but is built from very simple shapes. You only need straight lines for the towers, upside-down U shapes, and a few pointed roofs with curvy sides. Add some sparkles in the sky and your castle looks like it came out of a winter story.
- Medium
- 20 minutes
- 9 steps
You need: paper, a pencil, an eraser, and crayons or markers for coloring.
Start drawingIn this article (7 sections)
How to draw an ice castle step by step
How to Draw an Ice Castle · tinyhandscreate.com
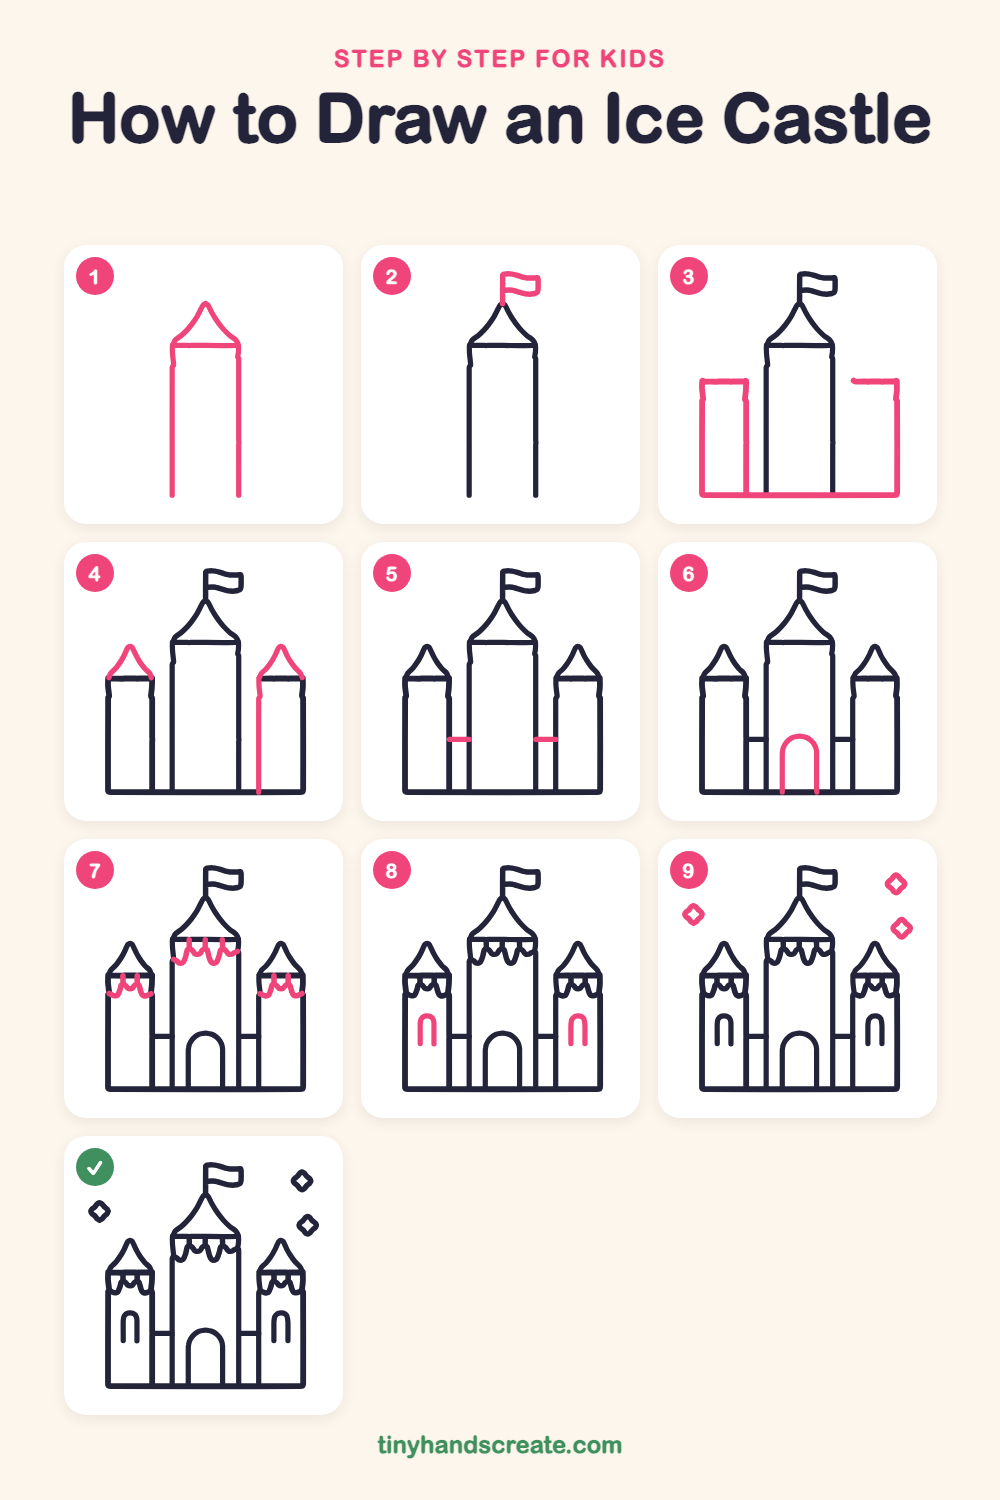
Step 1: Center tower and roof
Draw two tall straight lines side by side for the big tower, leaving the bottom open. Close the top with a short flat line, then draw a pointed roof with curvy sides above it.
Step 2: The flag
From the very tip of the roof, draw a short straight pole going up. Add a wavy flag at the top of the pole, shaped like a wiggly rectangle.
Step 3: Two side towers
Draw a shorter tower on each side of the big tower, with a flat top and a straight side. Then draw one long flat line along the bottom to join all three towers for the ground.
Step 4: Little pointed roofs
Draw a small pointed roof with curvy sides on top of each side tower. Finish the inner side line of the right tower so it reaches down to the ground.
Step 5: Walls between towers
Draw a short horizontal line between the big tower and each side tower, about halfway down. These make the castle walls.
Step 6: The big arched door
At the bottom of the center tower, draw a tall upside-down U shape. Let the two sides reach down and touch the ground line.
Step 7: Hanging pennants
Just under the roof line of each tower, draw a wavy row of little hanging flags with curvy bottoms. Make the row on the big tower a bit wider than the rows on the side towers.
Step 8: Arched windows
On each side tower, below the hanging flags, draw a skinny upside-down U shape for a window. Make both windows the same size.
Step 9: Sparkling stars
Fill the sky with three sparkle stars. Draw each one as a small diamond with the sides curved inward. Put two on one side and one on the other.
All done!
Go over your lines with a marker, then color it in.
Finished your ice castle? Keep the pencils out and learn how to draw an astronaut cat or how to draw a wizard hat next.
Tips for drawing an ice castle
- Draw the tall center tower first and the side towers second. That way you can see how much room is left and make the side towers shorter.
- The curvy roofs are the trickiest part. Start with a plain triangle, then bend each side inward a little so it looks like a pointed hat.
- For the hanging flags, draw one wavy line just under the roof line, then make each little bump point down like a flag.
Free ice castle coloring page
Want to go straight to coloring? Open this ice castle coloring page at full size and print it. It is the same drawing you just learned, with clean lines ready for crayons or markers.
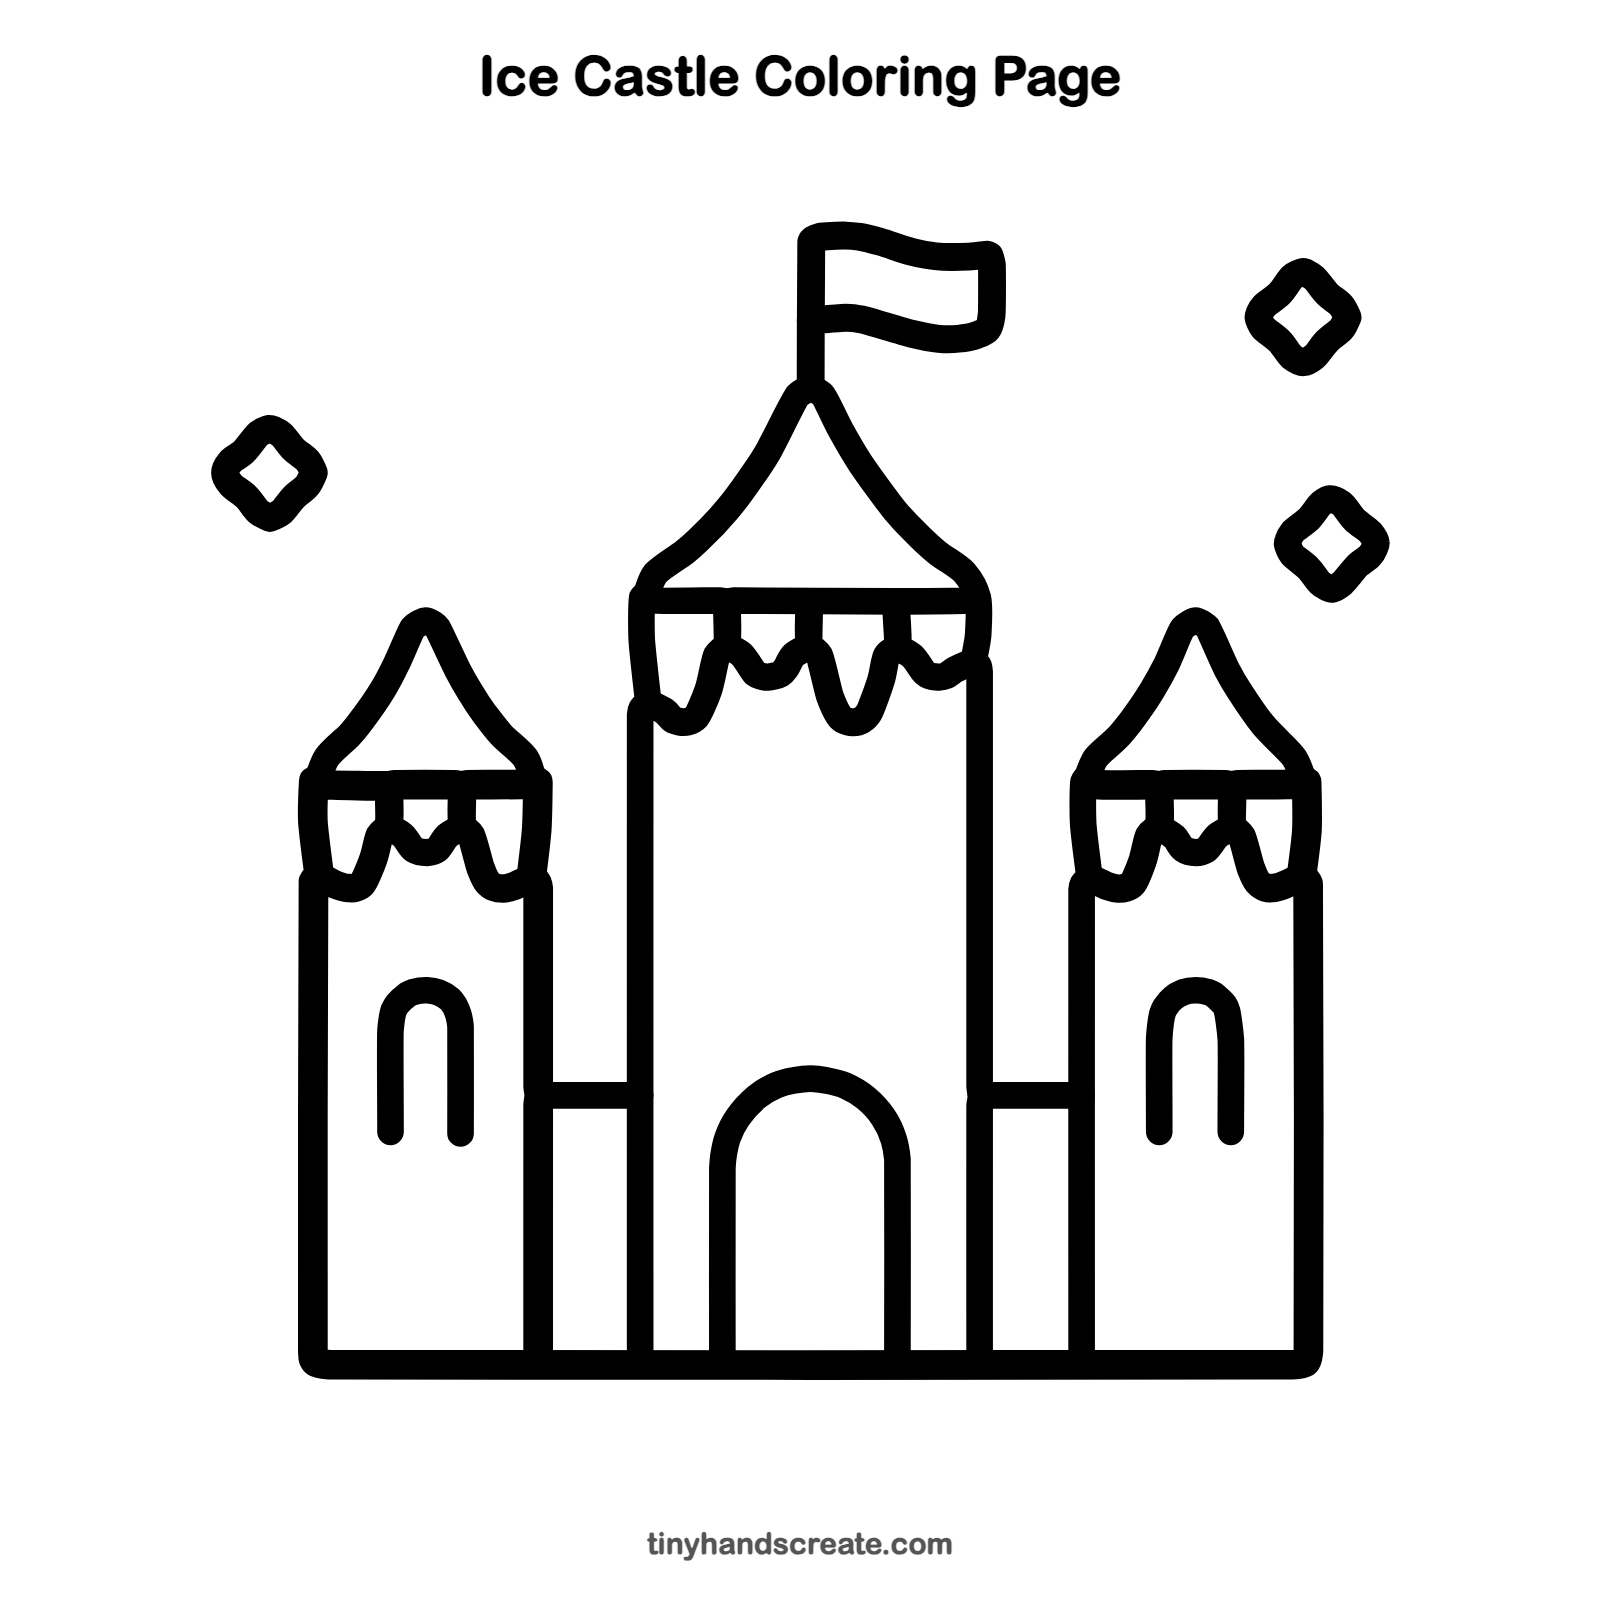
How to color your ice castle drawing
Try icy blues, silvers, and pale purples for the towers, with a bright red or yellow flag. For a creative twist, leave the sparkles white and color the sky dark blue around them so they glow.
Ice castle fun fact for kids
Real ice castles exist. Every winter, builders in places like Minnesota and Alberta grow towers and tunnels from thousands of icicles, and they light them up at night.
Questions about drawing an ice castle
What shapes do I need to draw an ice castle?
You need tall straight-sided towers, upside-down U shapes for the door and windows, and pointed roofs with curved sides. Small diamonds make the sparkles.
How do I make my castle look more magical?
Add more sparkle stars, a wavy flag on top, and little hanging pennants under the roofs. Coloring it in icy blues and purples also helps.
How do I draw the roofs so they look pointed and curvy?
Start with a triangle, then bend each side so it curves inward toward the tip. Draw a flat line underneath for the base of the roof.