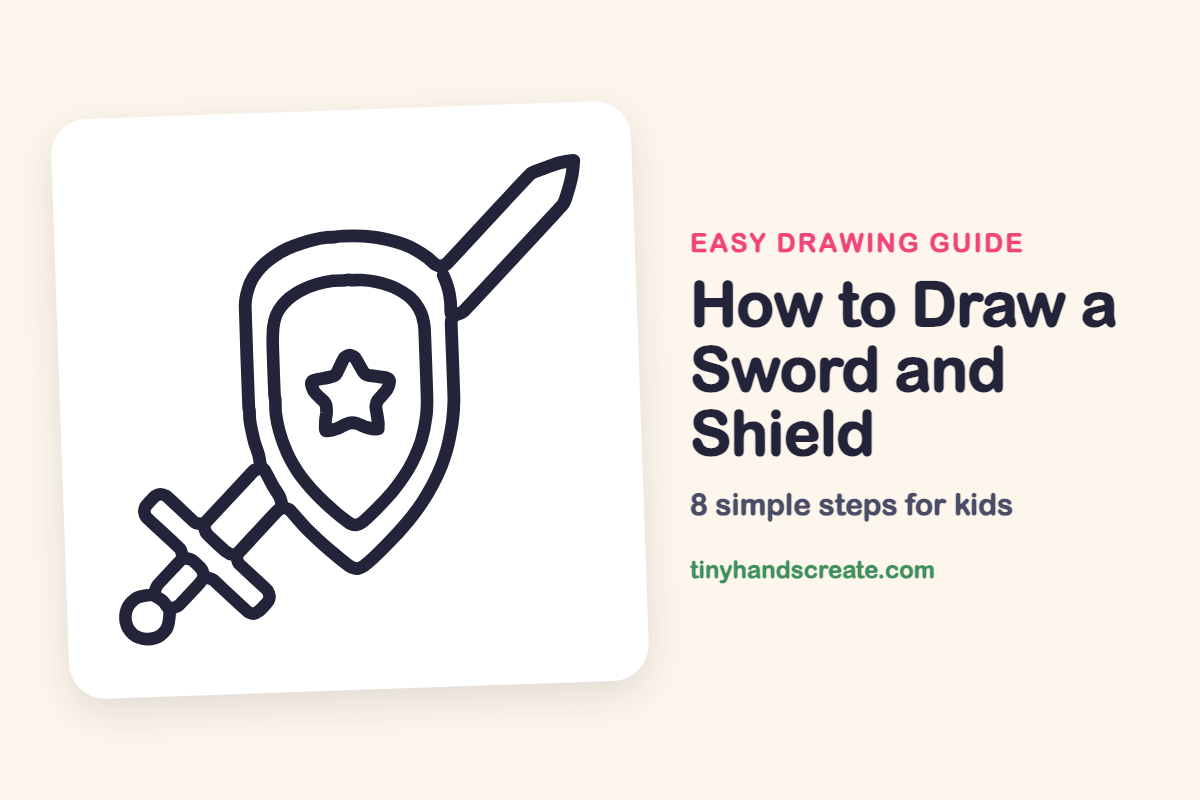
How to Draw a Sword and Shield (Easy Step by Step)
A sword and shield is a fun drawing because it is made of simple shapes you already know: long rectangles, a pointy shield, a star, and a circle. You draw the shield first, then tuck the sword behind it so the two look like a team. It is a great one for kids who love knights, castles, and adventure stories.
- Easy
- 10 minutes
- 8 steps
You need: paper, a pencil, an eraser, and crayons or markers for coloring.
Start drawingIn this article (7 sections)
How to draw a sword and shield step by step
How to Draw a Sword and Shield · tinyhandscreate.com
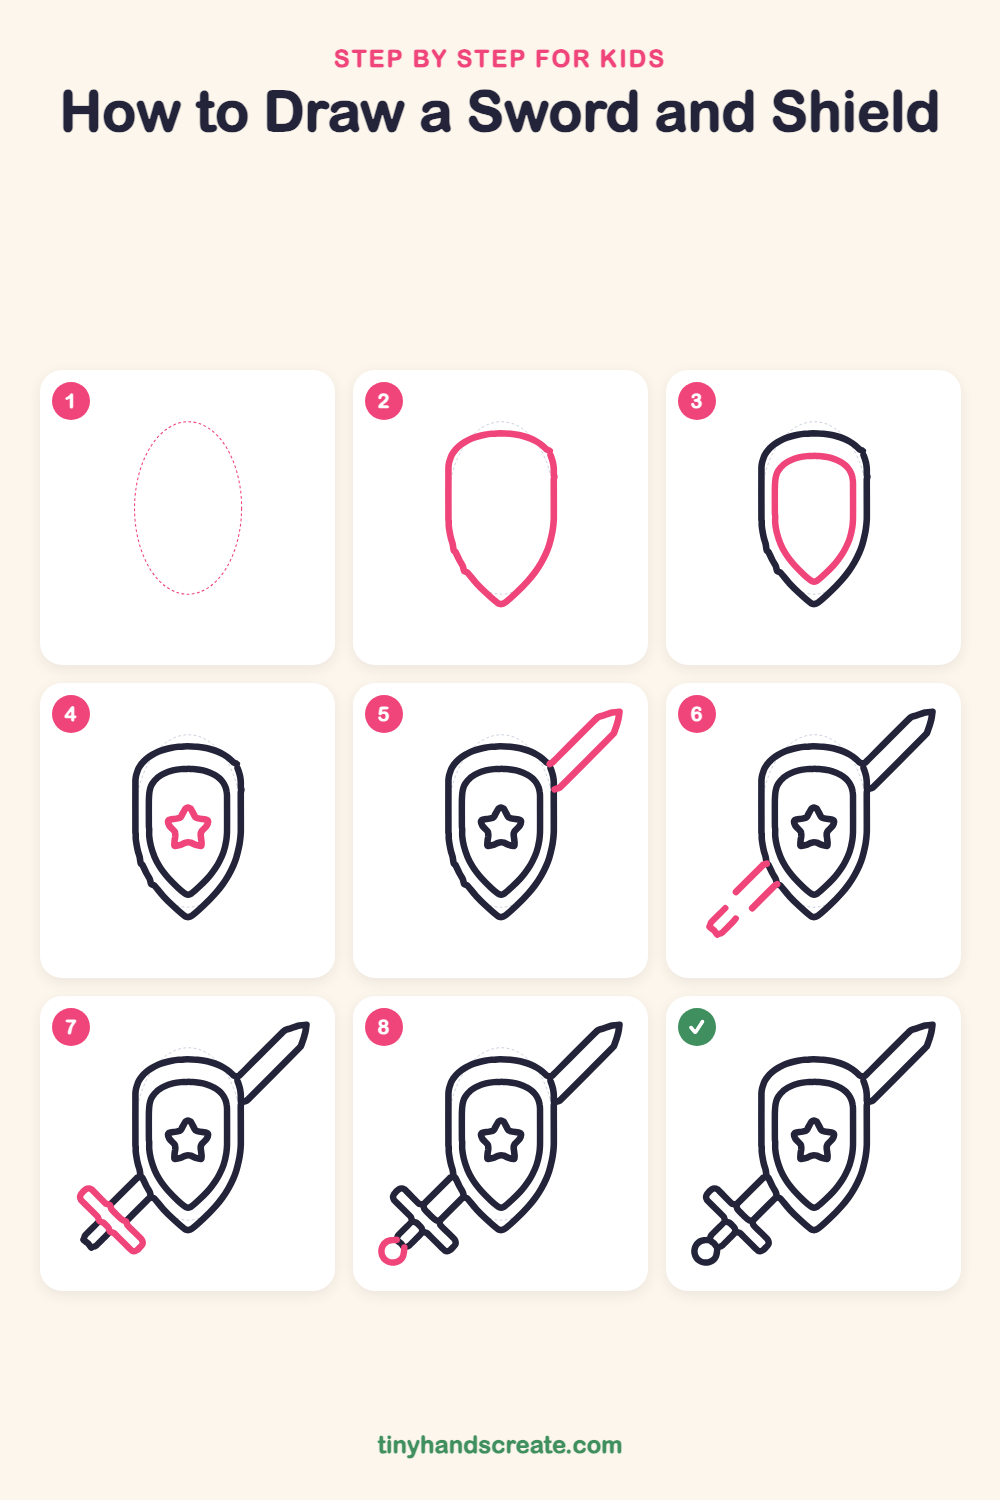
Step 1: Guide shapes
Lightly sketch this oval. It only shows where the big parts go, so press softly. You will erase it at the end.
Step 2: The big shield
Draw a tall shape with a rounded top and straight sides, then curve the sides in to meet at a point at the bottom, like a big guitar pick.
Step 3: The inner shield
Inside the shield, draw a smaller shield with the same shape, leaving an even gap all the way around. It should also come to a point near the bottom.
Step 4: The star
In the middle of the inner shield, draw a small star. Start at the top point and zigzag out and in, out and in, until you are back where you began.
Step 5: The sword blade
Starting at the top right edge of the shield, draw two long straight lines going up and to the right. Close the end with a short slanted line so it looks like a sharp point.
Step 6: The handle
At the bottom left of the shield, draw two short lines going down and to the left from the shield's edge. Join them at the end to make a skinny slanted rectangle. This is the part the knight holds.
Step 7: The crossguard
Across the handle, draw a long, thin slanted rectangle that crosses it like a bar. It should sit at right angles to the handle, making a plus shape.
Step 8: The round end
At the very bottom end of the handle, draw a small circle. This ball is called the pommel and it finishes the sword.
All done!
Erase the guide shapes, go over your lines, then color it in.
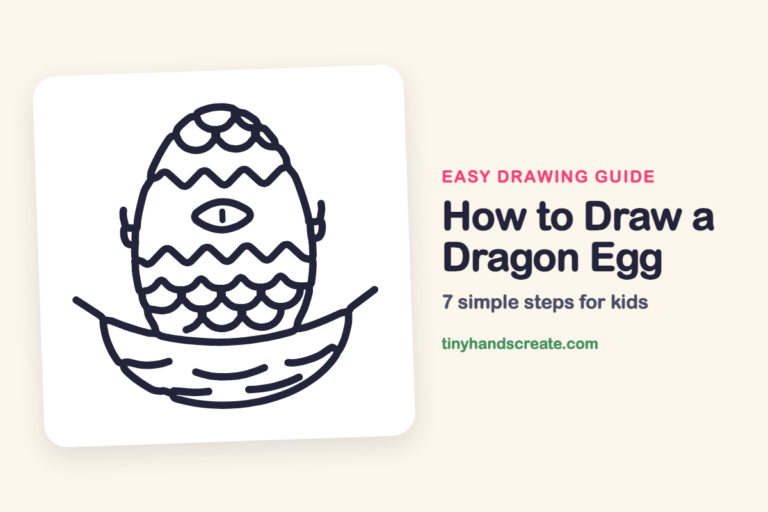
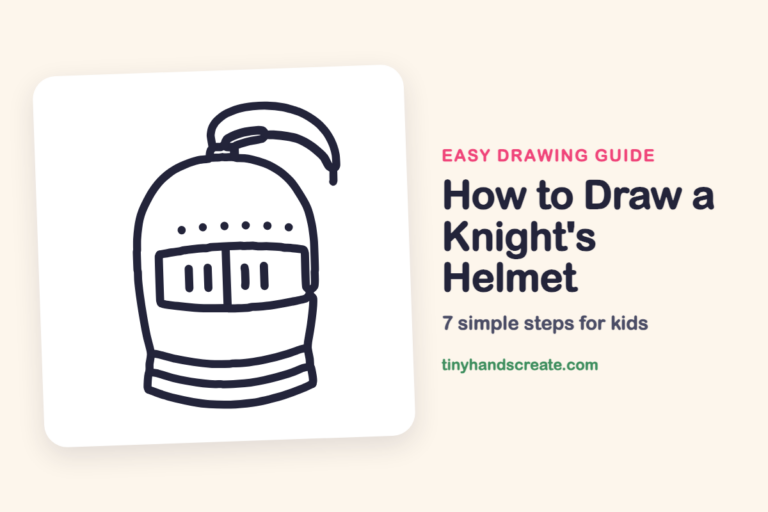
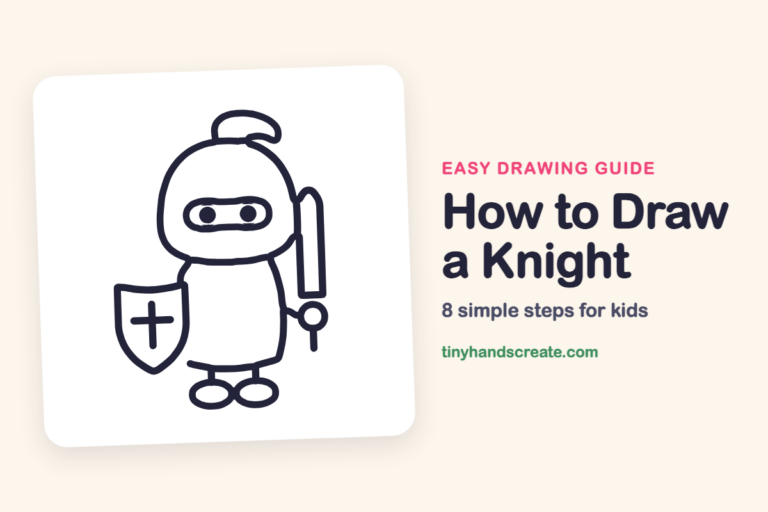
Finished your sword and shield? Keep the pencils out and learn how to draw a dragon egg or how to draw a knight's helmet next.
Tips for drawing a sword and shield
- Start the shield with two straight sides, then curve them down to the point. If the point looks lopsided, lightly draw a line down the middle first to help balance it.
- Draw the star slowly. Make five dots in a ring first, then connect every other dot to get an even star.
- Start the blade and the handle right at the shield's edge and stop there. The sword looks like it is hiding behind the shield, so do not draw lines across the shield.
Free sword and shield coloring page
Want to go straight to coloring? Open this sword and shield coloring page at full size and print it. It is the same drawing you just learned, with clean lines ready for crayons or markers.
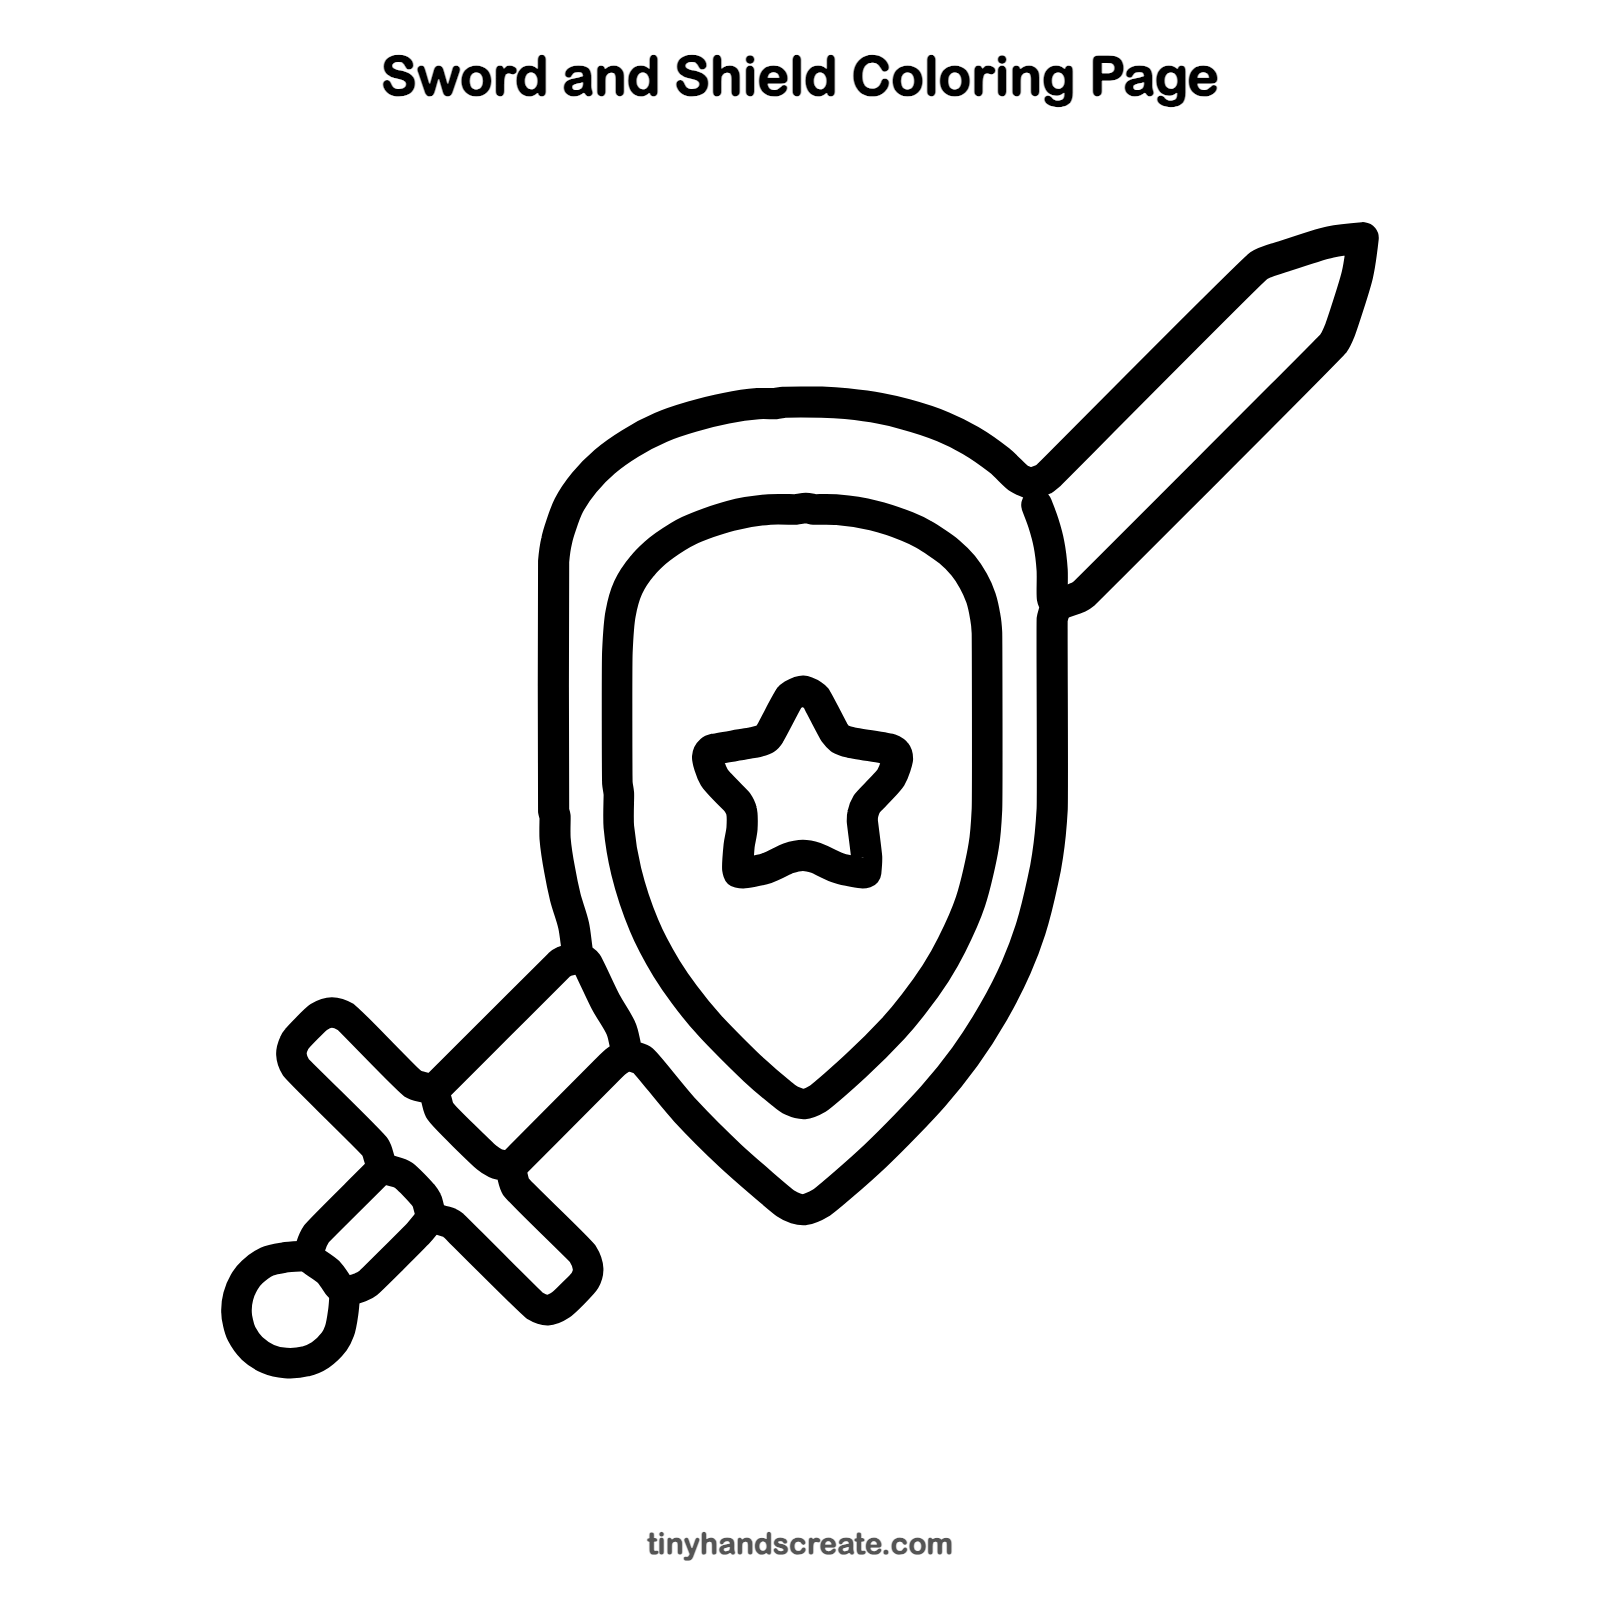
How to color your sword and shield drawing
Try silver or gray for the blade and shield edge, blue or red inside the shield, and gold for the star, crossguard, and round end. For a creative twist, make up your own coat of arms by adding stripes or a favorite animal in place of the star.
Sword and shield fun fact for kids
Knights in the Middle Ages often painted bright pictures and patterns on their shields, called coats of arms, so friends could tell who they were from far away.
Questions about drawing a sword and shield
What shapes do I need to draw a sword and shield?
You need a rounded shield shape that ends in a point, a star, long thin rectangles for the blade, handle, and crossguard, and a small circle for the end of the handle.
How do I make the sword look like it is behind the shield?
Draw the shield first, then start the sword lines right at the shield's edge and stop there. Because the lines do not cross the shield, it looks like the sword is hiding behind it.
How do I draw a star that looks even?
Lightly draw five dots in a circle, then connect each dot to the one two places away. Trace over the outline and erase the extra lines.