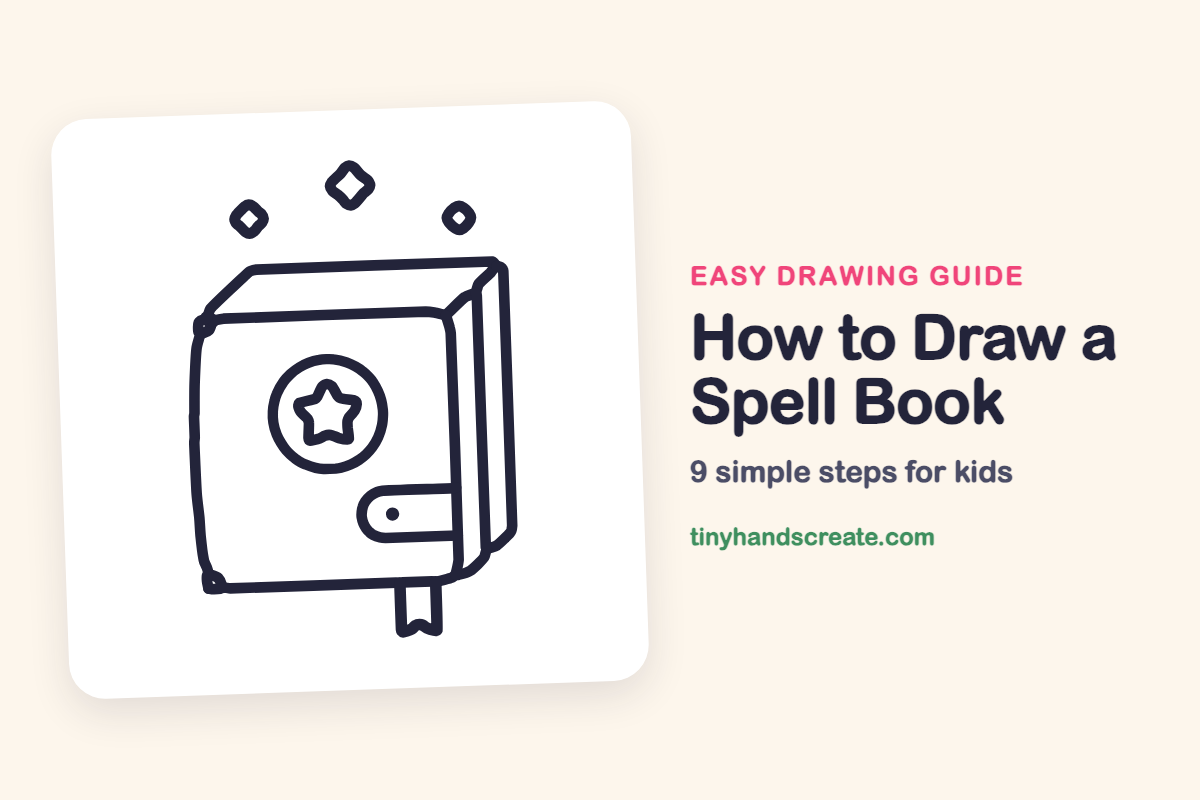
How to Draw a Spell Book (Easy Step by Step)
A spell book looks like a magic treasure, but it is built from simple shapes: a square with rounded corners, a circle, a star, and a few straight lines. Once you have the thick book shape down, the star and sparkles are the fun part.
- Easy
- 15 minutes
- 9 steps
You need: paper, a pencil, an eraser, and crayons or markers for coloring.
Start drawingIn this article (7 sections)
How to draw a spell book step by step
How to Draw a Spell Book · tinyhandscreate.com
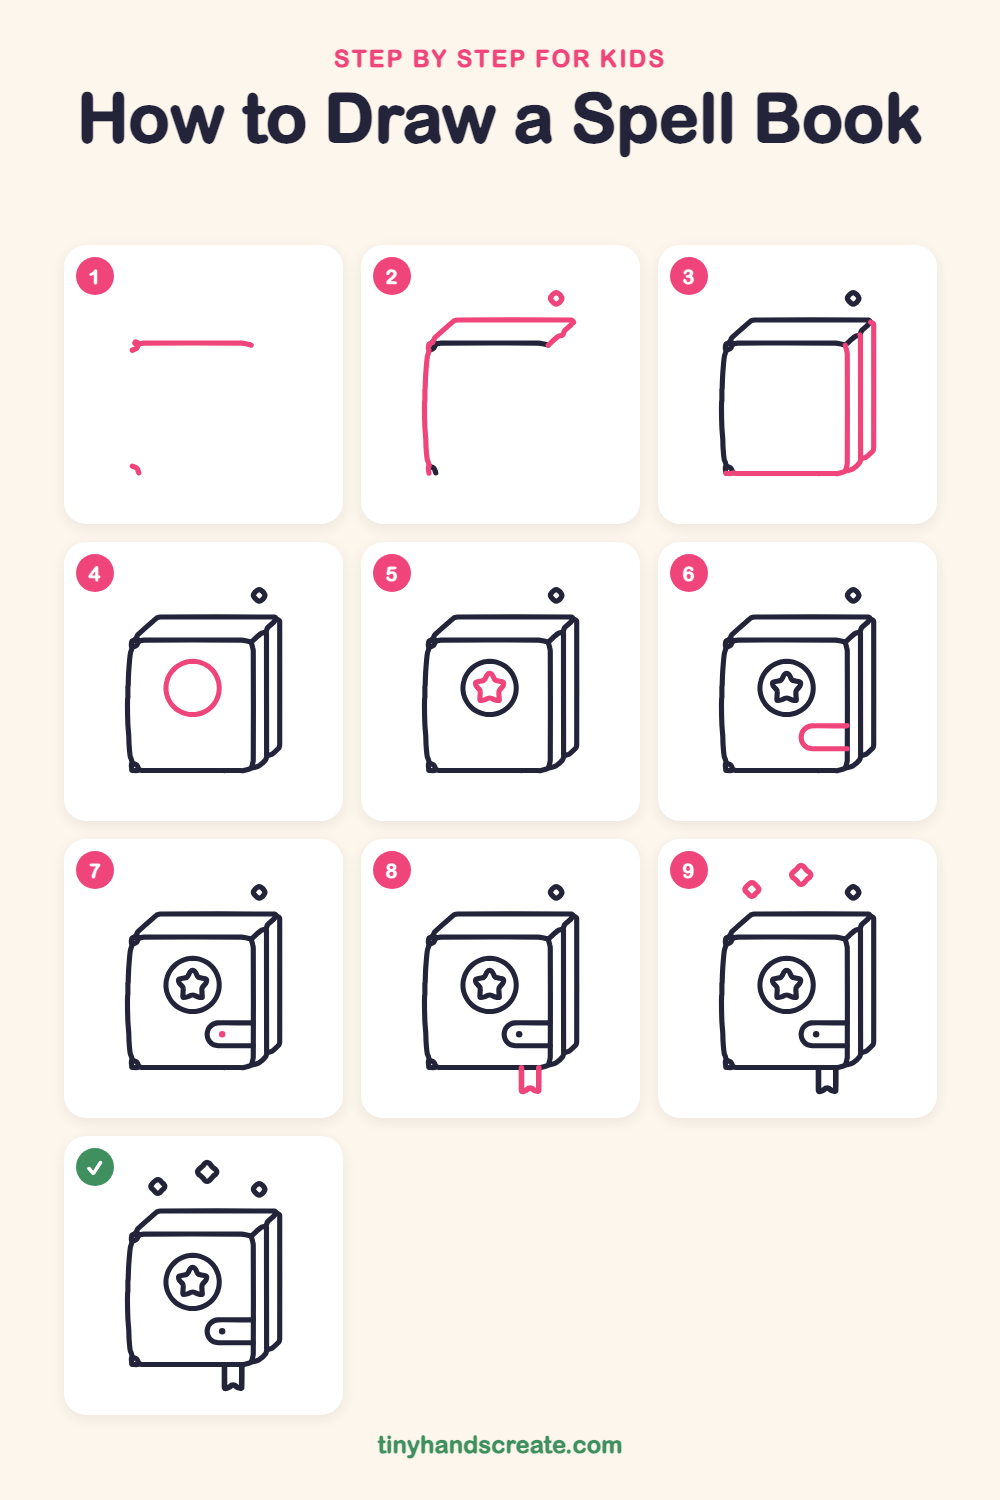
Step 1: Top edge line
Draw a long straight line going across for the top edge of the front cover. Add a tiny curved mark below and to the left, where the bottom corner of the cover will be.
Step 2: Left side and top
Start at the left end of your first line and draw a long, slightly curved line straight down. Then draw a slanted line up and to the right from the top left corner, a long flat line across, and a short slant down at the right end to make the top look thick. Add one small diamond above the book on the right.
Step 3: Right side and bottom
Draw two tall lines down the right side, one for the edge of the cover and one a little further right for the pages. Then draw a straight line along the bottom from the left corner, and curve it up at the right to join the pages.
Step 4: The magic circle
In the middle of the cover, draw a big circle. Leave some space between the circle and the edges of the cover.
Step 5: The star
Inside the circle, draw a star with five points. Start at the top point and zigzag around until you come back to the start.
Step 6: The clasp strap
Near the bottom right of the cover, draw a short strap shaped like a sideways pill. Start at the right edge of the cover, curve around at the left end, and come back along the bottom.
Step 7: The button dot
Add a small round dot inside the strap, near its curved left end, to make a button.
Step 8: The bookmark ribbon
Under the bottom edge of the book, draw two short straight lines going down. Connect them at the bottom with a little V notch, like the end of a ribbon.
Step 9: More sparkles
Above the book, draw two more small diamonds on the left side of the first one. Make the one in the middle a little bigger.
All done!
Go over your lines with a marker, then color it in.
Finished your spell book? Keep the pencils out and learn how to draw a sword and shield or how to draw a dragon egg next.
Tips for drawing a spell book
- Draw the top edge of the cover first, then the left side, and keep the left side only slightly curved so the book still looks sturdy.
- Make the slanted lines at the top go the same direction so the book looks thick instead of flat.
- Draw the circle first and the star second. Start the star from its top point so the five points come out even.
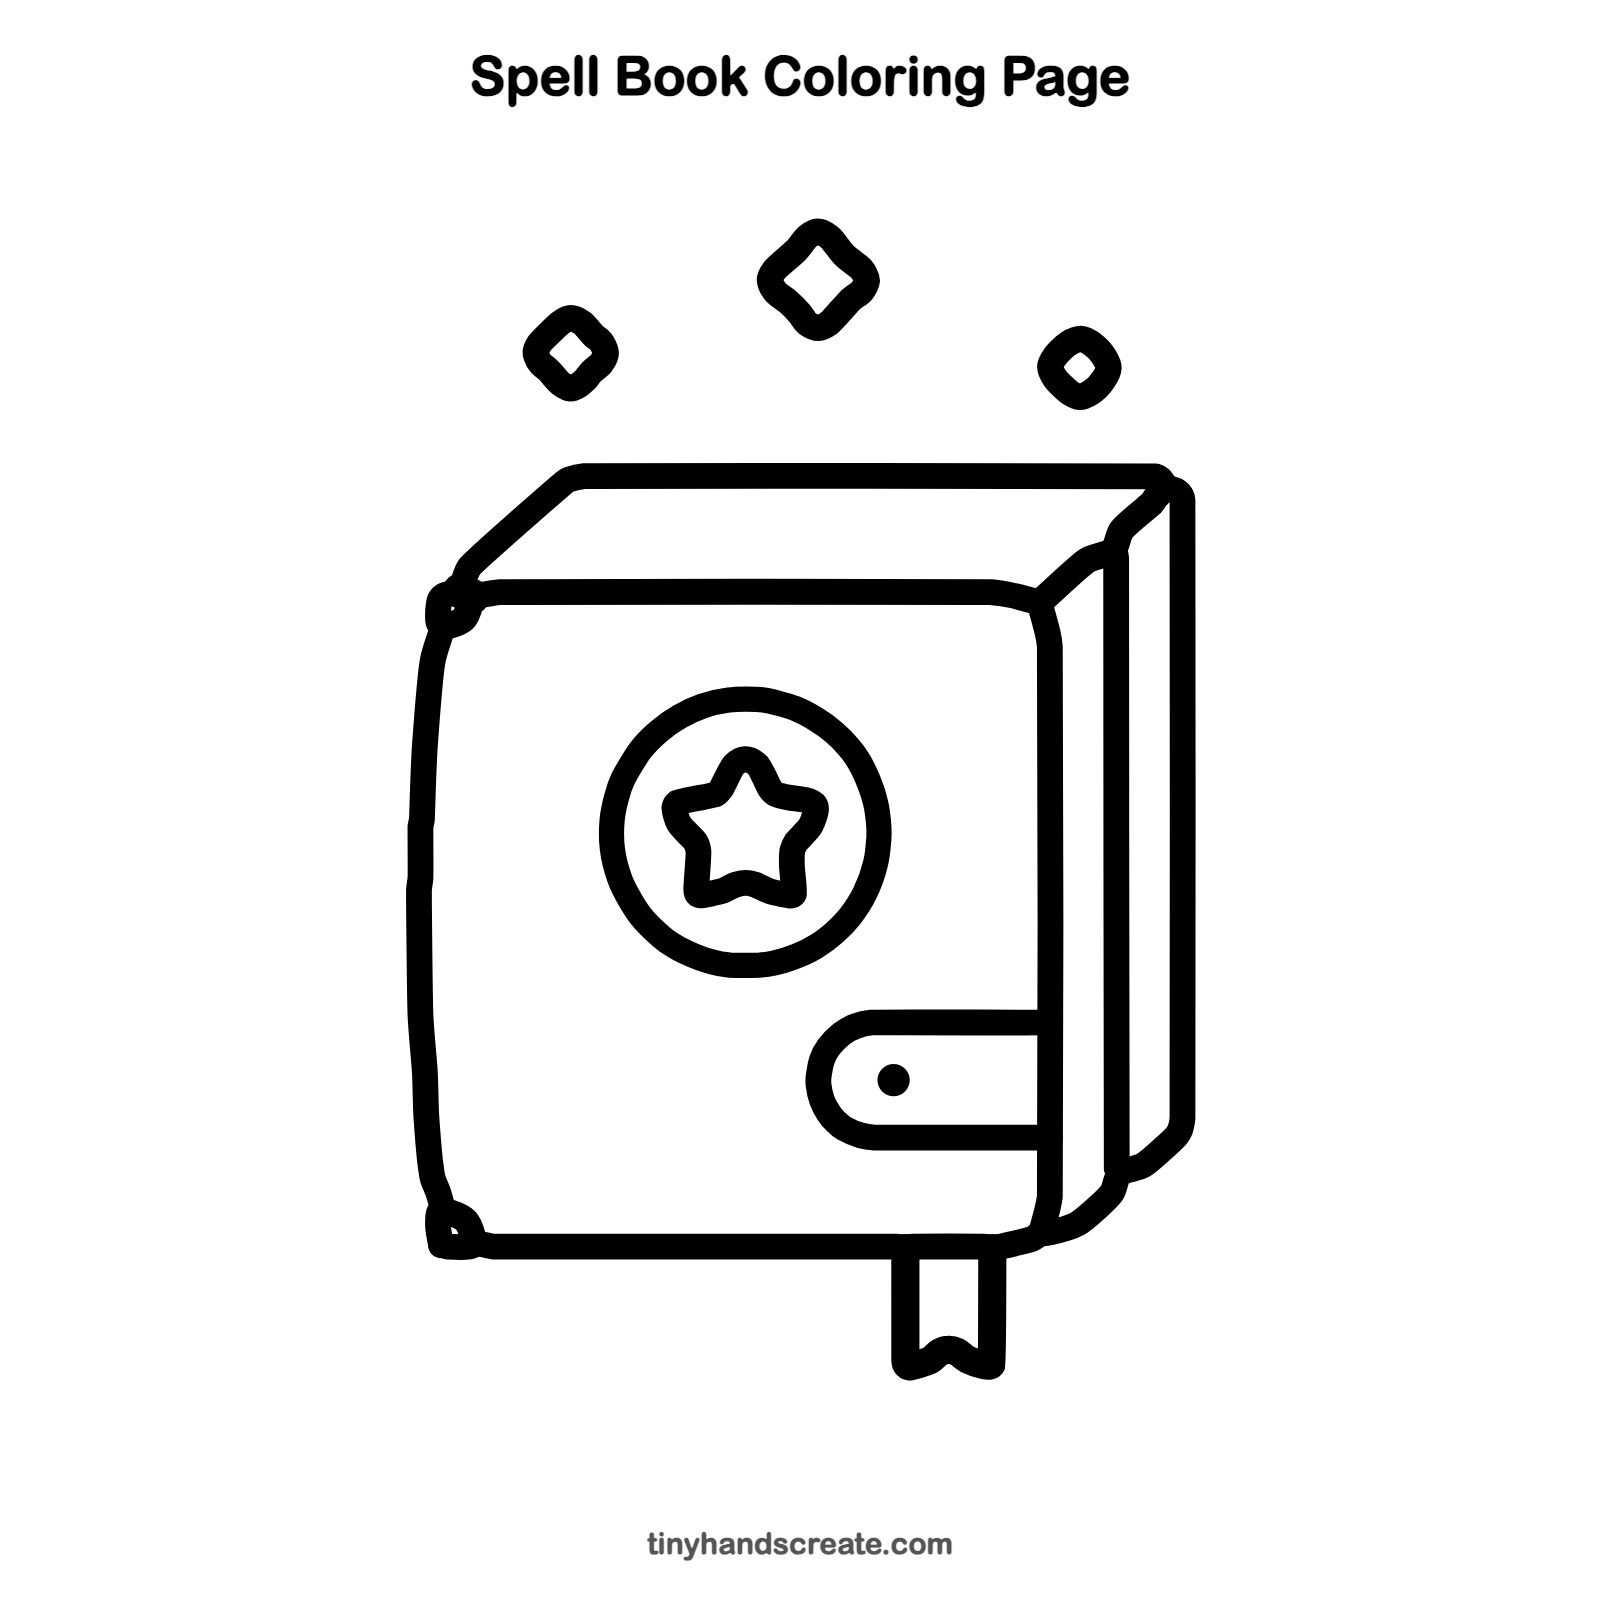
Free spell book coloring page
Want to go straight to coloring? Open this spell book coloring page at full size and print it. It is the same drawing you just learned, with clean lines ready for crayons or markers.
How to color your spell book drawing
Try a deep purple or dark blue cover with a gold star and circle, and cream pages on the side. Color the strap and ribbon red, and make the sparkles yellow so they look like they are floating above the book.
Spell book fun fact for kids
A book of magic spells is called a grimoire, a word that comes from an old French word for grammar.
Questions about drawing a spell book
What shapes do I need to draw a spell book?
You need a square with rounded corners for the cover, a circle and a star for the decoration, and a few straight lines for the pages and top. Small diamonds make the sparkles.
How do I make my spell book look thick?
Draw the slanted lines at the top and a second tall line on the right side for the page edge. These make the book look like it has depth.
How do I make my spell book look more magical?
Add the sparkles floating above it and the star in the circle on the cover. You can also try making the sparkles different sizes.