How to Draw a Double-Decker Bus (Easy Step by Step)
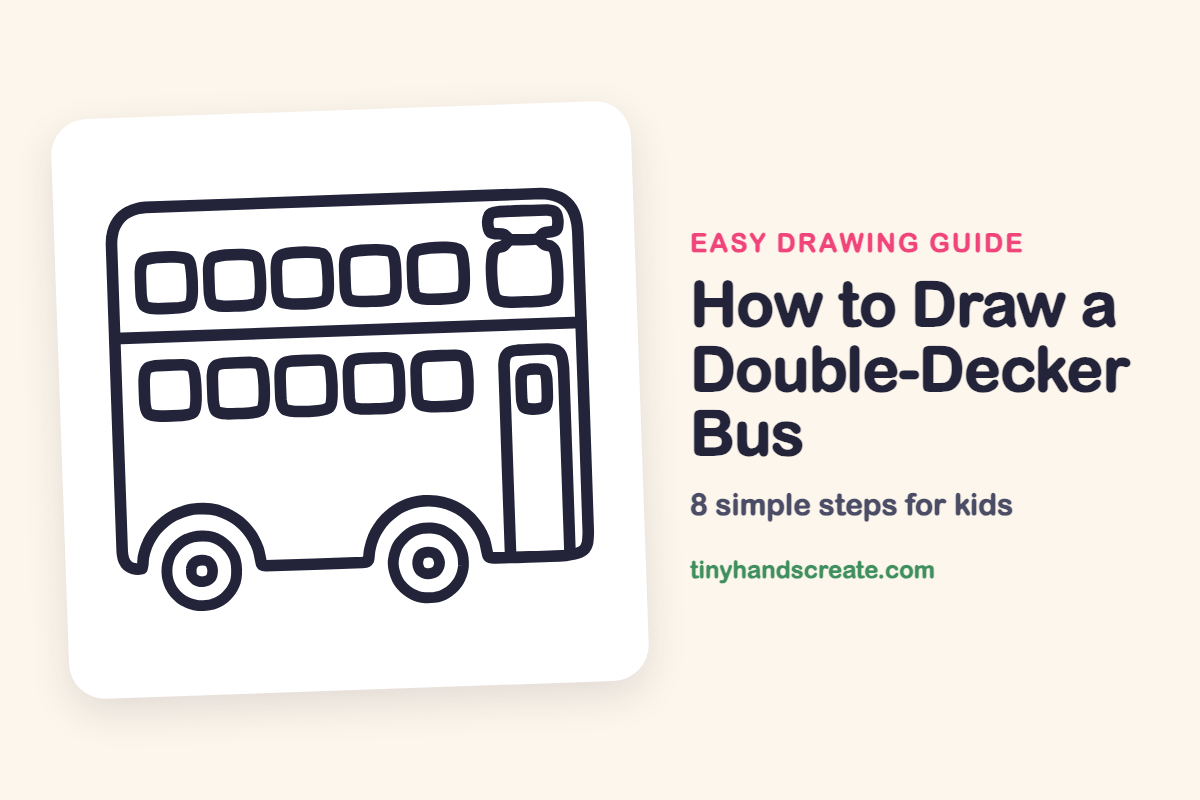
A double-decker bus is fun to draw because it is a stack of friendly shapes: one big box, two rows of rounded squares, and two circles for wheels. Once you know how to draw a rounded square, you can draw almost every part of it. It is also a great chance to practice making things line up in neat rows.
- Easy
- 12 minutes
- 8 steps
You need: paper, a pencil, an eraser, and crayons or markers for coloring.
Start drawingIn this article (7 sections)
How to draw a double-decker bus step by step
How to Draw a Double-Decker Bus · tinyhandscreate.com
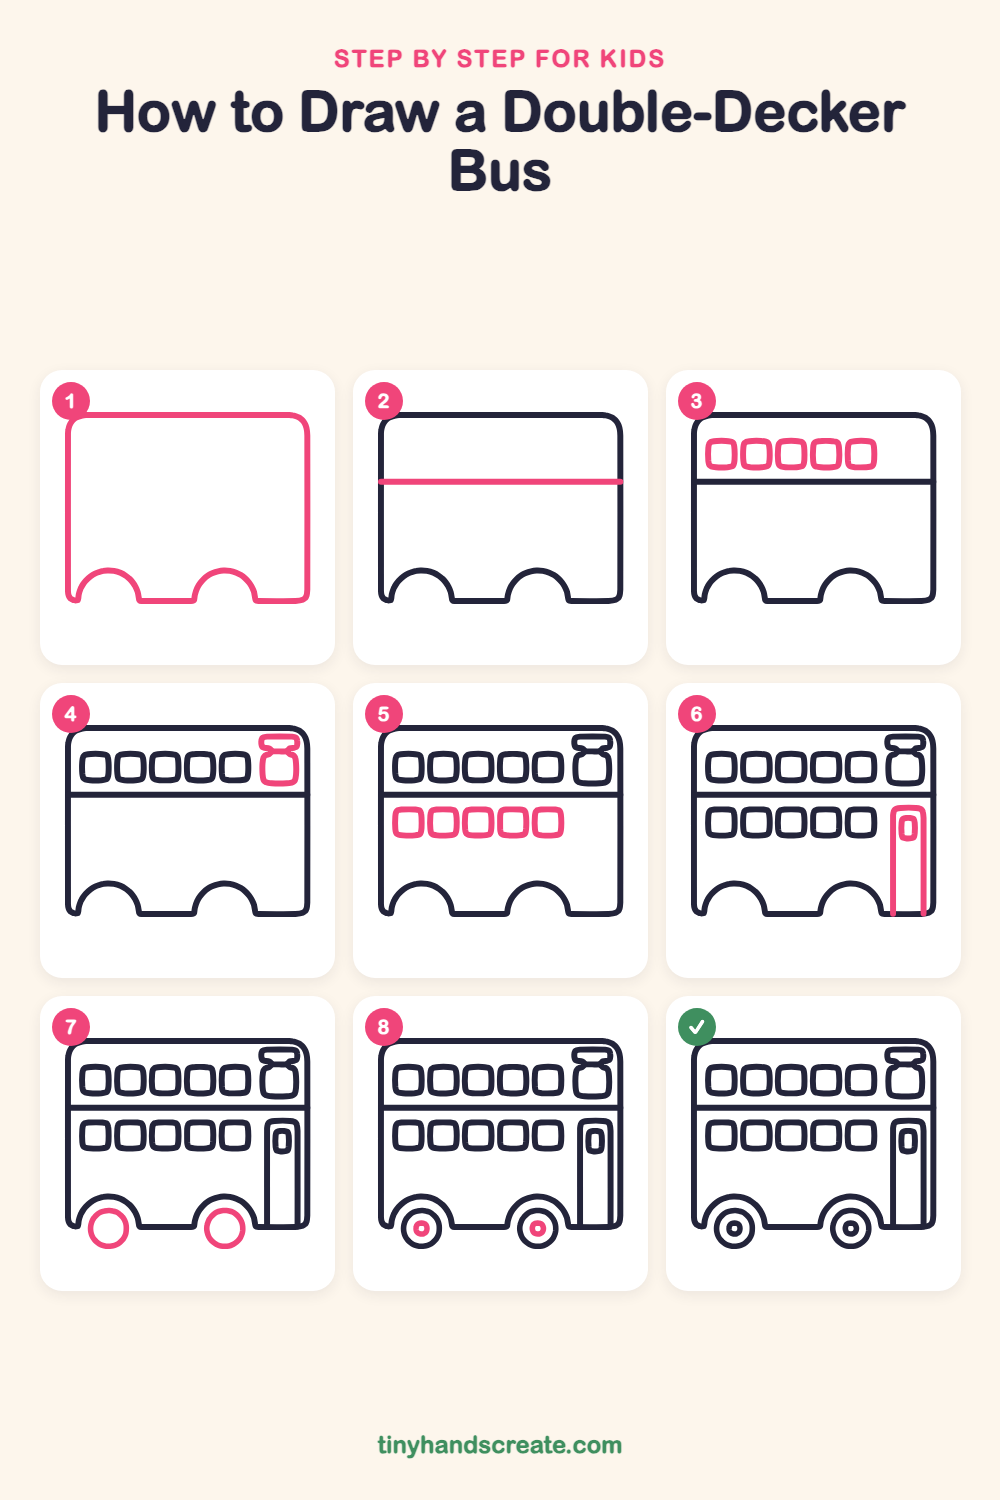
Step 1: The bus body
Draw a big wide box with rounded corners at the top. Along the bottom, make two round arches for the wheels to fit in, and join them with flat lines.
Step 2: The middle line
Draw one straight line across the box, a little above the middle, from the left side to the right side. This splits the bus into a top deck and a bottom deck.
Step 3: Top deck windows
On the top deck, draw a row of five small rounded squares, all the same size, with small gaps between them. Start at the left side and leave room at the right end for one more window.
Step 4: Front window and sign
At the right end of the top deck, draw a rounded window with a little neck at the top. Then add a small flat rounded rectangle above it, like a sign on the roof.
Step 5: Bottom deck windows
Under the top windows, draw another row of five rounded squares. Line them up so each one sits right below a window above.
Step 6: The door
At the right end of the bottom deck, draw a tall rounded rectangle that reaches down to the bottom line. Add a small tall window inside it near the top.
Step 7: The wheels
Under each arch, draw a big circle. Let the top of each circle tuck up into the arch so the wheel looks like it is sitting in place.
Step 8: Wheel centers
Draw a smaller circle in the middle of each wheel for the hubcap. Add a tiny dot or circle in the very center.
All done!
Go over your lines with a marker, then color it in.
Finished your double-decker bus? Keep the pencils out and learn how to draw a space shuttle or how to draw a tennis racket next.
Tips for drawing a double-decker bus
- Draw the five windows on the top deck first, then copy their spacing for the bottom row. Using the same gaps makes the two rows match.
- Draw the middle line lightly so you know where the top deck ends. Keep the top windows above it and the bottom windows below it.
- For the wheels, start with the arches and then draw each circle so its top tucks up into the arch. If a circle looks wobbly, trace it a second time slowly.
Free double-decker bus coloring page
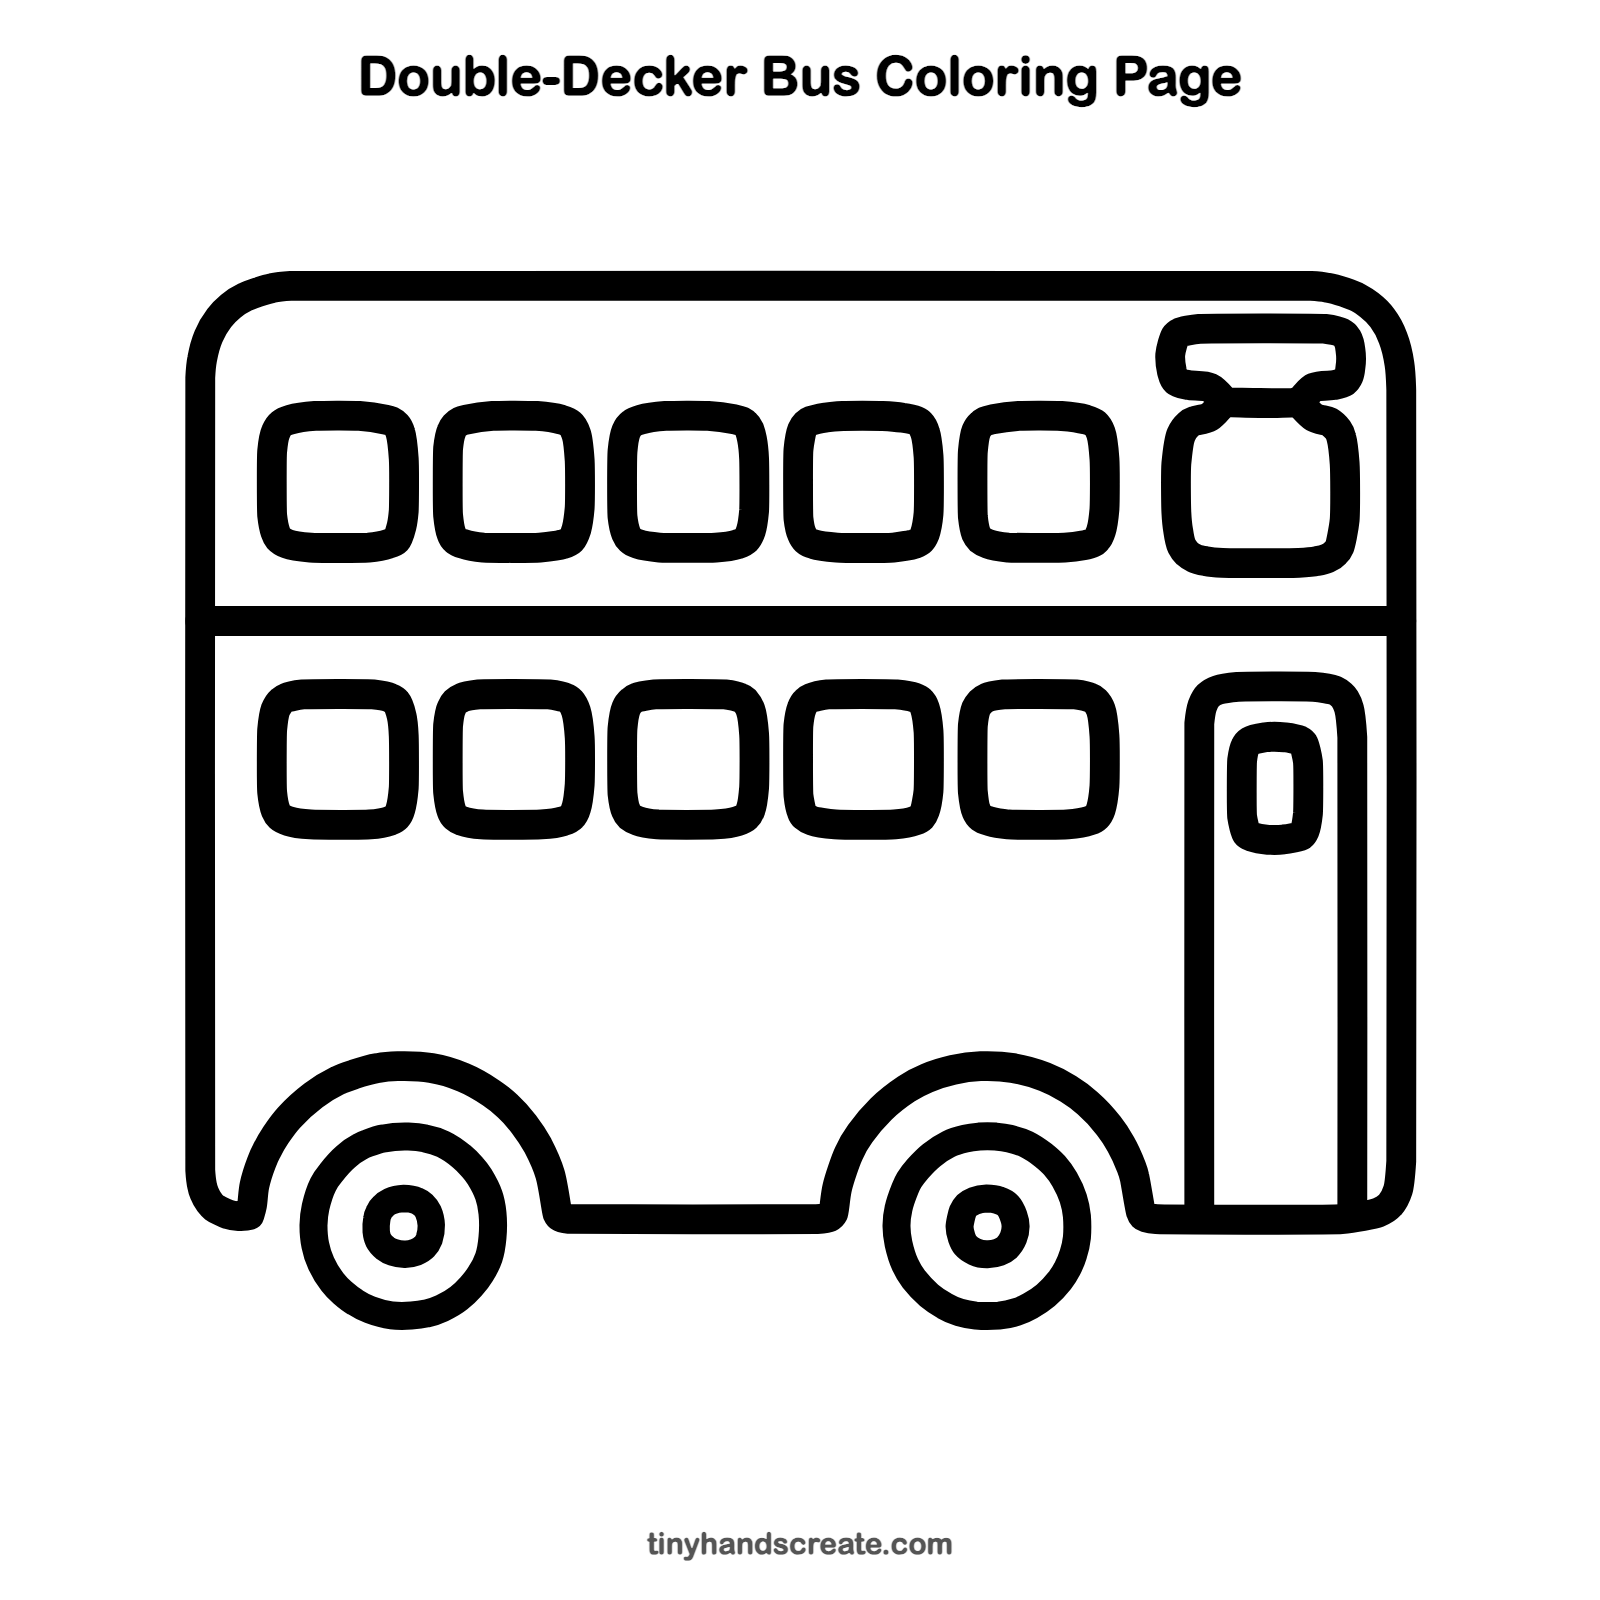
Want to go straight to coloring? Open this double-decker bus coloring page at full size and print it. It is the same drawing you just learned, with clean lines ready for crayons or markers.
How to color your double-decker bus drawing
Red is the classic color for a double-decker bus, with light blue windows and gray wheels. For a creative twist, make it a rainbow bus with every window a different color.
Double-decker bus fun fact for kids
Double-decker buses have two floors, so more people can ride in the same amount of street space. Many of the most famous ones are the red buses in London, England.
Questions about drawing a double-decker bus
What shapes do I need to draw a double-decker bus?
You need one big rounded box for the body, eleven small rounded windows, one small sign on the roof, one tall rectangle for the door, and four circles for the wheels and hubcaps.
How do I make the windows look even?
Draw the first window, then make each new one about the same size with a small gap in between. Doing the top row first and copying it below helps a lot.
How do I make my bus look like it is sitting on the road?
Tuck the wheels up into the arches so they fit snugly. You can also draw a long flat road line underneath the wheels.