How to Draw a Tennis Racket (Easy Step by Step)
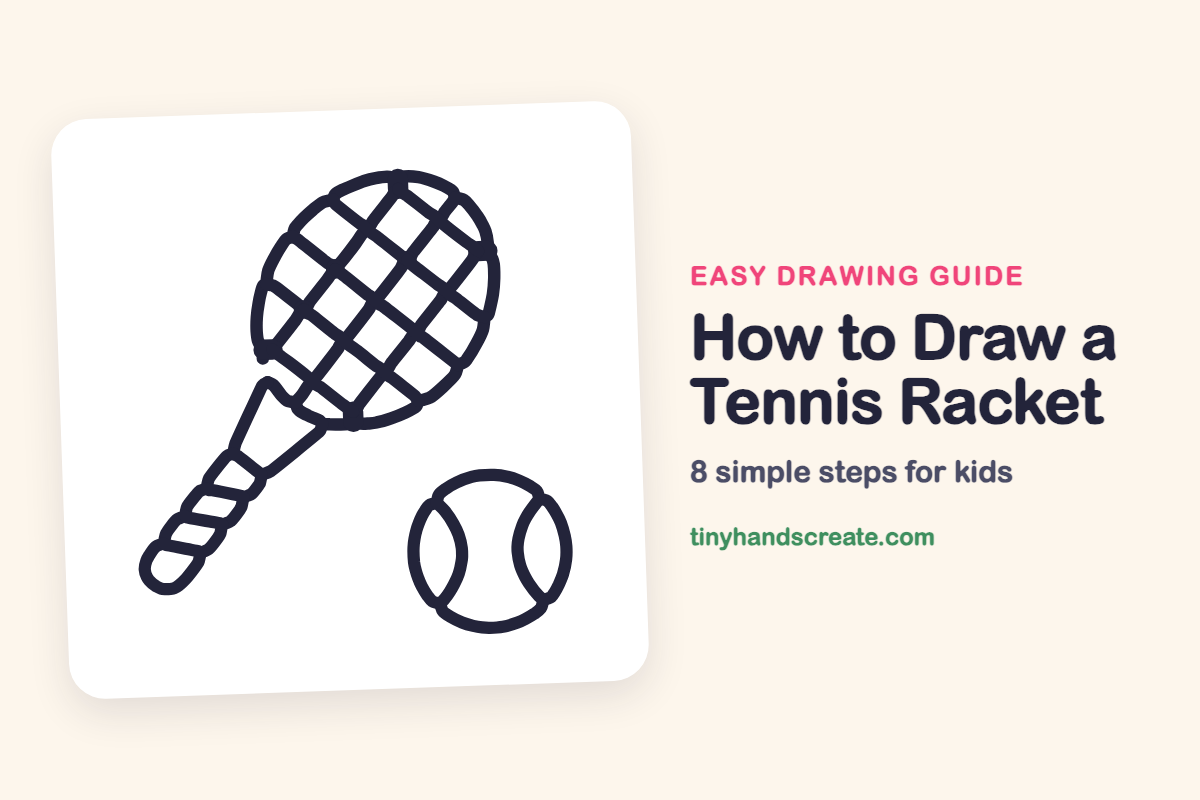
A tennis racket and ball make a great first sports drawing because they are built from only a few simple shapes. The racket is a tilted oval with a long handle, and the strings are straight lines that cross to make a net of diamonds. The ball is just a circle with two curved lines.
- Easy
- 12 minutes
- 8 steps
You need: paper, a pencil, an eraser, and crayons or markers for coloring.
Start drawingIn this article (7 sections)
How to draw a tennis racket step by step
How to Draw a Tennis Racket · tinyhandscreate.com
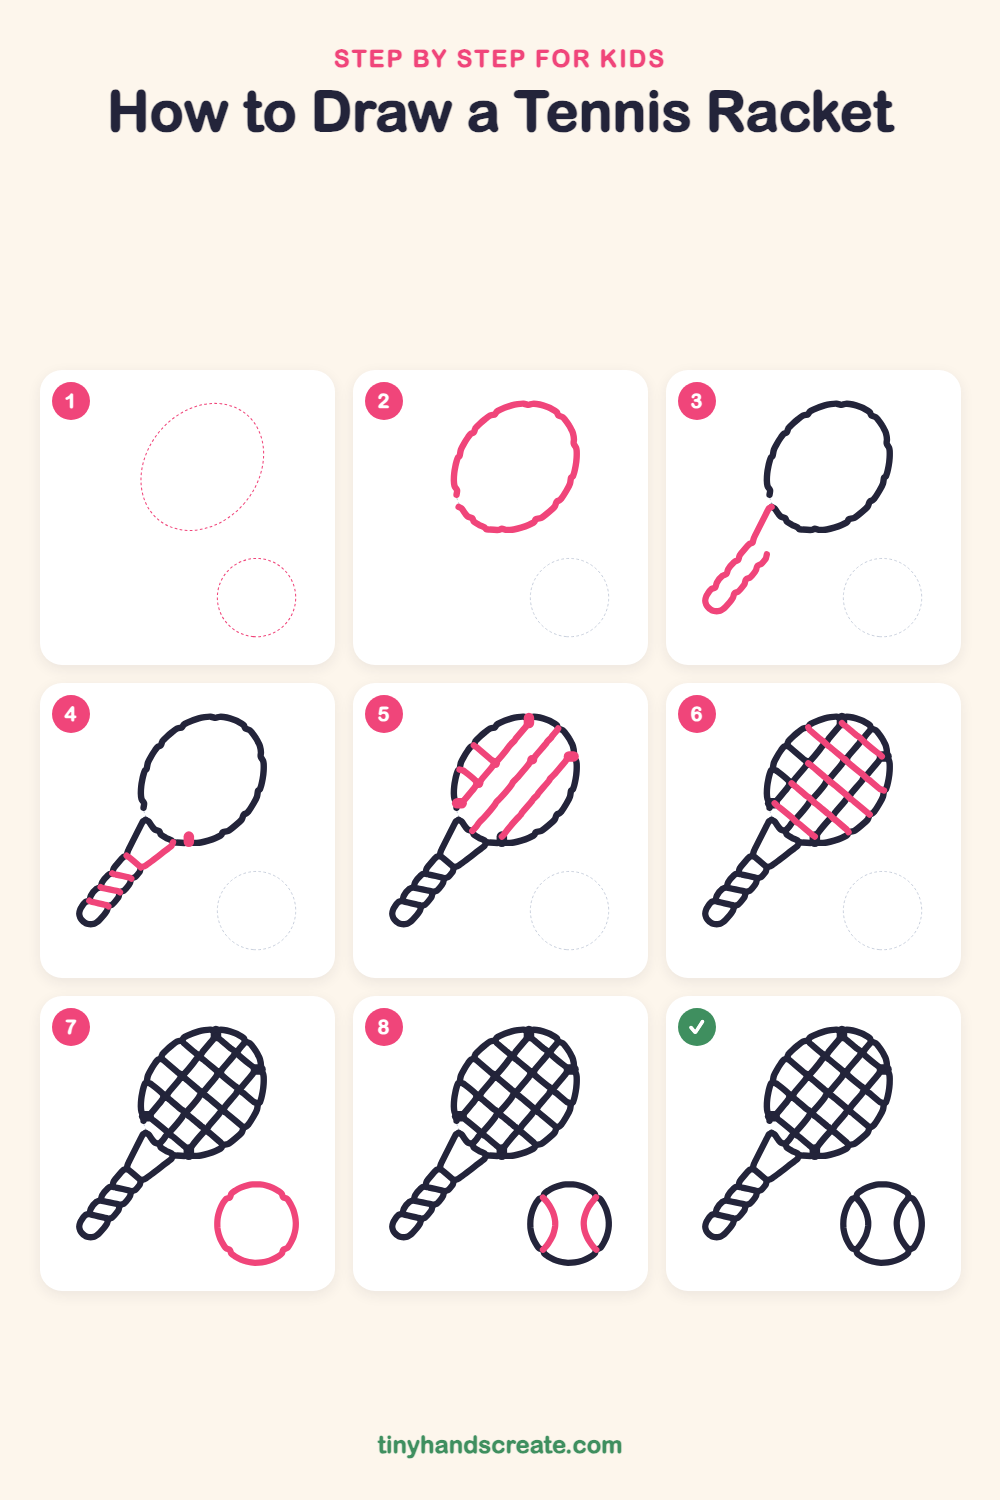
Step 1: Guide shapes
Lightly sketch these 2 ovals. They only show where the big parts go, so press softly. You will erase them at the end.
Step 2: The racket head
Draw a big tilted oval near the top of the page. Leave a small gap in the outline at the bottom left, where the handle will join.
Step 3: The long handle
Start at the gap in the oval and draw a long straight line down and to the left. Round off the end like a skinny rounded rectangle, then draw a second line back up beside the first.
Step 4: Throat and grip bands
Draw a slanted line from the top of the handle up to the bottom of the oval, so the handle and this line make a V shape for the throat. Then add three short slanted stripes across the handle for the grip tape.
Step 5: Strings going up-right
Inside the oval, draw long lines that slant from bottom left to top right. Space them evenly, and let each one touch the frame at both ends.
Step 6: Strings going down-right
Now draw lines that slant the other way, from top left to bottom right. Where they cross the first lines, you will see a net of little diamonds.
Step 7: The tennis ball
Draw a round circle to the right of the handle, near the bottom of the page. Make it smaller than the racket head.
Step 8: The ball's curved seams
Draw one curved line on the left side of the ball, bulging toward the middle like a closing parenthesis. Draw a matching curve on the right side, bulging the other way, so the two curves face each other.
All done!
Erase the guide shapes, go over your lines, then color it in.
Finished your tennis racket? Keep the pencils out and learn how to draw a bowling ball and pins or how to draw a medal next.
Tips for drawing a tennis racket
- Draw the racket head oval lightly first, then go over it. A tilted oval is easier to fix than a dark one.
- For the strings, make the first set of lines roughly the same distance apart. Then the second set will cross them and make neat diamonds.
- Draw the two ball seams as mirror images. If one curve looks off, try bending it a bit more toward the center of the ball.
Free tennis racket coloring page
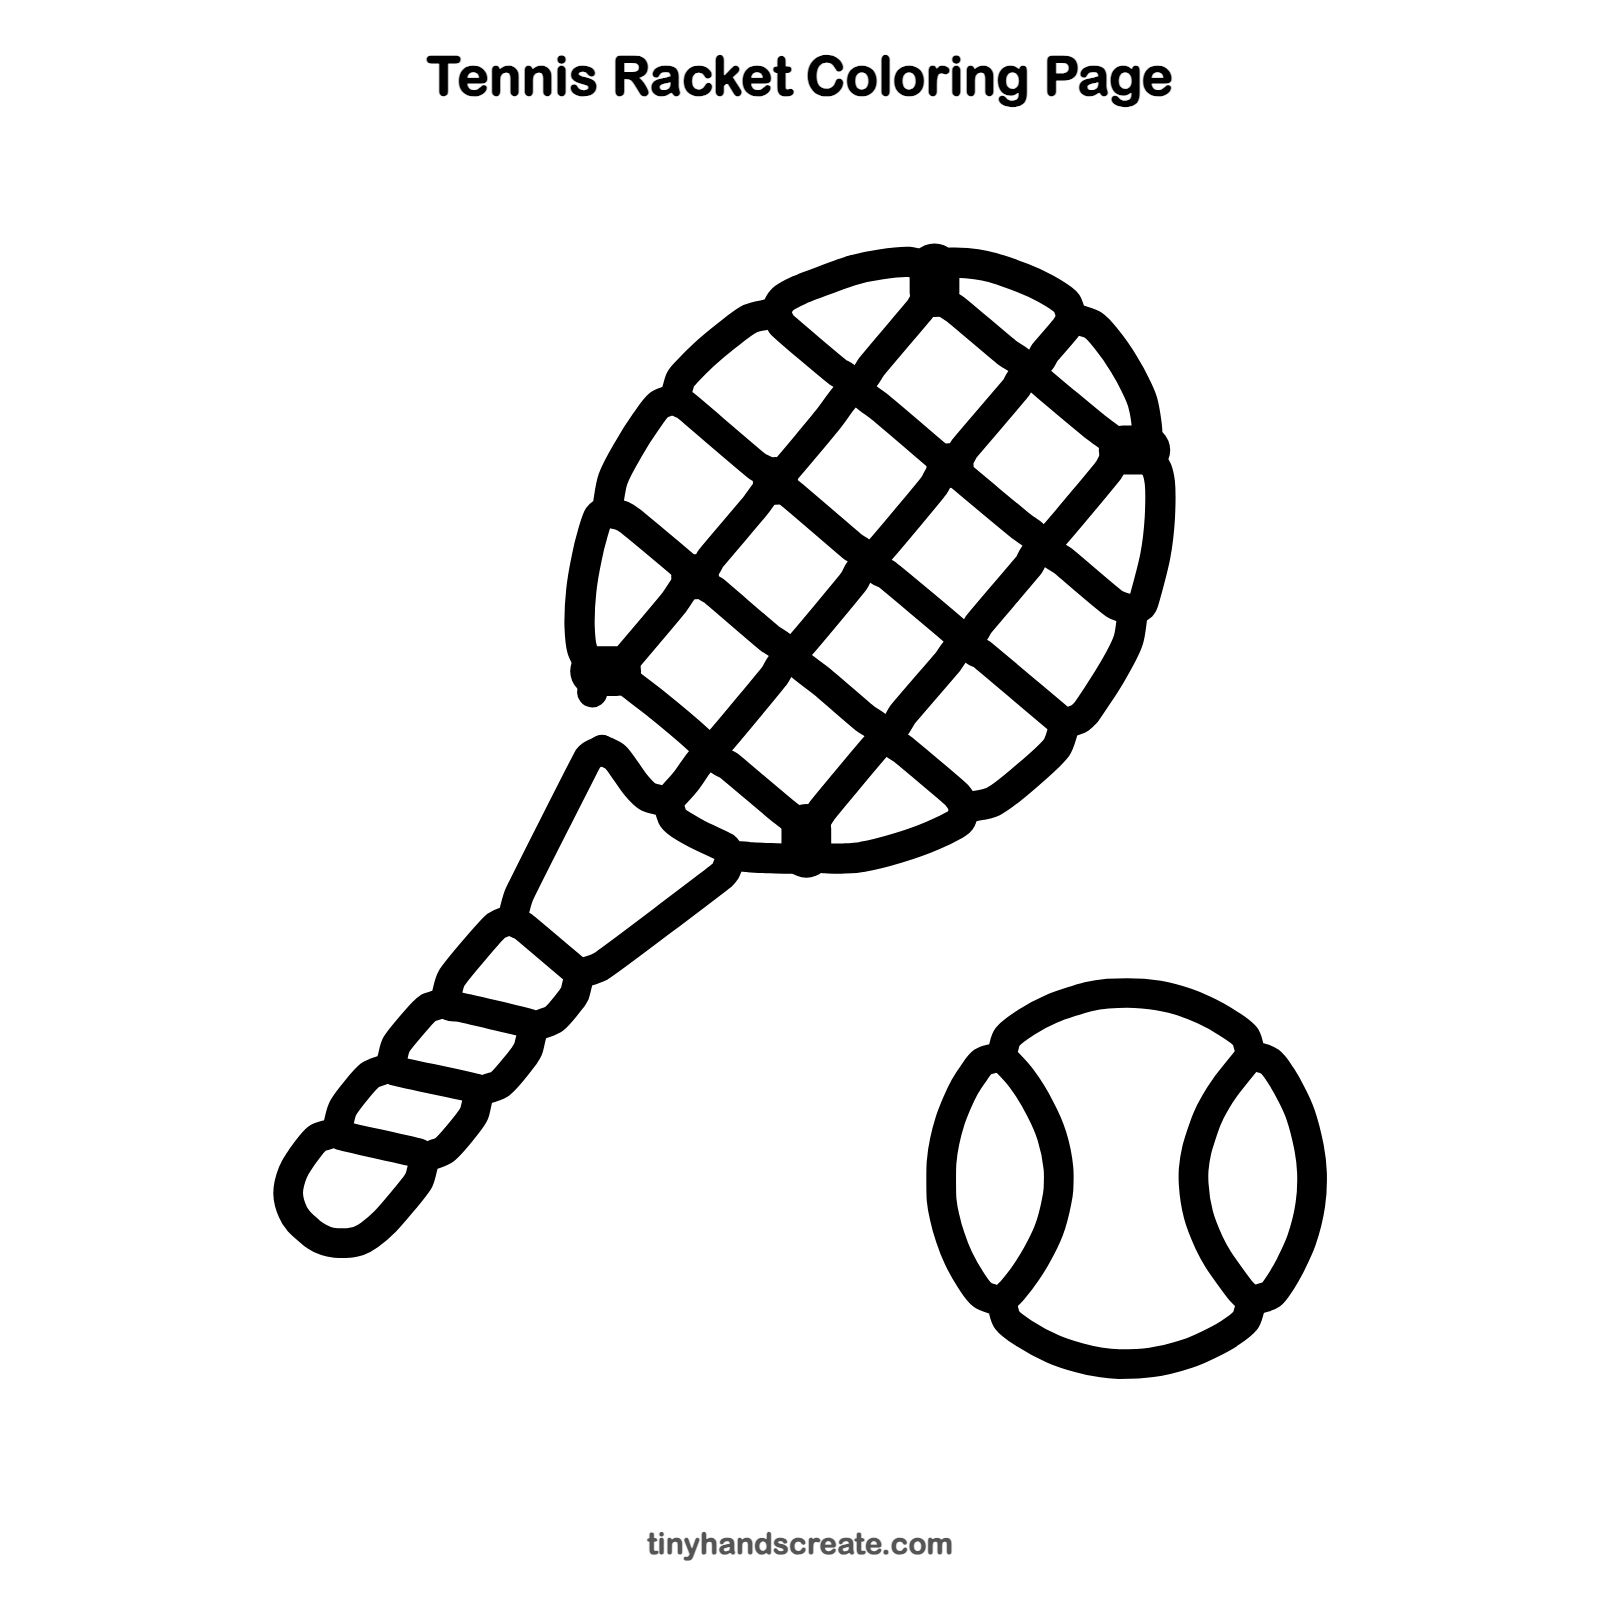
Want to go straight to coloring? Open this tennis racket coloring page at full size and print it. It is the same drawing you just learned, with clean lines ready for crayons or markers.
How to color your tennis racket drawing
Color the ball bright yellow-green and the racket frame red or blue, with a different color for the grip stripes. For a creative twist, color each string diamond a different shade.
Tennis racket fun fact for kids
Tennis balls were mostly white until the 1970s, when yellow became common because it is easier to see on TV.
Questions about drawing a tennis racket
What shapes do I need to draw a tennis racket?
You need a tilted oval for the head, two long lines for the handle with a rounded end, and straight lines that cross inside the oval for the strings. A slanted line from the handle up to the oval makes the throat.
How do I make the strings look even?
Draw one set of slanted lines first and keep the gaps about the same. Then draw the second set across them, and the diamonds will come out similar in size.
How do I draw a tennis ball?
Draw a circle, then add one curved line on each side that bulges toward the middle. The two curves should face each other.