How to Draw Witch Boots (Easy Step by Step)
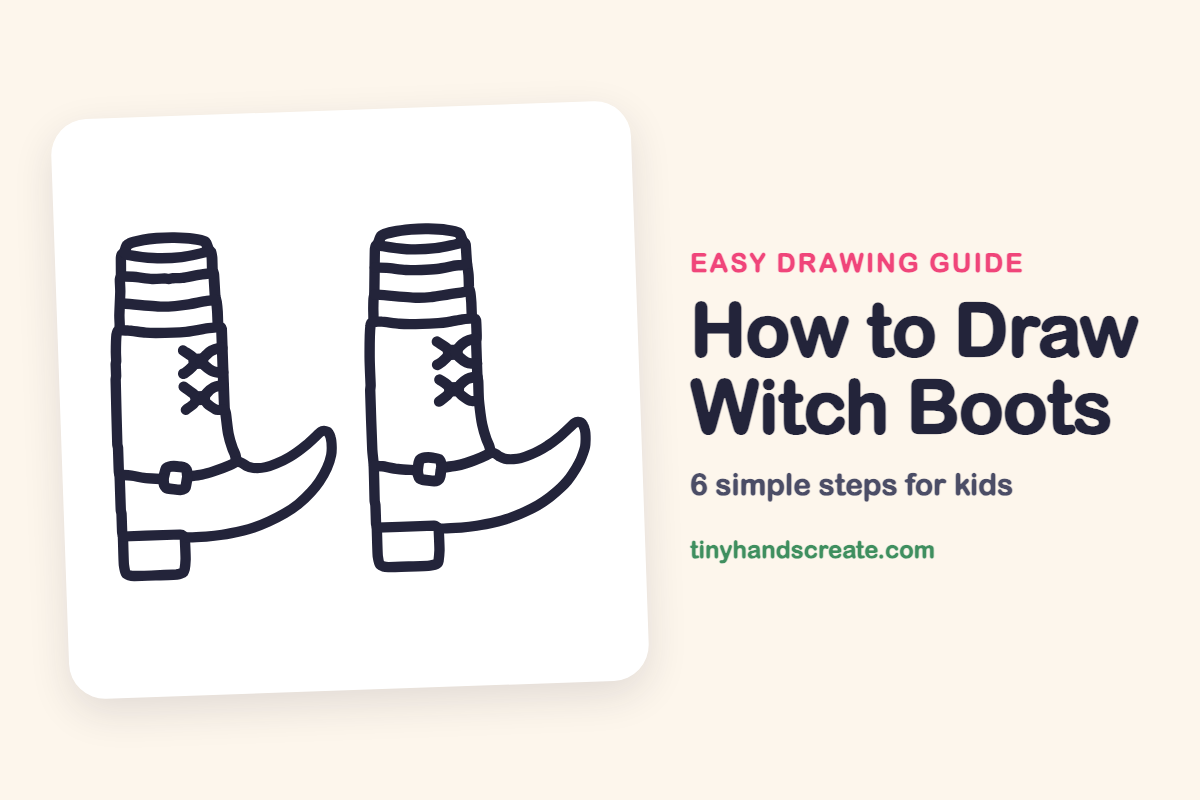
Witch boots are fun to draw because they have a silly, curly toe that points up like a little hook. They are built from simple shapes: long lines, small squares, curved lines, and tiny Xs. Once you can draw one boot, the second one is just a copy.
- Easy
- 12 minutes
- 6 steps
You need: paper, a pencil, an eraser, and crayons or markers for coloring.
Start drawingIn this article (7 sections)
How to draw witch boots step by step
How to Draw Witch Boots · tinyhandscreate.com
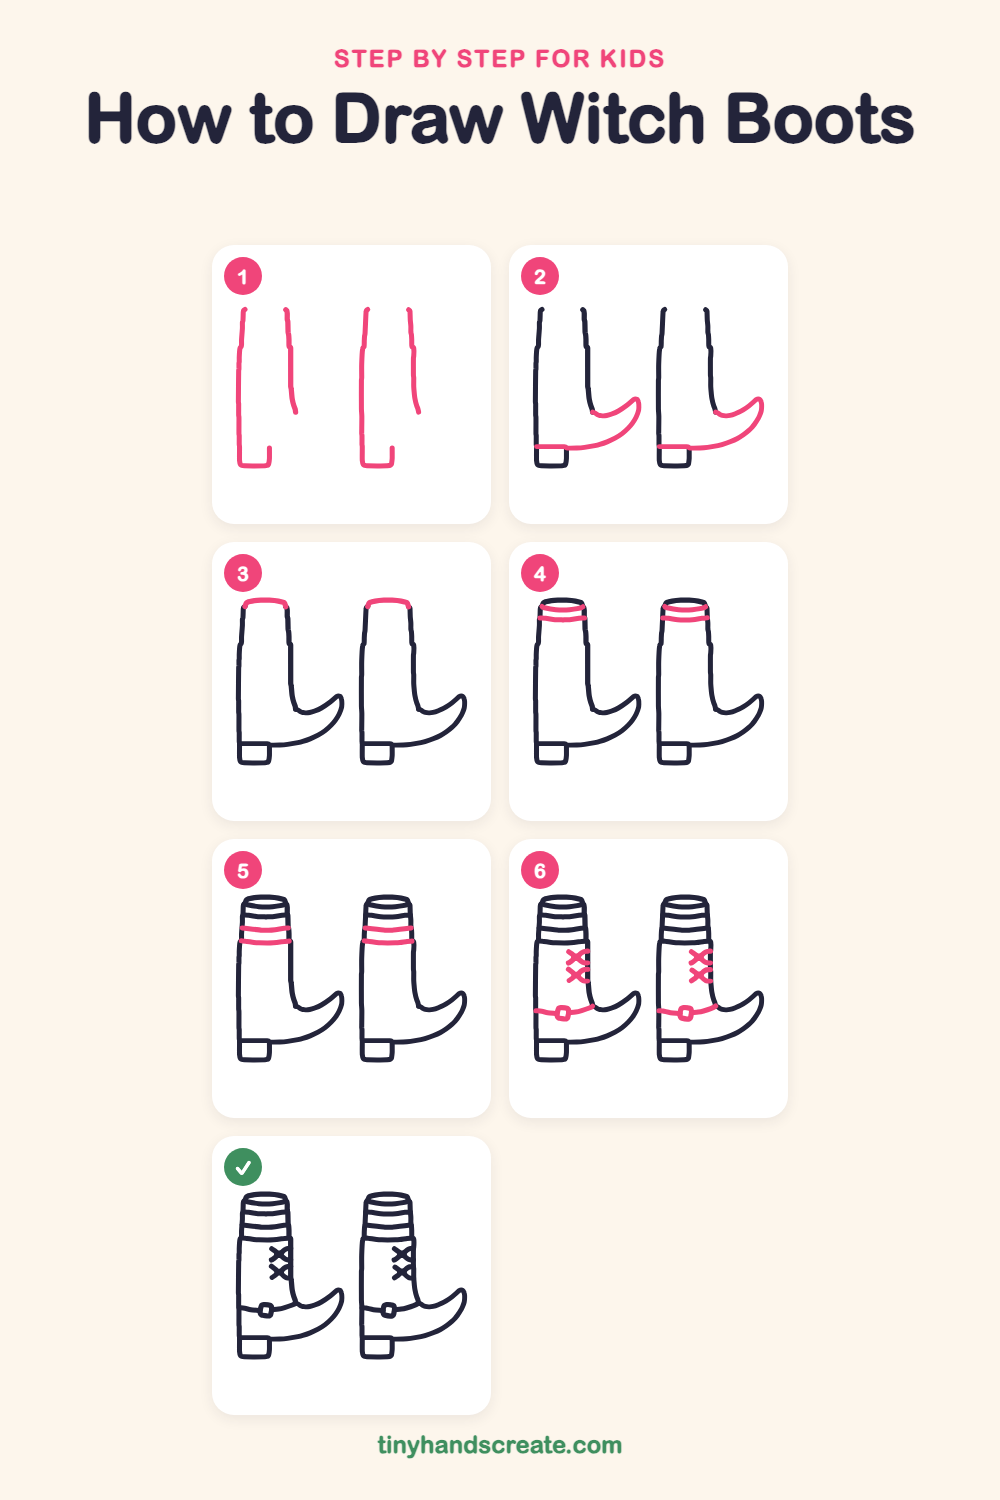
Step 1: Boot sides and heel
Draw a tall, slightly wobbly line down for the back of the boot. At the bottom, turn it into a small square block for the heel. Then draw a shorter line for the front of the boot that ends in a little curve. Make a second boot the same way.
Step 2: Pointy toes
Start where the front line ends and draw a curve that sweeps out to the right and curls up into a sharp point. Then bring the line back along the bottom to the heel block.
Step 3: Boot top
At the top of each boot, draw a short curved line that connects the back line to the front line. This makes the top edge of the boot.
Step 4: Top cuff lines
Just under the top edge, draw two curved lines across each boot from one side to the other. They should curve a little like smiles and sit close together.
Step 5: Lower cuff lines
Below the first lines, add two more curved lines across each boot from side to side. Keep them close together, like the ones above.
Step 6: Buckle and laces
Near the bottom, draw a gently curved band across each boot with a small rounded square buckle in the middle. Then draw two X shapes, one above the other, on the upper part of the boot.
All done!
Go over your lines with a marker, then color it in.
Finished your witch boots? Keep the pencils out and learn how to draw a zombie hand or how to draw a ghost cat next.
Tips for drawing witch boots
- Draw the back line of the boot first and keep it fairly straight, then add the shorter front line so the boot stays about the same width.
- The pointy toe is the trickiest part. Sweep the curve out to the right and up, then bring the line back along the bottom so the tip ends in a small, sharp point.
- Make the lines near the top by curving each one the same way, like a smile. Keep them close together so the boots look matching.
Free witch boots coloring page
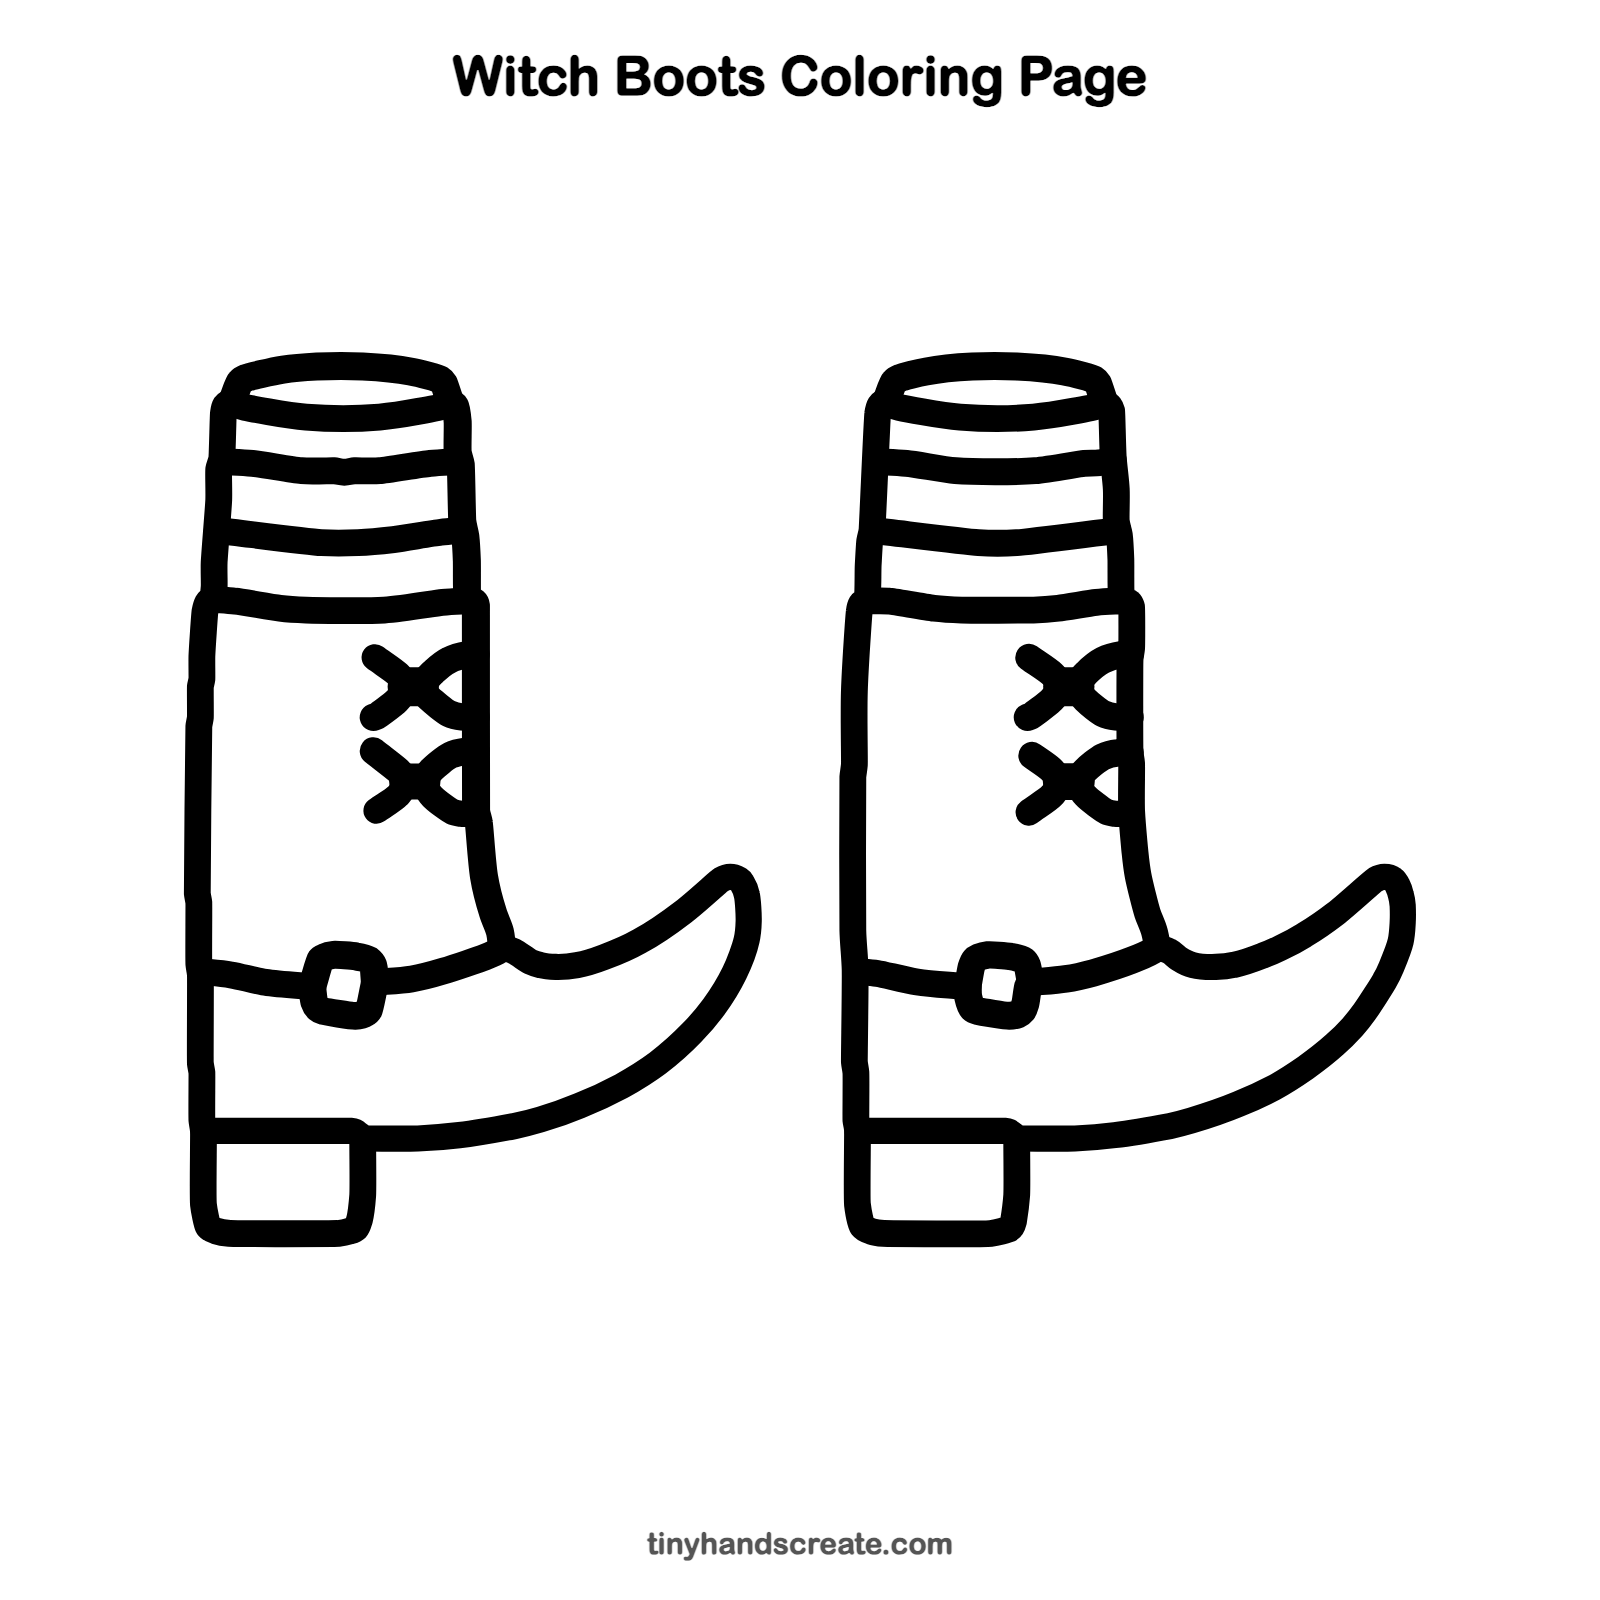
Want to go straight to coloring? Open this witch boots coloring page at full size and print it. It is the same drawing you just learned, with clean lines ready for crayons or markers.
How to color your witch boots drawing
Try purple, black, and orange for the boots, with the top lines in two bright colors that take turns. For a creative twist, color the buckle a shiny gold and give each boot a different color.
Witch boots fun fact for kids
Long ago in Europe, people wore shoes with very long pointed toes called poulaines. They were popular in the Middle Ages.
Questions about drawing witch boots
What shapes do I need to draw witch boots?
You need long lines for the sides, a small square for each heel, and a curved shape for each toe. Add curved lines near the top, a small square for the buckle, and two X shapes for the laces.
How do I make the toe curl up?
Start the toe line where the front of the boot ends and sweep it out to the right, curling up to a point. Then draw the line back along the bottom to the heel.
How do I make my witch boots look cuter?
Make the toes extra long and curly, and color the lines near the top in bright colors. You can also color the buckle gold.