How to Draw a Zombie Hand (Easy Step by Step)
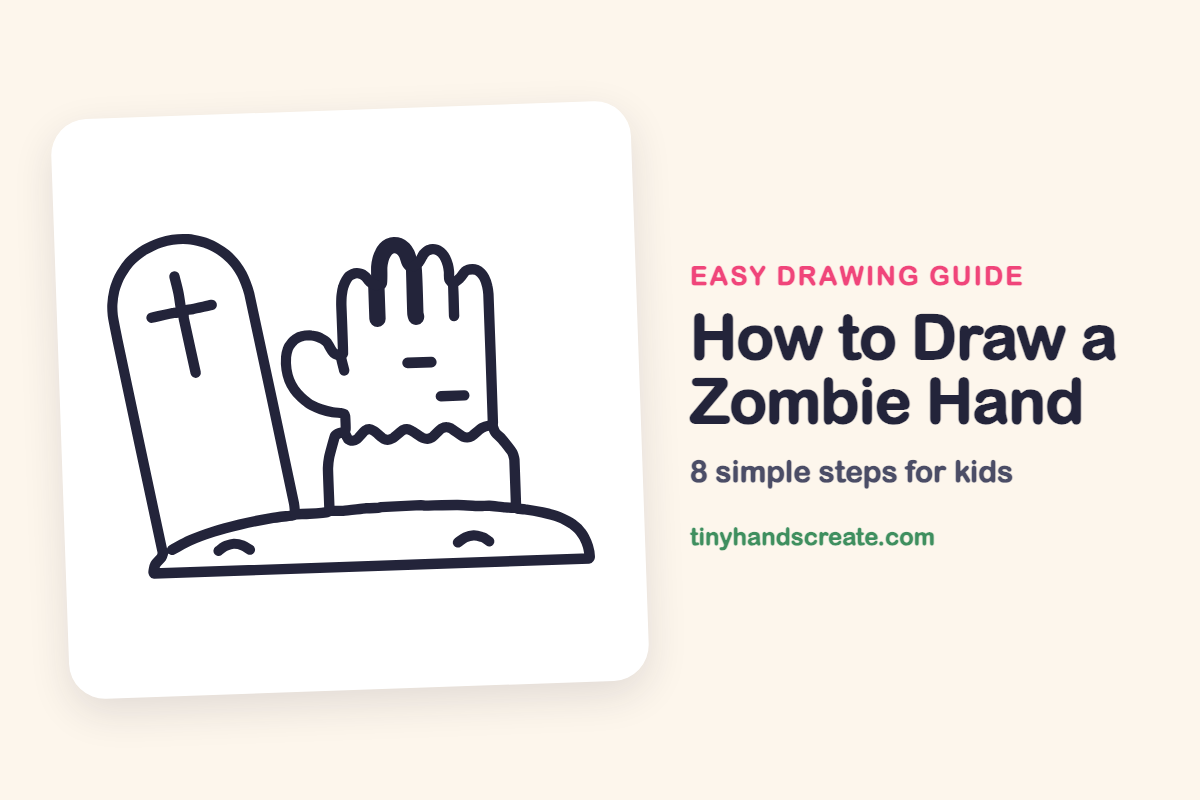
A zombie hand reaching out of the ground next to a gravestone is a spooky scene that is easy to draw. It is built from a few simple shapes: a flat hill, a tall rounded gravestone, a block for the palm, and long U shapes for the fingers. Once you know the shapes, the zigzag sleeve and the little stitches add the silly zombie look.
- Medium
- 15 minutes
- 8 steps
You need: paper, a pencil, an eraser, and crayons or markers for coloring.
Start drawingIn this article (7 sections)
How to draw a zombie hand step by step
How to Draw a Zombie Hand · tinyhandscreate.com
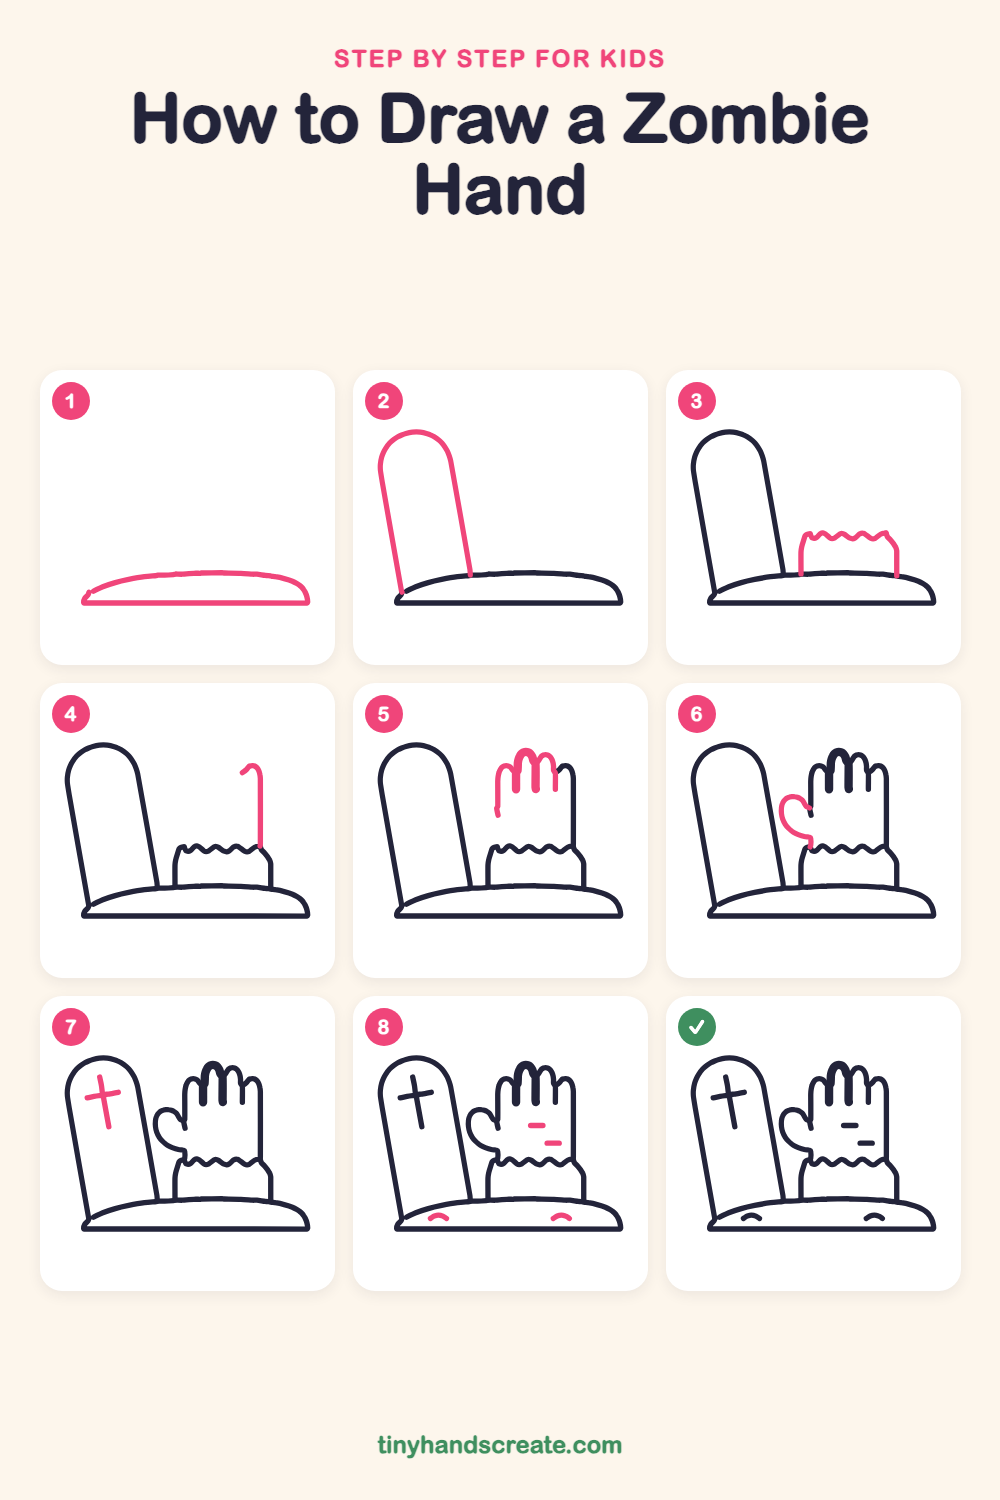
Step 1: The dirt mound
Draw a wide, flat hill shape, like a loaf of bread: a curved line on top and a straight line along the bottom. This is the patch of dirt the zombie hand pops out of.
Step 2: The gravestone
Draw a tall shape that leans a little to one side, with a round top like a rainbow. Let the bottom of the two side lines touch the dirt mound.
Step 3: The wrist and sleeve
To the right of the gravestone, draw two straight lines going up from the dirt for the arm. Join their tops with a wiggly zigzag line, like a row of tiny mountains, for the ragged sleeve.
Step 4: Right side of the palm
Start at the right end of the zigzag and draw one long straight line going up. Give the top a small hook that curls over.
Step 5: Fingers and palm side
Along the top, draw four long fingers like upside-down U shapes, side by side, with the middle two a little taller. Then draw a straight line down from the left finger to the left end of the zigzag.
Step 6: The thumb
On the left side of the palm, draw a rounded bump that sticks out, like a small mitten thumb. Join it to the palm at the top and at the bottom.
Step 7: The cross
On the gravestone, draw one long straight line going down. Then add a shorter line across it, near the top, to make a cross.
Step 8: Stitches and dirt marks
On the palm, draw two short dashes for stitches, one a little lower than the other. Then draw two small curved lines, like tiny hills, on the dirt mound.
All done!
Go over your lines with a marker, then color it in.
Finished your zombie hand? Keep the pencils out and learn how to draw a ghost cat or how to draw vampire teeth next.
Tips for drawing a zombie hand
- Draw the four fingers as upside-down U shapes, and make the middle two a little taller. Leave a small gap between them so they do not crowd together.
- For the zigzag sleeve, make a row of small up and down points, like a mountain range. Keep each point about the same size.
- Lean the gravestone just a little. Draw it with a light pencil first, so you can fix the tilt before you go over it.
Free zombie hand coloring page
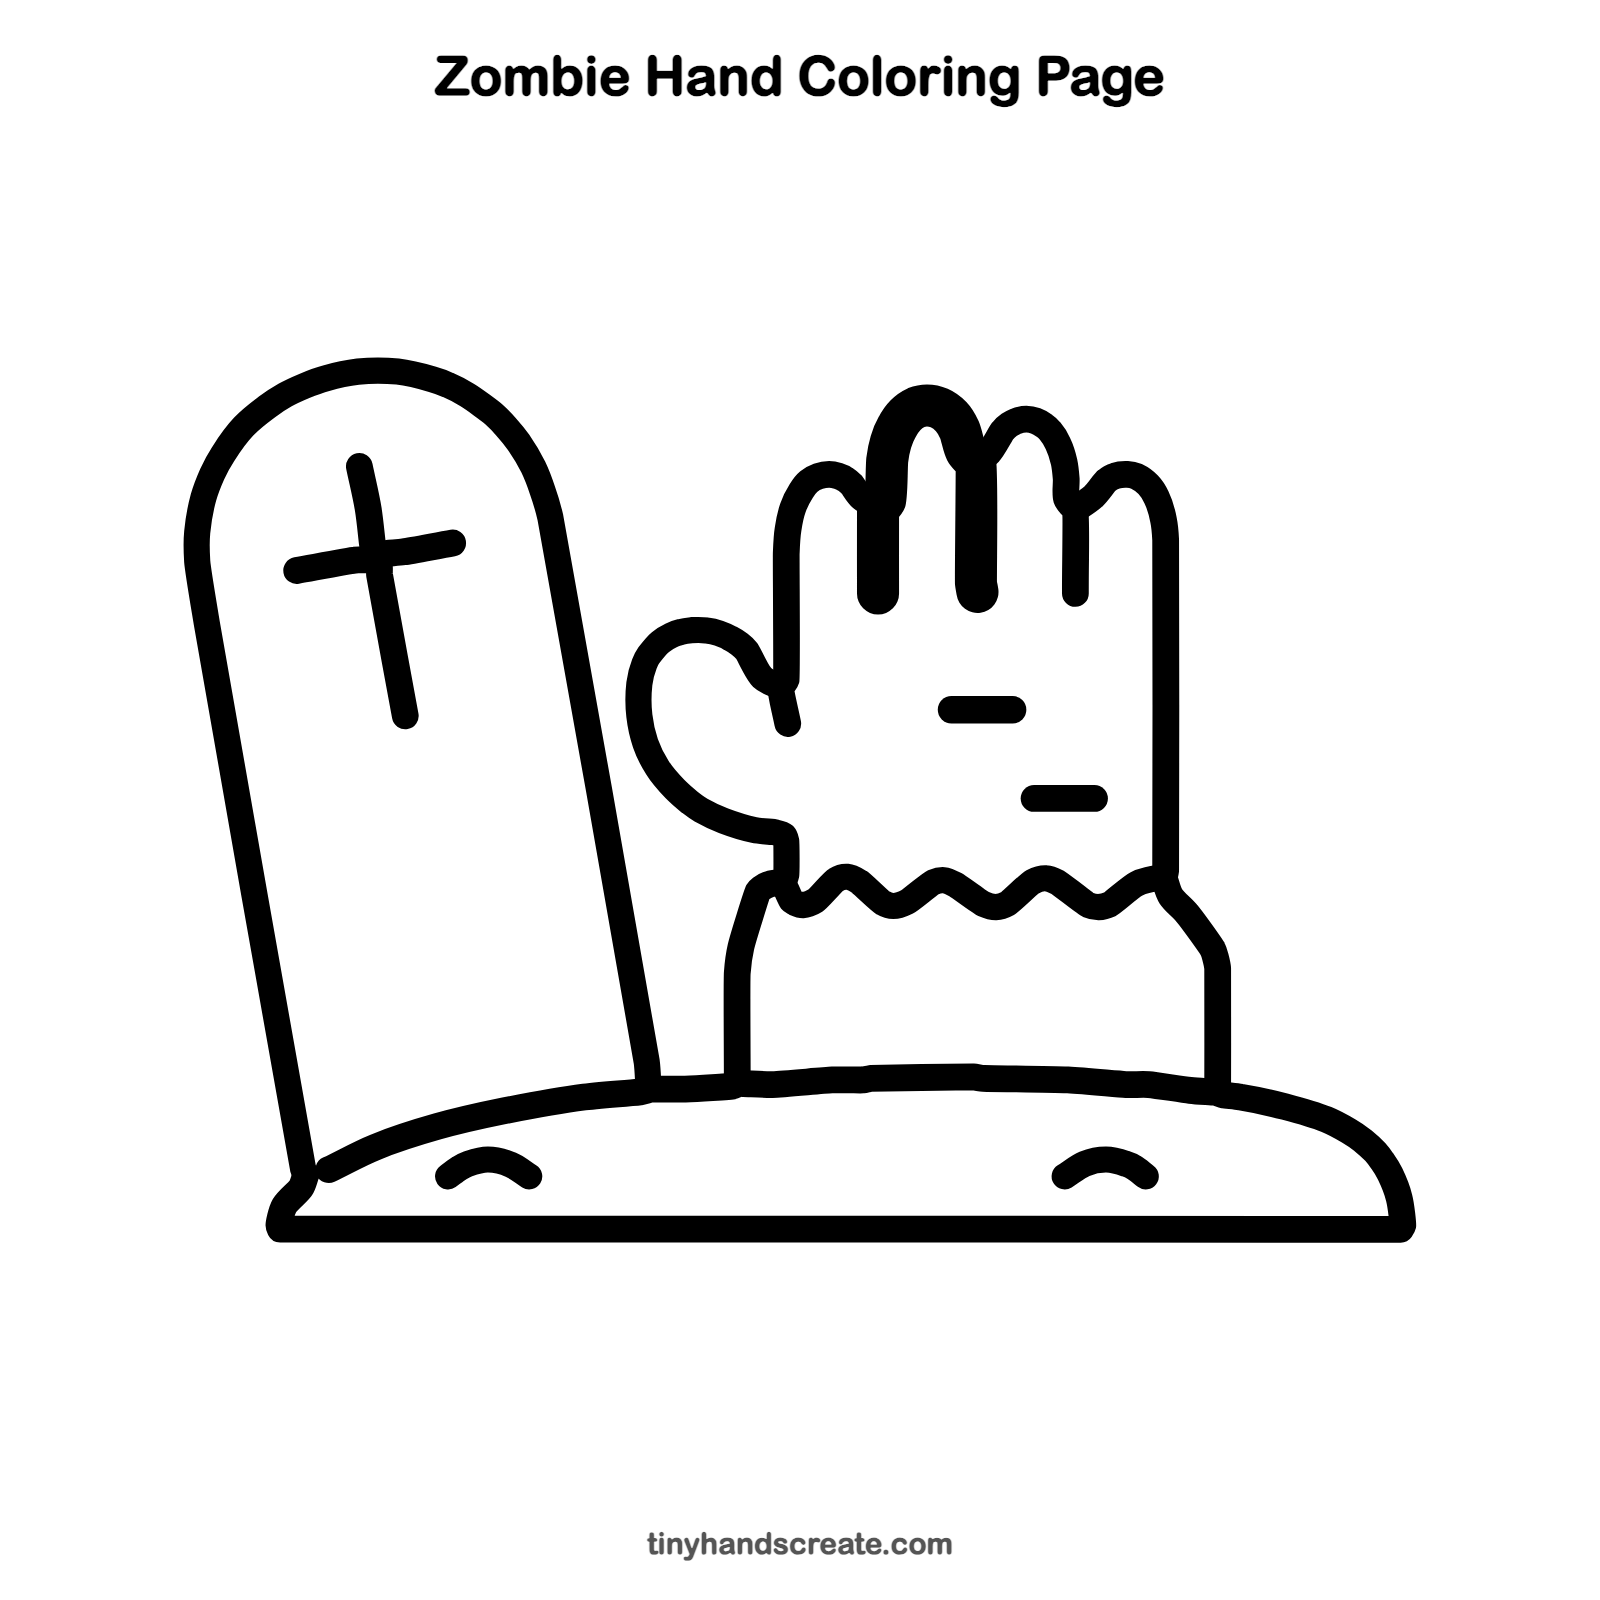
Want to go straight to coloring? Open this zombie hand coloring page at full size and print it. It is the same drawing you just learned, with clean lines ready for crayons or markers.
How to color your zombie hand drawing
Try green for the hand, gray for the gravestone, and brown for the dirt, with a dark purple night sky behind. For a twist, add a tiny flower growing next to the hand, or give the gravestone a funny name.
Zombie hand fun fact for kids
The word zombie comes from Haitian folklore, where a zombie was a person said to be brought back to walk without a will of their own.
Questions about drawing a zombie hand
What shapes do I need to draw a zombie hand?
You need a tall block for the palm, four long upside-down U shapes for the fingers, and a small rounded bump for the thumb. A zigzag line makes the sleeve.
How do I make the fingers look the same size?
Imagine a light line across the top of the palm. Make the two middle fingers reach a little higher than the two outside fingers, and keep every finger about the same width.
How do I make my zombie hand look sillier?
Add more stitches on the palm, a bandage on one finger, or a tiny worm crawling on the dirt mound. Silly details make it feel friendly instead of scary.