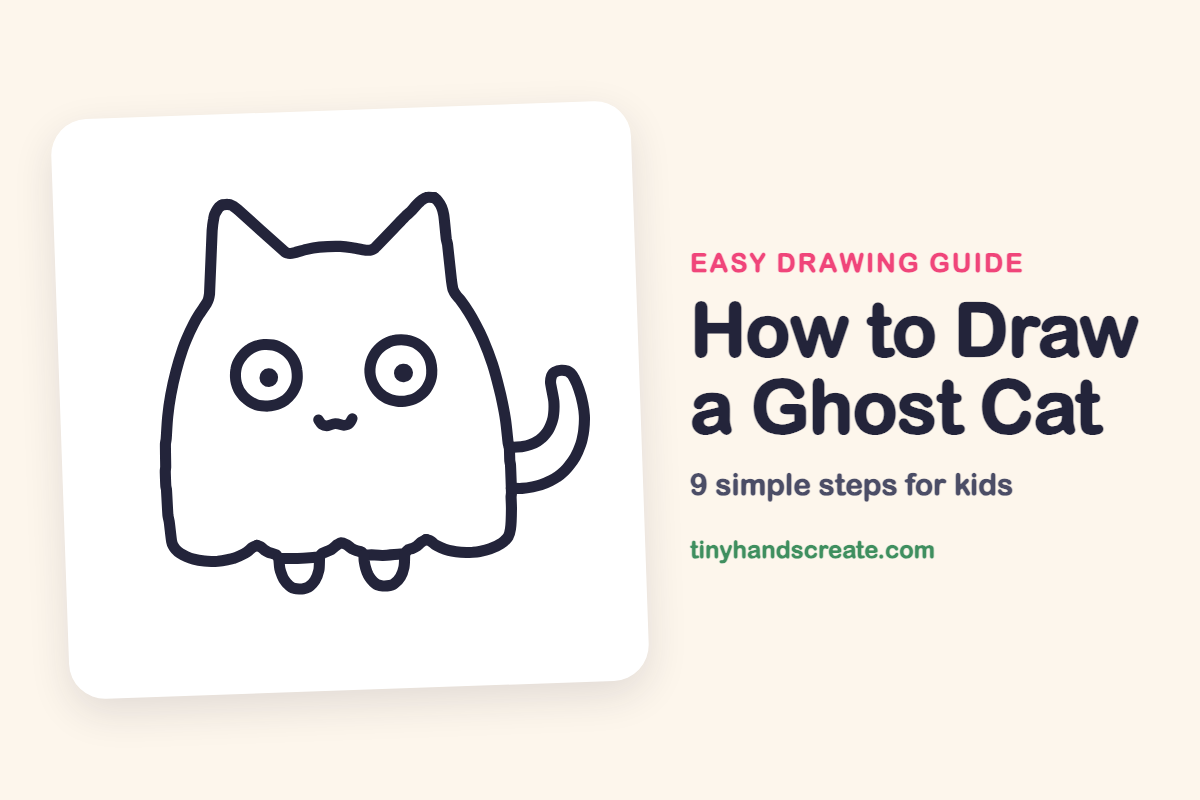
How to Draw a Ghost Cat (Easy Step by Step)
This ghost cat mixes a friendly ghost with a cuddly kitten. It is built from simple shapes: a bell-shaped body, pointed ears, round eyes and a curvy tail. Even beginners can draw it in a few easy steps.
- Easy
- 10 minutes
- 9 steps
You need: paper, a pencil, an eraser, and crayons or markers for coloring.
Start drawingIn this article (7 sections)
How to draw a ghost cat step by step
How to Draw a Ghost Cat · tinyhandscreate.com
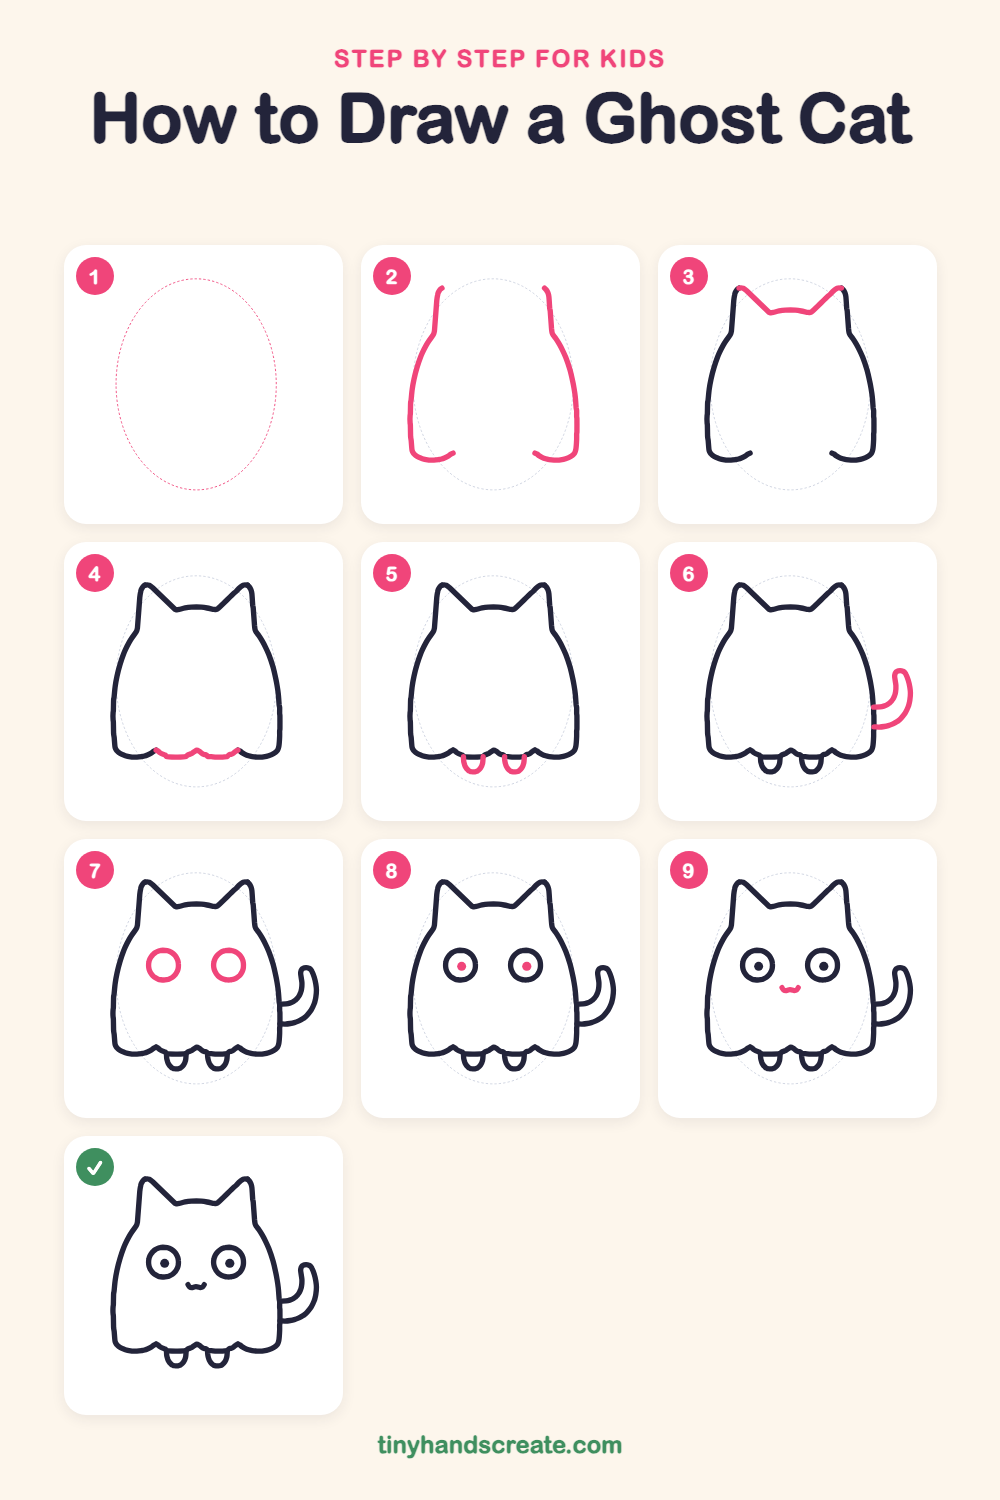
Step 1: Guide shapes
Lightly sketch this oval. It only shows where the big parts go, so press softly. You will erase it at the end.
Step 2: Left and right sides
Draw two tall sides that curve outward like a bell. Each side starts near the top, bulges out, then ends with a little curl turning inward at the bottom. Leave the top and the middle of the bottom open.
Step 3: Head top and ears
Draw one line across the top that joins the two sides. Make it go up to a pointed ear, dip down in the middle for the head, then go up to a second pointed ear.
Step 4: Wavy bottom
Between the two curls at the bottom, draw a short wavy line with a few soft bumps, like the edge of a bedsheet.
Step 5: Two little feet
Under the wavy edge, draw two small U shapes side by side, like tiny paws peeking out.
Step 6: The curvy tail
On the right side, draw a curved stripe that starts at the body, swoops out and up like a hook, and comes back down. Join the two curves at the tip and finish the stripe at the body.
Step 7: Big round eyes
Draw two circles side by side in the upper middle of the body. Make them the same size and leave a gap between them.
Step 8: Pupils
Draw a small dot in the middle of each eye circle. Keep both dots the same size.
Step 9: The tiny mouth
Between the eyes and a little below them, draw a very small wavy line, like a tiny w, for a happy cat mouth.
All done!
Erase the guide shapes, go over your lines, then color it in.
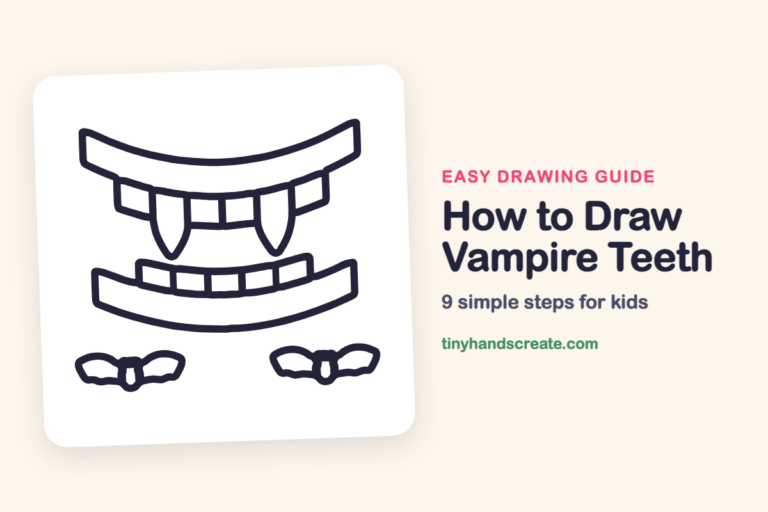
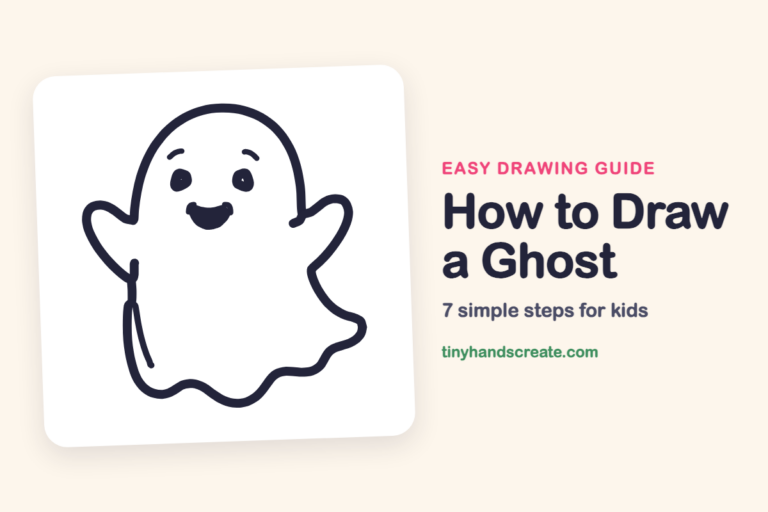
Finished your ghost cat? Keep the pencils out and learn how to draw vampire teeth or how to draw a ghost next.
Tips for drawing a ghost cat
- Start with the two sides and make them match, so the body looks even.
- Draw the ears as one line that goes up, dips down and goes up again, so both ears are the same height.
- The tail is the trickiest part. Draw one smooth curve out and up, then bring it back down and close the tip.
- Draw the left eye first, then match the right one at the same height.
Free ghost cat coloring page
Want to go straight to coloring? Open this ghost cat coloring page at full size and print it. It is the same drawing you just learned, with clean lines ready for crayons or markers.
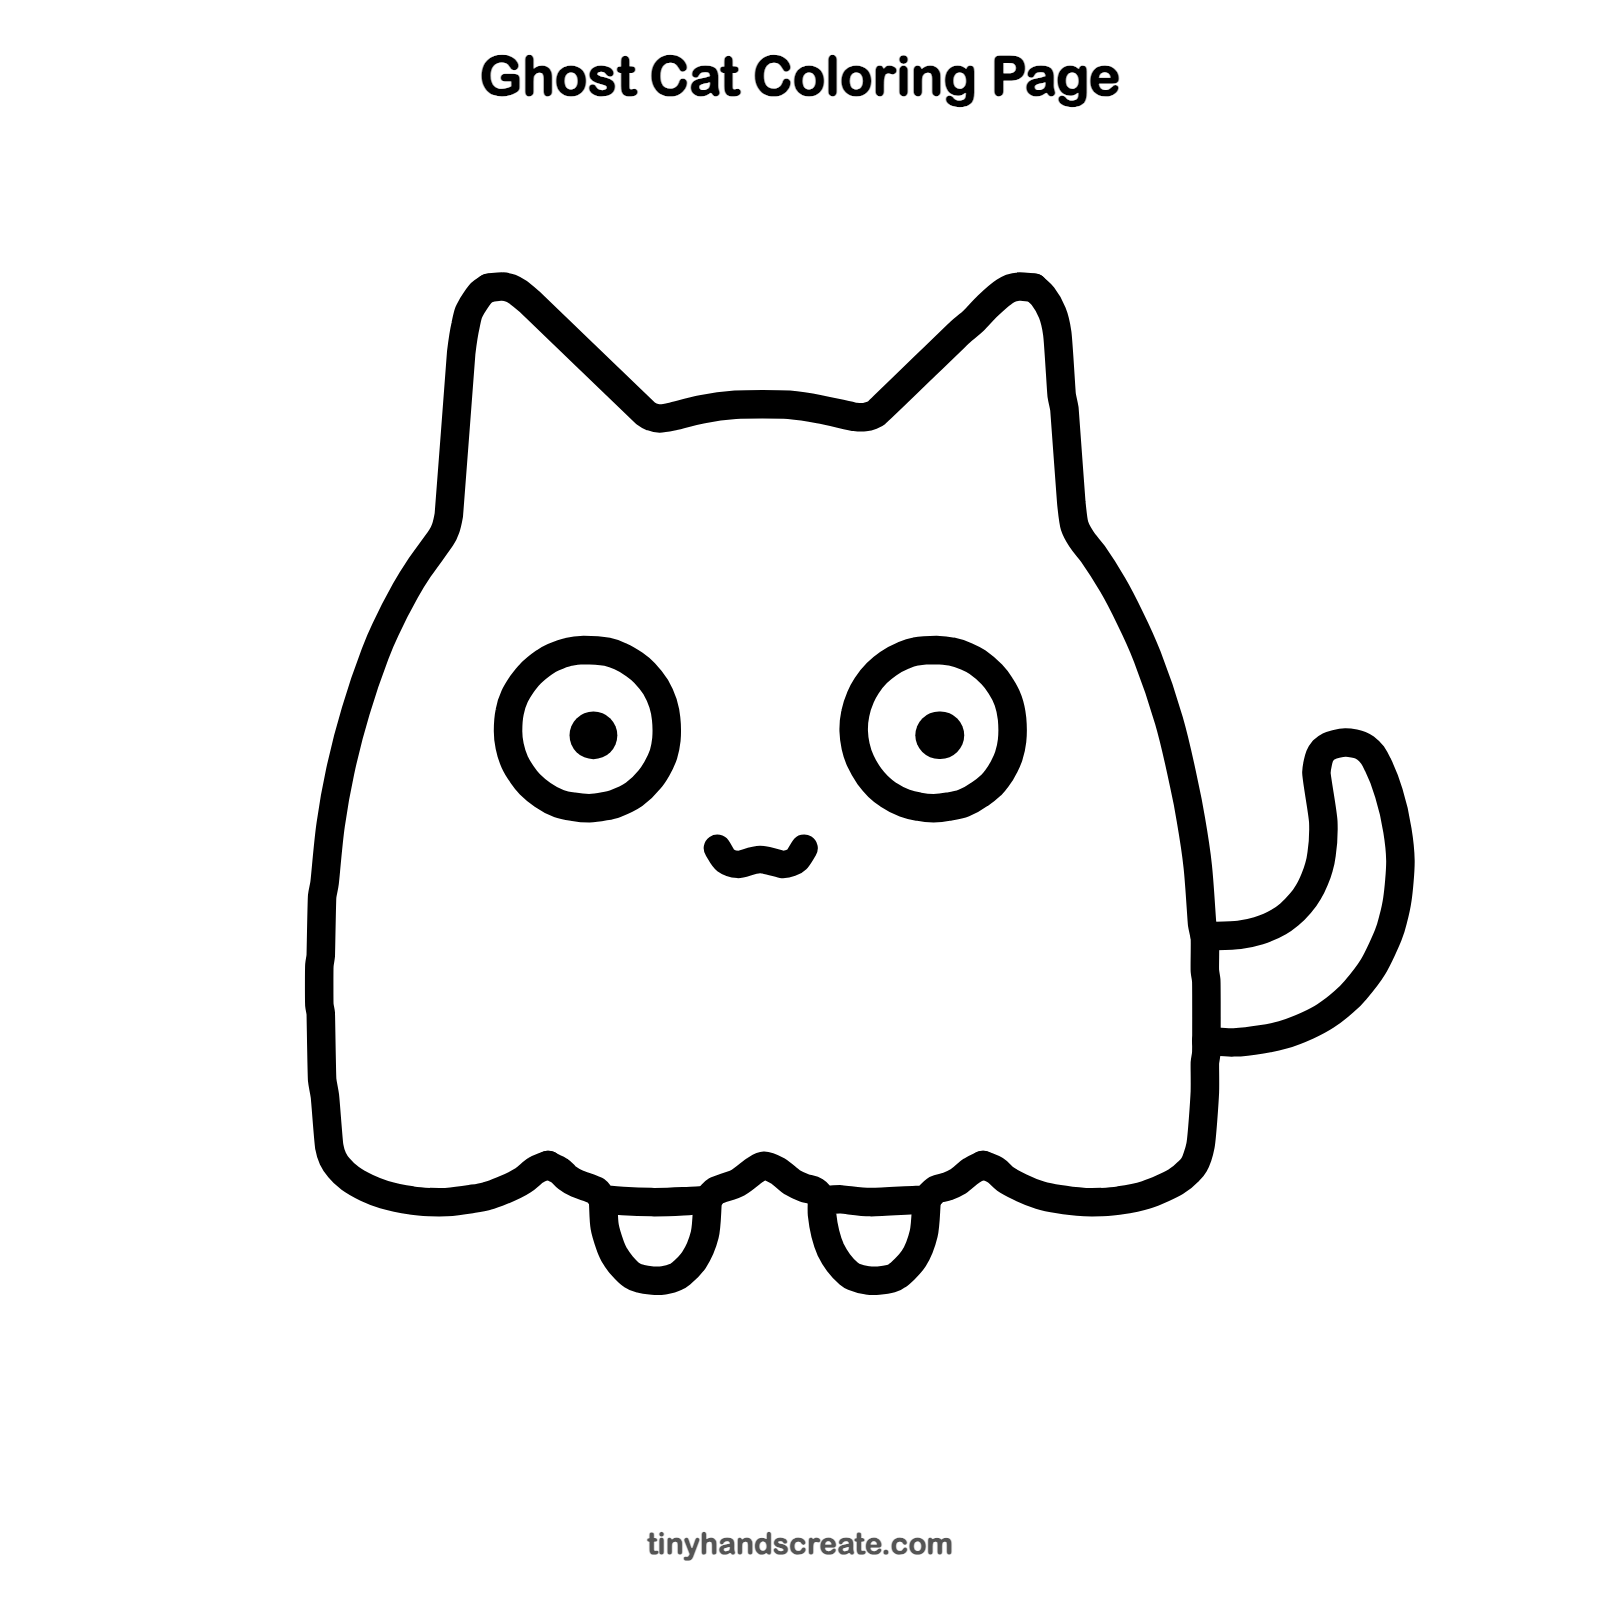
How to color your ghost cat drawing
Try pale blue or lilac for the ghost body, with bright yellow eyes. For a fun twist, color the body with a rainbow glow that fades from the edges to the middle.
Ghost cat fun fact for kids
The English word "ghost" comes from the Old English word "gast," which meant spirit or soul.
Questions about drawing a ghost cat
What shapes do I need to draw a ghost cat?
You need a bell shape for the body, pointed ears on top, two circles for eyes and a curved stripe for the tail. Two small U shapes make the feet.
How do I make my ghost cat look cuter?
Draw the eyes big and round with small dots, and keep the mouth tiny. A big gap between the eyes also looks sweet.
How do I make the wavy ghost bottom?
Draw a short wavy line with a few gentle bumps between the two curls at the bottom. Keep the bumps about the same size so the edge looks even.