How to Draw a Mug of Apple Cider (Easy Step by Step)
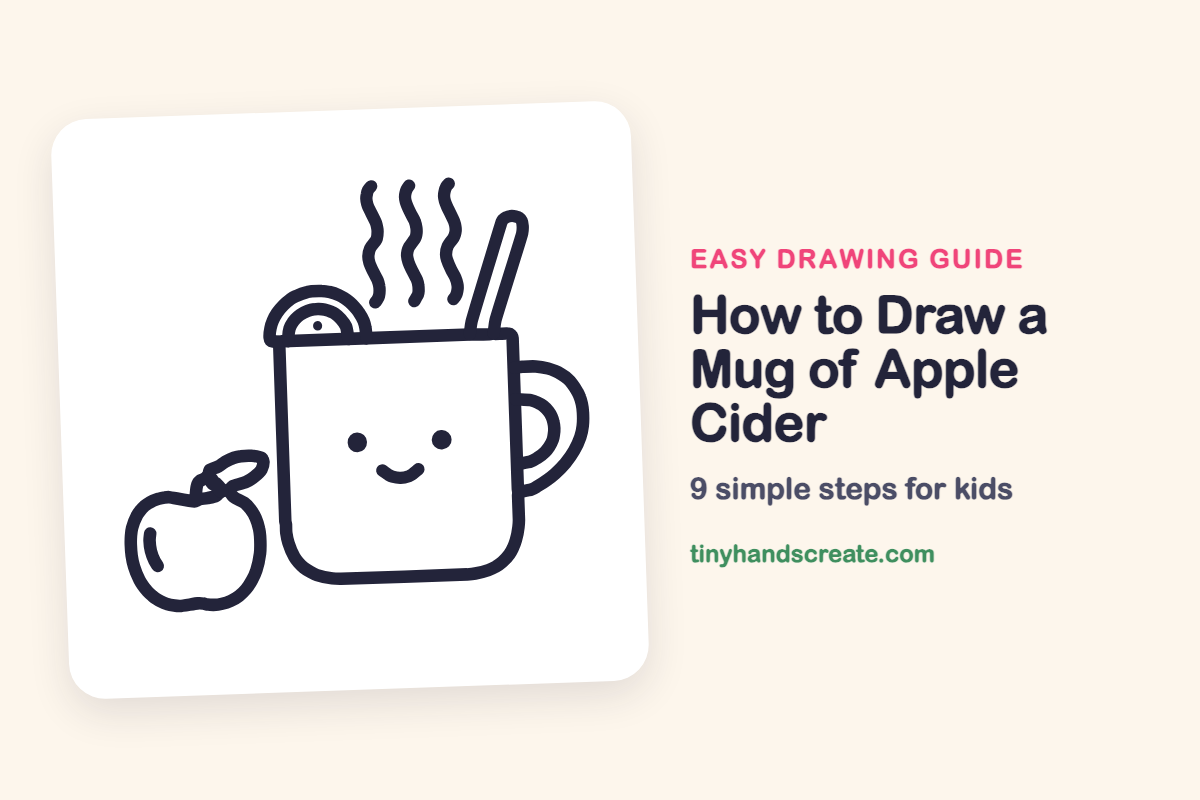
A mug of apple cider with a smiling face is a cozy fall drawing that is easy to love. It is built from a rounded square, a few half circles, and some wiggly lines. Add a little apple next to it and the whole picture feels like a chilly afternoon.
- Easy
- 15 minutes
- 9 steps
You need: paper, a pencil, an eraser, and crayons or markers for coloring.
Start drawingIn this article (7 sections)
How to draw a mug of apple cider step by step
How to Draw a Mug of Apple Cider · tinyhandscreate.com
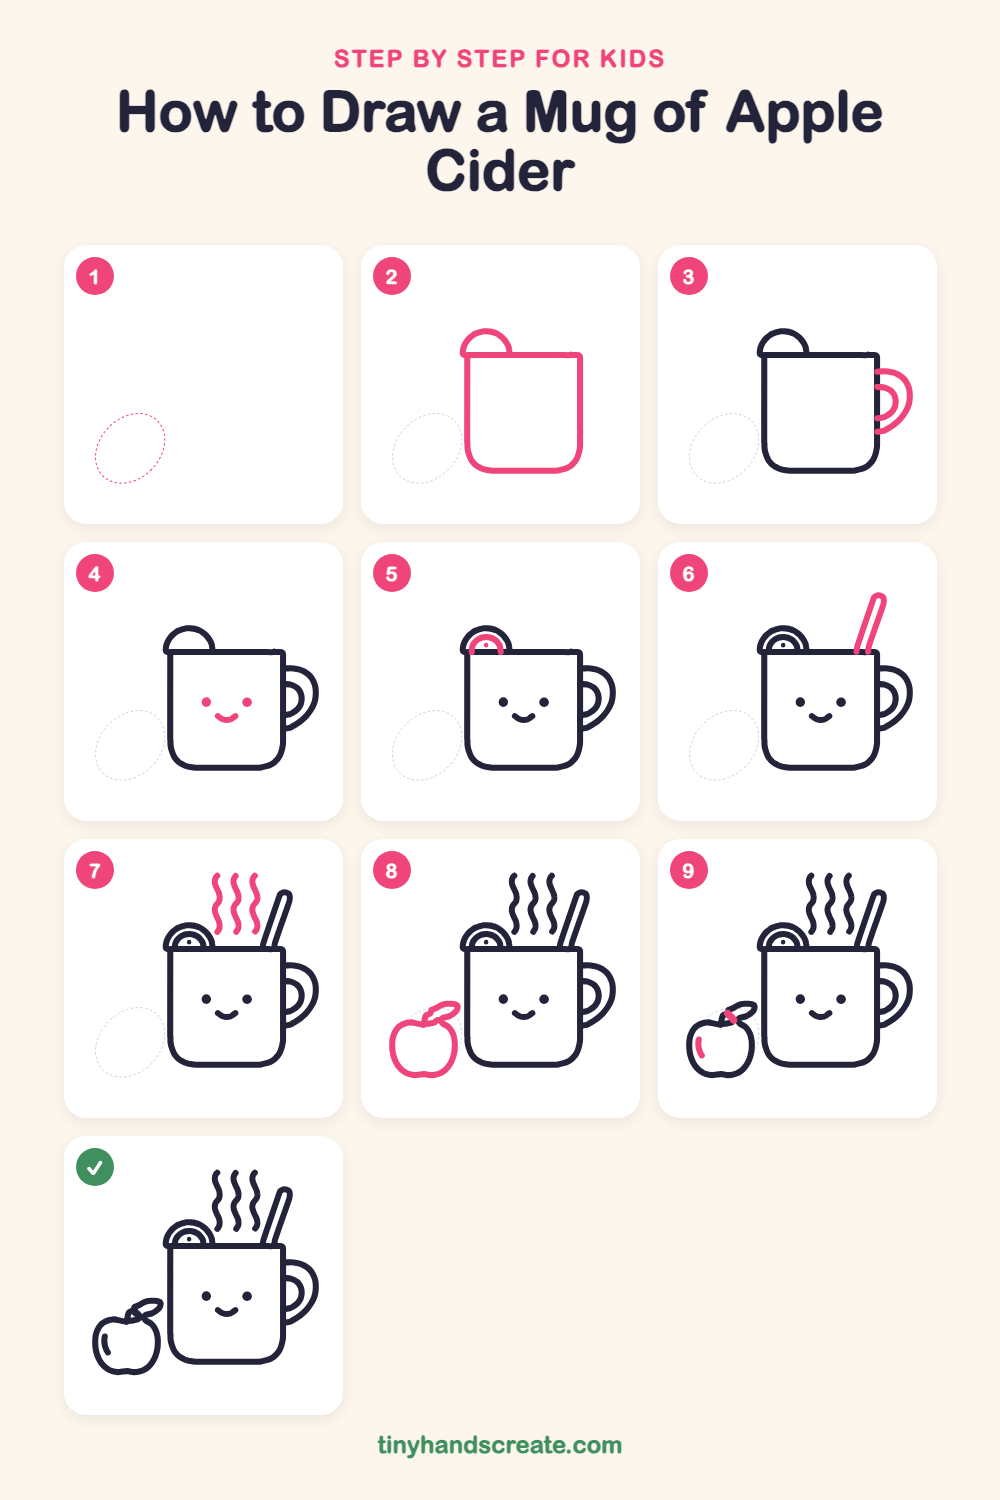
Step 1: Guide shapes
Lightly sketch this oval. It only shows where the big parts go, so press softly. You will erase it at the end.
Step 2: Mug and slice bump
Draw a big rounded square for the mug, with a flat top and soft, curvy corners at the bottom. On the left end of the top, draw a small half circle that sits on the edge like a little rainbow.
Step 3: The handle
On the right side of the mug, draw a big letter C lying on its back, starting and ending on the mug. Then draw a smaller C inside it.
Step 4: The happy face
Draw two small round dots for eyes in the middle of the mug. Between them, a bit lower, draw a little curved smile like a tiny bowl.
Step 5: Fruit slice inside
Inside the half circle on the left of the top, draw a smaller half circle. Add one tiny dot in the middle to finish the fruit slice.
Step 6: The cinnamon stick
On the right side of the top, draw a long, thin, slanted stick that pokes up out of the mug. Draw two lines side by side and round off the top so the stick looks fat.
Step 7: The steam
Above the mug, between the fruit slice and the stick, draw three wiggly, wavy lines that float upward like squiggly snakes. Make them about the same height.
Step 8: The apple
Next to the mug on the left, draw a round, slightly squished circle for the apple. Make a small dip at the top and a little notch at the bottom. Add a pointy leaf at the top.
Step 9: Stem and shine
Draw a short stem in the dip at the top of the apple, next to the leaf. Add a short curved line on the left side of the apple to make it look shiny.
All done!
Erase the guide shapes, go over your lines, then color it in.
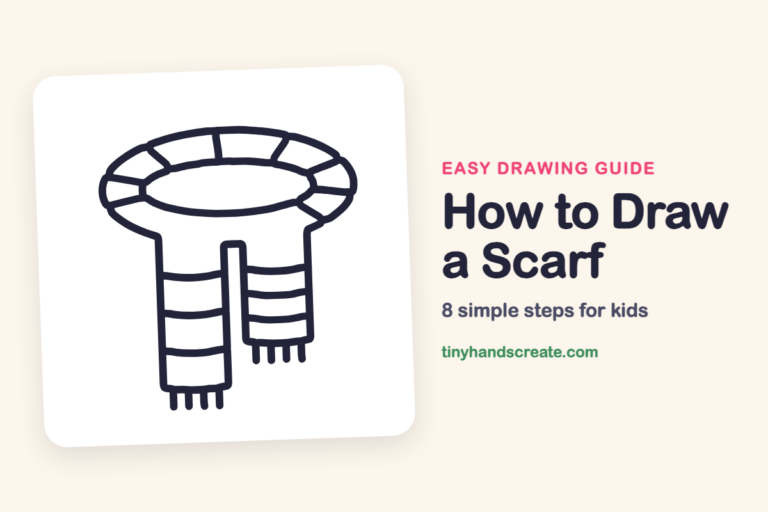
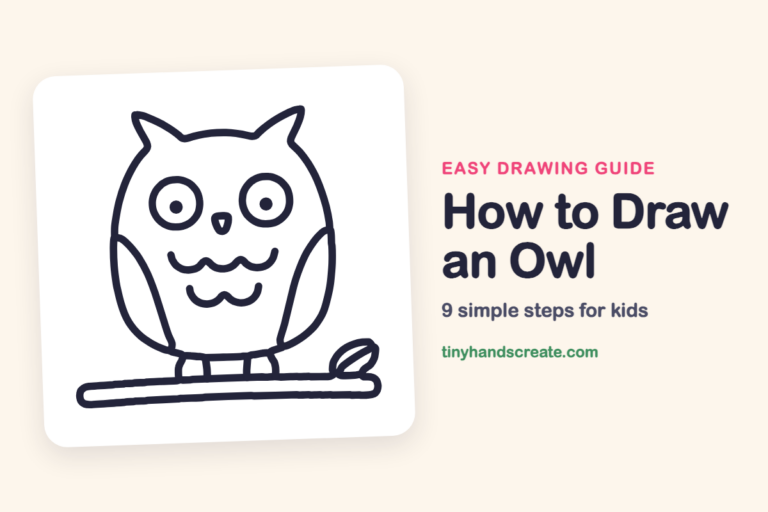
Finished your mug of apple cider? Keep the pencils out and learn how to draw a scarf or how to draw an owl next.
Tips for drawing a mug of apple cider
- Draw the mug first and leave space on the right for the handle. If the handle is too small, the mug looks lopsided.
- For the steam, make a gentle S shape and then repeat it. Try to keep all three wiggles about the same size.
- Start the cinnamon stick at the top edge of the mug and draw it slanting up and out. Keep the two lines side by side so the stick stays the same width.
Free mug of apple cider coloring page
Want to go straight to coloring? Open this mug of apple cider coloring page at full size and print it. It is the same drawing you just learned, with clean lines ready for crayons or markers.
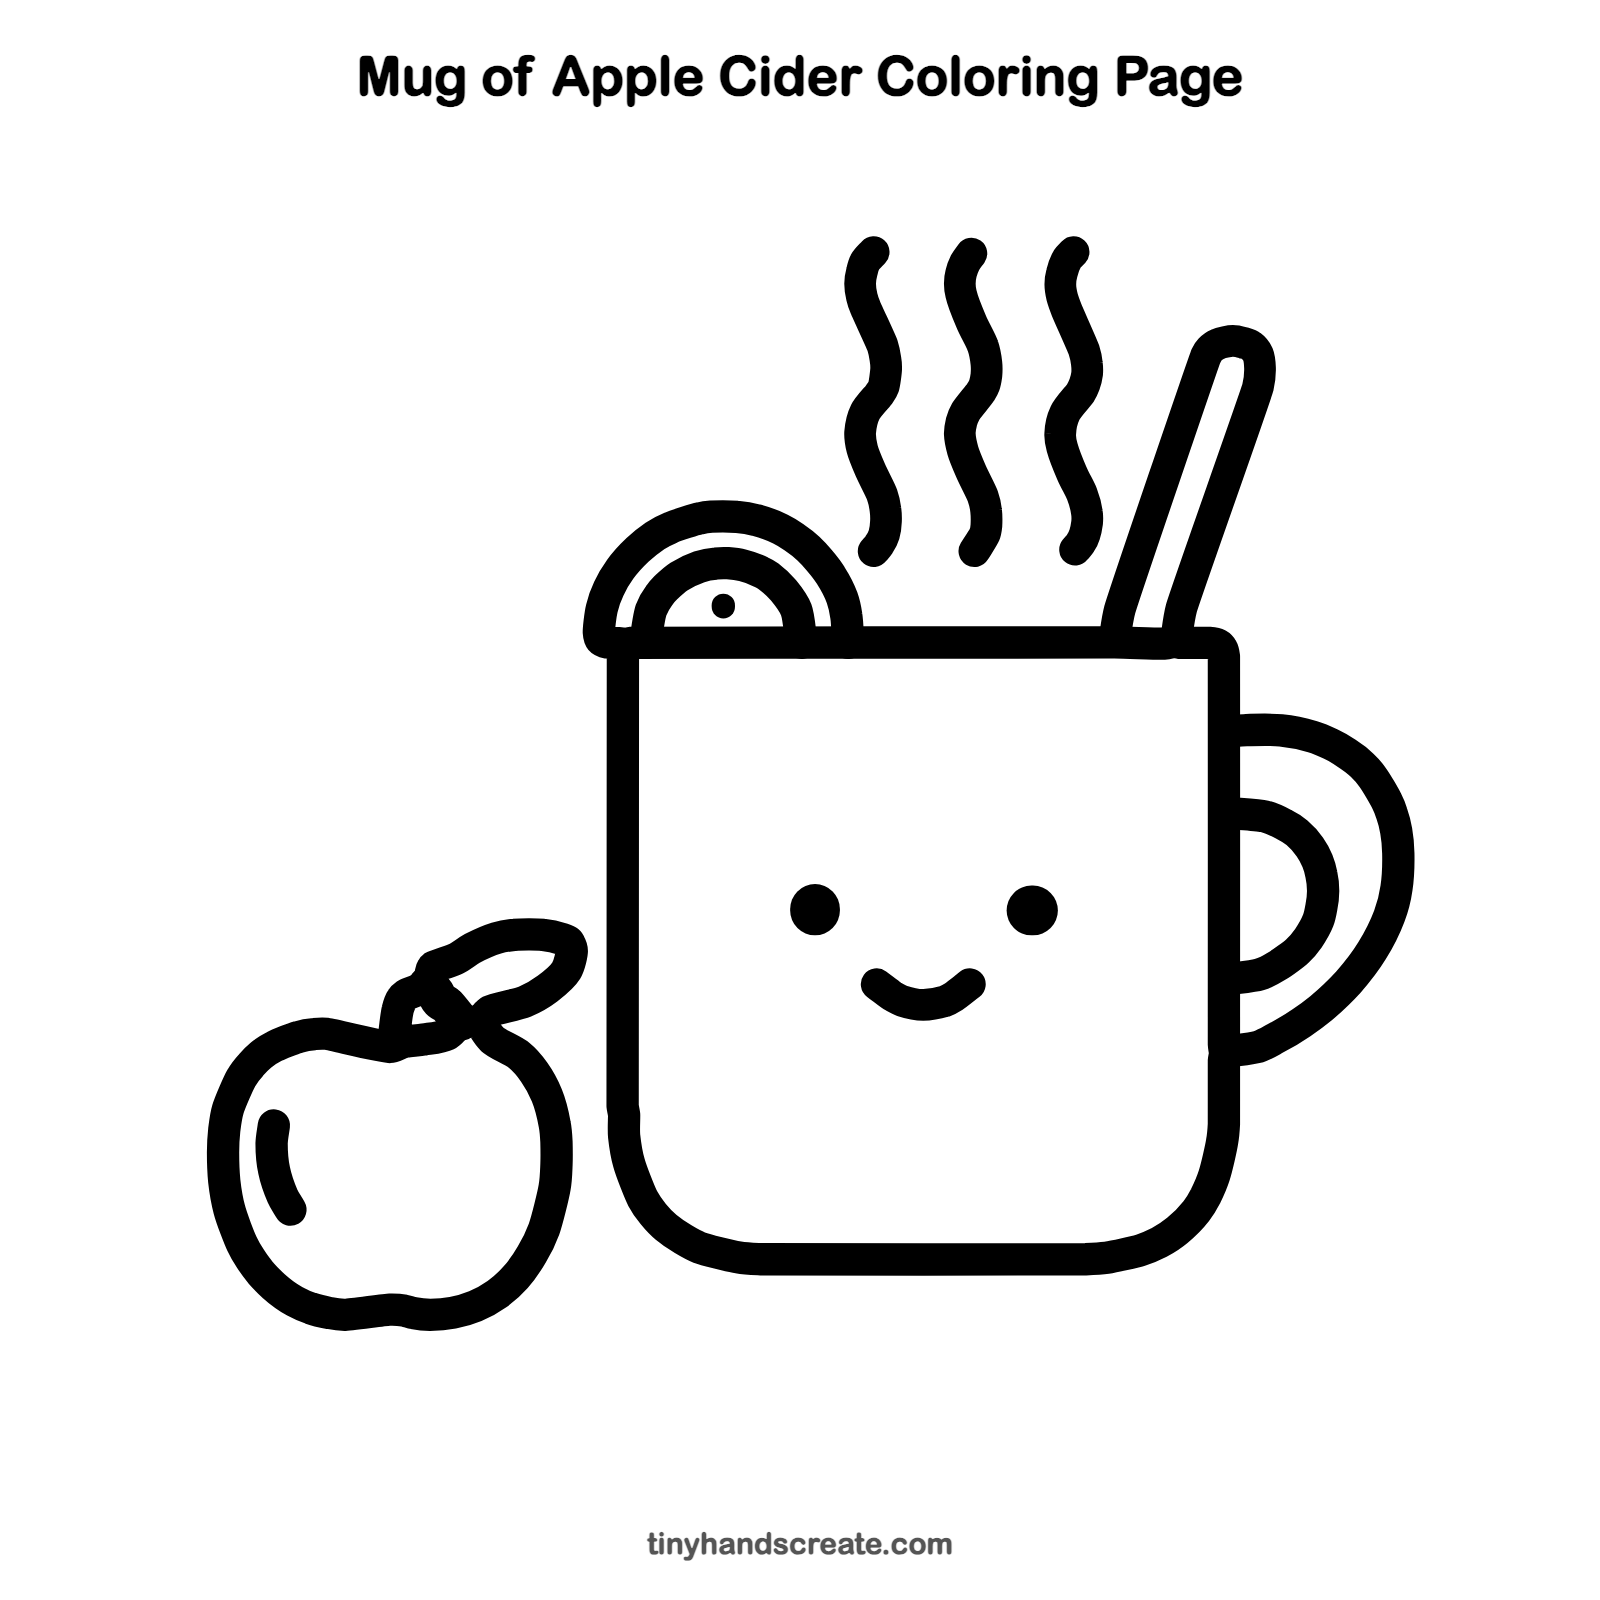
How to color your mug of apple cider drawing
Try warm amber or golden orange for the cider, red or green for the apple, and brown for the cinnamon stick. For a creative twist, color the steam in soft rainbow stripes so it looks like the cider is magical.
Mug of apple cider fun fact for kids
Apples float in water because about one quarter of an apple is air. That is why apple bobbing is a fall party game.
Questions about drawing a mug of apple cider
What shapes do I need to draw a cider mug?
You need a rounded square for the mug, a pair of C shapes for the handle, and two half circles for the fruit slice. The steam is just wavy lines and the apple is a squished circle.
How do I make my cider mug look cuter?
Put the eyes wide apart and the smile a little low so the face looks sweet and sleepy. Keep the smile small and curved like a tiny bowl.
How do I draw steam that looks wiggly?
Start at the bottom and draw a slow S shape going up, without lifting your pencil. Then draw two more beside it, keeping a little space between each one.