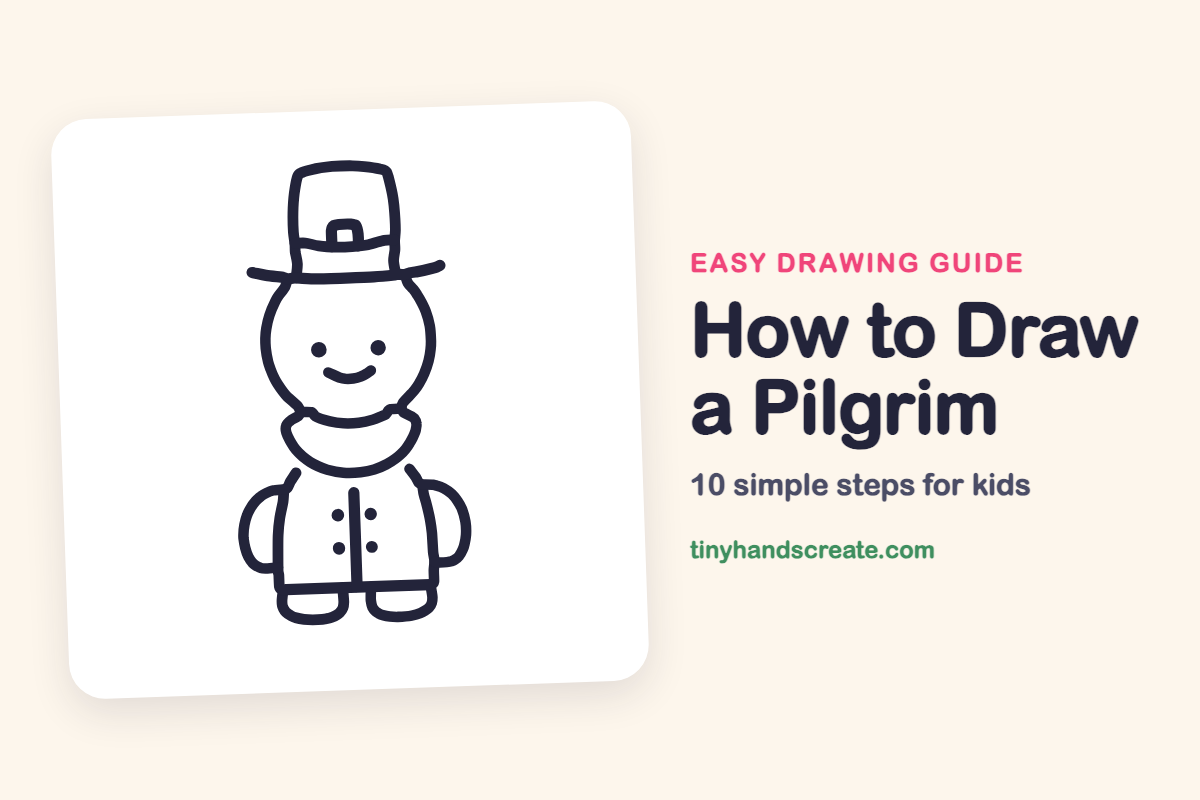
How to Draw a Pilgrim (Easy Step by Step)
A pilgrim is a fun character to draw because it is built from simple shapes you already know. You will use two curves for the head, a tall box for the hat, a bowl shape for the collar, and a few curves for the arms and shoes. It is a great drawing to make for Thanksgiving.
- Easy
- 15 minutes
- 10 steps
You need: paper, a pencil, an eraser, and crayons or markers for coloring.
Start drawingIn this article (7 sections)
How to draw a pilgrim step by step
How to Draw a Pilgrim · tinyhandscreate.com
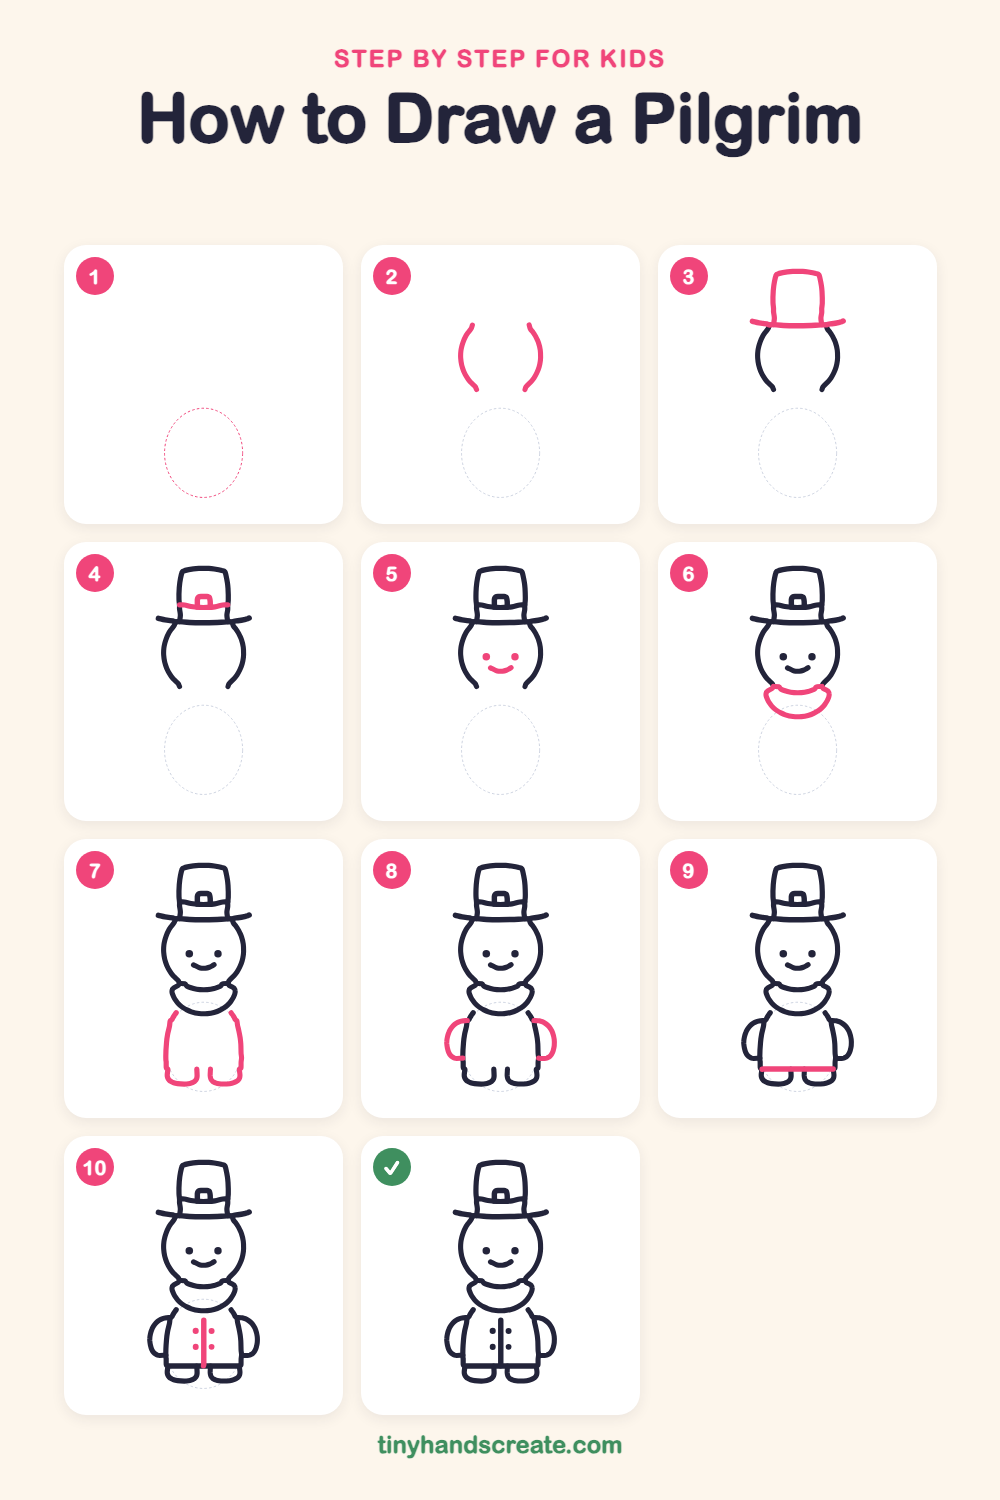
Step 1: Guide shapes
Lightly sketch this oval. It only shows where the big parts go, so press softly. You will erase it at the end.
Step 2: Sides of the head
Draw two curved lines that bulge outward, one on the left and one on the right, like a pair of round brackets. Leave the top and the bottom open, because the hat and the collar will fill those gaps.
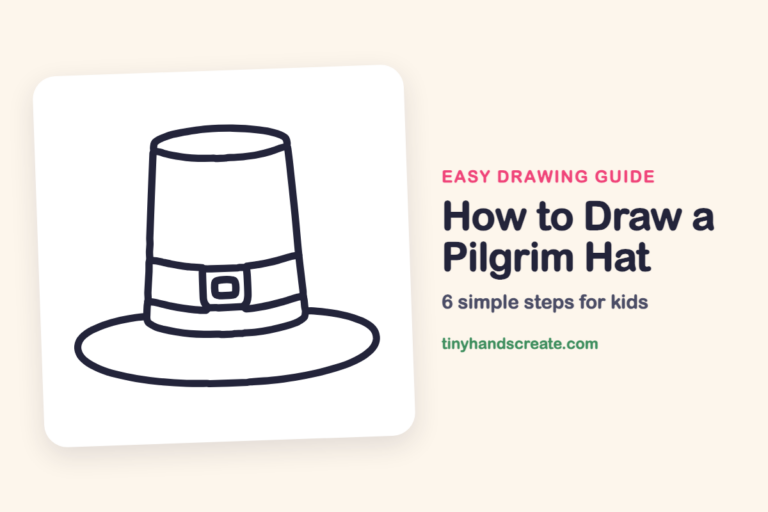
Step 3: The tall hat
Draw a tall box with a flat top and slightly slanted sides above the two curves. Then draw a wide, gently curved line across the bottom of the box for the brim, sticking out on both sides.
Step 4: Hat band and buckle
Draw a wavy band across the lower part of the hat. Then add a small square buckle with a square hole in the middle, sitting on the band.
Step 5: Eyes and smile
Add two round dots for eyes, side by side in the middle of the face. Draw a small curved smile below them.
Step 6: The big collar
Under the head, draw a wide bowl shape that starts at one side of the chin and curves down and back up to the other side. This is the big collar.
Step 7: Coat and shoes
Draw the two sides of the coat going down from the collar, curving out a little. At the bottom of each side, draw a small rounded shoe with a gap between the two shoes.
Step 8: Arms
On each side of the coat, draw a curved shape like the letter C. Start and end at the coat so the arms are little loops.
Step 9: Coat bottom line
Draw a straight line across the bottom of the coat, from one side to the other, just above the shoes.
Step 10: Buttons
Draw a straight line down the middle of the coat. Add two dots on each side of the line for buttons.
All done!
Erase the guide shapes, go over your lines, then color it in.
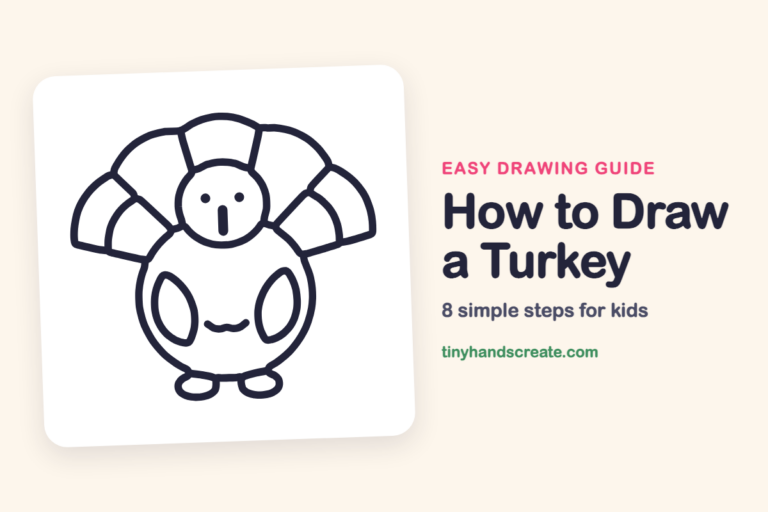
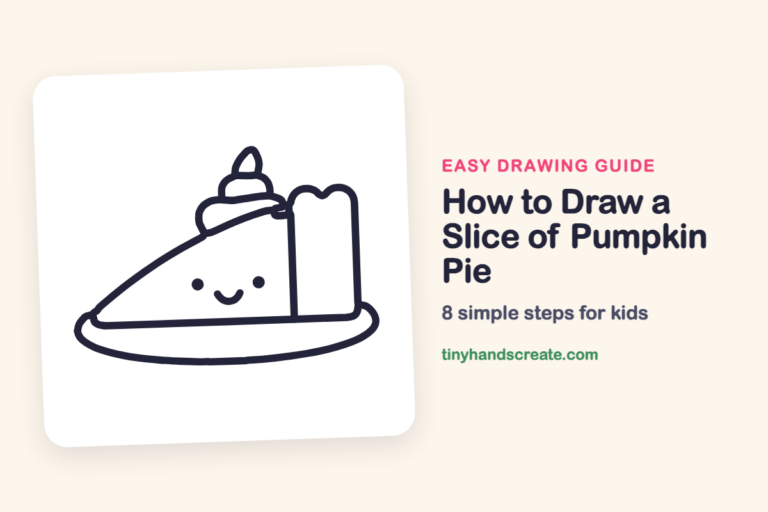
Finished your pilgrim? Keep the pencils out and learn how to draw a turkey or how to draw a slice of pumpkin pie next.
Tips for drawing a pilgrim
- Draw the hat after the two head curves, and let the brim sit right across the top of them. This makes the hat look like it is sitting on the head.
- The collar is the trickiest part. Start it at the chin on one side, sweep down in a wide U, and come back up on the other side.
- Draw the arms as curved C shapes that touch the coat. Make both arms about the same size so the pilgrim looks balanced.
Free pilgrim coloring page
Want to go straight to coloring? Open this pilgrim coloring page at full size and print it. It is the same drawing you just learned, with clean lines ready for crayons or markers.
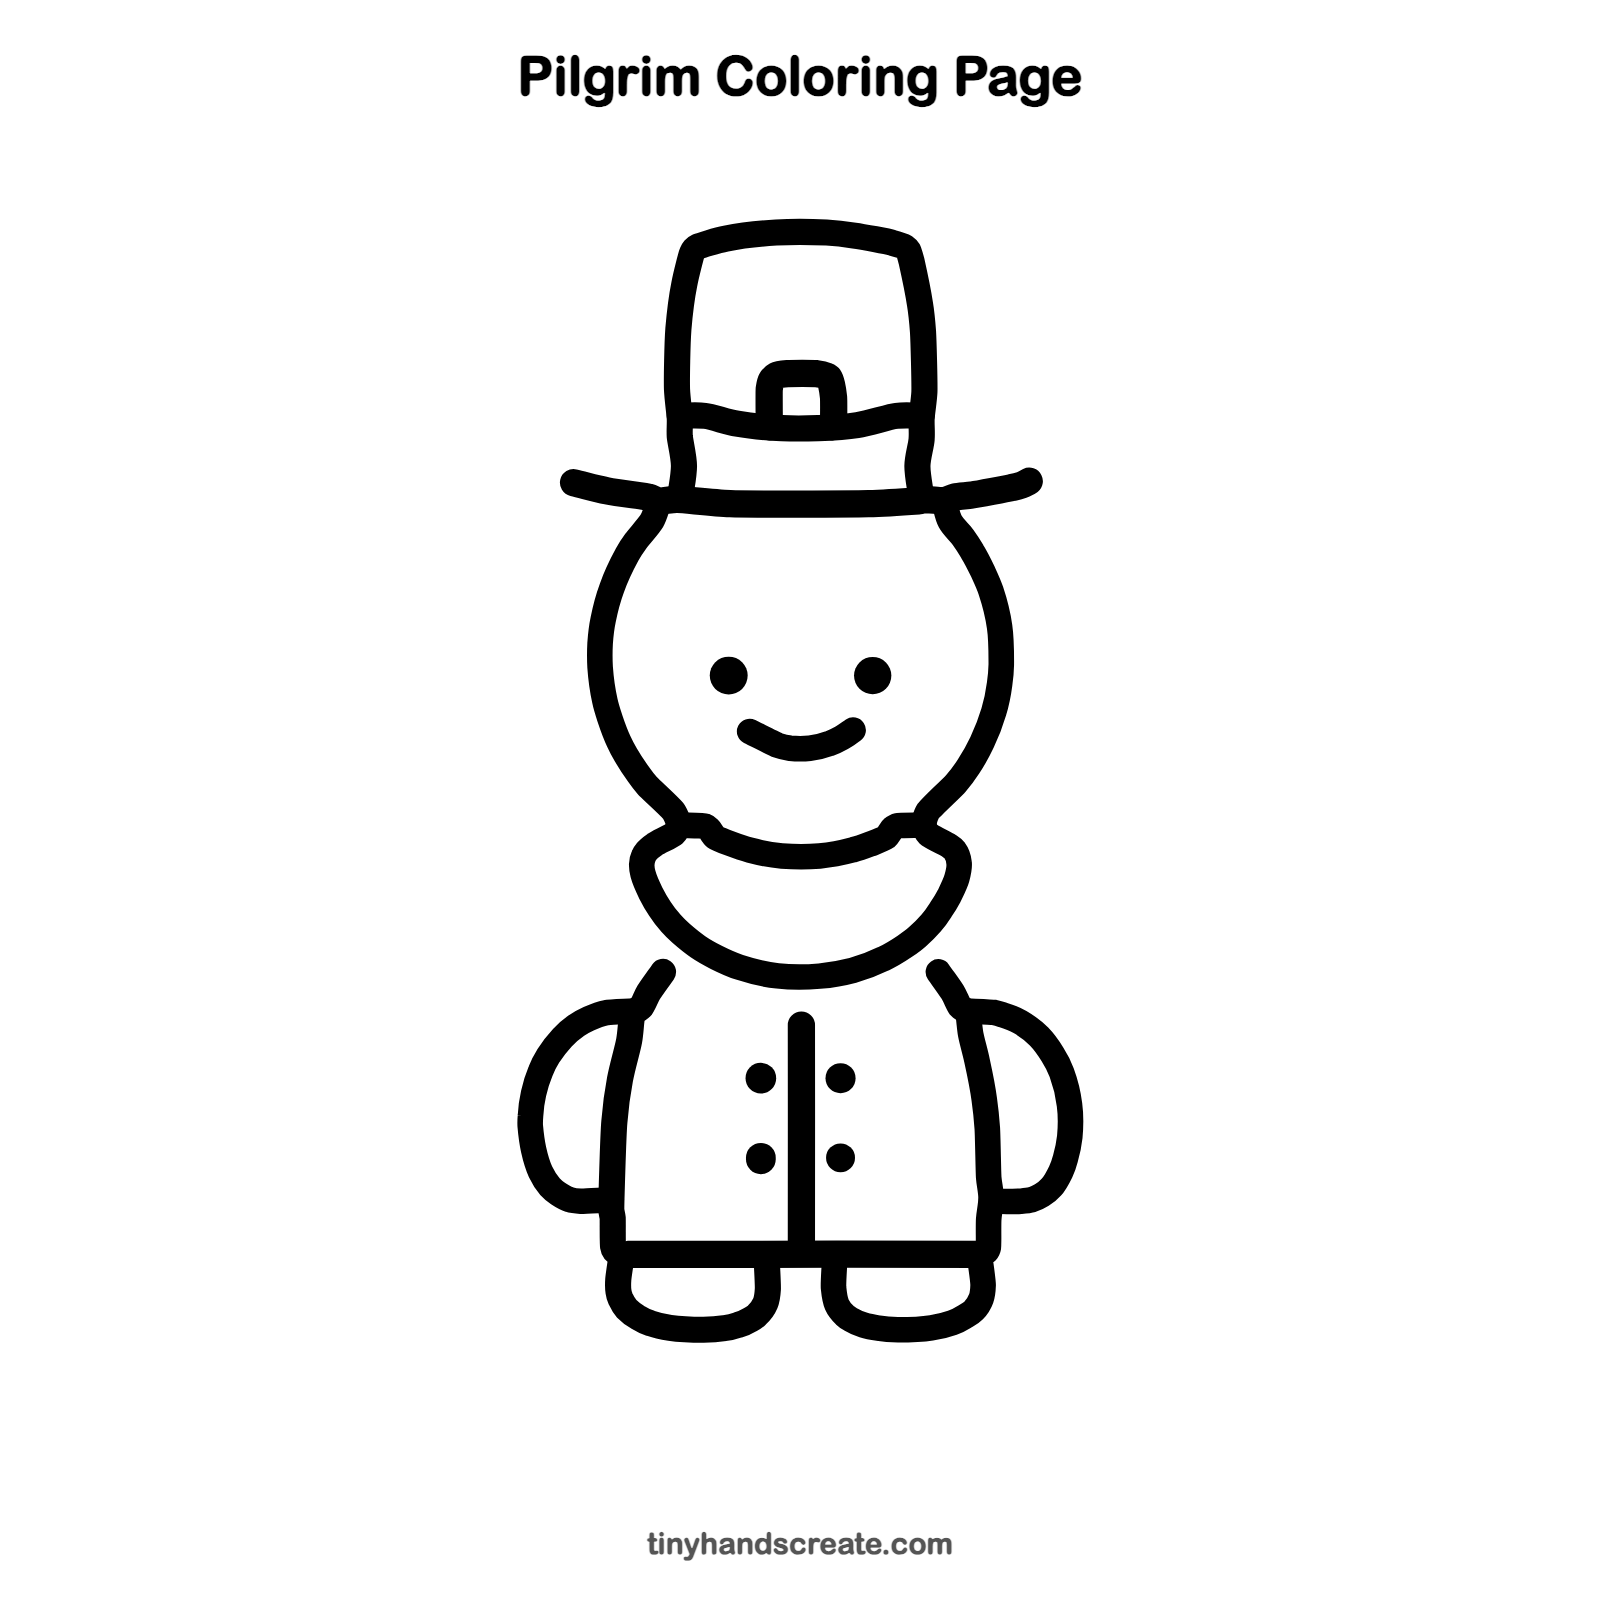
How to color your pilgrim drawing
Try black for the hat and coat, white for the collar, and tan for the face. For a creative twist, give the buckle a shiny gold color.
Pilgrim fun fact for kids
The Pilgrims sailed to North America in 1620 on a ship called the Mayflower. The trip took about two months, and about 100 passengers were on board.
Questions about drawing a pilgrim
What shapes do I need to draw a pilgrim?
You need two curves for the head, a tall box for the hat, a wide bowl shape for the collar, and curved lines for the arms and shoes. Dots make the eyes and buttons.
How do I make my pilgrim look cuter?
Make the head big and the body small. Keep the eyes round and draw a small, happy smile.
How do I draw the pilgrim hat?
Draw a tall box with a flat top and slightly slanted sides. Add a wide curved line at the base for the brim. Finish with a band and a square buckle.