How to Draw a Mushroom (Easy Step by Step)
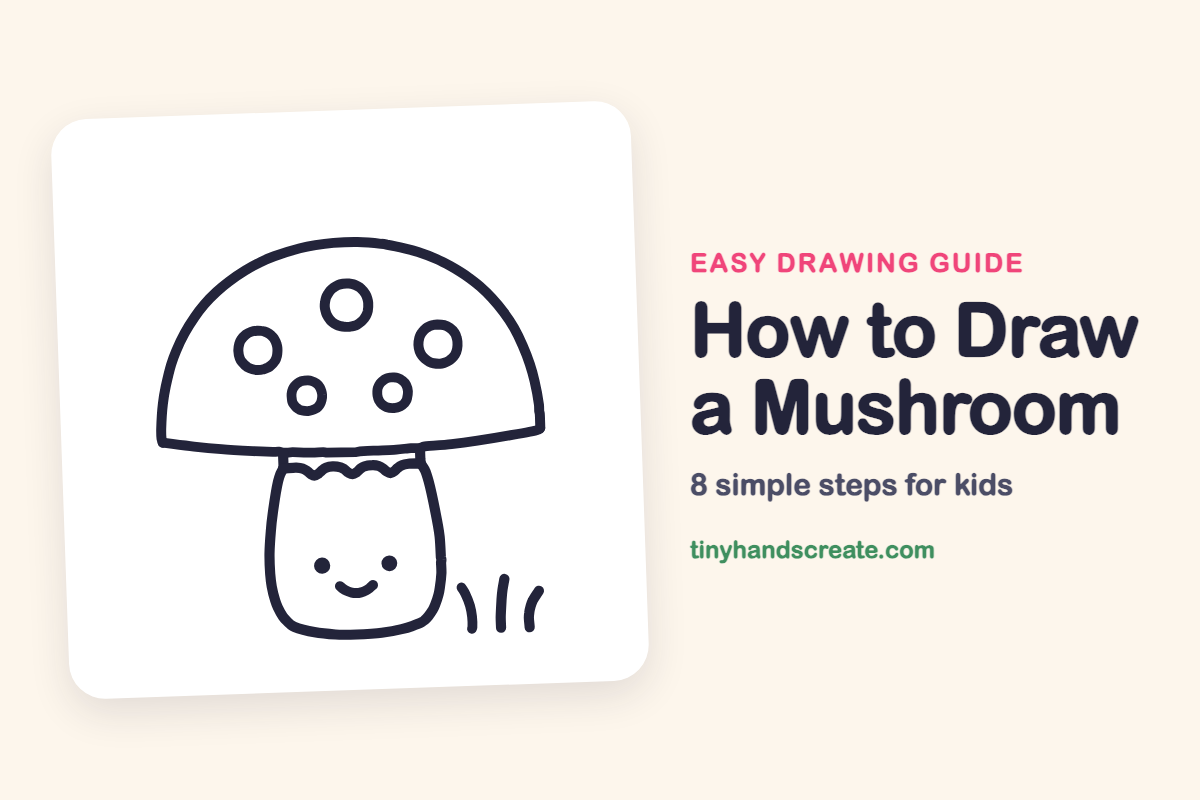
This cheerful mushroom is built from just a few easy shapes: a half circle for the cap, a rounded bell for the stem, and five circles for the spots. It even has a smiling face, so every mushroom you draw gets its own personality. It is a great first drawing for little hands.
- Easy
- 10 minutes
- 8 steps
You need: paper, a pencil, an eraser, and crayons or markers for coloring.
Start drawingIn this article (7 sections)
How to draw a mushroom step by step
How to Draw a Mushroom · tinyhandscreate.com
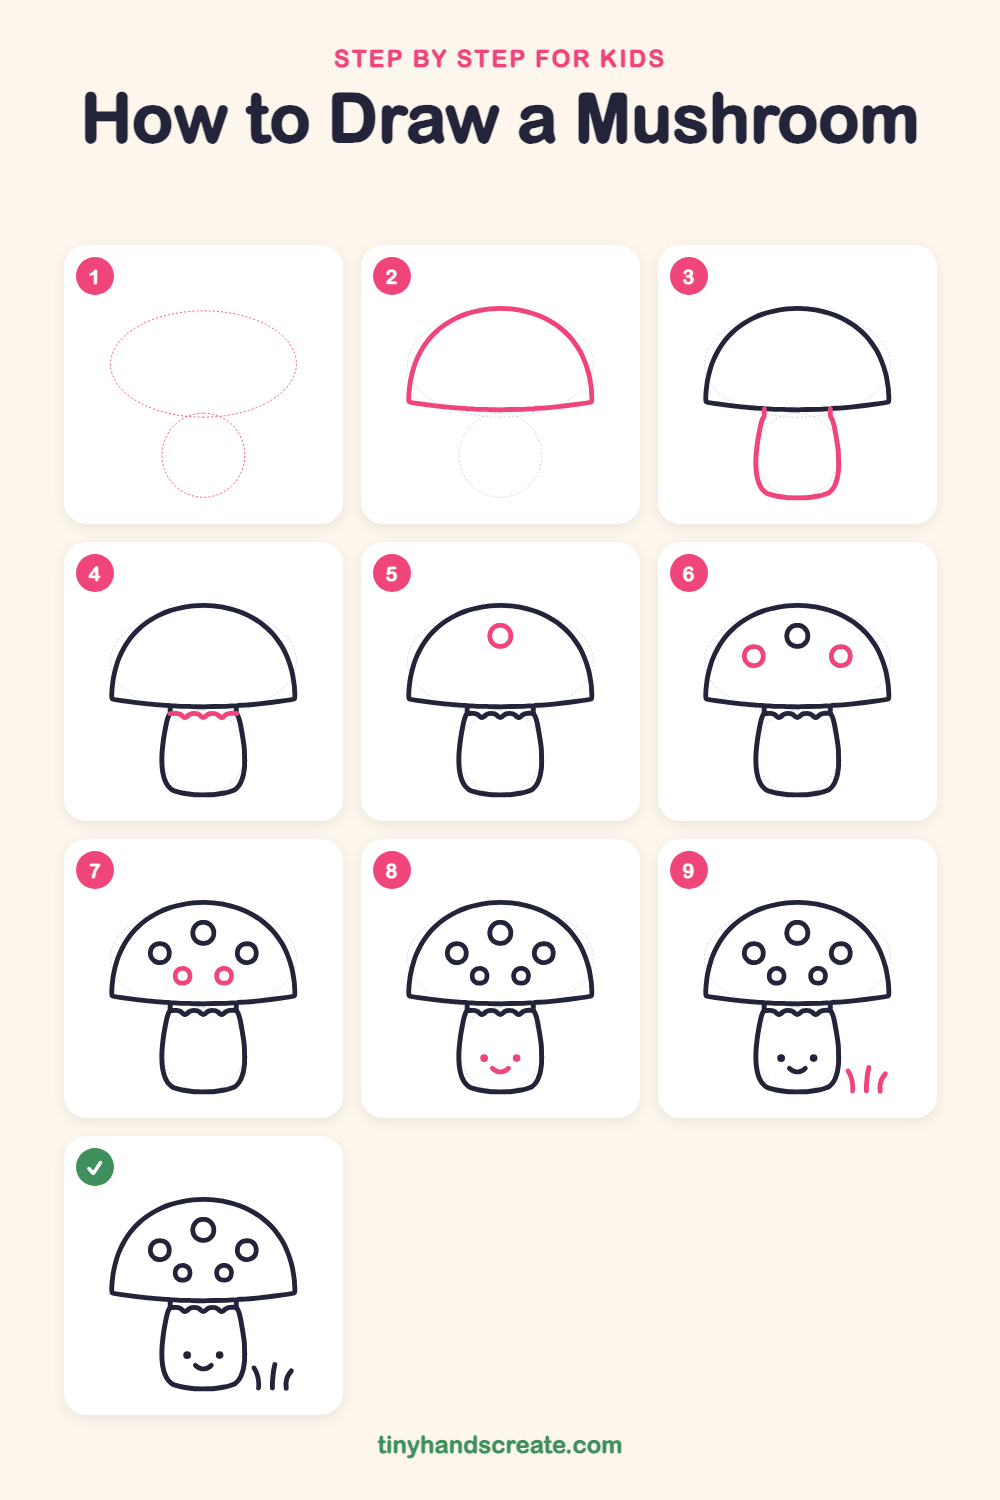
Step 1: Guide shapes
Lightly sketch these 2 ovals. They only show where the big parts go, so press softly. You will erase them at the end.
Step 2: The round cap
Sketch a wide half circle like a dome, then close the bottom with a gently curved line that sags a little in the middle. This is the hat of your mushroom.
Step 3: The chubby stem
Under the middle of the cap, draw two lines that go down and bulge outward, then join them at the bottom with a soft curve. Think of a rounded bell or a squished egg standing up.
Step 4: The wavy collar
Near the top of the stem, just under the cap, draw a row of little bumps like a scalloped ribbon. Each bump is a tiny rainbow that touches the next one.
Step 5: Three big spots
On the cap, draw one circle near the top middle. Add one circle on the left and one on the right, a little lower down.
Step 6: Two small spots
Between the big spots and lower down, draw two smaller circles side by side. Leave a little space so they do not touch the others.
Step 7: A happy face
On the stem, draw two dots for eyes. Then add a small smile, like a tiny bowl, centered below them.
Step 8: Grass blades
Next to the stem, draw three short curved lines that stand up like blades of grass. Make them different heights and let them lean in different ways.
All done!
Erase the guide shapes, go over your lines, then color it in.
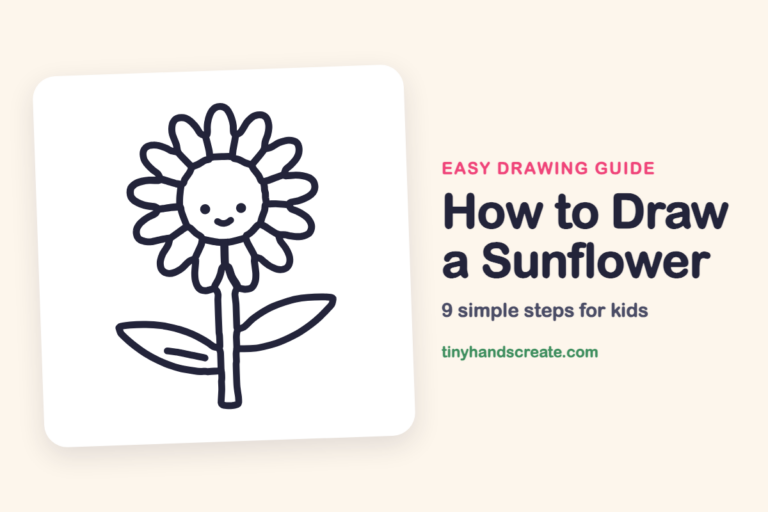
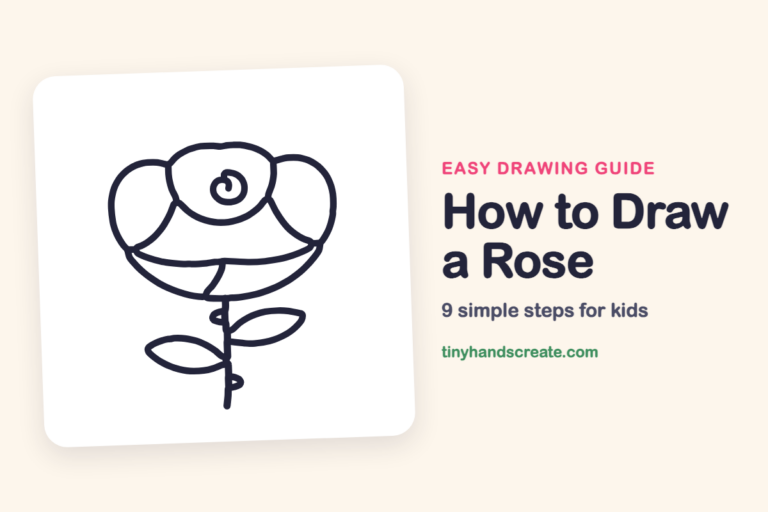
Finished your mushroom? Keep the pencils out and learn how to draw a sunflower or how to draw a rose next.
Tips for drawing a mushroom
- Draw the cap first and make it wider than the stem. A wide cap is what makes it look like a mushroom.
- Make the bumps on the collar about the same size. Draw them left to right in one row, and it will look neat.
- Keep the spots away from the edge of the cap. Start with the big ones, then fit the small ones into the gaps.
Free mushroom coloring page
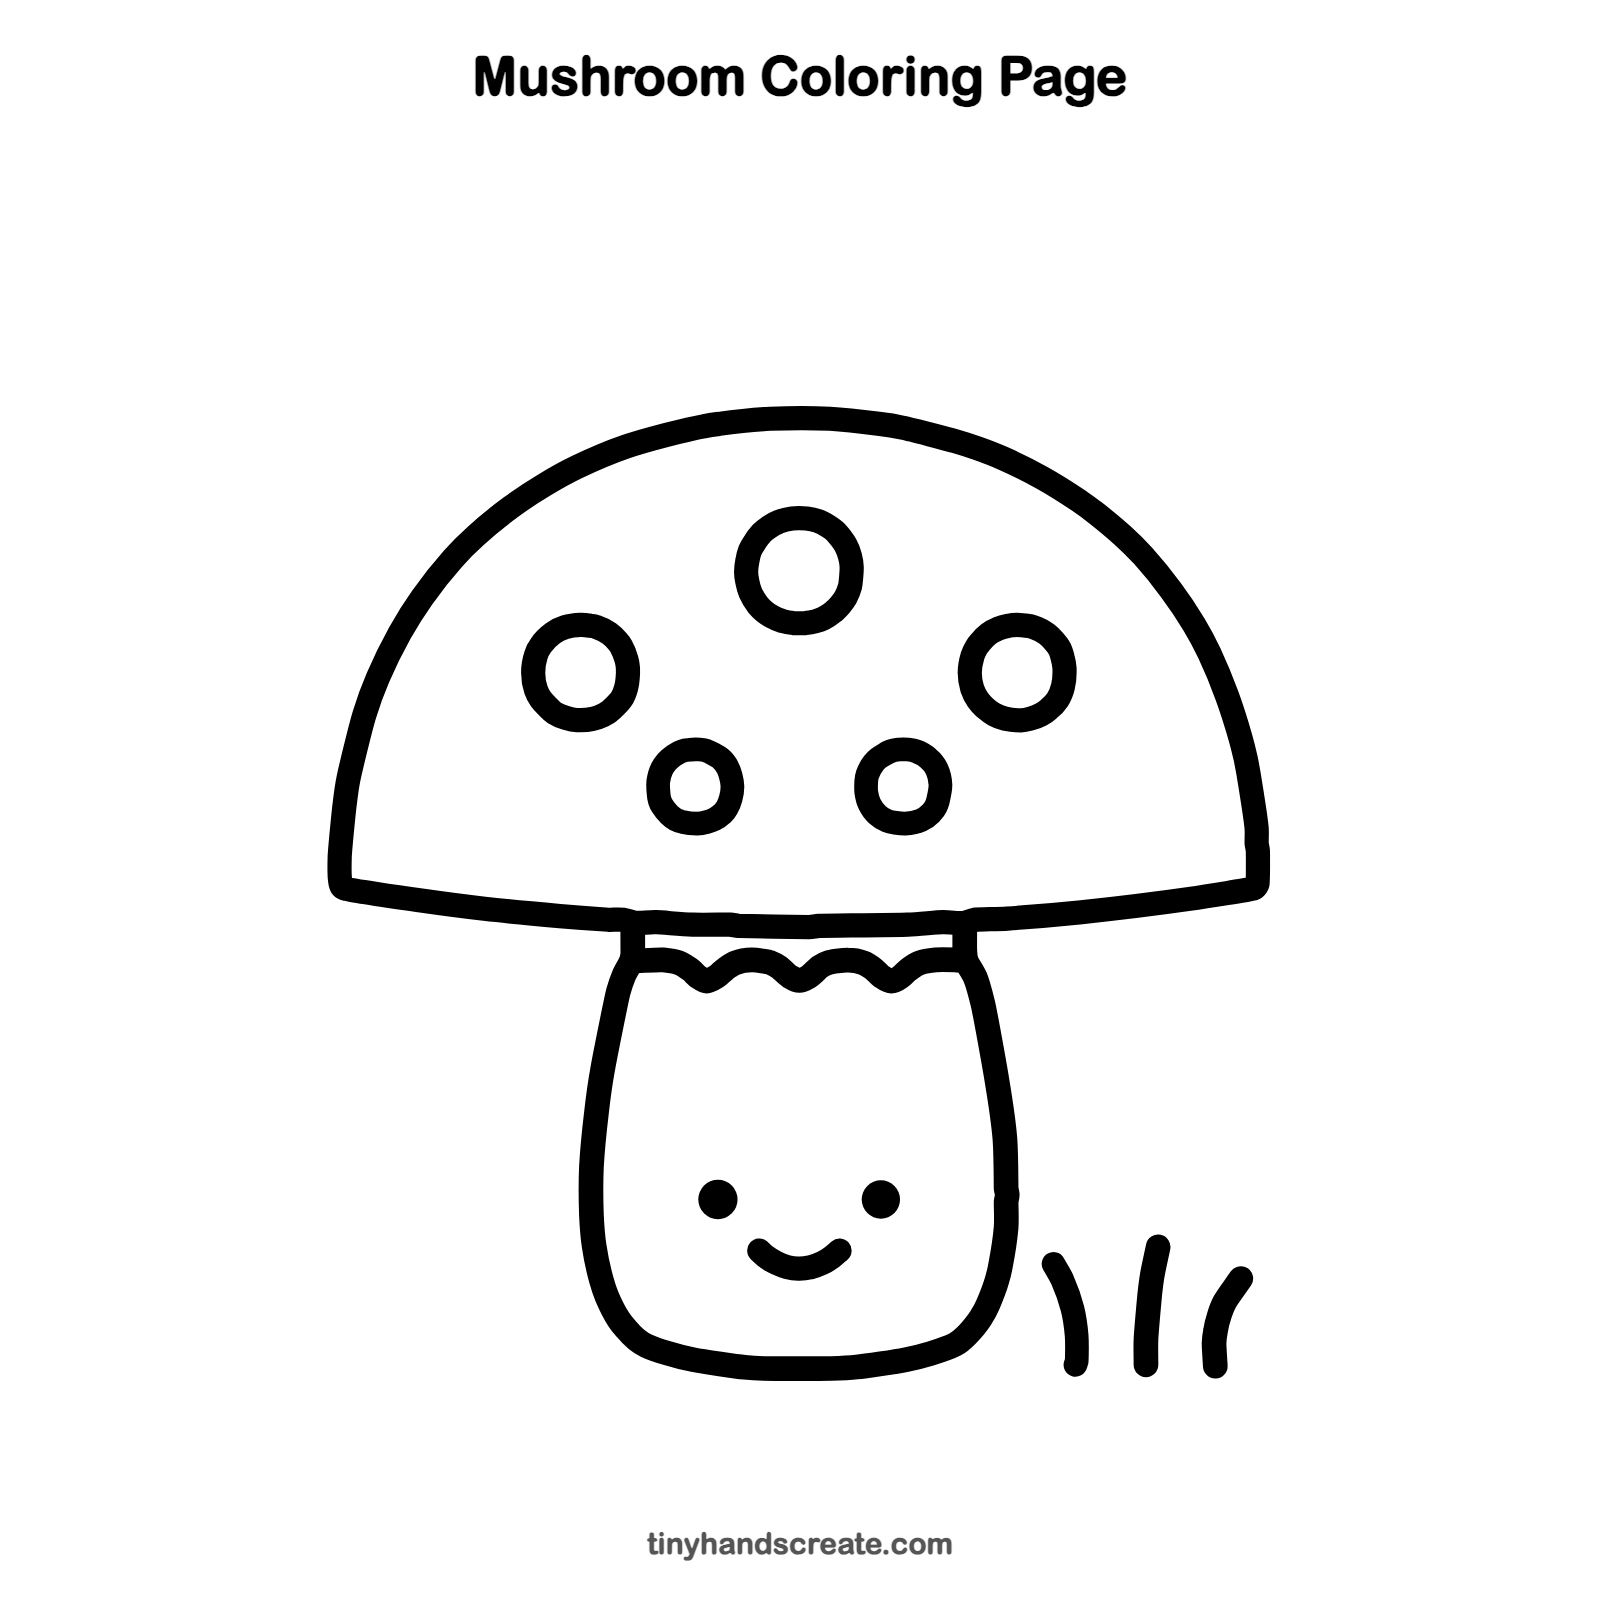
Want to go straight to coloring? Open this mushroom coloring page at full size and print it. It is the same drawing you just learned, with clean lines ready for crayons or markers.
How to color your mushroom drawing
Try a bright red cap with a cream stem and a pink smile, and leave the spots white. For a creative twist, make a rainbow mushroom with each spot a different color.
Mushroom fun fact for kids
Mushrooms are not plants. They belong to a group called fungi, and the part you see above ground is only a small piece of the fungus, which spreads out in thin threads under the soil.
Questions about drawing a mushroom
What shapes do I need to draw a mushroom?
You need a half circle for the cap, a rounded bell shape for the stem, and five circles for the spots. A few tiny curves make the collar and the grass.
How do I make my mushroom look cuter?
Put the eyes low on the stem and a little far apart, then add a small smile between them. Round, chubby shapes and a big cap also make it look sweeter.
How do I draw the spots so they look even?
Draw the three big spots first and spread them out across the cap. Then add the two smaller circles in the empty spaces so nothing is crowded.