How to Draw a Game Controller (Easy Step by Step)
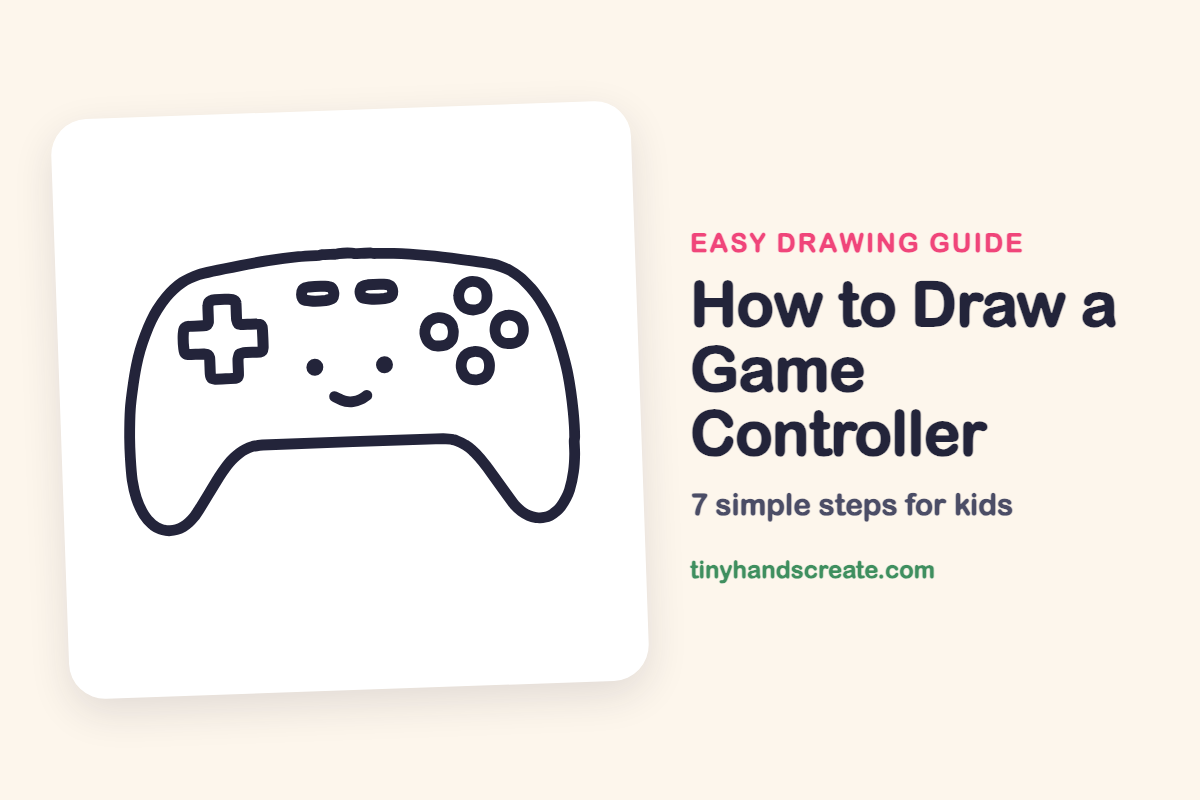
A game controller is a fun thing to draw because it turns a toy you know into a friendly character. It is built from a rounded body with two handles, a plus sign, two small ovals, and four circles. Once you add a smiling face, it looks ready to play.
- Easy
- 10 minutes
- 7 steps
You need: paper, a pencil, an eraser, and crayons or markers for coloring.
Start drawingIn this article (7 sections)
How to draw a game controller step by step
How to Draw a Game Controller · tinyhandscreate.com
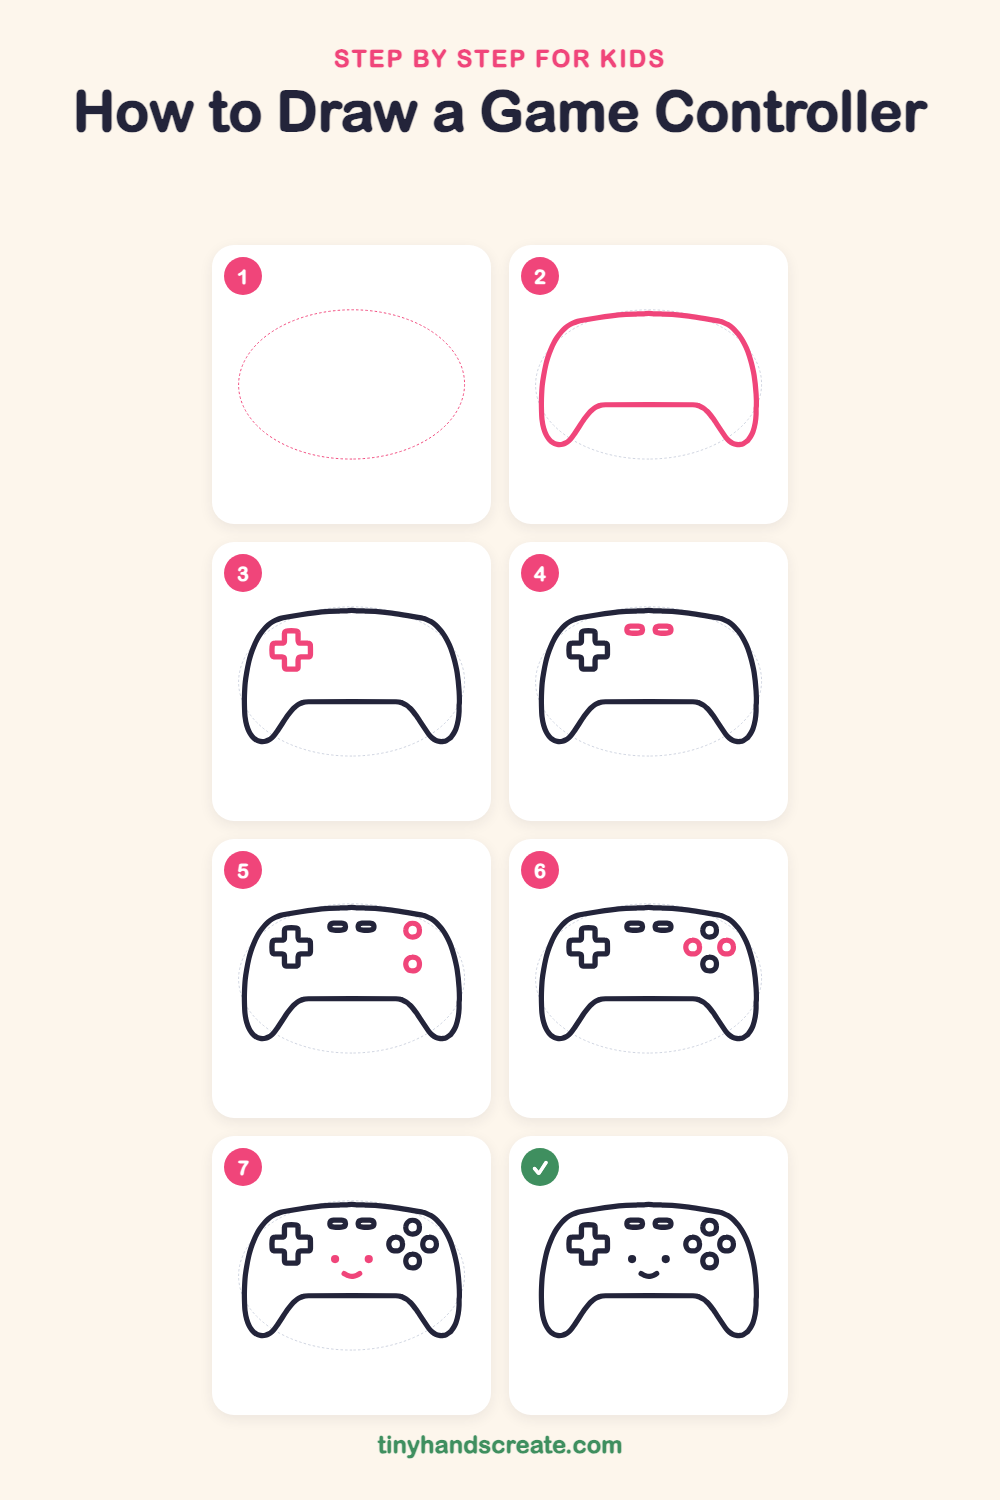
Step 1: Guide shapes
Lightly sketch this oval. It only shows where the big parts go, so press softly. You will erase it at the end.
Step 2: The controller body
Draw one wide, rounded shape with a gently curved top. At the bottom corners, let the line curve down into two chunky handles, and join them with a flat, slightly curved line across the middle.
Step 3: The plus pad
On the left side of the body, draw a plus sign with fat arms and rounded corners. Make all four arms about the same length.
Step 4: Two oval buttons
Near the top middle, draw two small sideways ovals, side by side. Add a short line inside each one.
Step 5: Top and bottom buttons
On the right side, draw one small circle near the top. Draw a second circle straight below it, leaving a little space in between. Put a smaller circle inside each one.
Step 6: Left and right buttons
Now fill in the gaps on the sides. Draw one circle to the left and one to the right, between the top and bottom circles, so the four make a diamond. Add a small circle inside each.
Step 7: The happy face
In the middle of the body, draw two small dots for eyes. Under them, draw a little curved smile that looks like a bowl.
All done!
Erase the guide shapes, go over your lines, then color it in.
Finished your game controller? Keep the pencils out and learn how to draw an alien or how to draw a rocket next.
Tips for drawing a game controller
- Start the body with a light, wide oval, then shape the handles at the bottom corners. The handles are the trickiest part, so make them round at the bottom like two big thumbs.
- For the plus pad, draw a small square first, then stretch out four arms from its sides. This keeps the arms even.
- Draw the four round buttons as a diamond: top, bottom, left and right. Lightly mark four dots first so the circles stay evenly spaced.
Free game controller coloring page
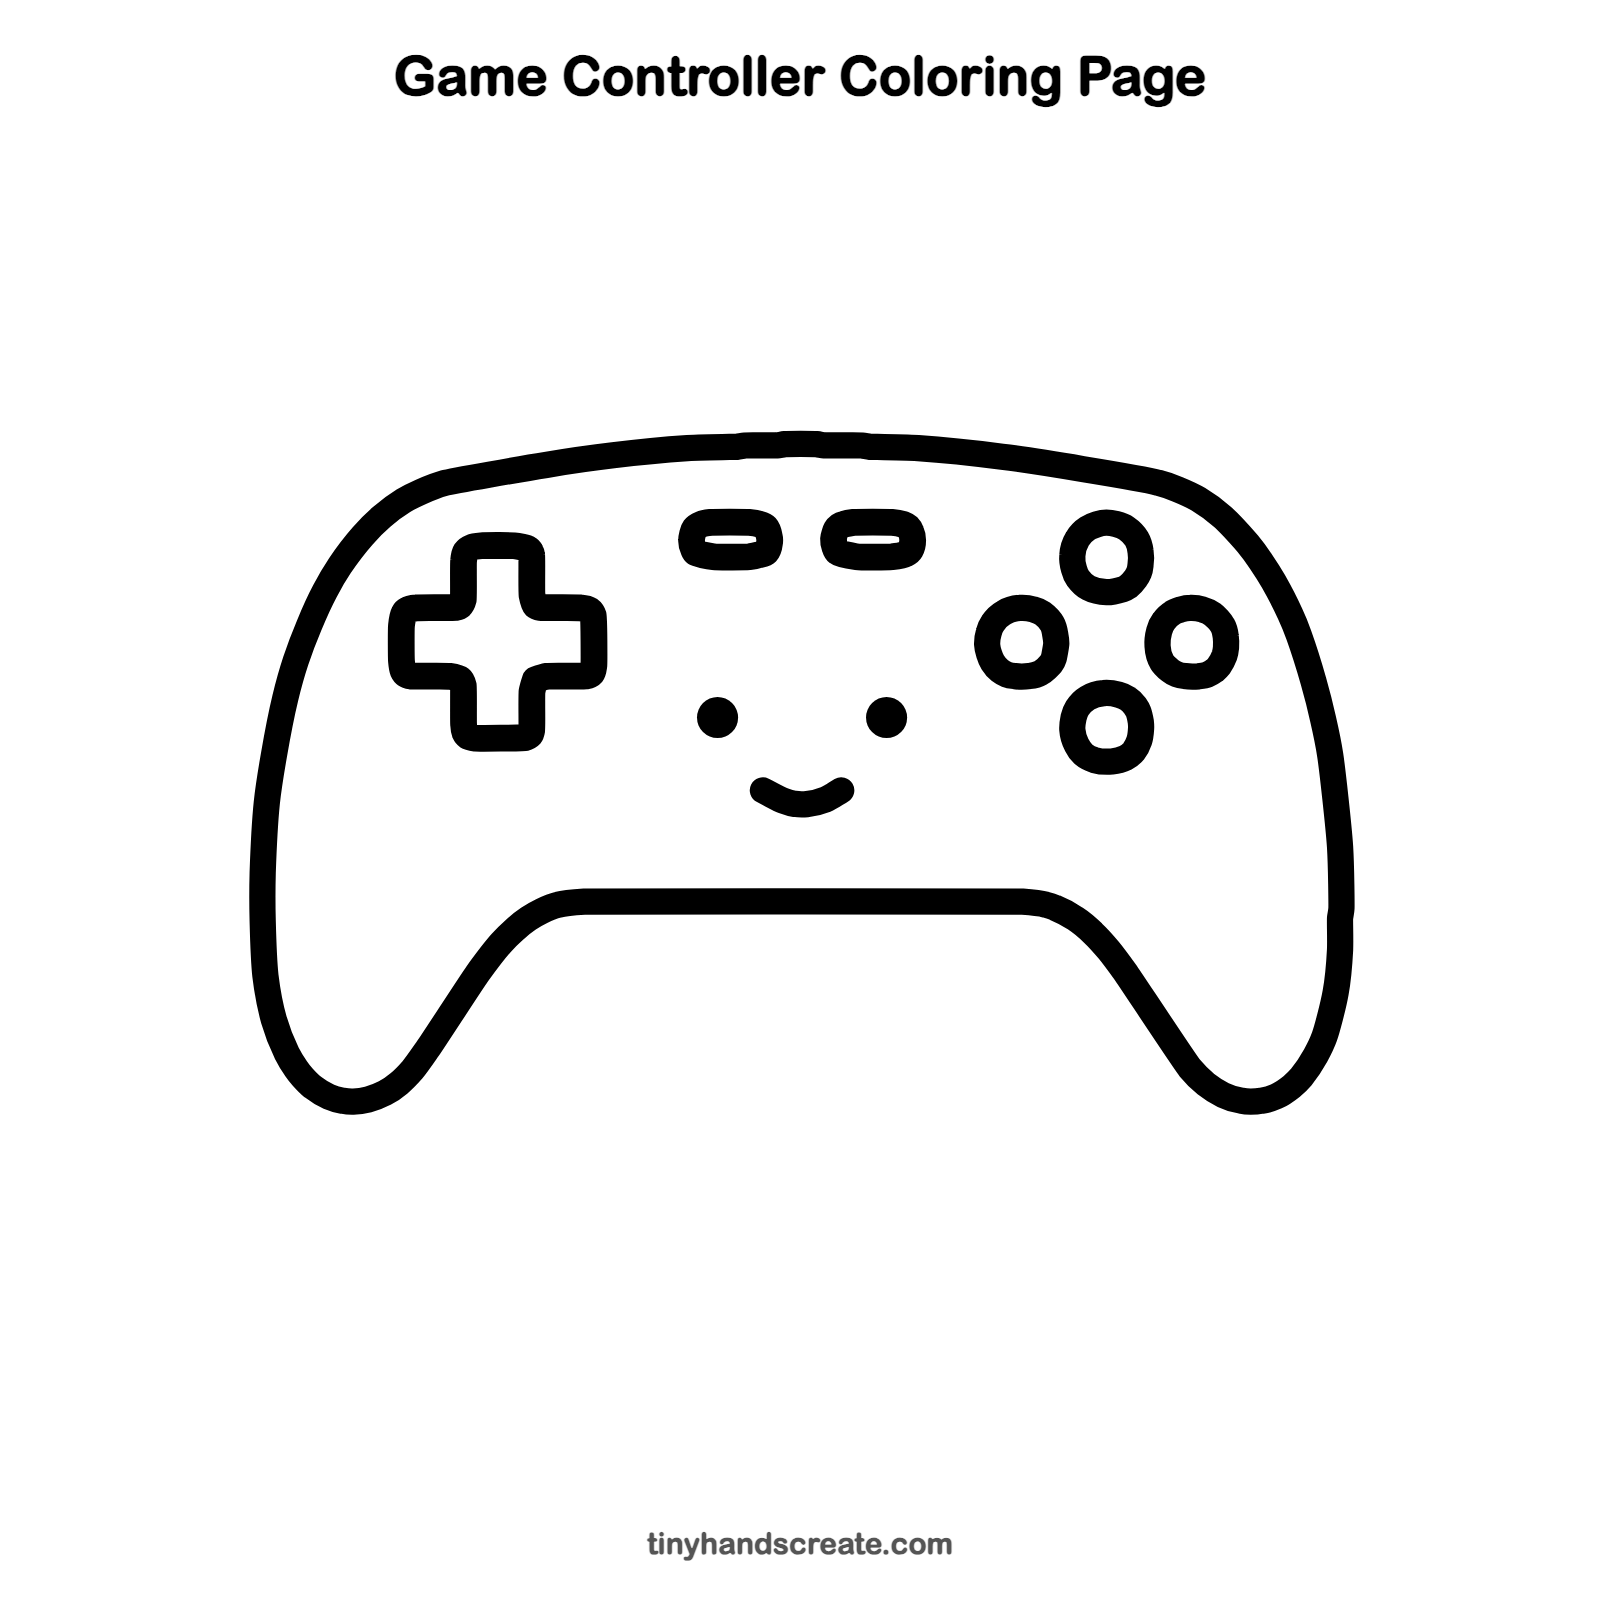
Want to go straight to coloring? Open this game controller coloring page at full size and print it. It is the same drawing you just learned, with clean lines ready for crayons or markers.
How to color your game controller drawing
Try a bright blue or red body with white or yellow buttons. For a creative twist, give each round button its own color, and color the small circle inside each one a different shade.
Game controller fun fact for kids
The plus-shaped control pad was invented by Gunpei Yokoi at Nintendo. It first appeared in 1982 on the Donkey Kong Game & Watch handheld game.
Questions about drawing a game controller
What shapes do I need to draw a game controller?
You need a wide rounded shape with two handles for the body, a plus sign, two small ovals, and four circles with smaller circles inside. The smile is just a small curved line.
How do I make my game controller look cuter?
Add two dot eyes and a small smile in the middle, like in this drawing. Make the lines round and chunky, with soft corners instead of sharp ones.
How do I draw the buttons so they look even?
Lightly mark four dots in a diamond shape first, with the same space between them. Then draw a circle around each dot and erase the dots.