
How to Draw a Cherry Blossom Branch (Easy Step by Step)
A cherry blossom branch is a pretty way to practice drawing the same flower three times. Each flower is five bumpy, heart-shaped petals around a center dot, and the branch is just a long wavy ribbon. Once you can draw one flower, the rest of the picture is easy.
- Medium
- 15 minutes
- 7 steps
You need: paper, a pencil, an eraser, and crayons or markers for coloring.
Start drawingIn this article (7 sections)
How to draw a cherry blossom branch step by step
How to Draw a Cherry Blossom Branch · tinyhandscreate.com
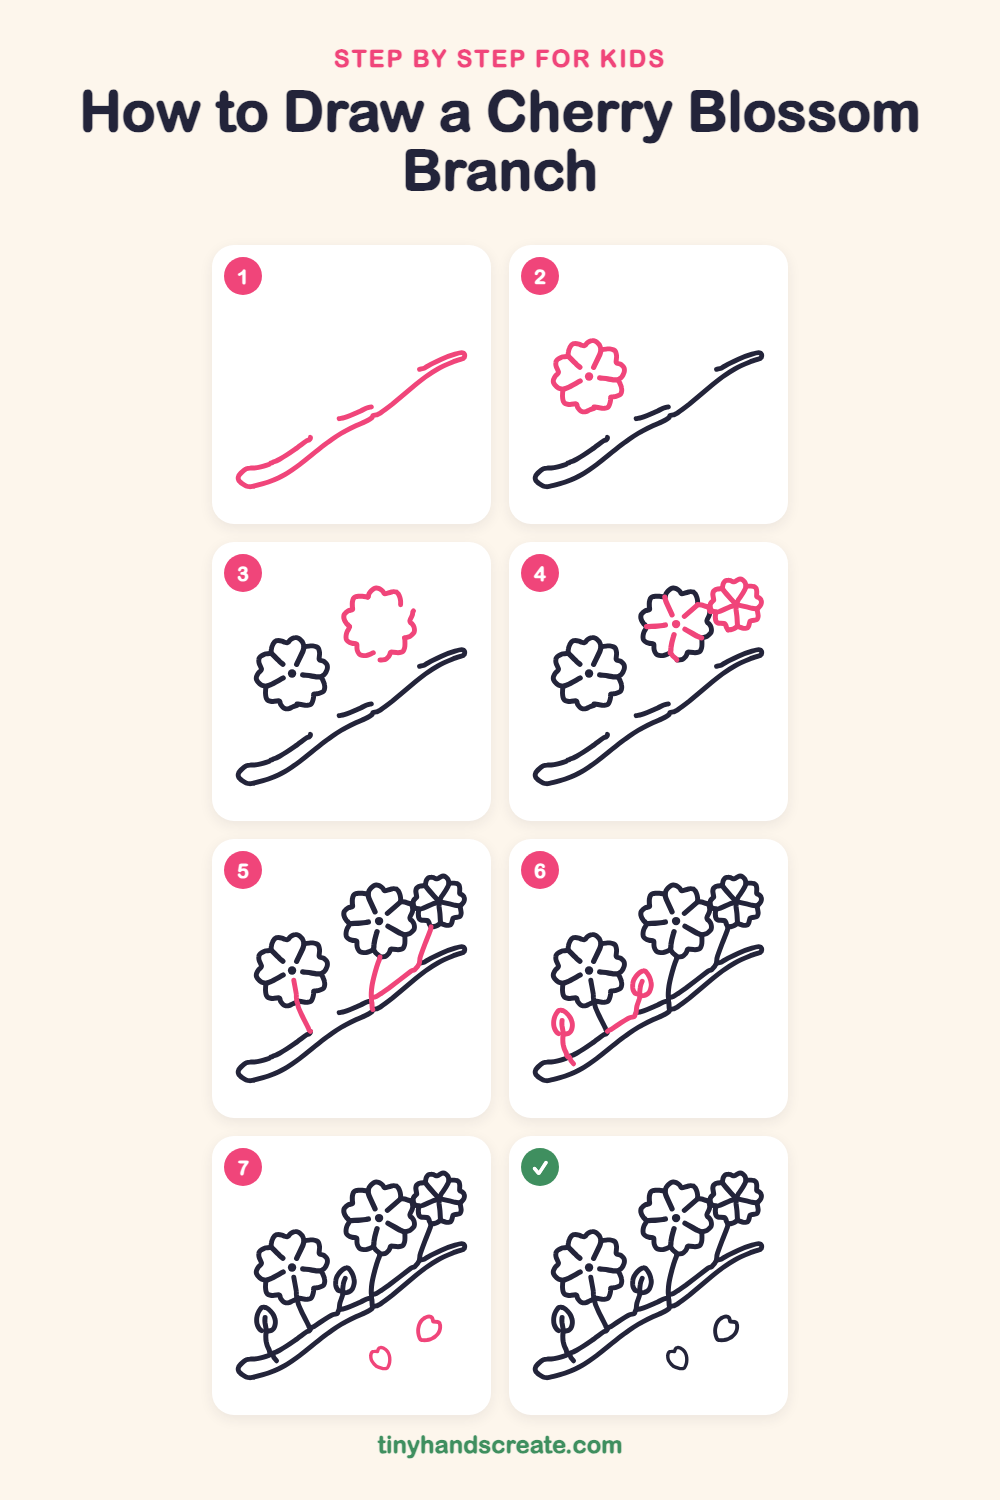
Step 1: The branch
Draw a long, wavy ribbon that slants up from the lower left to the upper right. Make the left end round and the right end thin, then draw a second wavy line inside to make the branch look thick.
Step 2: The big left flower
Draw a flower shape with five bumpy petals, each one like a little heart with a dip at the top. Add a dot in the middle and a short line from the dot to each dip between the petals.
Step 3: The middle flower outline
Above and to the right, draw a second flower outline with five bumpy petals, about the same size as the first flower. Leave the inside empty for now.
Step 4: Middle flower center, small flower
Inside the middle flower, add a dot in the center and a short line from the dot to each dip between the petals. Then tuck a smaller five-petal flower into the top right corner, touching the middle flower, with its own dot and short lines.
Step 5: The flower stems
Draw a gently curved line down from the bottom of each flower to the branch. The stems of the middle and small flowers meet and join the branch together.
Step 6: Two little buds
Draw two small buds that look like teardrops standing up, with a short curved line inside each one. Add a thin stem under each bud that connects it to the branch.
Step 7: Falling petals
Below the branch, draw two loose petals floating in the air. Each one is a small heart with a round bottom and a little dip at the top.
All done!
Go over your lines with a marker, then color it in.
Finished your cherry blossom branch? Keep the pencils out and learn how to draw a beetle or how to draw a worm next.
Tips for drawing a cherry blossom branch
- Draw each flower as five small bumps in a ring, each with a little dip at the top. Then add the center dot and short lines out to the dips.
- Make the small flower in the top right corner a little smaller than the other two, so the branch looks full.
- Draw each stem with one slow, curved stroke from the flower down to the branch, and stop right when you touch the branch.
Free cherry blossom branch coloring page
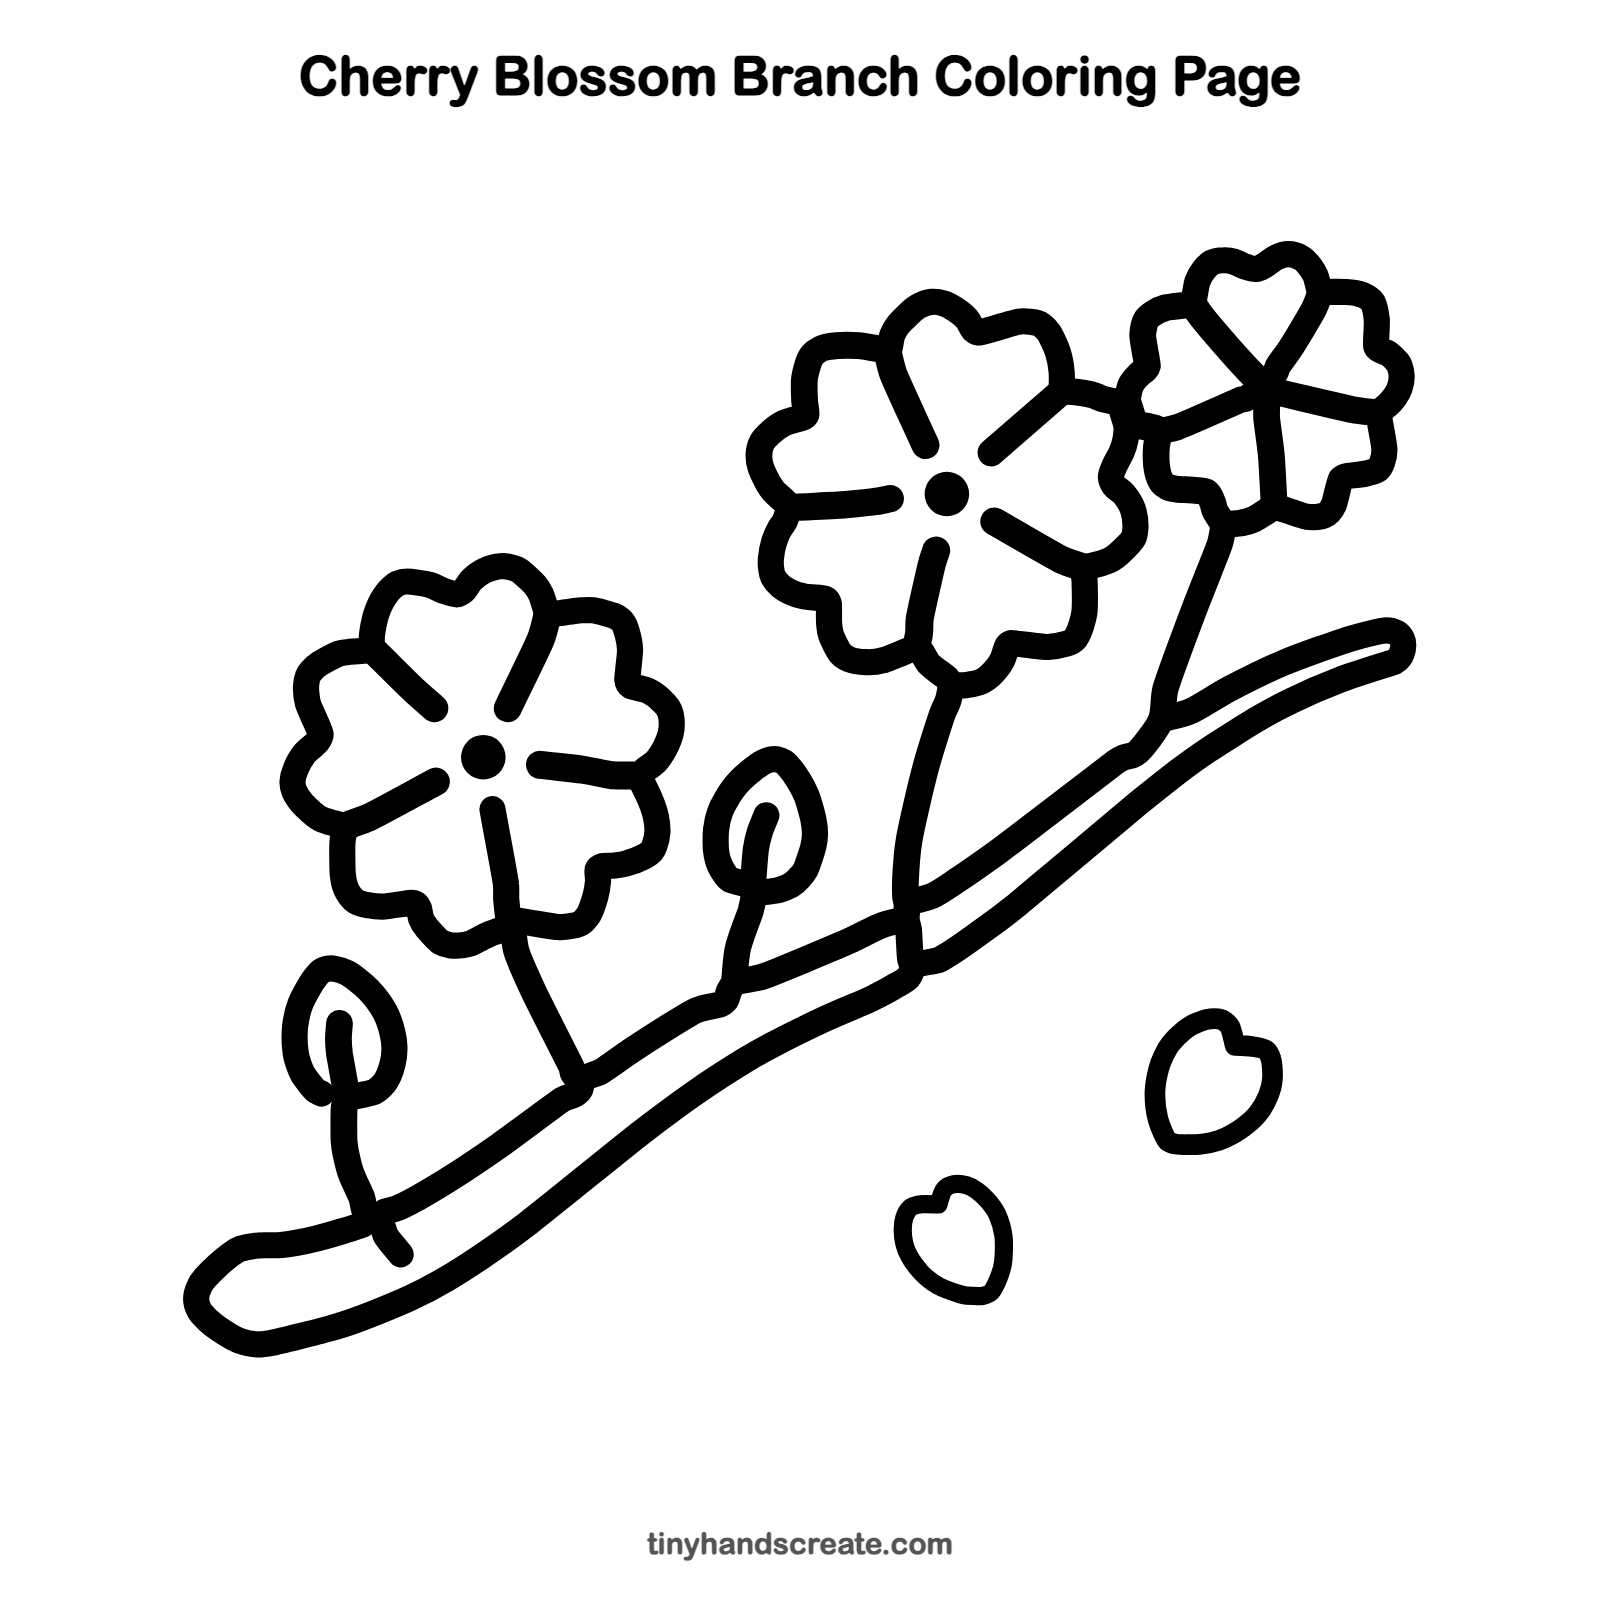
Want to go straight to coloring? Open this cherry blossom branch coloring page at full size and print it. It is the same drawing you just learned, with clean lines ready for crayons or markers.
How to color your cherry blossom branch drawing
Use light pink and white for the petals, a darker pink for the center dots, and brown for the branch and stems. Try coloring the sky behind the branch deep blue so the flowers stand out.
Cherry blossom branch fun fact for kids
Cherry trees bloom for only about one or two weeks each spring, and in Japan people have picnics under the trees to enjoy the flowers. This custom is called hanami.
Questions about drawing a cherry blossom branch
What shapes do I need to draw a cherry blossom?
You need five small hearts or rounded bumps arranged in a circle, plus a dot in the middle. The branch is a long wavy ribbon and the buds are small teardrops.
How do I make my cherry blossom flowers look even?
Draw the outline with five bumps of about the same size, spaced evenly around a ring. Then add the center dot and a short line to each dip between the petals.
How do I draw falling petals?
Draw a small heart shape with a round bottom, then place a couple of them below the branch. Tilting each one a little makes it look like it is drifting down.