How to Draw a Snowflake (Easy Step by Step)
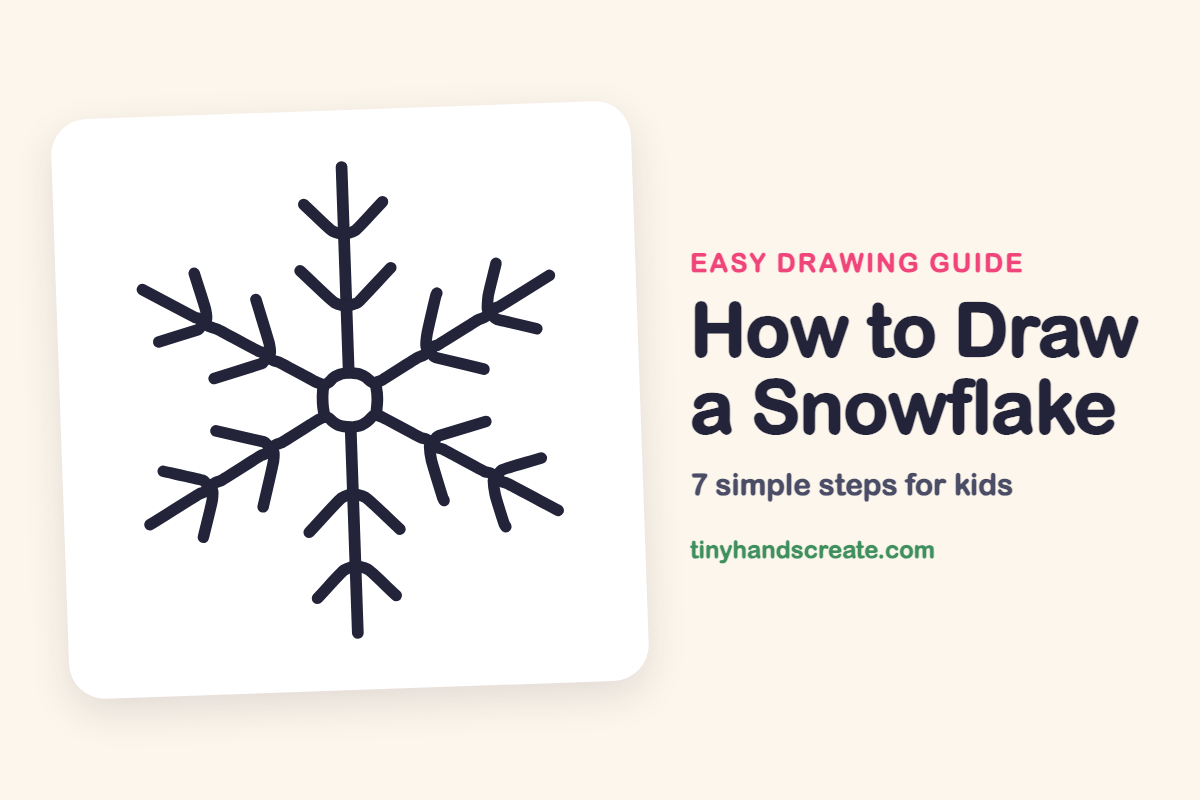
A snowflake is a fun drawing because it looks fancy but is built from straight lines and one small circle. Every arm is the same, so once you can draw one arm, you can draw all six. It is a good way to practice making lines that match.
- Easy
- 10 minutes
- 7 steps
You need: paper, a pencil, an eraser, and crayons or markers for coloring.
Start drawingIn this article (7 sections)
How to draw a snowflake step by step
How to Draw a Snowflake · tinyhandscreate.com
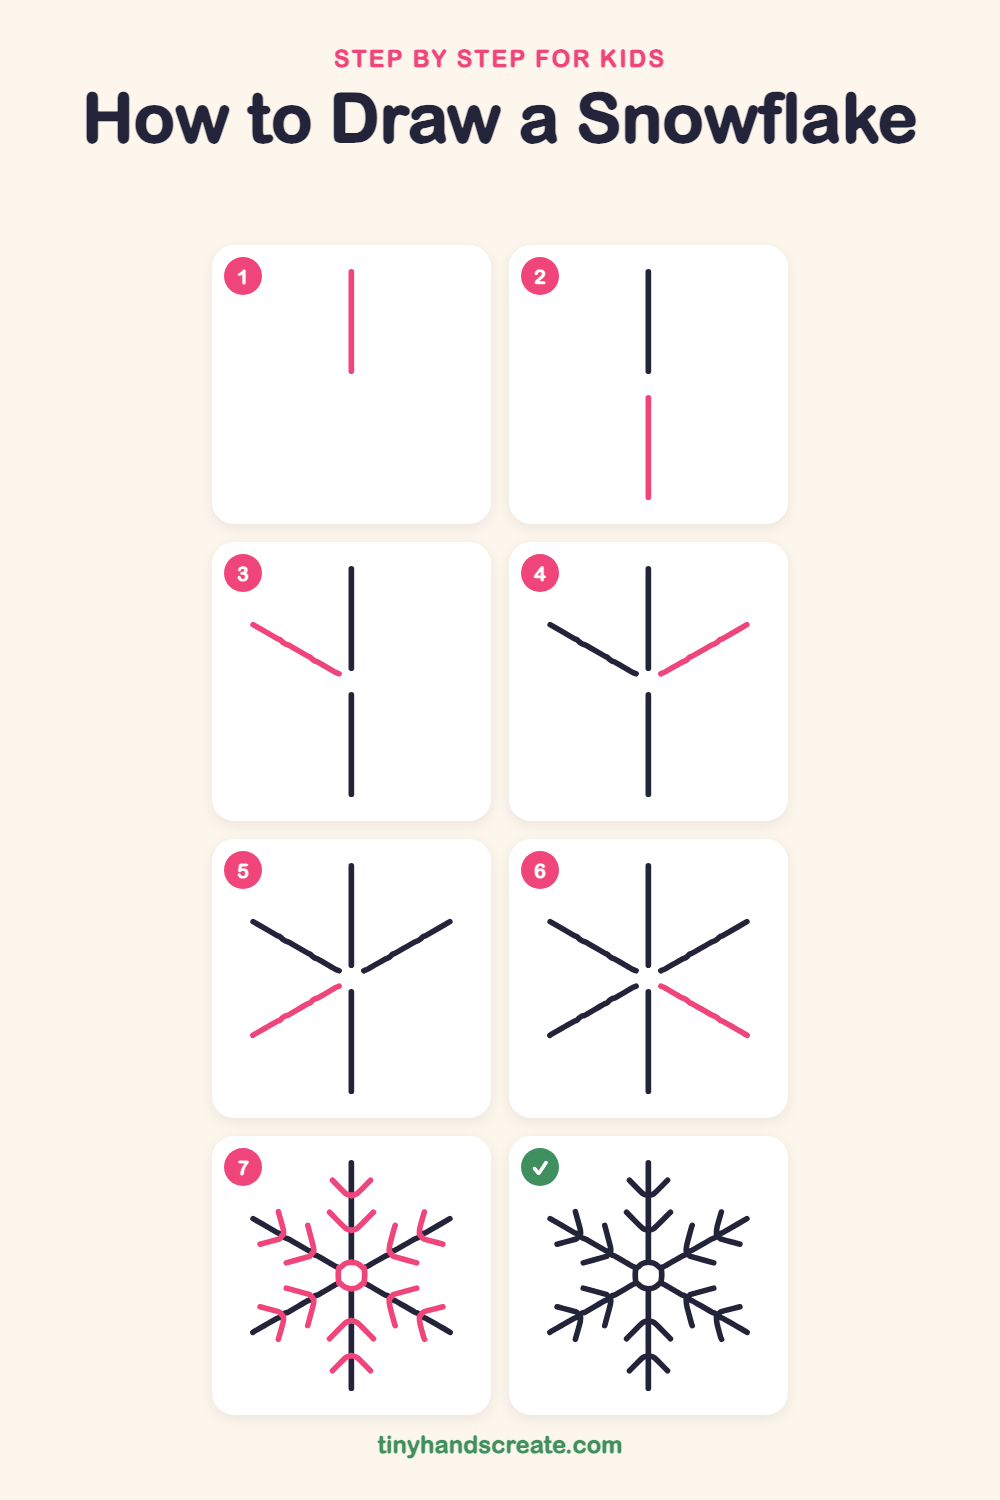
Step 1: The top arm
Draw one long straight line going up from the middle of your page. Stop a little above the center, because a small circle will go in the gap later.
Step 2: The bottom arm
Draw another long straight line going down from the middle, the same length as the top one. Leave the same small gap in the center between the two lines.
Step 3: Upper left arm
Start near the center gap and draw a long straight line slanting up and to the left. Make it about as long as the top arm.
Step 4: Upper right arm
Draw a matching line slanting up and to the right, starting near the center gap. It makes a mirror image of the last arm.
Step 5: Lower left arm
Draw a long straight line slanting down and to the left, starting near the center gap. Make it the same length as the arm above it so the angles stay even.
Step 6: Lower right arm
Finish the six spokes with a line slanting down and to the right, starting near the center gap. Your drawing should now look like a star made of six sticks.
Step 7: Center and little branches
Draw a small circle in the gap where all the arms meet. Then add a pair of short slanted lines, like a V, on the sides of each arm, using the same angle and size every time.
All done!
Go over your lines with a marker, then color it in.
Finished your snowflake? Keep the pencils out and learn how to draw a Christmas stocking or how to draw a penguin in a Santa hat next.
Tips for drawing a snowflake
- Draw the six long arms first and keep them about the same length. Think of a clock face with arms pointing to 12, 2, 4, 6, 8 and 10.
- Leave a small gap in the middle so the center circle fits neatly later.
- The little V branches are the trickiest part. Draw the first one, then copy its size and angle on every other arm, working from the center outward.
Free snowflake coloring page
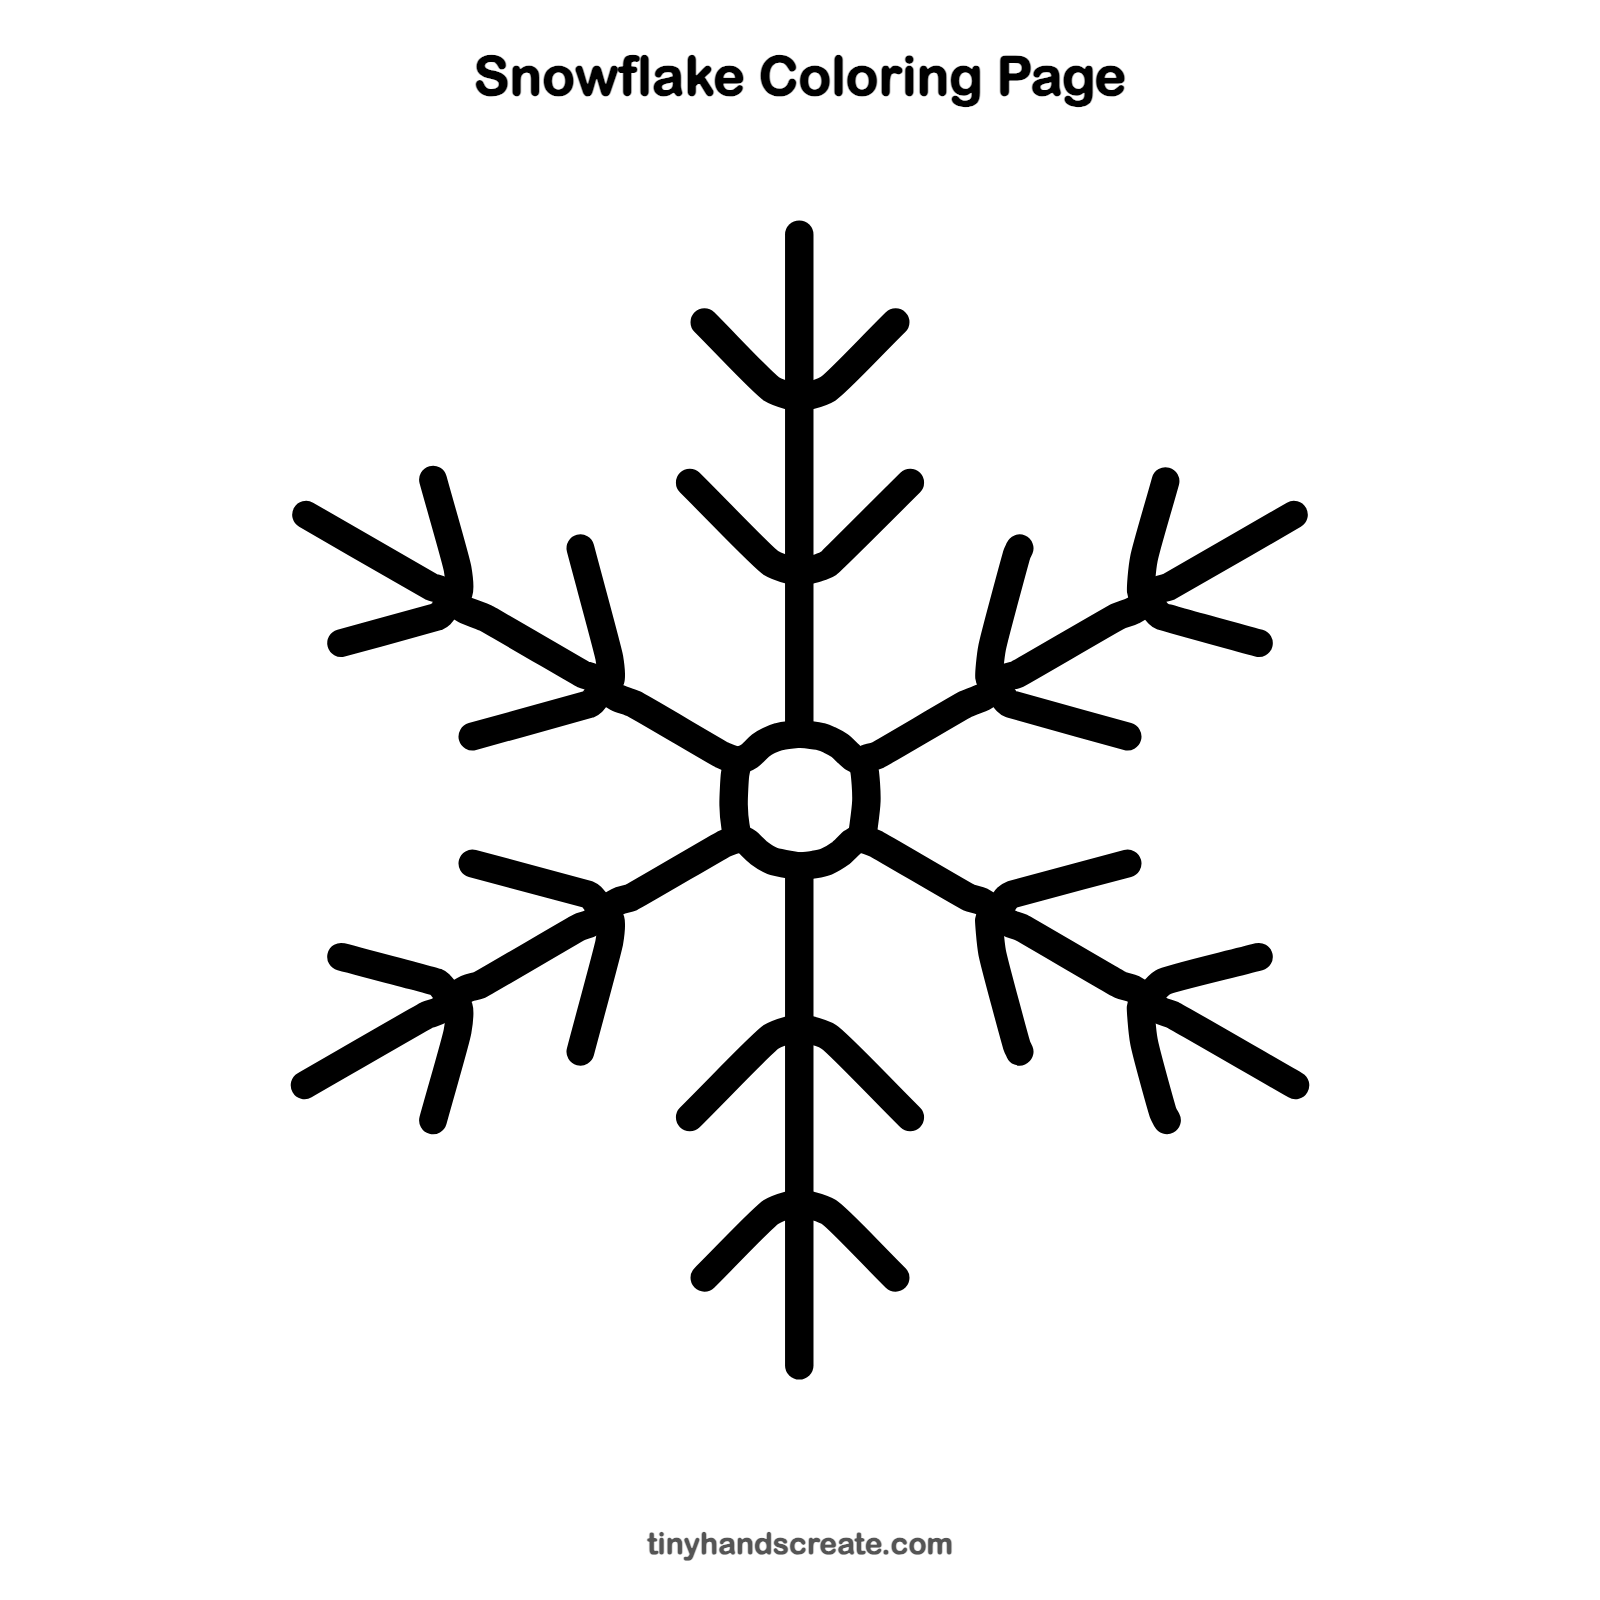
Want to go straight to coloring? Open this snowflake coloring page at full size and print it. It is the same drawing you just learned, with clean lines ready for crayons or markers.
How to color your snowflake drawing
Try icy blues, light purples and silver for a frosty look. For a twist, color each arm a different shade, or leave the snowflake white on dark blue paper.
Snowflake fun fact for kids
Snowflakes are made of ice crystals, and their six-sided shape comes from the way water molecules link up when they freeze.
Questions about drawing a snowflake
What shapes do I need to draw a snowflake?
You only need straight lines and one small circle. The branches are short V shapes, which are just two lines meeting at a point.
How do I make my snowflake look even?
Draw the six long arms first, like the hands of a clock, then add the small branches in the same spots on each arm. A ruler can help, but freehand lines look charming too.
Why does a snowflake have six arms?
Ice crystals grow in a six-sided pattern, so snowflakes usually have six arms or six sides.