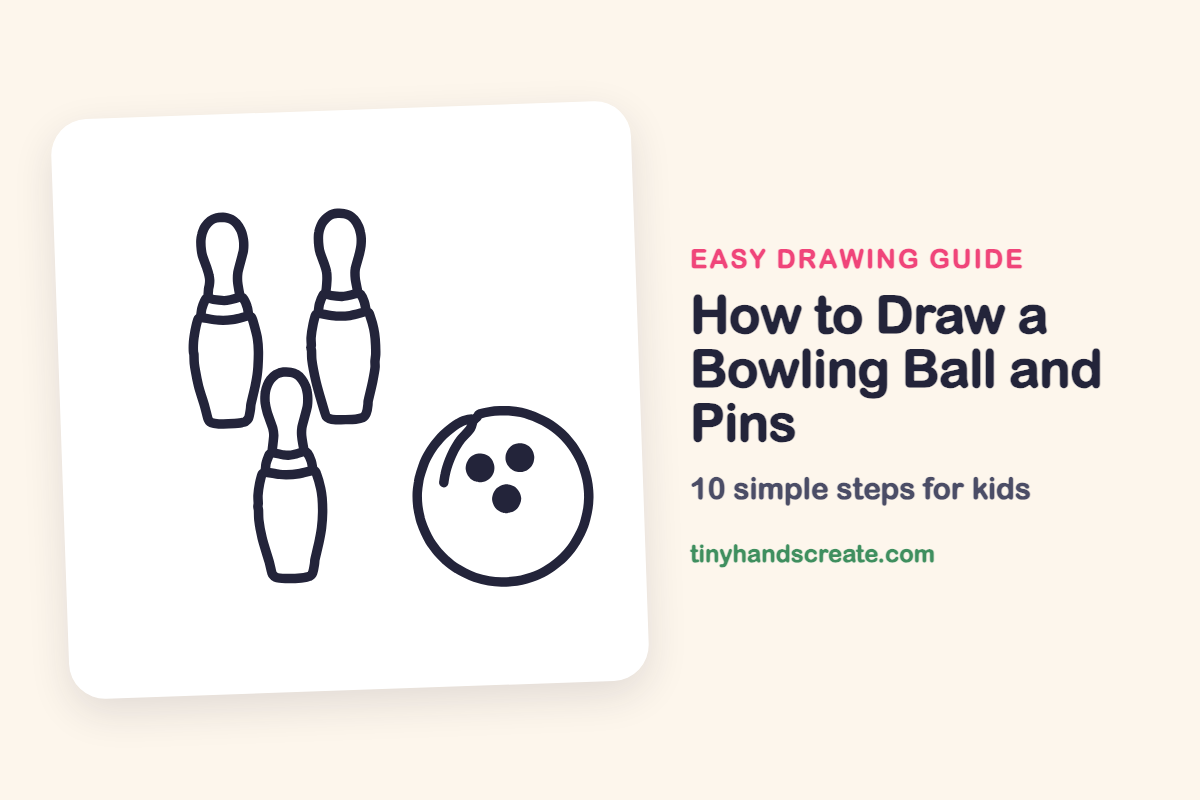
How to Draw a Bowling Ball and Pins (Easy Step by Step)
A bowling ball and pins make a fun drawing because they are built from just a few easy shapes. The ball is a big circle with three dots, and each pin is a round head on top of a bottle-like body. Once you can draw one pin, you can draw the whole set.
- Medium
- 15 minutes
- 10 steps
You need: paper, a pencil, an eraser, and crayons or markers for coloring.
Start drawingIn this article (7 sections)
How to draw a bowling ball and pins step by step
How to Draw a Bowling Ball and Pins · tinyhandscreate.com
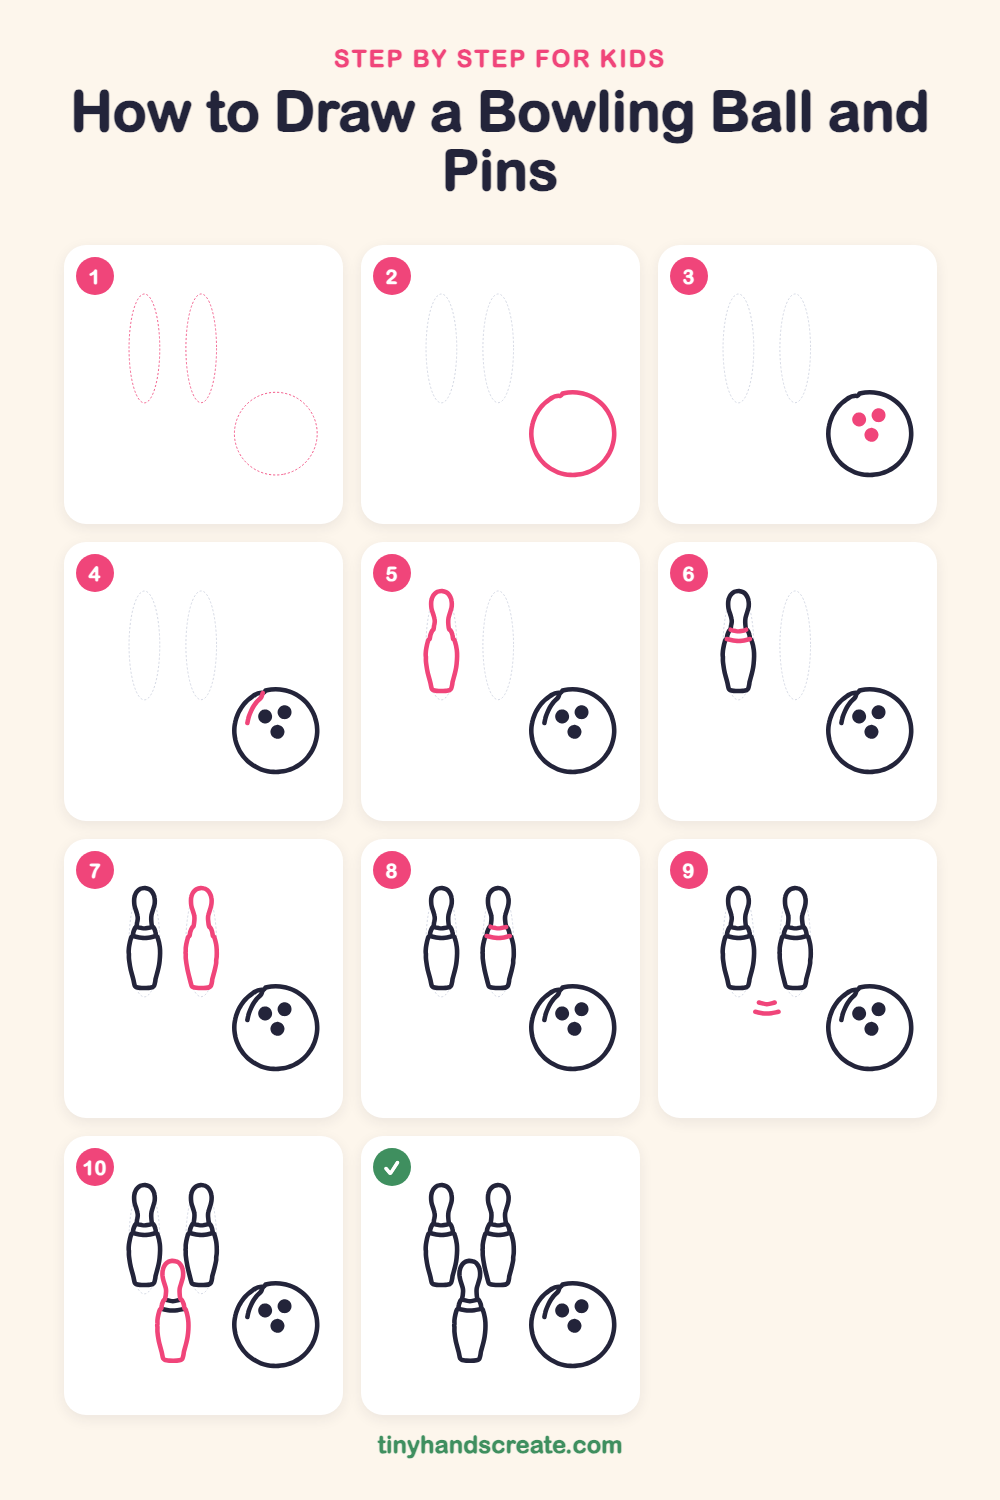
Step 1: Guide shapes
Lightly sketch these 3 ovals. They only show where the big parts go, so press softly. You will erase them at the end.
Step 2: The bowling ball
Draw a big circle in the lower right of your paper. Take your time and try to make it nice and round.
Step 3: Finger holes
Inside the ball, draw three solid dots close together, two on top and one below them. Fill them in so they look like deep holes.
Step 4: Shiny curve
Near the top left inside the ball, draw a short curved line that follows the edge of the circle. It shows where light shines on the ball.
Step 5: The first pin
On the left, draw a tall pin shape. Start with a small round head, pinch in for a skinny neck, then bulge out into a wide belly and finish with a flat bottom.
Step 6: Stripes on pin one
Where the neck of the first pin starts to widen, draw two short curved lines across the pin from one side to the other. Make them curve like gentle smiles.
Step 7: The second pin
Draw another tall pin to the right of the first one, at the same height. Use the same shape: round head, thin neck, wide belly and flat bottom.
Step 8: Stripes on pin two
Add two curved stripe lines across the second pin, in the same place as on the first pin.
Step 9: Stripes for pin three
In the empty space below and between the two pins, draw two short curved lines, one above the other. These will be the stripes of the third pin.
Step 10: The front pin
Draw a third pin around those two stripes, a little lower than the other pins. Give it a round head above the stripes, a thin neck, a wide belly and a flat bottom.
All done!
Erase the guide shapes, go over your lines, then color it in.
Finished your bowling ball and pins? Keep the pencils out and learn how to draw a medal or how to draw a rubber duck next.
Tips for drawing a bowling ball and pins
- Draw the circle for the ball first and go slowly. Turning the paper as you draw helps you close the circle neatly.
- The pin is the trickiest part. Think of a bowling pin as a small circle on top of a long, squished bottle, pinched in at the neck.
- Draw the first pin, then copy its size for the second one. Make the third pin a little lower so it looks like it is in front.
Free bowling ball and pins coloring page
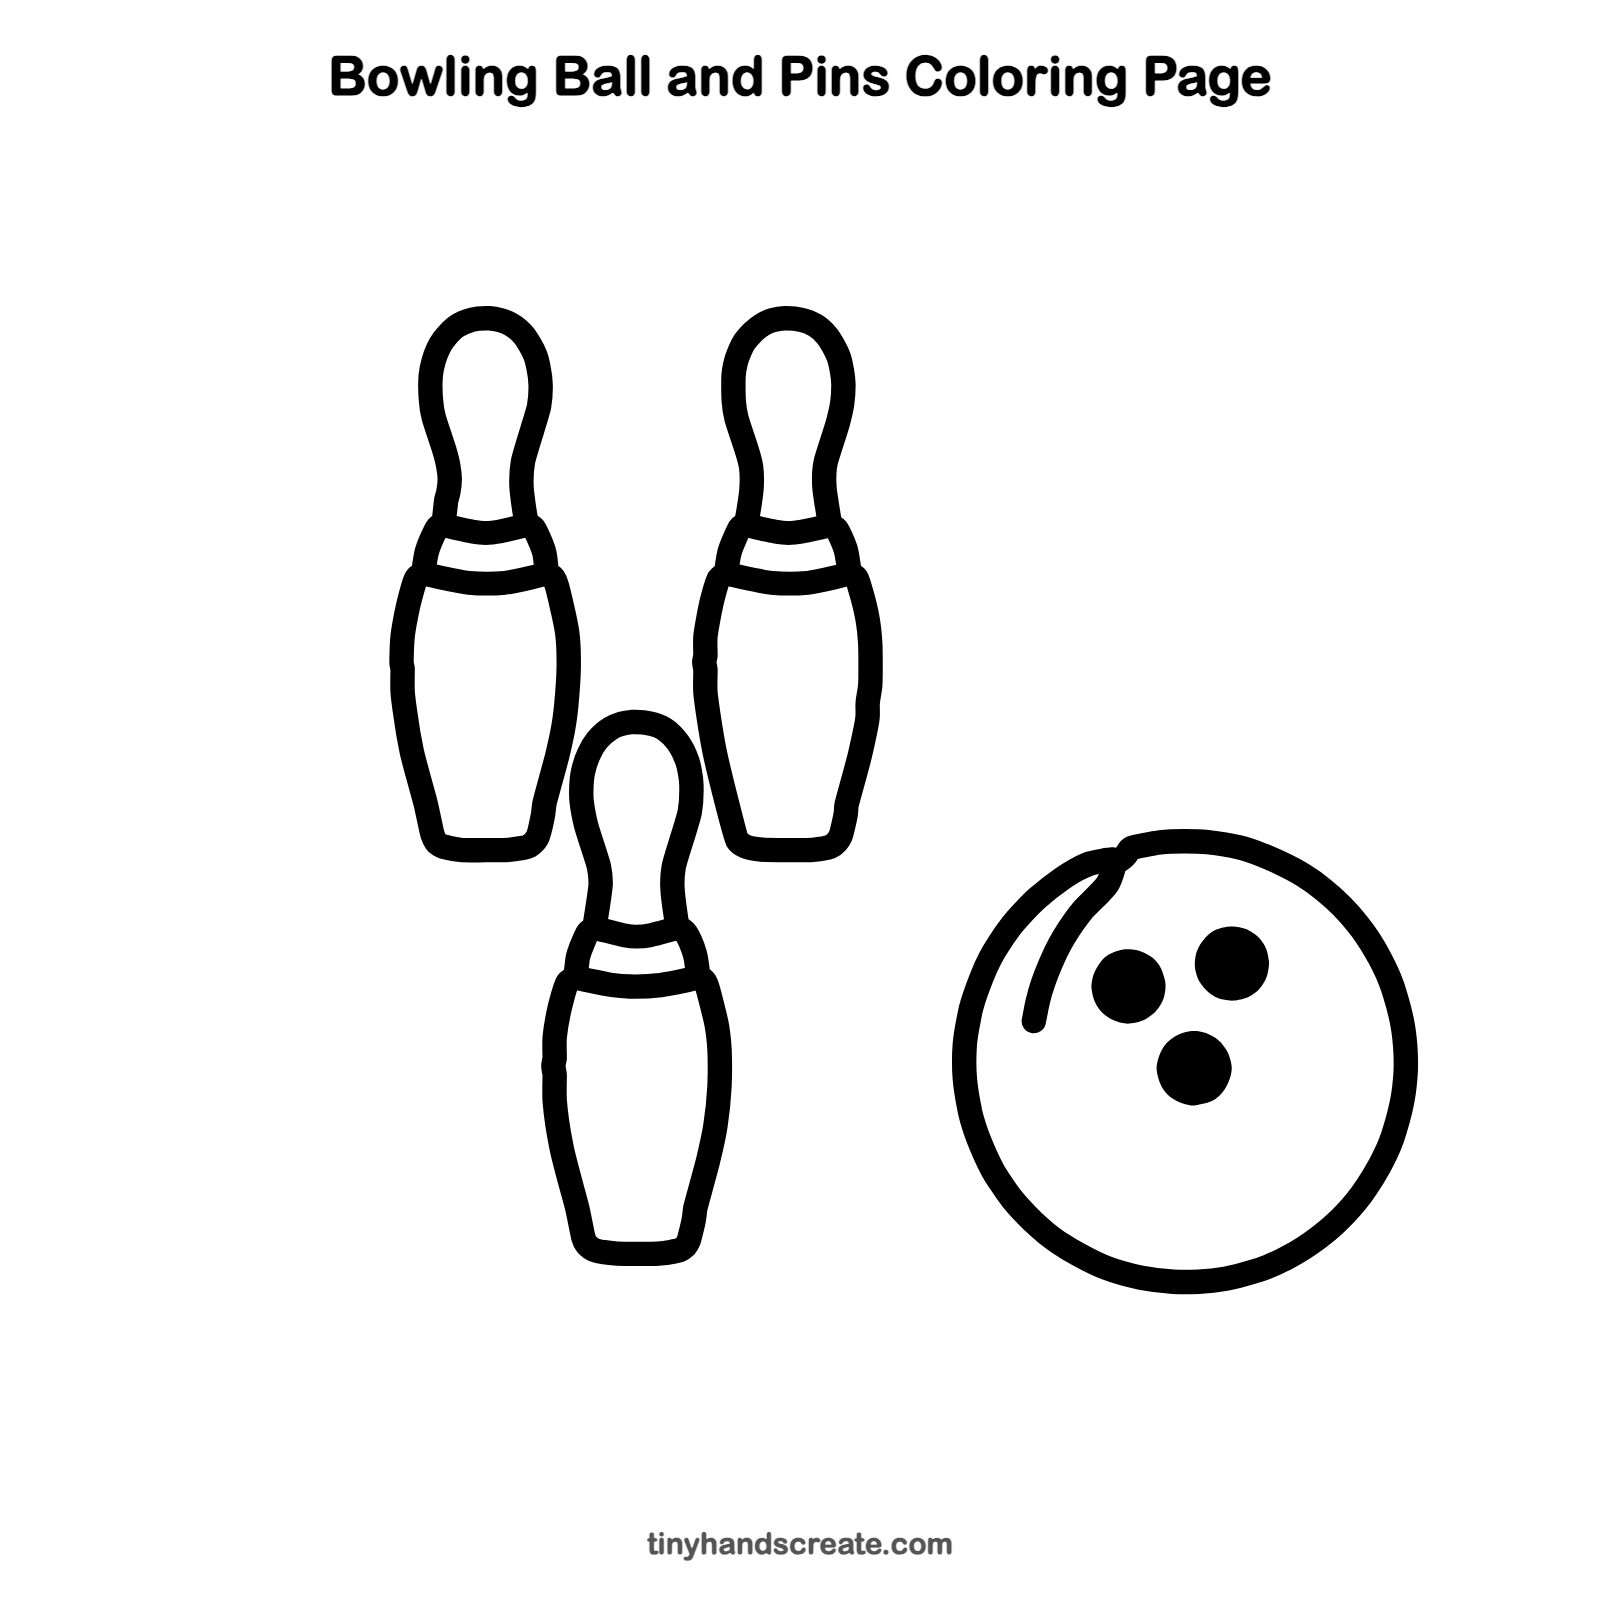
Want to go straight to coloring? Open this bowling ball and pins coloring page at full size and print it. It is the same drawing you just learned, with clean lines ready for crayons or markers.
How to color your bowling ball and pins drawing
Color the pins white with red stripes, and make the ball a bright color like blue or purple. Leave the shiny curve lighter so the ball looks glossy.
Bowling ball and pins fun fact for kids
A standard bowling set uses ten pins, set up in a triangle. Each pin is 15 inches tall, and the pin at the front of the triangle is called the headpin.
Questions about drawing a bowling ball and pins
What shapes do I need to draw a bowling pin?
Start with a small circle for the head, then add a narrow neck and a wide, rounded body that ends in a flat bottom. Two curved lines on the pin make the stripes.
How do I draw a bowling ball?
Draw a big circle, then add three solid dots inside it for the finger holes. A short curved line near the edge makes the ball look shiny.
How do I make my bowling pins look the same?
Draw the first pin carefully, then use its height and width as a guide for the others. Putting the stripes in the same spot on each pin also helps.