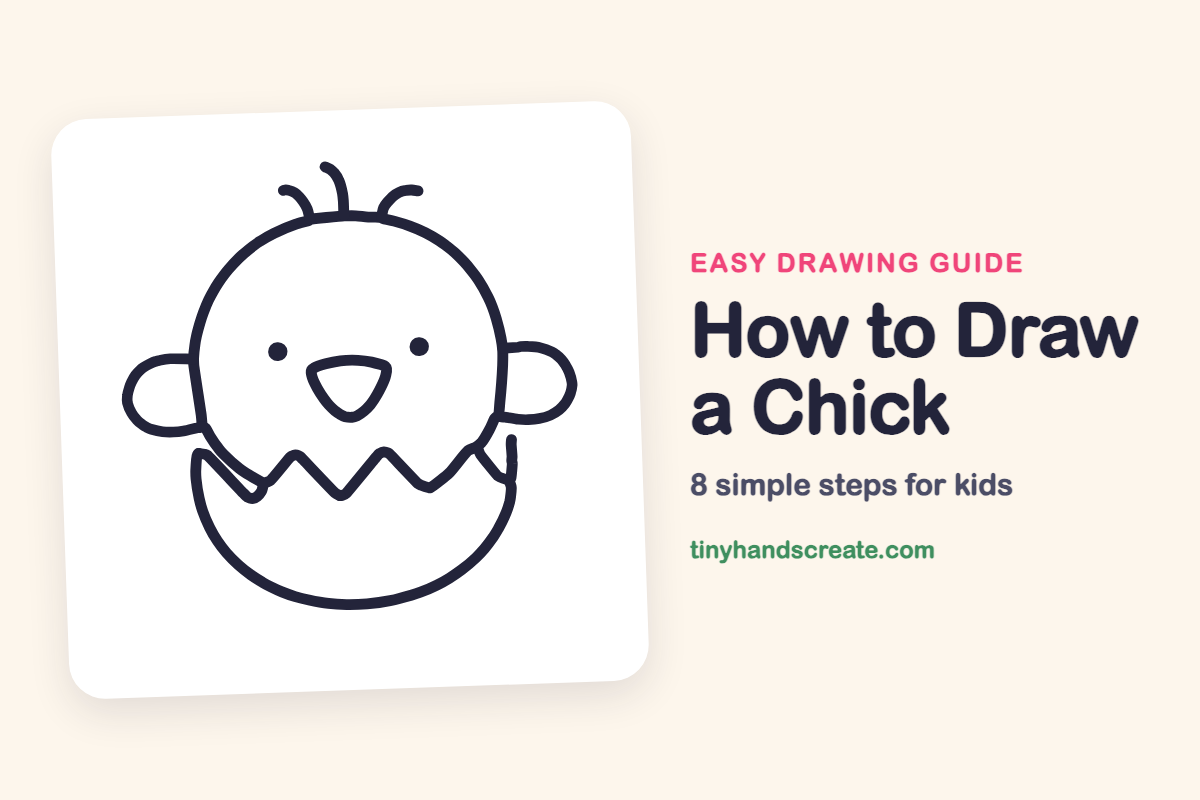
How to Draw a Chick (Easy Step by Step)
A chick peeking out of a cracked eggshell is one of the happiest things to draw. It is built from just a few simple shapes: a big circle for the head, two small bumps for wings, a triangle for the beak and a bowl with a zigzag top for the shell. Once you know those shapes, you can draw a whole nest full of chicks.
- Easy
- 10 minutes
- 8 steps
You need: paper, a pencil, an eraser, and crayons or markers for coloring.
Start drawingIn this article (7 sections)
How to draw a chick step by step
How to Draw a Chick · tinyhandscreate.com
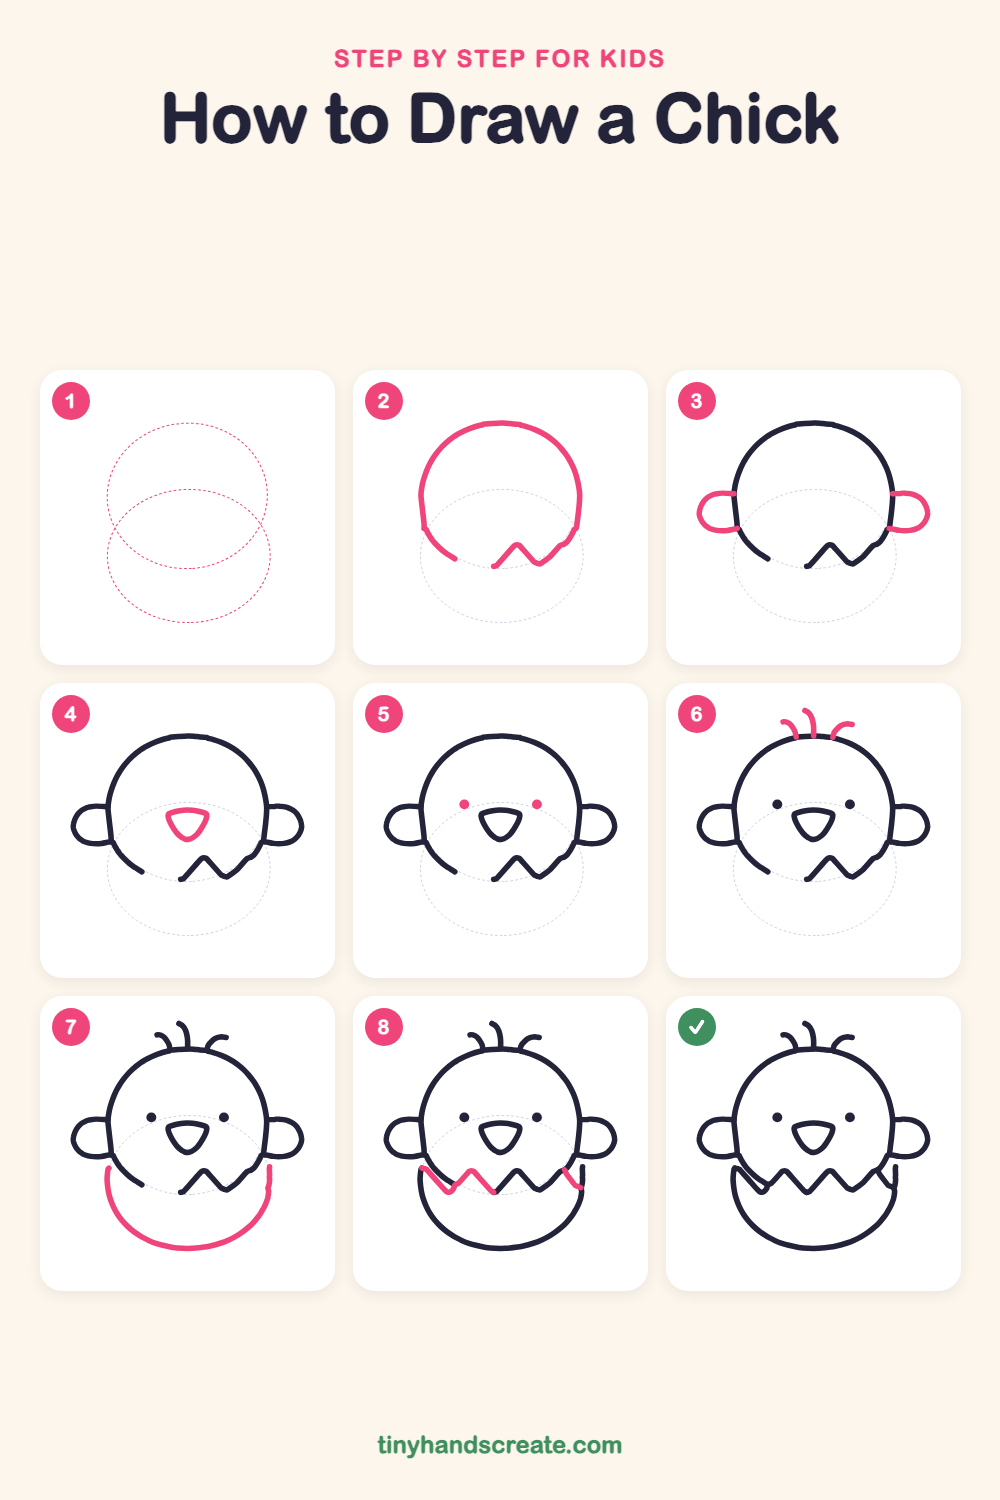
Step 1: Guide shapes
Lightly sketch these 2 ovals. They only show where the big parts go, so press softly. You will erase them at the end.
Step 2: Head with shell edge
Draw a big circle for the chick's head, but stop before you close it at the bottom. Near the bottom, draw a small zigzag, like two little mountain peaks, and leave a gap between the zigzag and the left side of the circle.
Step 3: The little wings
Draw a small rounded bump on each side of the head, like two sideways U shapes. Start and end each one on the head's edge, near the middle.
Step 4: The beak
In the middle of the face, draw a small triangle with soft, rounded corners. Make the point face down.
Step 5: Two small eyes
Add one small dot on the left and one on the right, just above the beak. Keep them the same size.
Step 6: Fluffy head feathers
On top of the head, draw three short curvy lines that bend like little hairs. Let each one start at the edge of the circle.
Step 7: The eggshell bottom
Under the head, draw a wide U shape, like a bowl. Its sides should rise up on both sides of the chick.
Step 8: The cracked edge
Add more zigzag points to the left of the one you drew before, so a row of peaks runs across the top of the bowl. Then draw a short slanted line at the right end to join the zigzag to the side of the bowl.
All done!
Erase the guide shapes, go over your lines, then color it in.
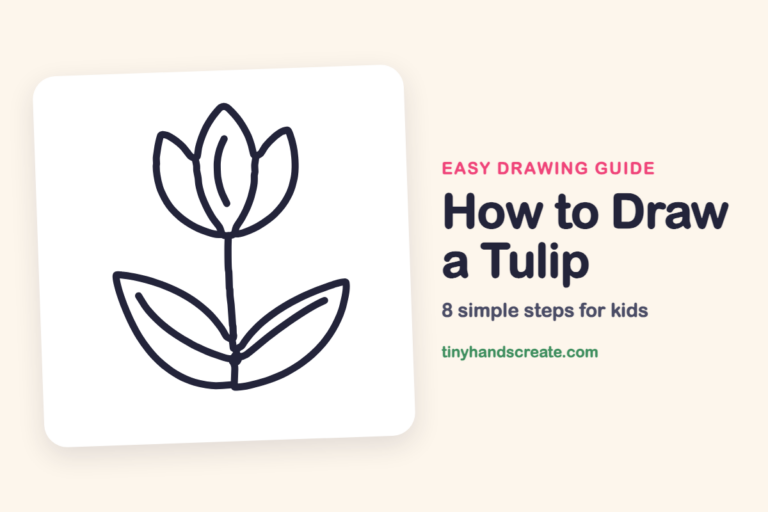
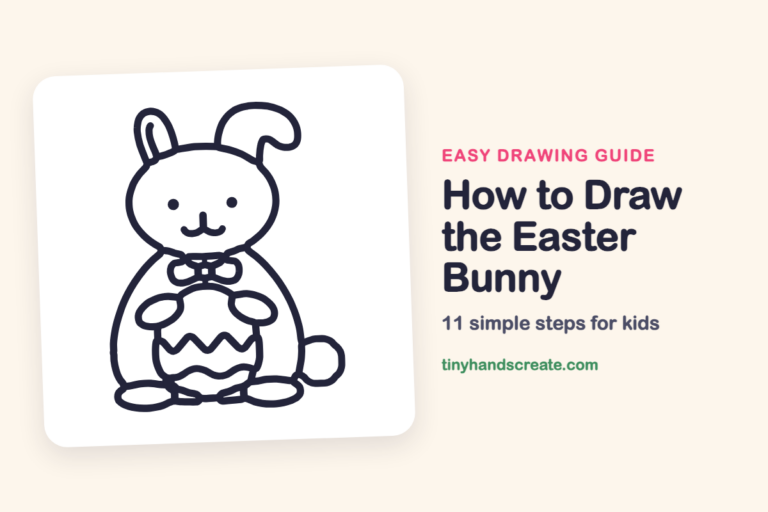
Finished your chick? Keep the pencils out and learn how to draw a tulip or how to draw the Easter bunny next.
Tips for drawing a chick
- Start the zigzag in the first step, then add more points in the last step. Try to keep the peaks about the same height.
- Make the head circle first and big. If it is too small, the shell and wings will feel squished.
- Place the eyes wide apart, just above the beak. This makes the chick look extra cute.
Free chick coloring page
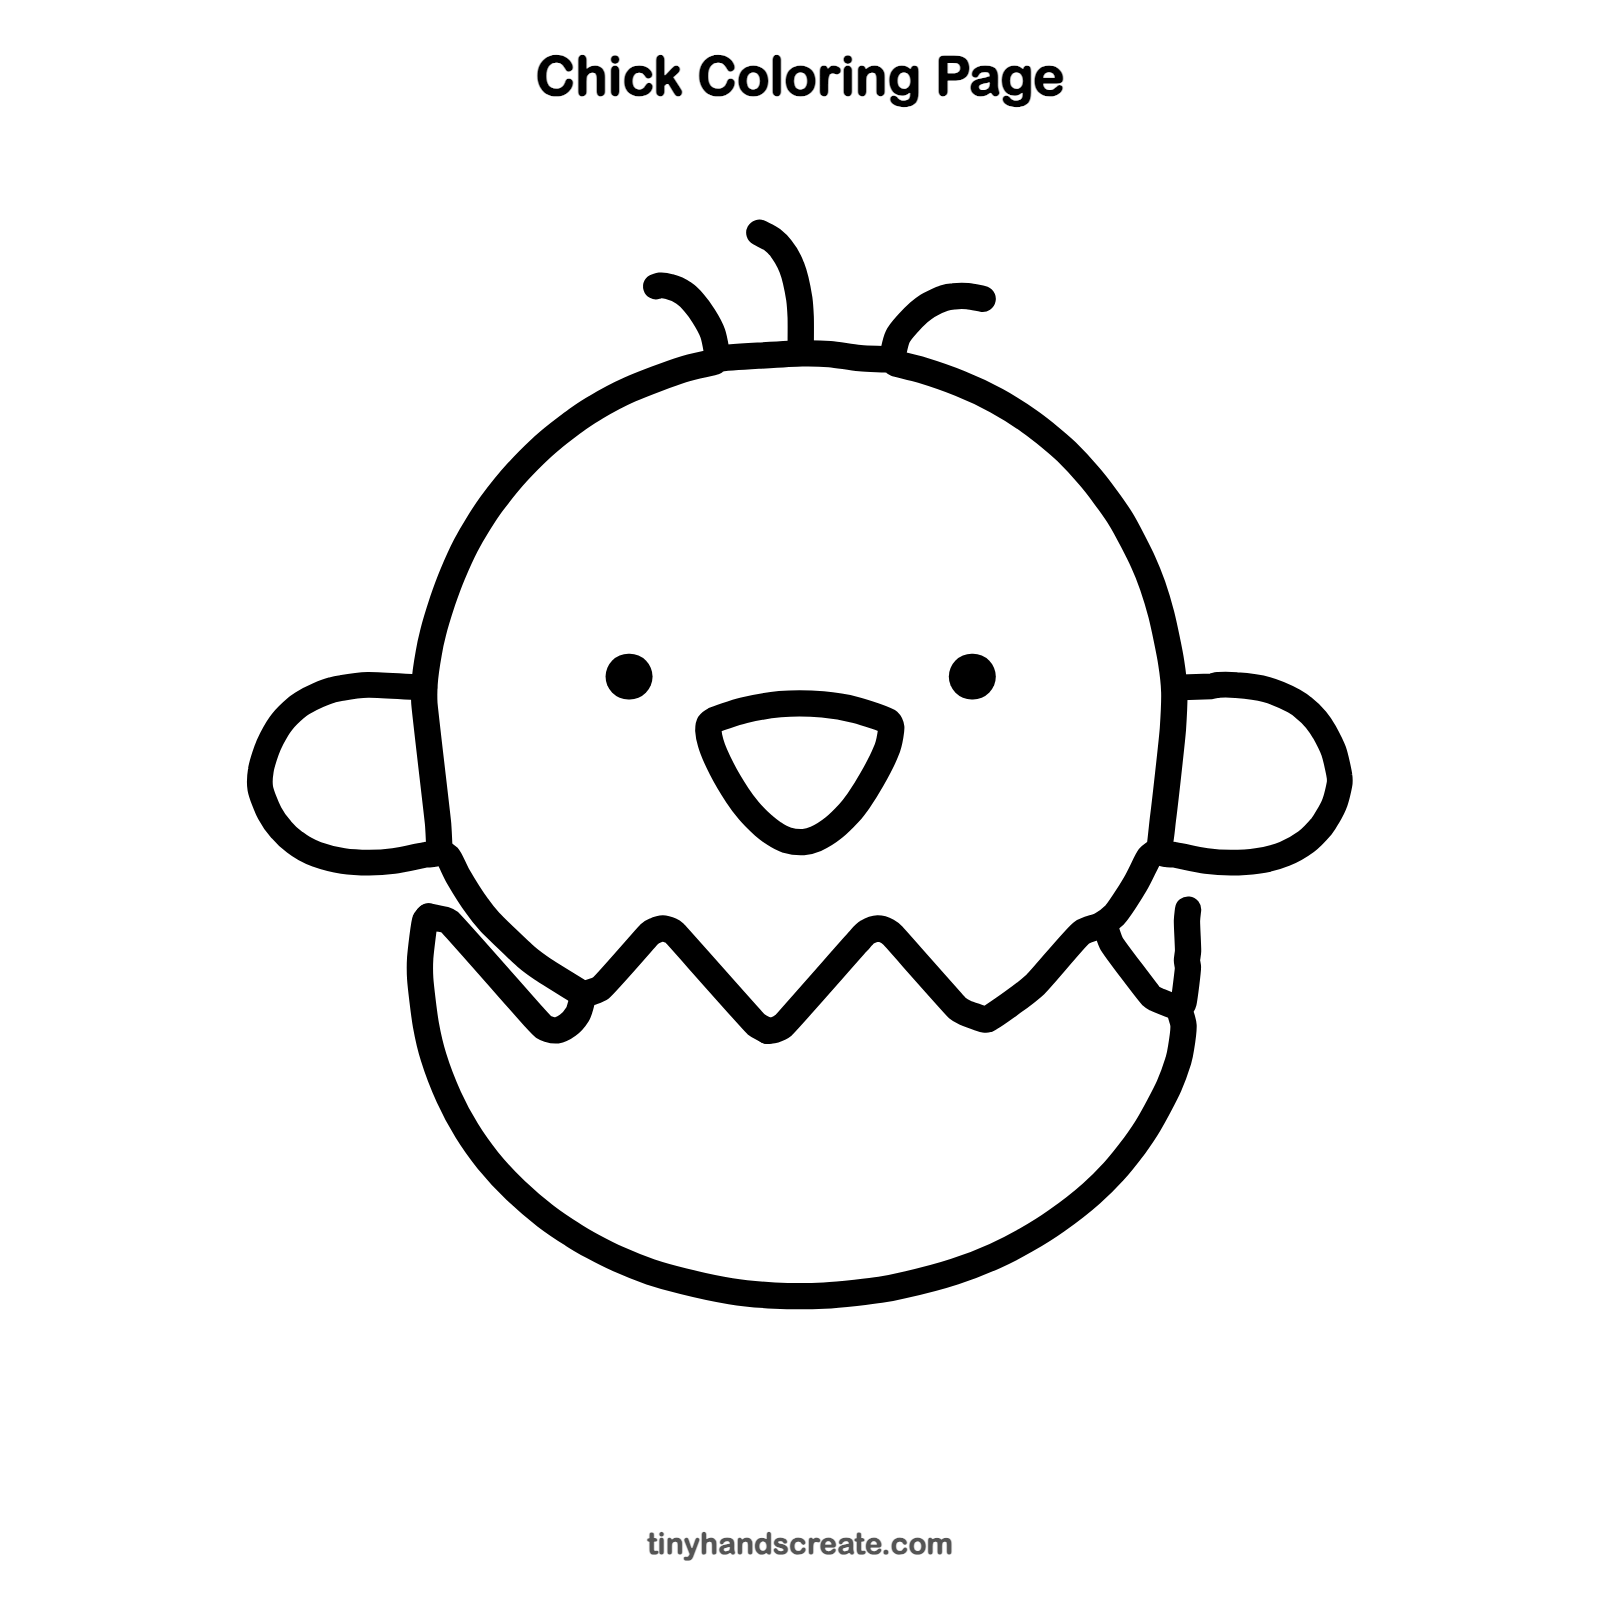
Want to go straight to coloring? Open this chick coloring page at full size and print it. It is the same drawing you just learned, with clean lines ready for crayons or markers.
How to color your chick drawing
Color the chick bright yellow, including the wings, with an orange beak, and make the shell white or light blue with a crayon outline. For a creative twist, add a few colorful spots or stripes to the shell, like a decorated Easter egg.
Chick fun fact for kids
A baby chick uses a small, hard bump on its beak, called an egg tooth, to tap its way out of the shell. The bump falls off soon after the chick hatches.
Questions about drawing a chick
What shapes do I need to draw a chick?
You need a big circle for the head, two small rounded bumps for wings, a rounded triangle for the beak and a bowl shape for the eggshell. Three short curved lines on top make the fluffy feathers.
How do I make my chick look cuter?
Keep the eyes small, round and far apart, just above the beak. A tiny beak and a big round head also help a lot.
How do I draw a cracked eggshell?
Draw a bowl shape under the head, then add a zigzag line across the top, like a row of small mountains. Try to make each point about the same size.